
|
 |
||||
Today was a full day of all kinda of little things to take care of in the fuselage. I am trying to get the top skins on so I can rivet on my decks so I can do a final coat of paint inside. There is such a specific order everything has to happen! Anyways, yesterday I got some 2 AWG welding wire from WeldingSupply.com. Welding cable is WAY more flexible than Tefzel, and is a perfectly acceptable substitute for runs to the starter and battery. The stuff is HEAVY. 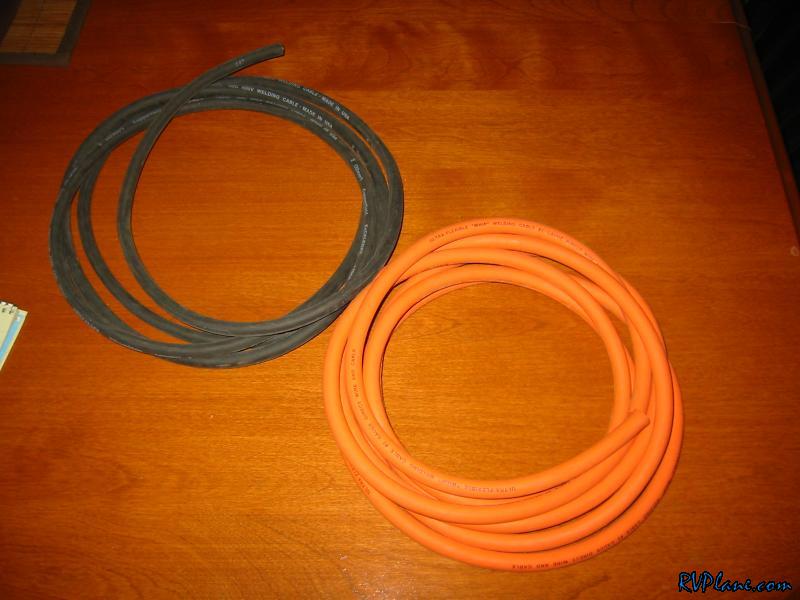 WeldingSupply.com also had a 9 buck terminal crimper for 2-8 gauge wire. The only other one I know of is $150, so I will see how good this works. I have heard good things. 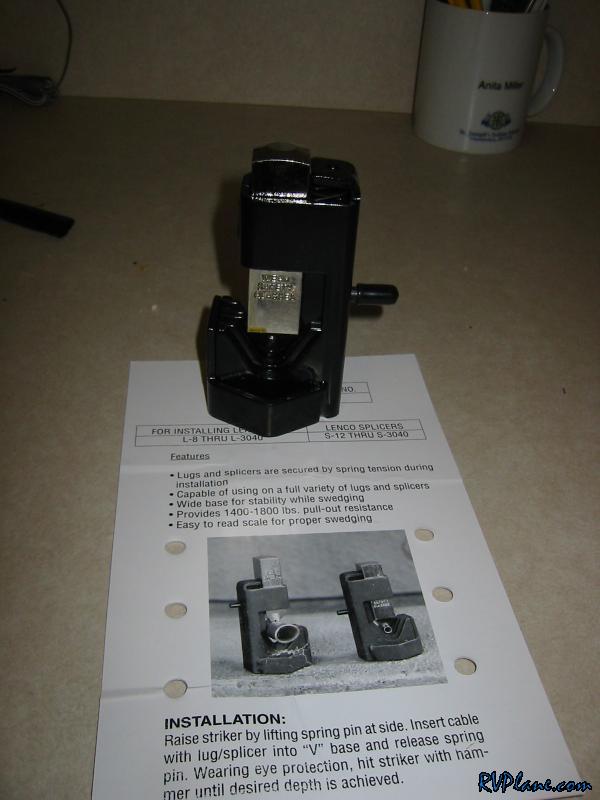 On to fuselage work...In order for me to close up the aft fuselage, I needed to figure out the static run and any supports. I ended up making 6 of there little clips that will support the static line. The will be mounted in the "Keeper Rivet" holes on the fuselage. 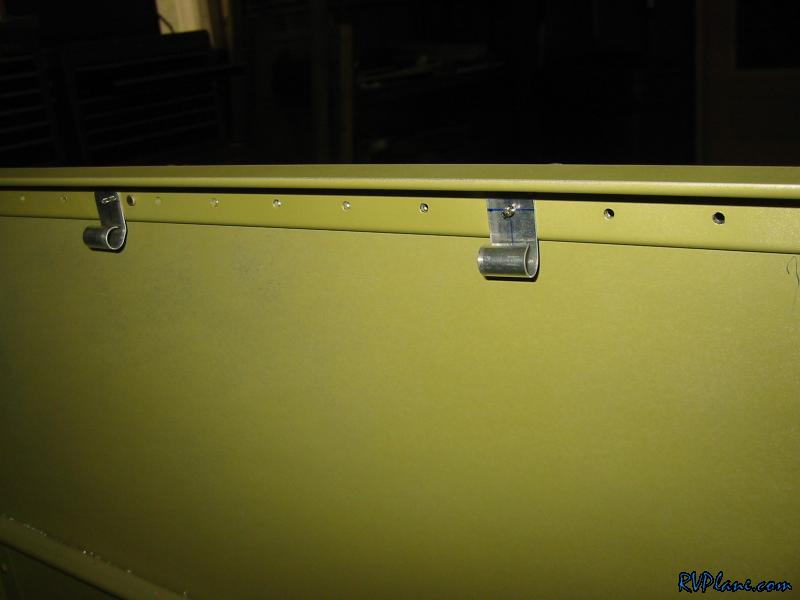 In the F-705 bulkhead I made a 1/4" hole for the static tube to passthrough. 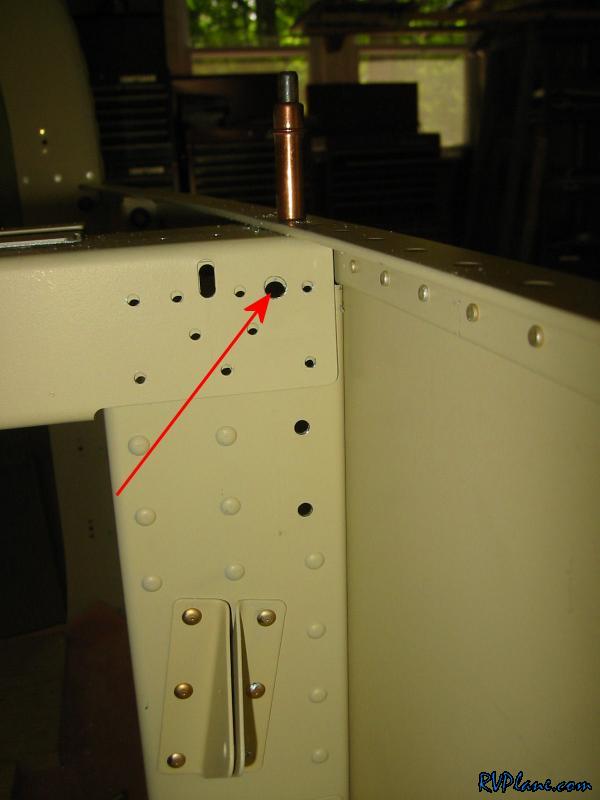 I didn't like how the static tube passed under the backside of the top of the F-705 bulkhead, so I put in a 3/8" grommet. Worked great and looks great.  This is how the static line will pass through.  Next I did a priming batch of some misc things. I primed the mating surface of the aft fuselage inspection panel.  I also primed where the top skins overlap the bottom skins....yes I know I am anal.  Same deal on the forward skin. 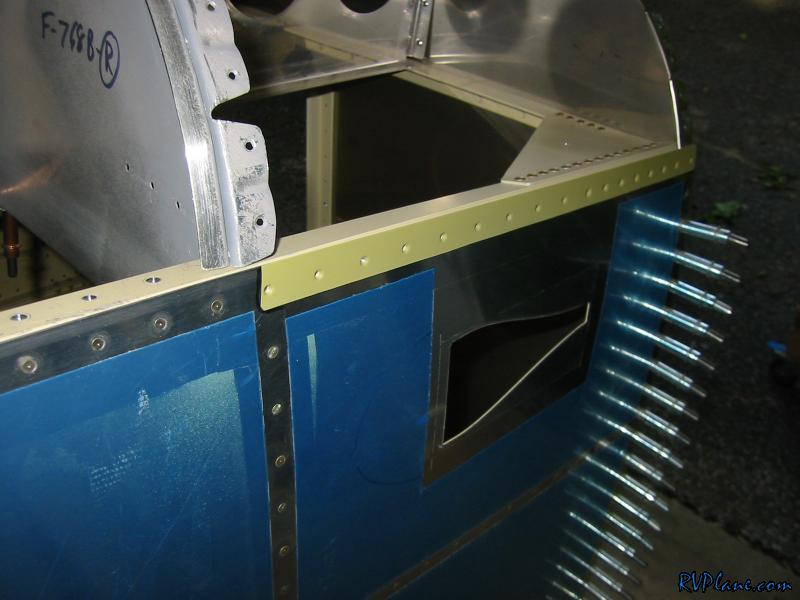 Plus I primed the inspection panels and all 6 clips I made. 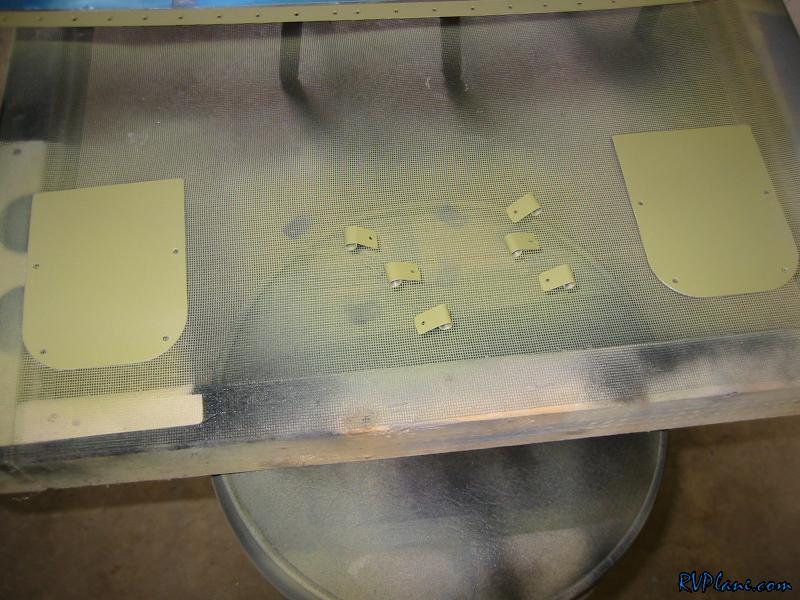 Oh, I also primed the aft top skin where the front aft skin overlaps it. 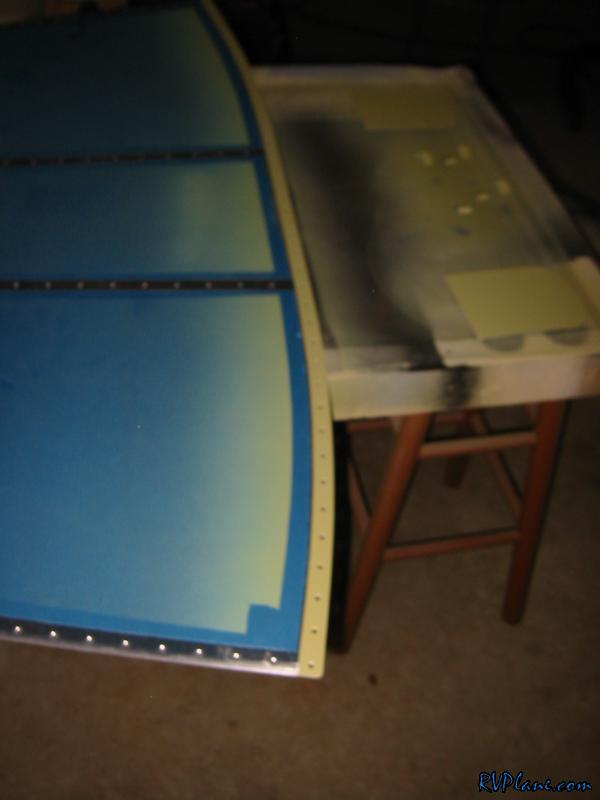 The prime job dried in no time so I riveted the static line support in place. I drilled an extra keeper rivet in the middle of the two preexisting ones. 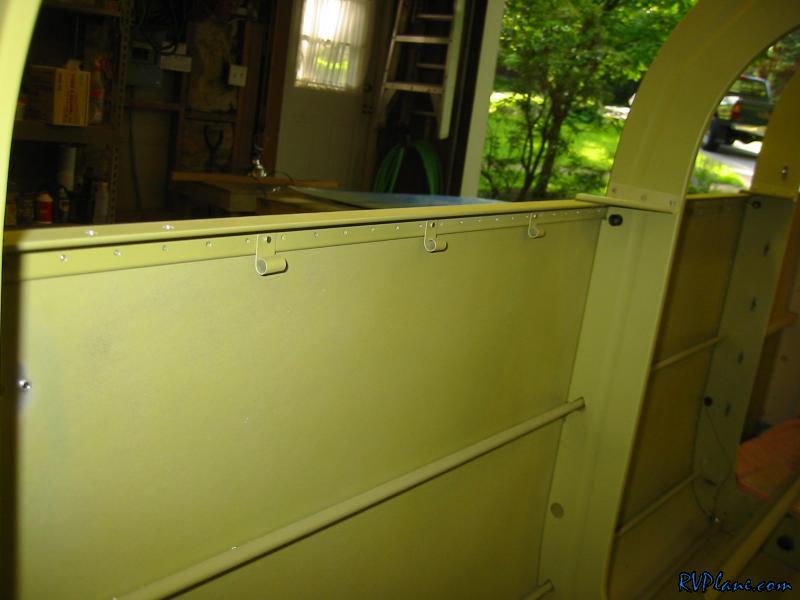 Next I got some proseal mixed up and sealed and riveted the static ports on. 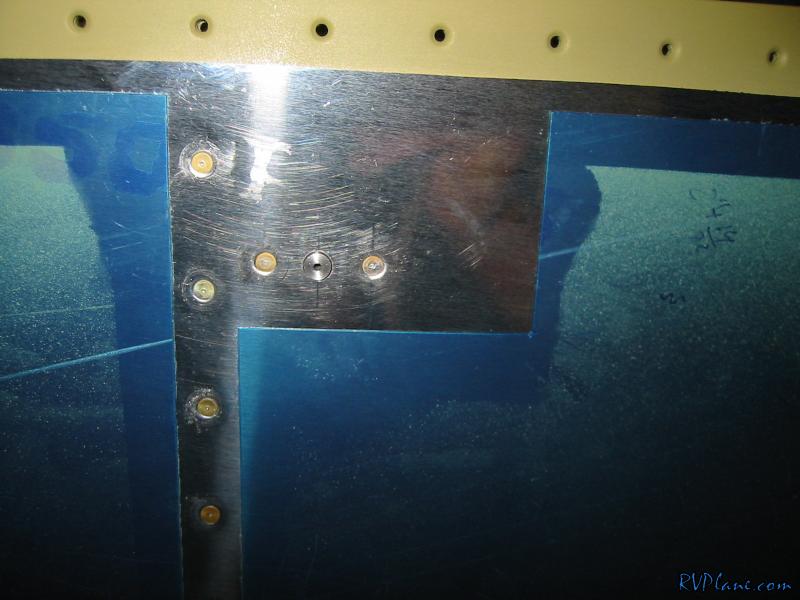 I then did some head scratching for the best way to run wires to the aft fuselage. I wasn't going to use conduit at first, but I caved in, not wanting to climb back in the fuselage if I ever needed to add a wire. I made holes in the top of the bottoms of the F-707, 708 and 710 bulkheads. I chose the top because with some tension on this conduit, it doesn't want to droop at all and I don't think it will want to rub on the skin. I might add a support or two in, but it is pretty solid now. 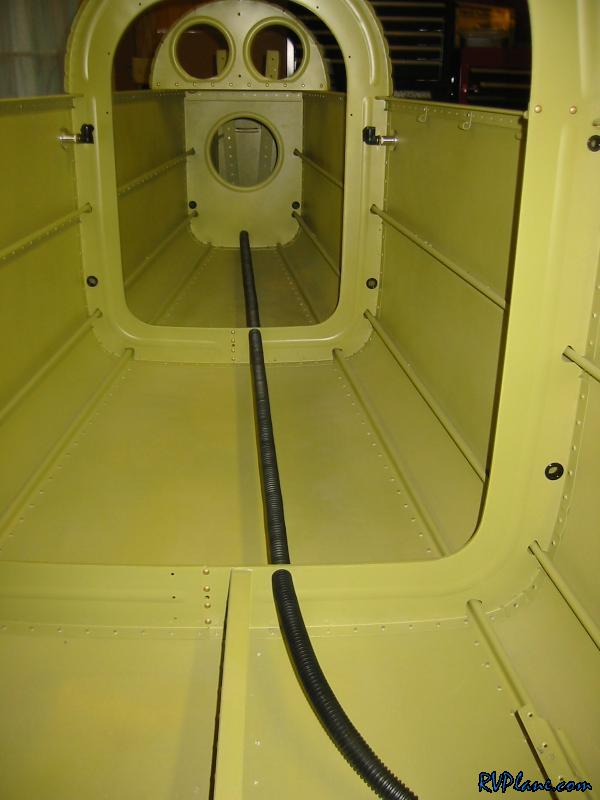 I made two backing strips out of a 2'x4' sheer of 025 I bought from Spruce. I used the top skin as a template. These strips go under the aft canopy. 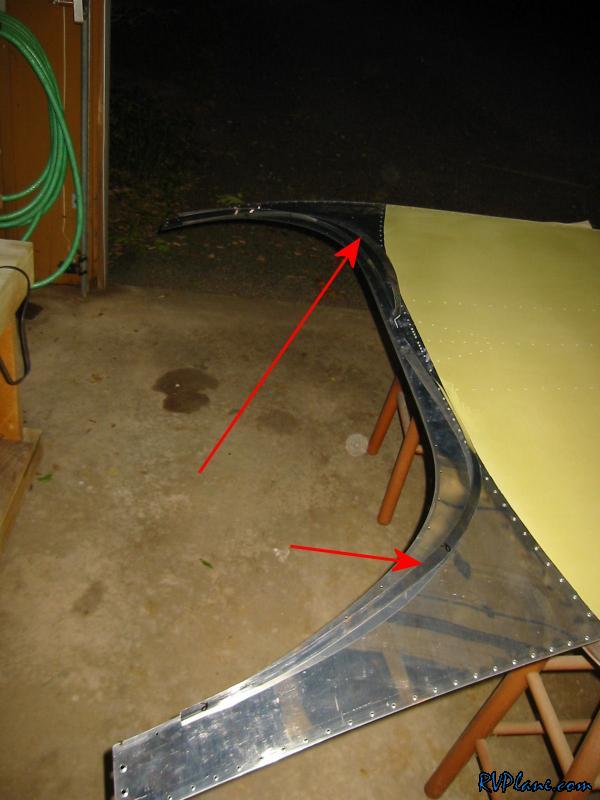 Next I drilled the NACA ducts to the fuselage. I only used four holes, ad I am also going to use ProSeal to hold these on. 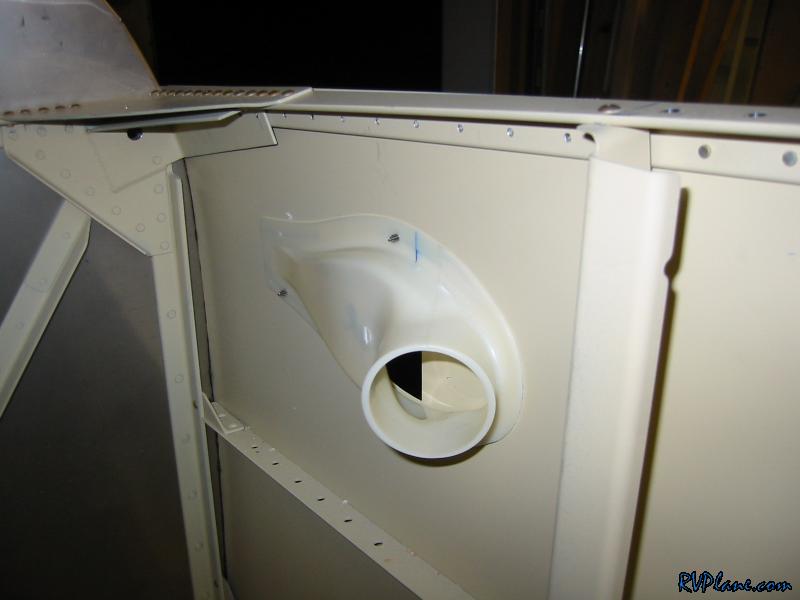 I really got myself good in the thumb with a #40 bit. Its been a long while since I last drilled myself. 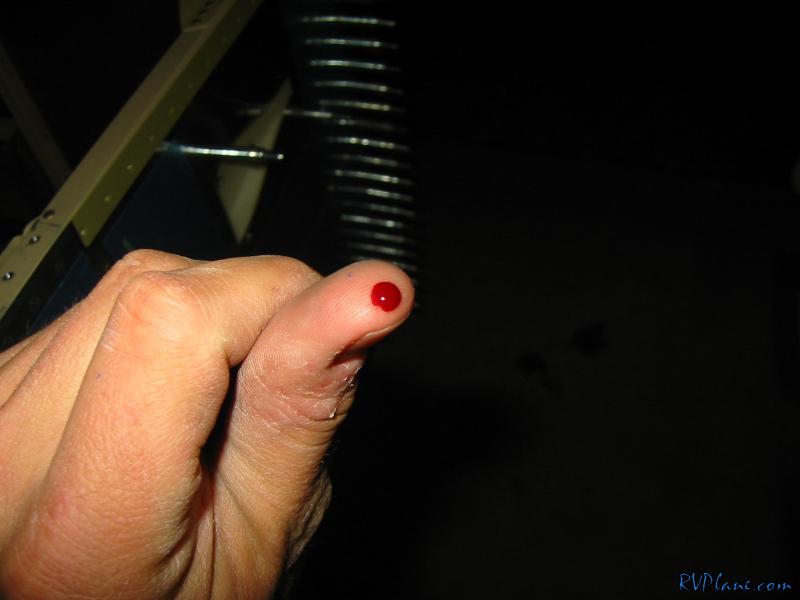 I made 8 of these backing strips that will give the MK-319BS pop rivets that hole the NACA ducts something to grab into other than plastic. 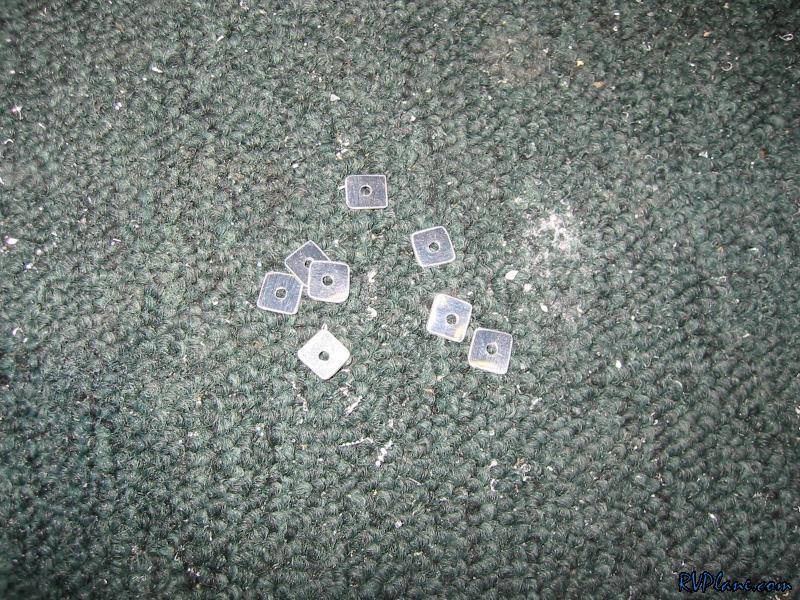 So it wasn't bad enough I used AKZO primer and proseal today...I needed to also run a quick paint job. I pained the NACA ducts, the 8 backing clips and the two ribs that make up the subpanel. 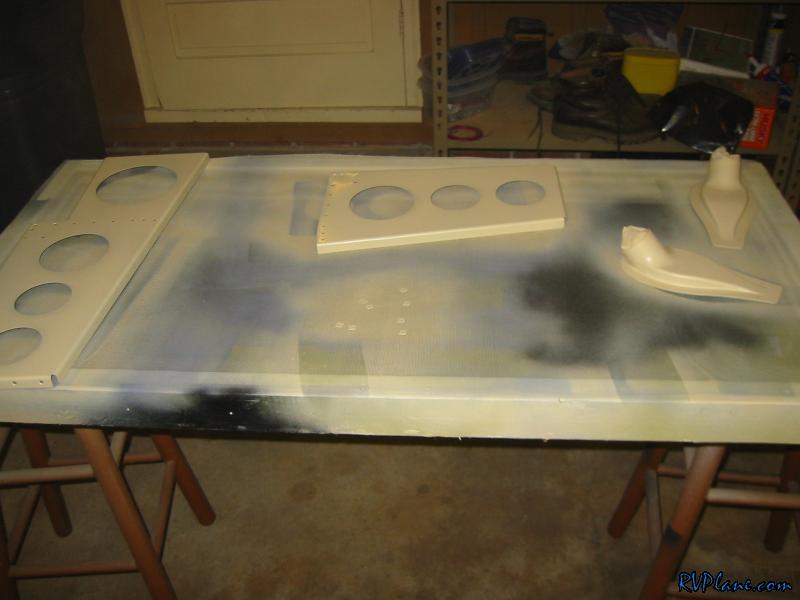 I also painted the forward part of the top skin -- the part that's inside the cabin. Like I said, a full day on the project and I got a TON done. I needed a day like this. 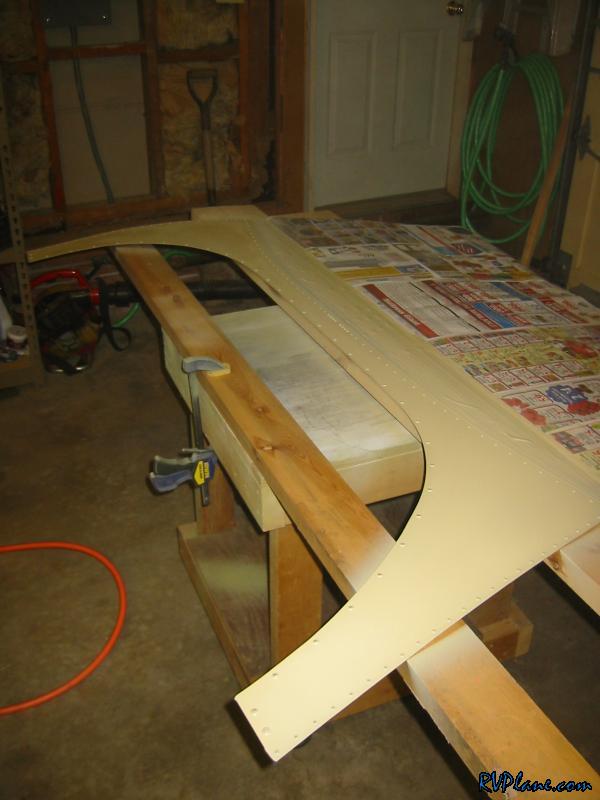
|
|||||
|
http://RVplane.com |
Last Modified: January 31, 2026 |