
|
 |
||||
It was time to get cooking to prep the wing skins. It is supposed to be 50, low humidity and sunny tomorrow -- perfect for priming these skins. The rest of the week looks terrible for priming as it will cool down (highs in the low 30s!). Van's tells you to dimple the skins before you make the scarf joint for the skins. That doesn't make any sense to me because trying to file down material that has already been dimpled doesn't sound like right. So I filed the top of the inboard skin's corner and the bottom of the outboards skins corner until they fit nice and snug. Van's tells you to make the scarf joint 3-4", but I did 2.5". I don't see the benefit of going nuts and overdoing it. This shot os looking at the scarf joint from the outboard side of it. 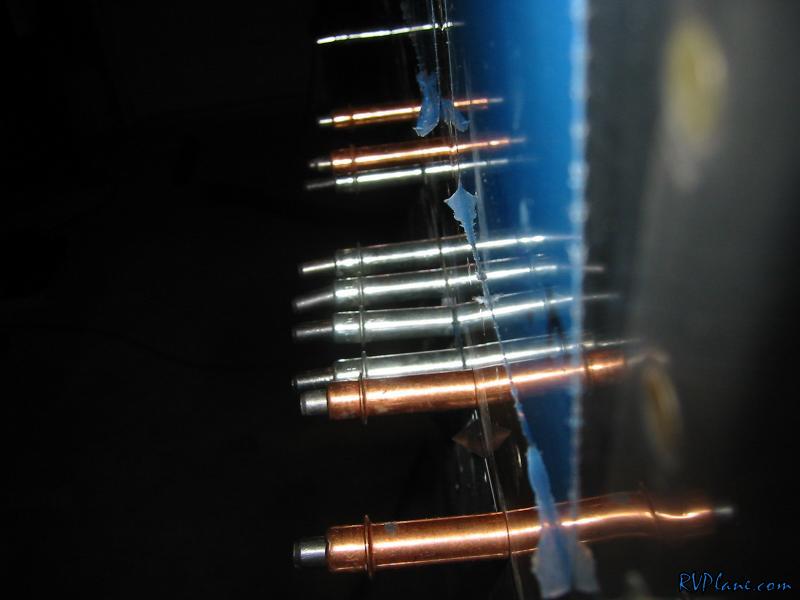 This is the scarf joint from looking from the front of the wing back. 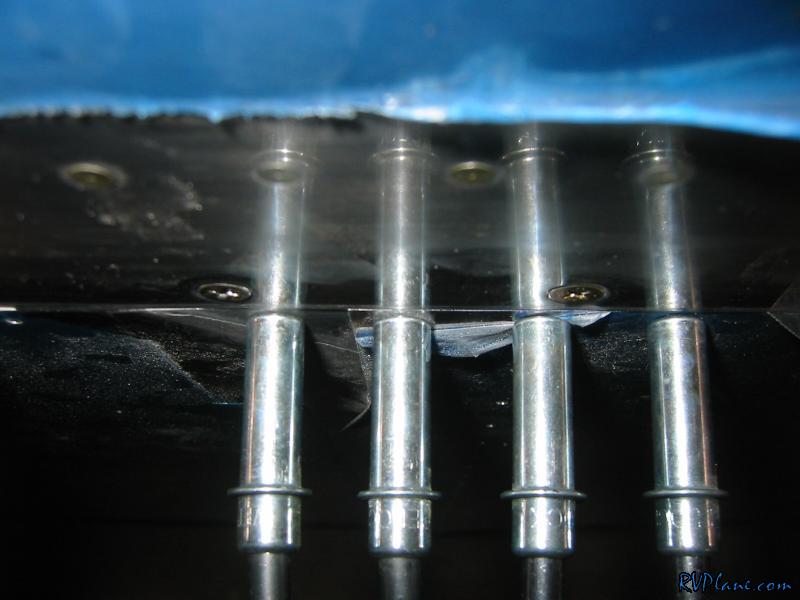 and finally another shot. It is perfectly smooth transition from the tank skin to the main skins. 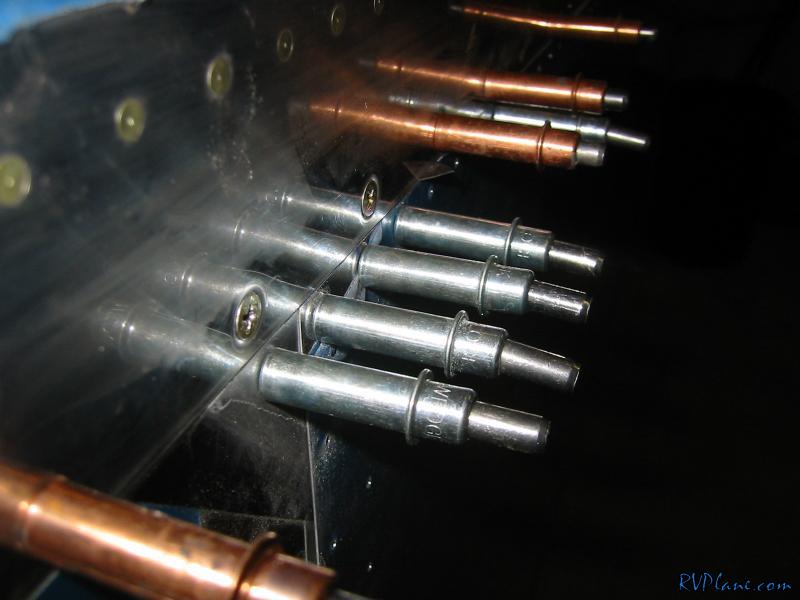 The whole process of the scarf joint was iterative. File, check, file more. I used some electrical tape to protect what I didn't want filed down. My process for making the scarf joint was to start with the vixen file. Once I was happy and everything fit, I worked through different grades of emery cloth, and finally a scotchbrite pad. 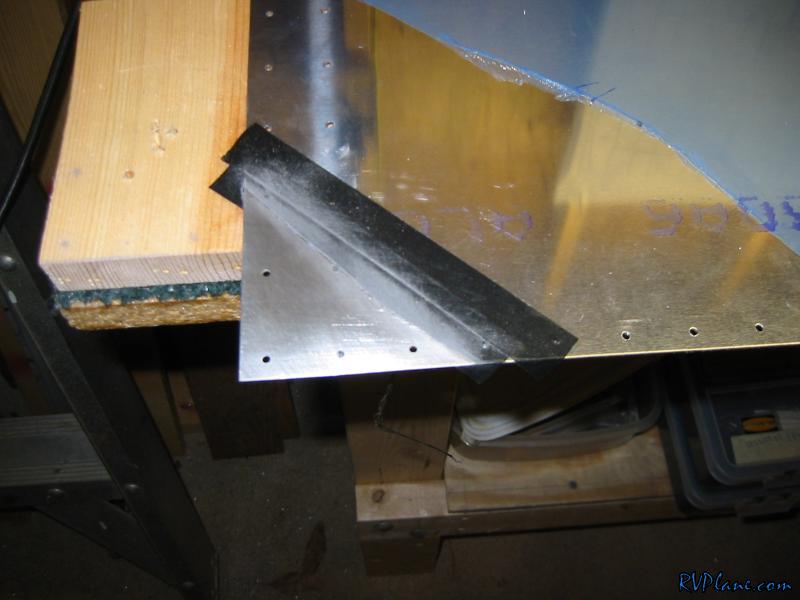 This is the final result, more of less.  Once the scarf joint was finished, I removed the blue vinyl from the insides of the skins. This was the hardest thing I did all night. It was very cold and the blue didn't want to come off. It left patches of adhesive all over the skins (easily removed with acetone). I didn't do any deblueing on the top because I was going to wait until after I primed the bottoms. I don't want any overspray to stick to the top skins. I finally deburred all of the holes on the bottom of the skin and did up the edges.
|
|||||
|
http://RVplane.com |
Last Modified: January 31, 2026 |