
|
 |
||||
I wanted to take care of installing the Gretz pitot mount tonight. I didn't want to countersink the spars for the skin dimples first, because I felt like I could get some misalignment in backdrilling the mount via a countersunk hole. The directions are pretty vague for installign this thing. Its is pretty much on your own. I am really glad I went with this pitot mount. I can't imagine having a one piece mount like the SafeAir1. This is a simple install with awesome access if the top skins aren't on perminantly. Anyways, I played around to how best to mount this. These C-clamp clecos are the bomb. They reach anywhere. 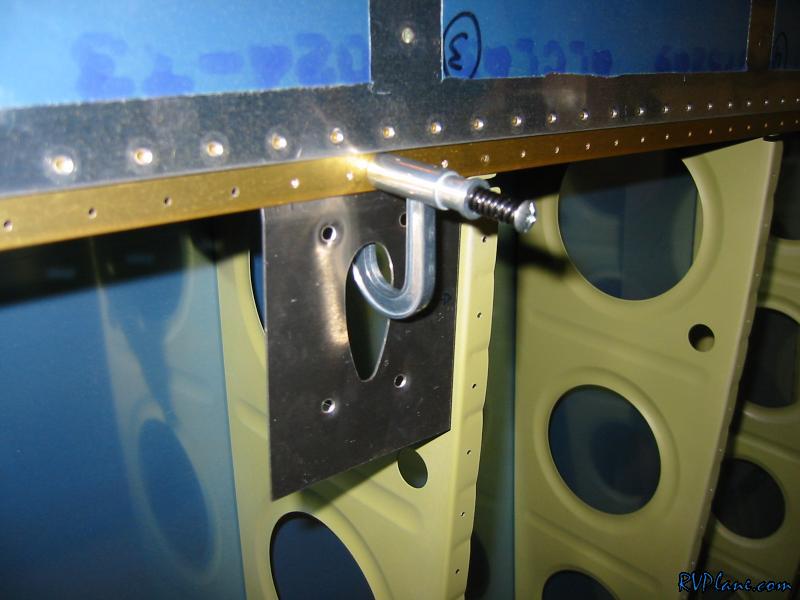 This is where I decided to put it - outboard of the last inspection panel. I wanted to keep it as far out as possible so my tie down rope didn't interfere with the pitot. I also read that you get more accurate readings. 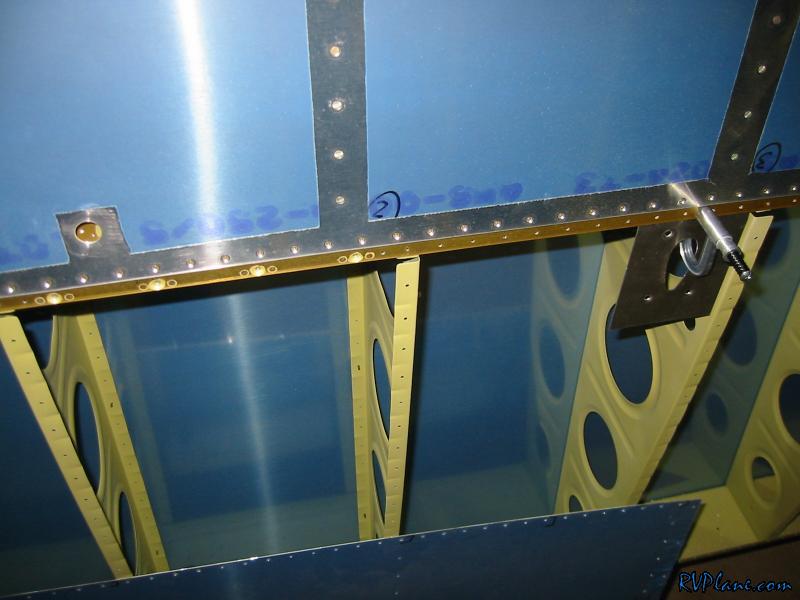 I marked a basic line and put some red marks on either end - one is for edge distance minimum and the other is where I would run into issues with the angle that attaches it to the rib. 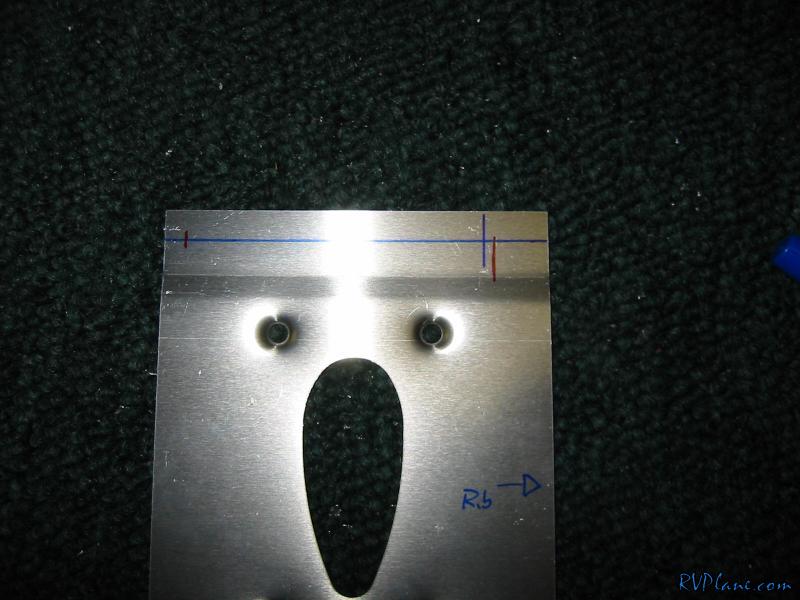 I roughly marked where my rivet lines would be also. 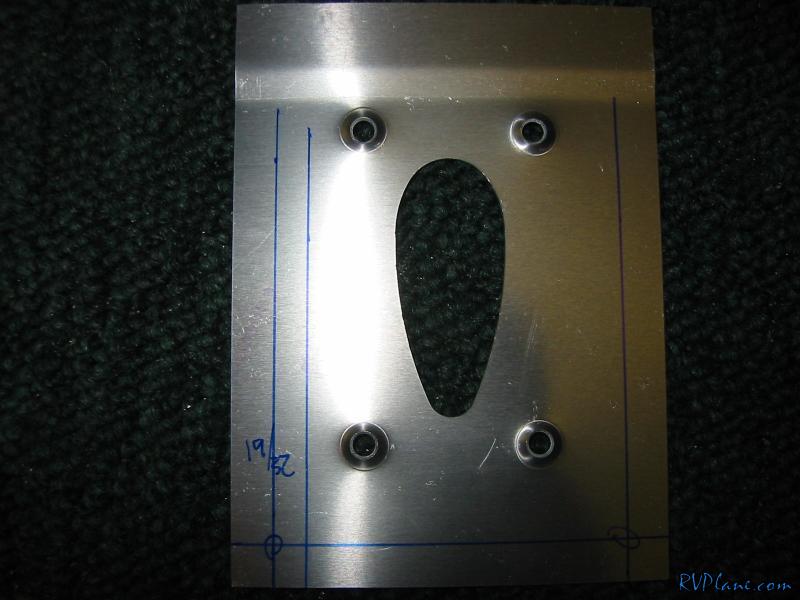 Next I drilled one hole in the mounting plate and clecoed it to the spar. I made sure it was perfectly perpendiculat to the spar and backdrilled the other 3 holes. 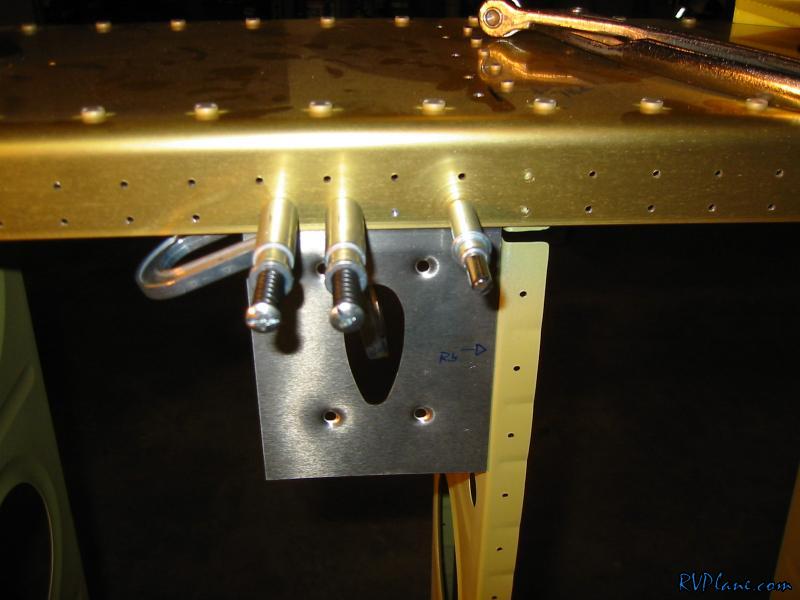 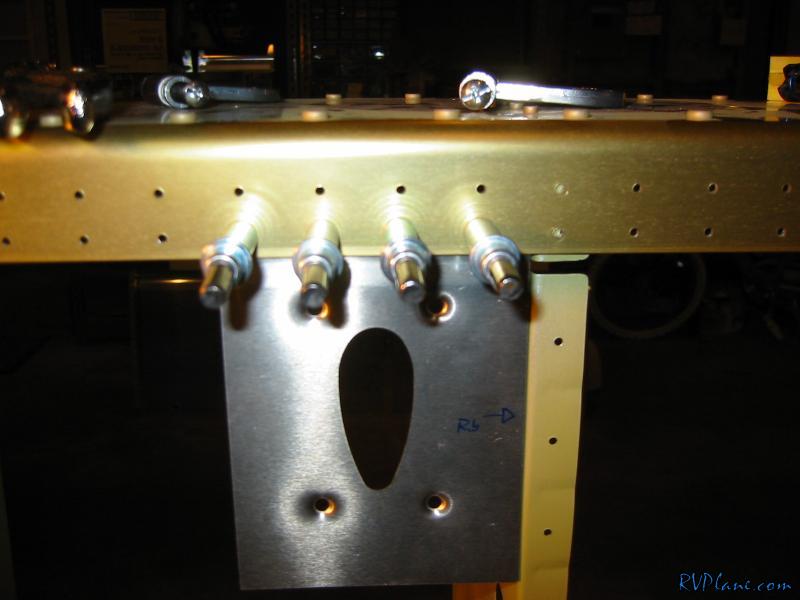 Next I marked on the plate where the rivet lines would be. This is a edge drawing tool from Avery. It is the bomb for drawing parallel lines. Kind of a rip off for $13 or so, but well worth it for ease, speed and repeatability. 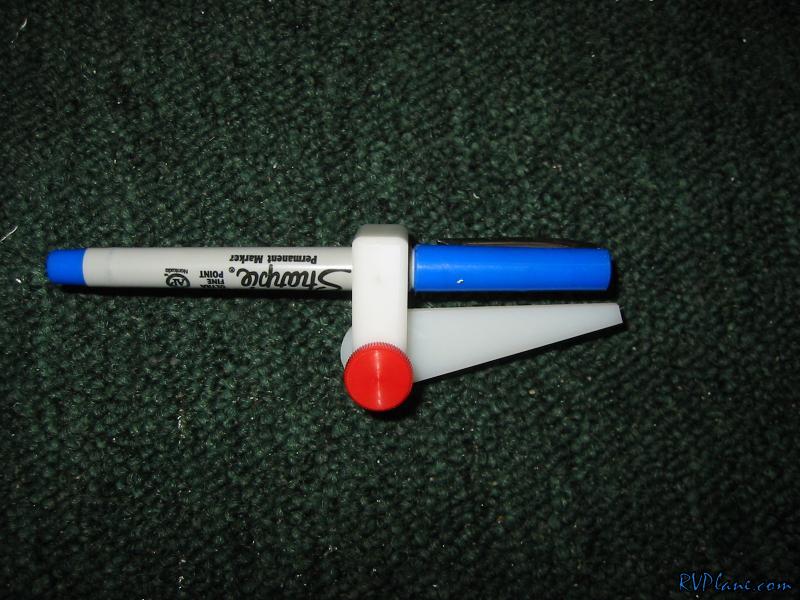 Next I used my rivet fan (for the first time) to plot out where the rivets go. 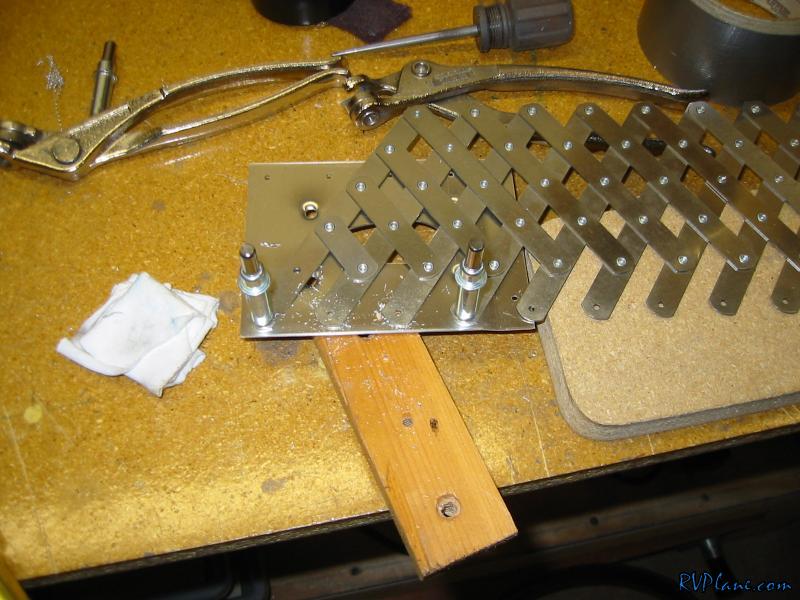 This is the pattern I ended up with. 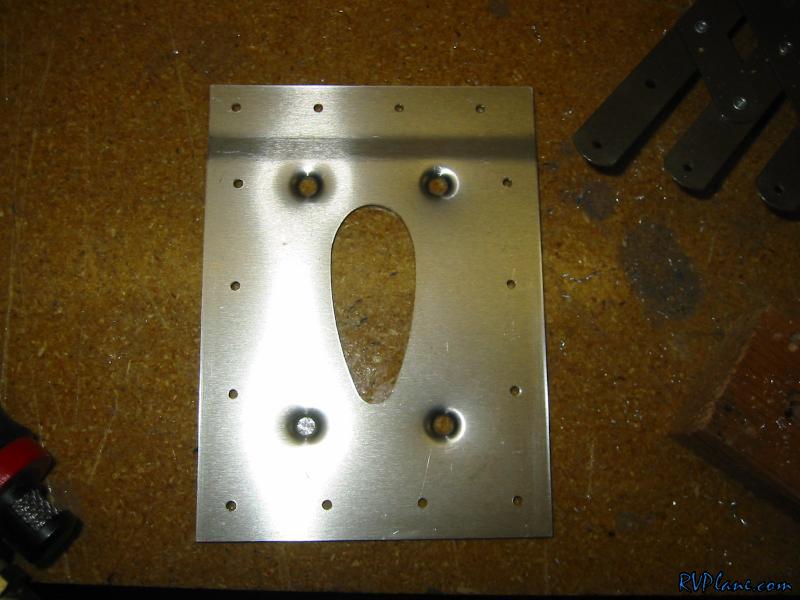 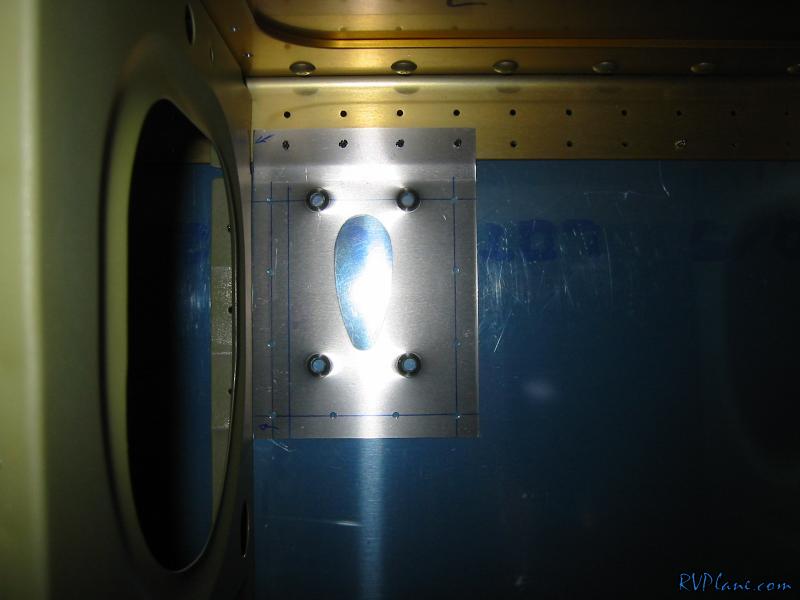 Next was backdrilling the bottom skin from the pitot plate. 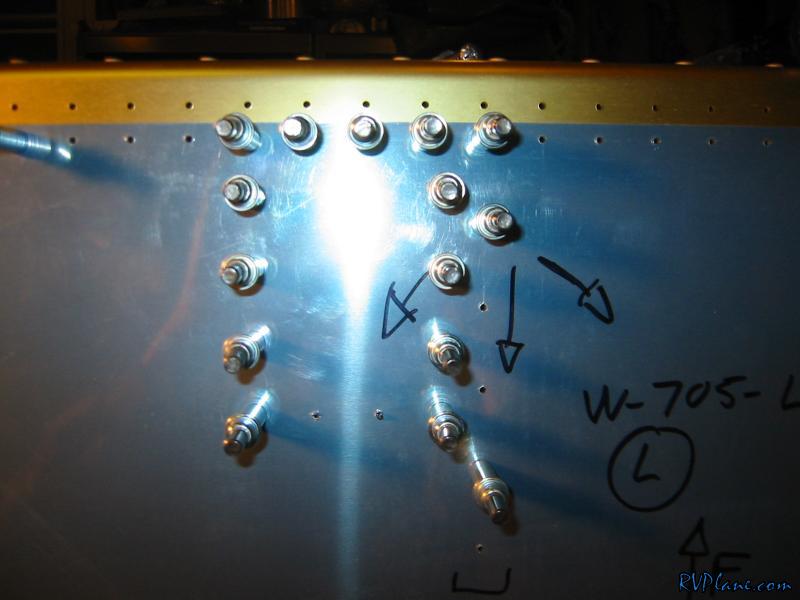 Then I cut some 0.025" angle stock left over from the stiffeners on the empennage. Gretz tells you to use 0.032", but I didn't have any of that. I can't imagine it making any difference. 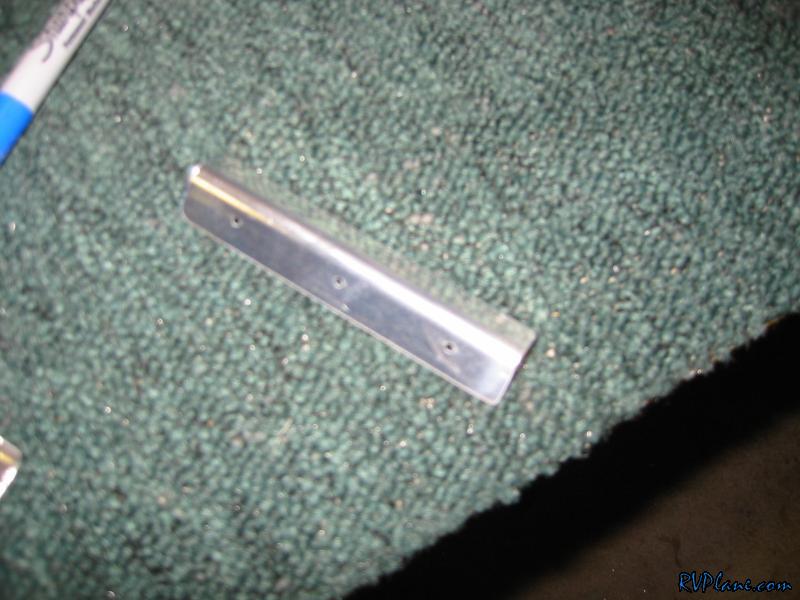 I clamped the angle onto the rib. 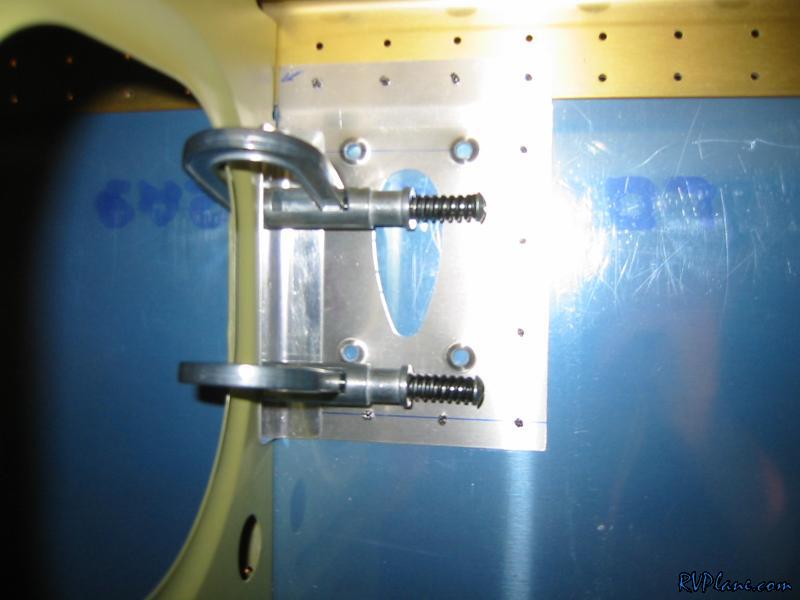 THen backdrilled it from the bottom skin. I then used the right angle drill to backdrill the rib. 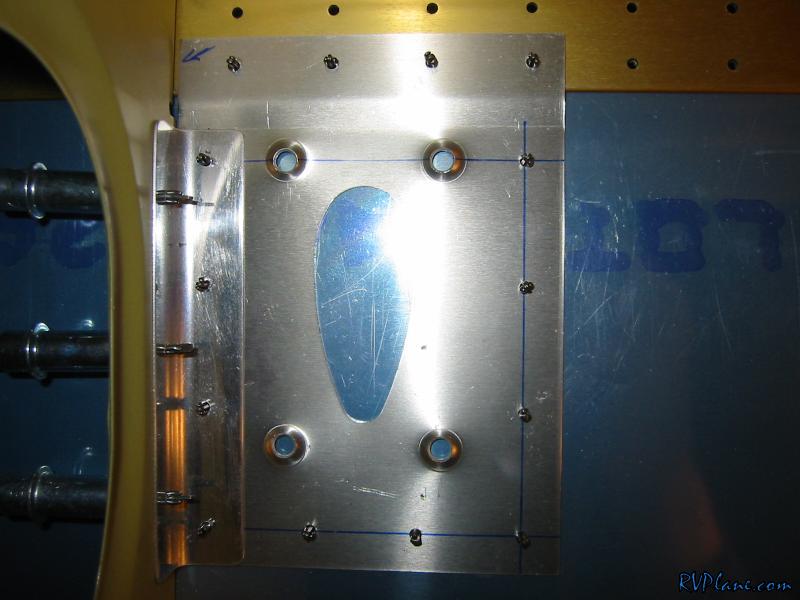 Finally I enlarged the rib-angle holes to #30's to use AN470AD4-4 rivets. I am using 3 rivet for the angle-to-rib, and 4 rivets for the angle-to-skin. When it was all done, I did have some interference problems with a spacer plate for the pitot tube, but that can be trimmed down easily. I am going to wait to cut the hole in the skin until later on. I just wanted to get this out of the way while I had the top skin off. I can't imagine doing this easily after the top skin is on. 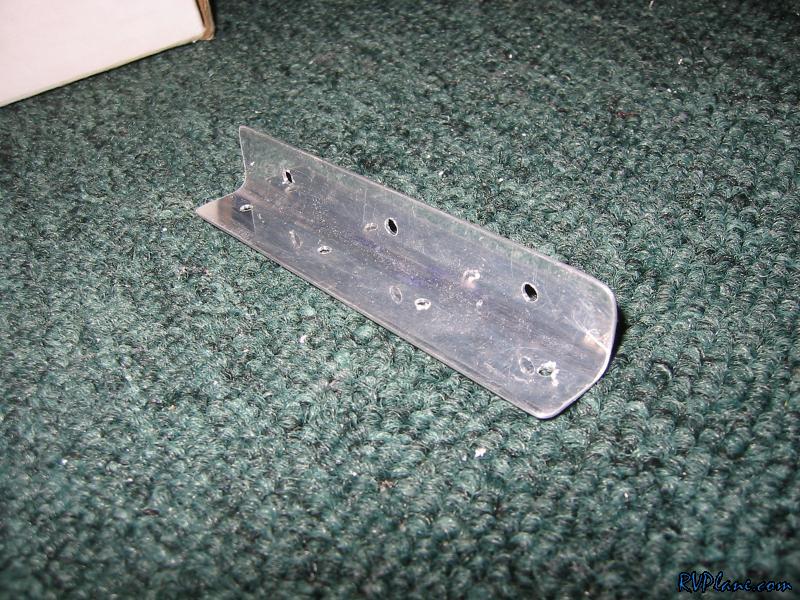
|
|||||
|
http://RVplane.com |
Last Modified: July 28, 2025 |