
|
 |
||||
So last night I mixed my first pot of epoxy and got my hands dirty with this composite world. I had no idea what to expect this morning. However, it turned out PERFECT. Here is one shot to show how it is perfectly flush.  And a side shot. The flox extends about 2" down. 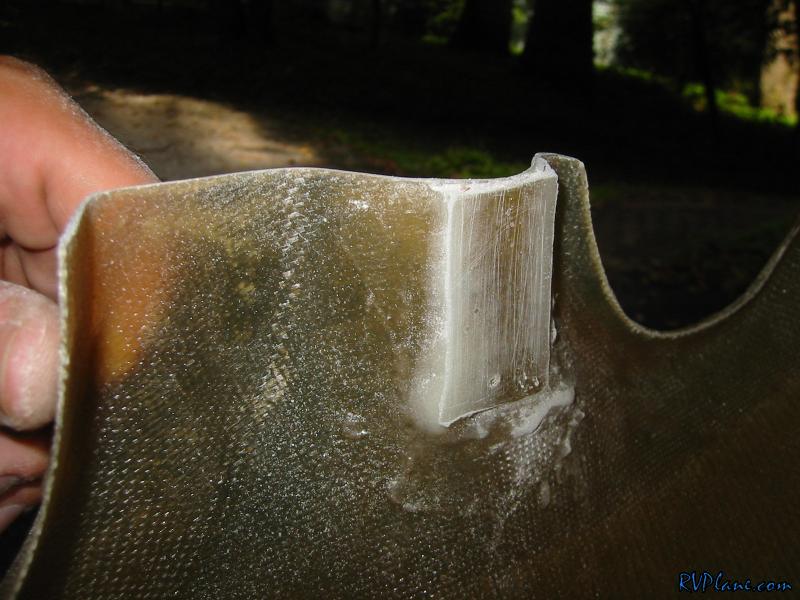 Next I made a backing plate out of 050 and bent it to the contour of the front of the cowl. I chose 050 because it bends a lot easer than 063. I drilled it to the bottom cowl for four AN426AD3 rivets.  The top I drilled to a #30 11/16" above the cowl separation line for the camlock installation. 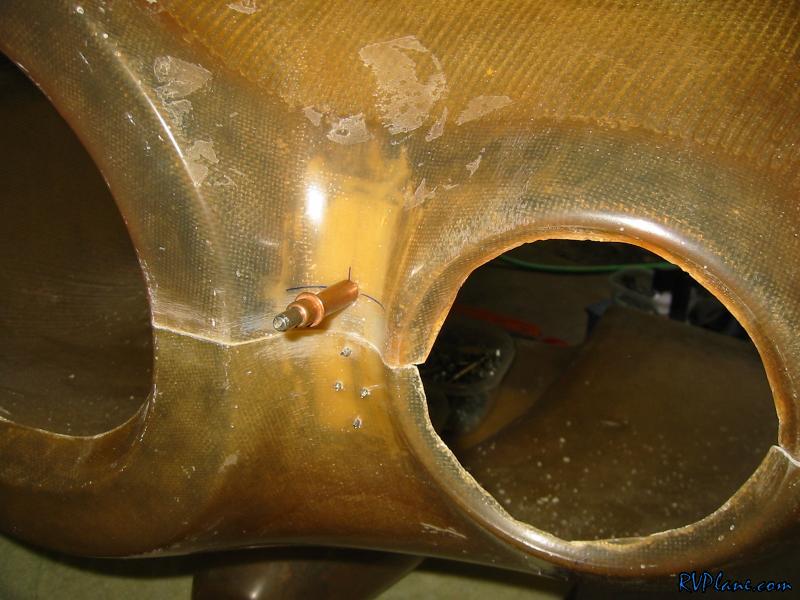 Sold the project! NOT! Its been since the end of June since the garage has been cleaned out. It was nice out today so I decided to give the shop a thorough cleaning. 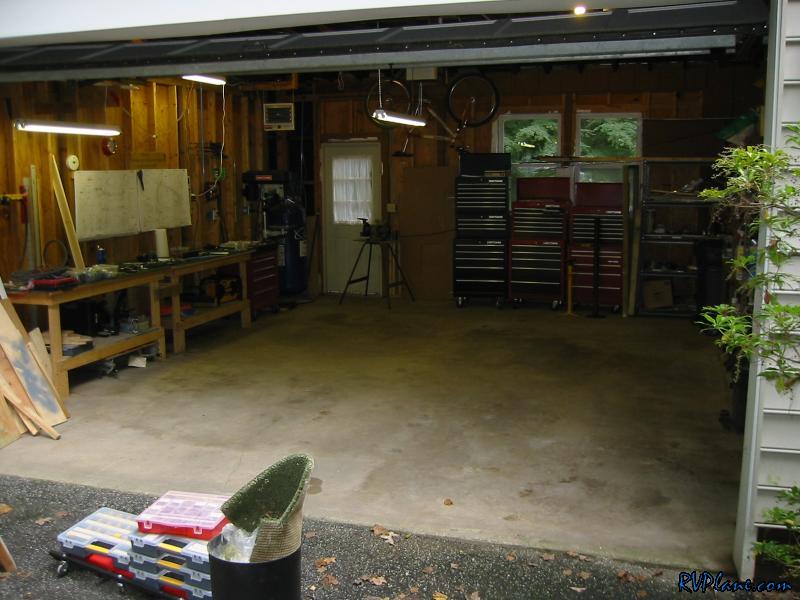 I put an extra bag of rocks on the tail to keep it down. It was pretty light with just a 25 lb weight. It is SOLID now. 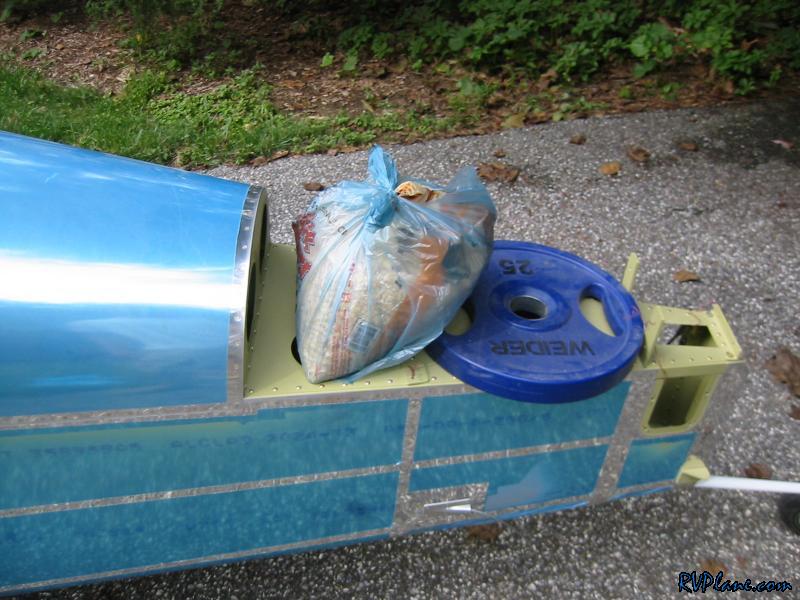 Man this looks cool. I got a lock of comments from the neighbors. If only they knew all of this cost more than the BMW's and Audi's they have in their driveway. 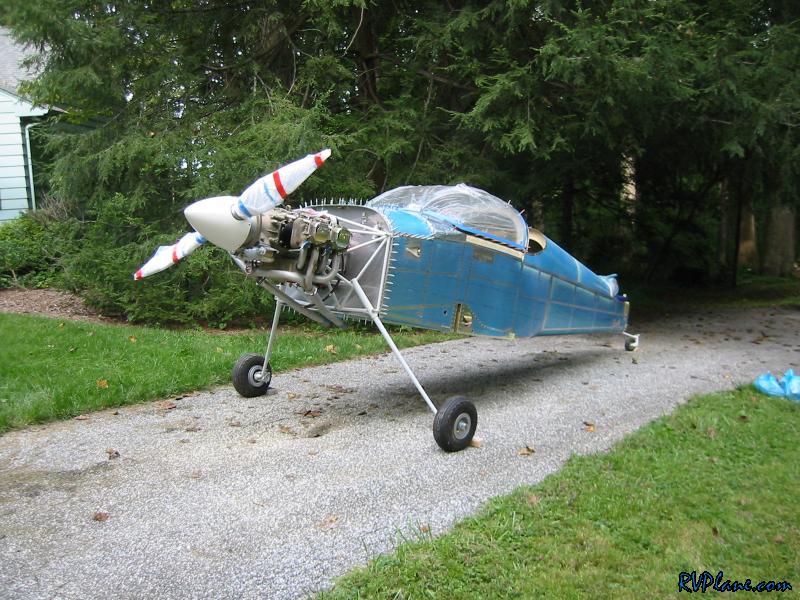 Finally I removed the prop. The prop served its purpose to fit the cowl, and I didn't like keeping it on. Might as well keep this $8k propeller safely inside. It's so much nicer to deal with the project without the prop on. I was always walking around it. 
|
|||||
|
http://RVplane.com |
Last Modified: June 22, 2025 |