
|
 |
||||
Wow -- A good 15 days since my last update. I have a somewhat good excuse - I have been to Chicago twice for work, Oshkosh (Awesome!) and Toronto for work. I have been very fortunate to have a lot of fun on all of these work trips and to keep work at a minimum. Tonight I got back to the lower cowl. The first thing I noticed was the front of the two cowl halves don't really line up at all because they aren't straight. Here is the birds eye view. 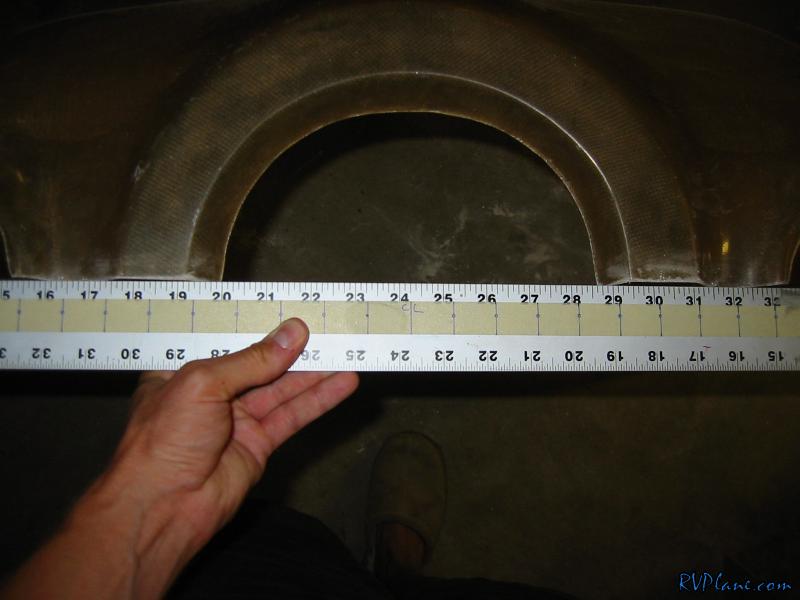 And a close up to show what I am really talking about.  To make everything as straight as possible I made a 24" or so sanding block out of some scrap 1x2. 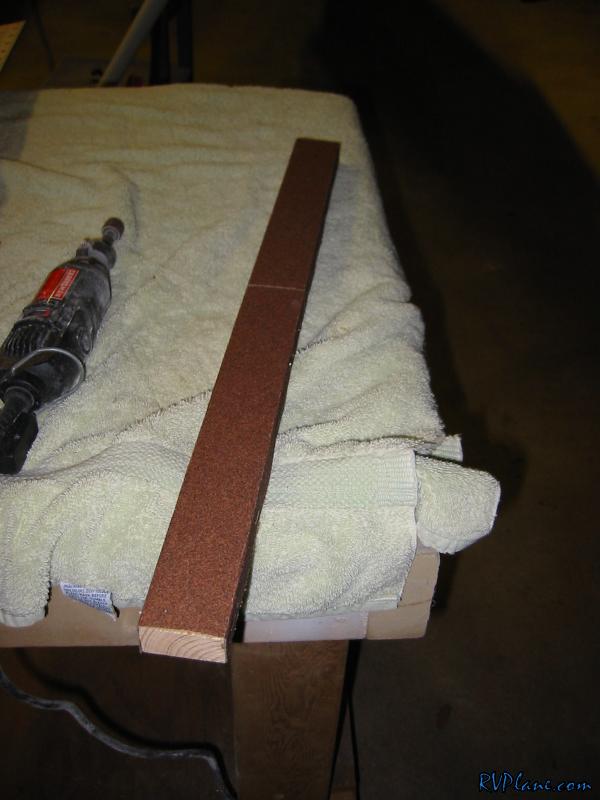 Much better. 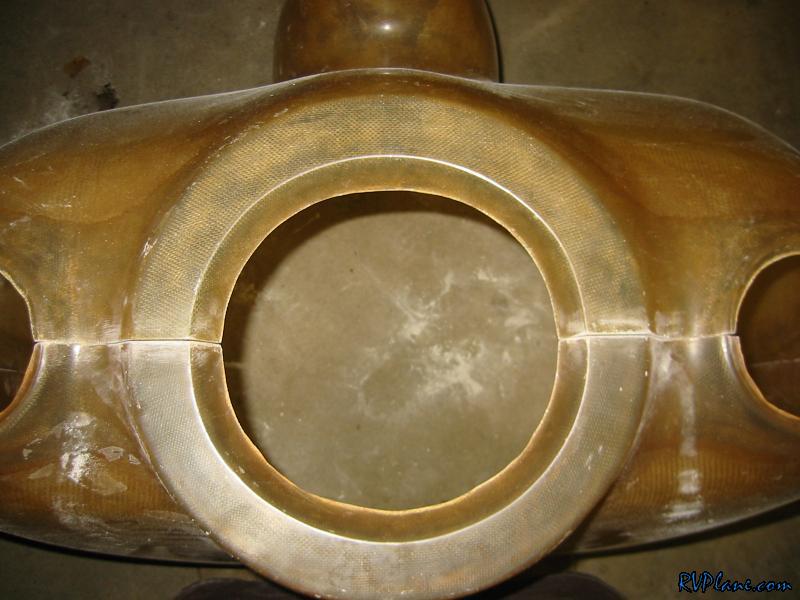 OK, the sides need the same treatment, so I made a larger sanding block - about 3' . The way I am going to approach getting the sides lined up is having the lower cowl overlap the upper cowl, and drawing a line on the upper cowl where the overlap is. Trim the upper cowl and sand with this same block and both top and bottom cowl sides should be parallel with minimal gap. 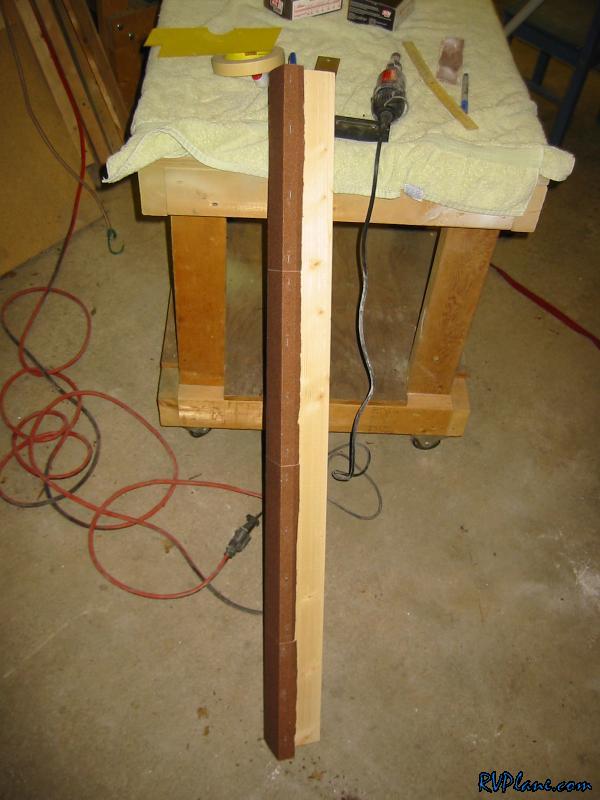 I trimmed the bottom using the same trick as the top. The Sam James instructions say to do the sides first, but this makes more sense to me so I can use the bottom as a pivot point. I am going to put 3-4 SkyBolt camlocks on the bottom here since I think getting a hinge pin in here will be a bitch. Plus, I think it would need to slide from the exhaust side, which would mean I would need to let the exhaust cool off before I could remove the lower cowl. 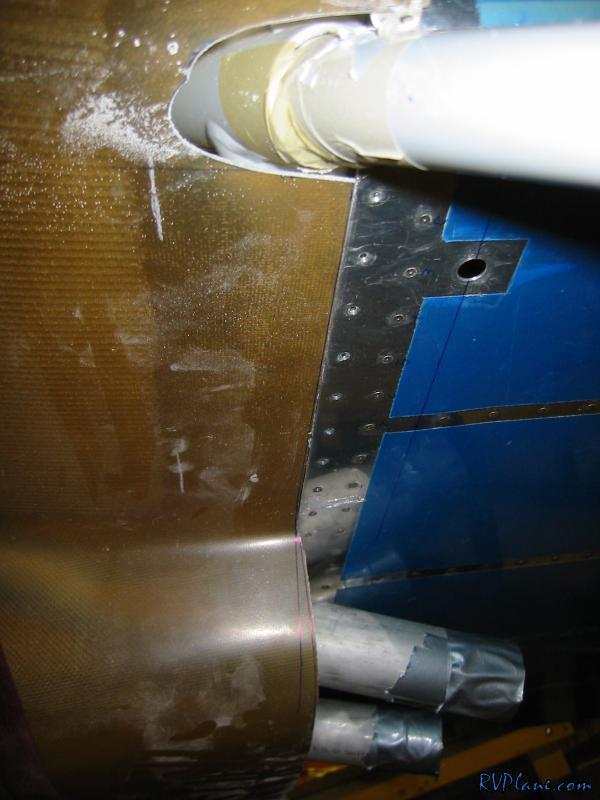 The red straps really help keeping everything together. 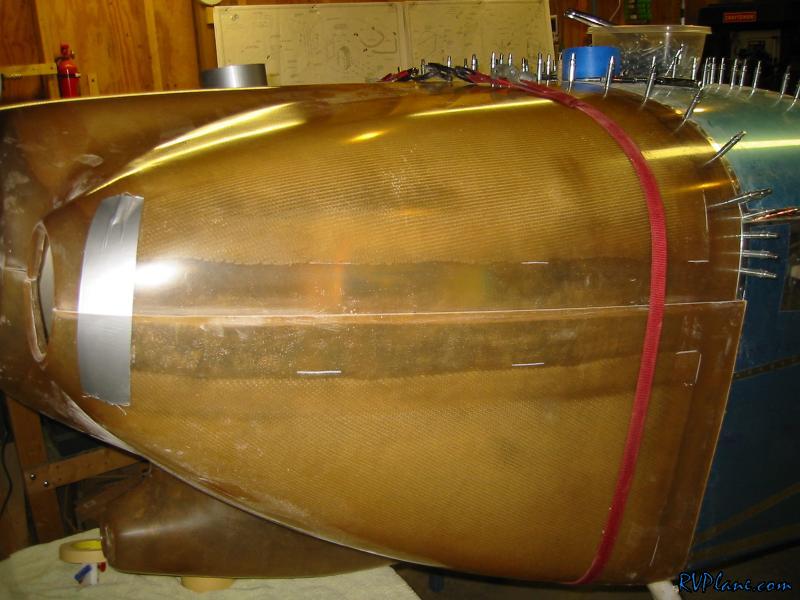 The RVers 3rd hand (duct tape) on the front helped keep things together here too. There is still some little gap issues here, but I think they should be fixed tomorrow. I marked some 050 sheet for 2" strips that I will use for the bottom camlocks. I don't have the camlocks now, and will just use #40 holes in the proper spacing until I get them. I am pretty happy with how the bottom cowl is turning out. 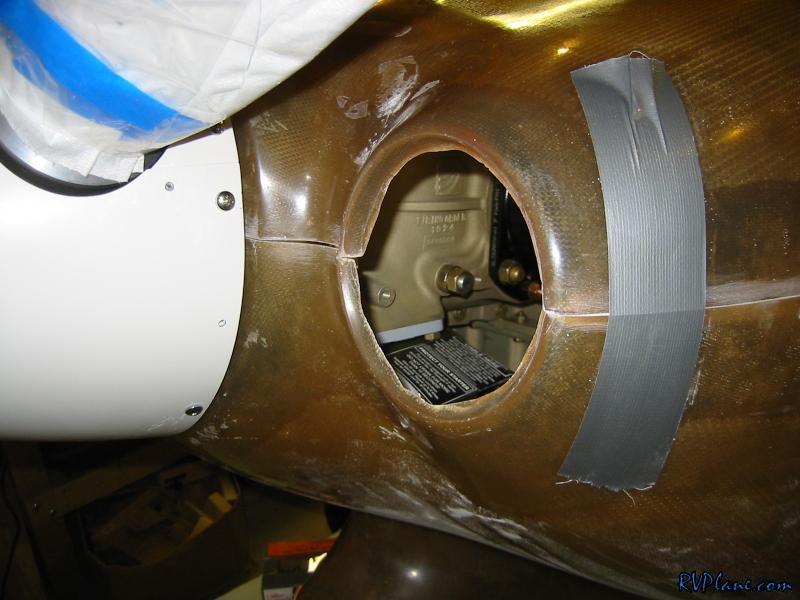
|
|||||
|
http://RVplane.com |
Last Modified: June 22, 2025 |