
|
 |
||||
Today was pretty exciting. Within a couple house in the shop I had the ailerons rigged up. I started by setting the ailerons "in trail".  I then zeroed out the two control sticks. This took quite some time. I clamped some angle to it to keep the right stick at 90 degrees so I could tune the left stick to be 90 degrees as well.  To keep the stick in the front/back orientation of 90 degrees to the longitudinal axis of the plane, I plus some wood spacers between the arm on the control column that controls the elevators and the F-704 spar.  With the sticks agreeing with each other, it was pretty simple to adjust the long control rods to the aileron bellcrank. Of couse, I popped in the seats and went for my first flight after that.  Before I got stated on the root fairings, a local RV enthusiast, Brad Miller from York, PA, stopped by to check out the project. We did the typical RV talk for about an hour, then I helped him with the Van's project. I gotta say it was pretty cool passing on the construction knowledge to a soon-to-be builder. Brad took to the whole construction process naturally...all he needed me for was the tools! Hopefully Brad will be around in the next few weeks so we can finish up his project.....and graduate to the real thing! Next on tabs was the wing root fairings. 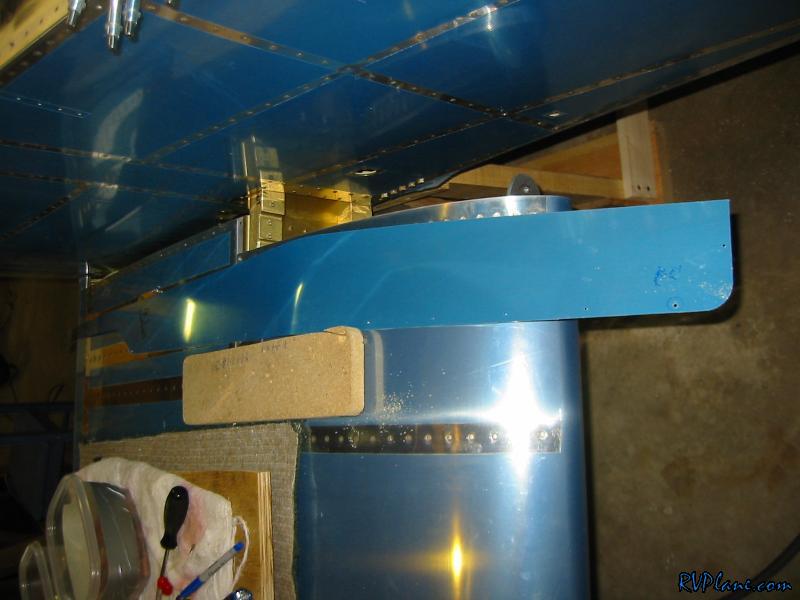 The fairings use the most inboard tank-to-spar screws on the top and bottom, so I removed those screws. 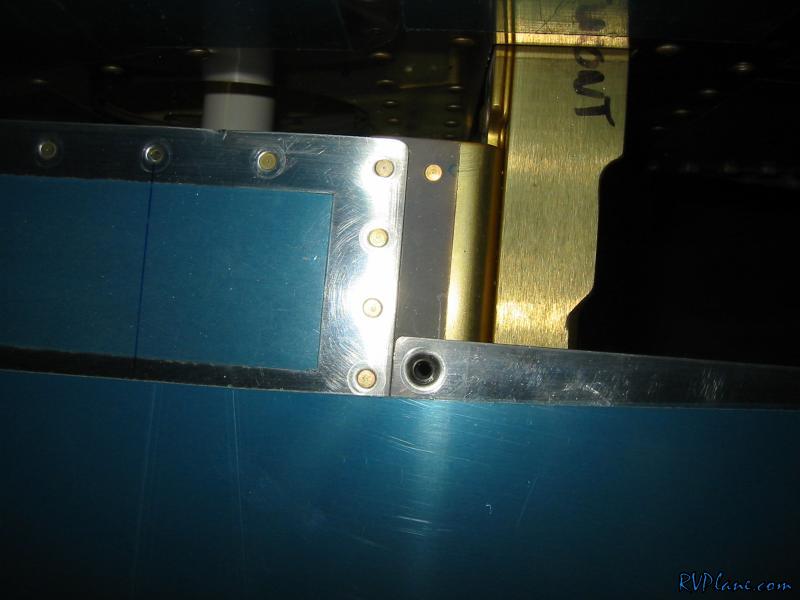 To make the prepunched #40 holes work with the platenuts on the spar, I opened them up to #30 so a #30 cleco will fit into the nutplate. 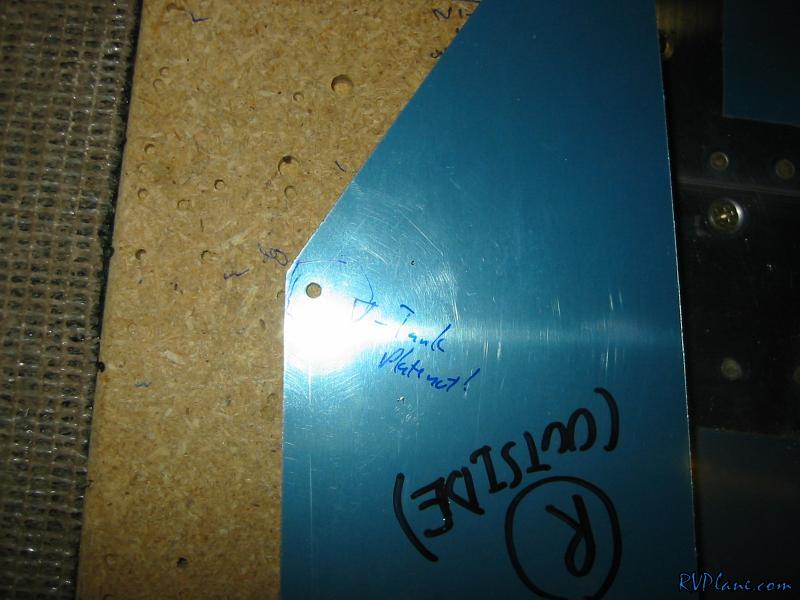 This is the hole on the bottom...well, you can't really see it because this cameras flash totally obscured what I wanted to show. But you know what I am talking about. 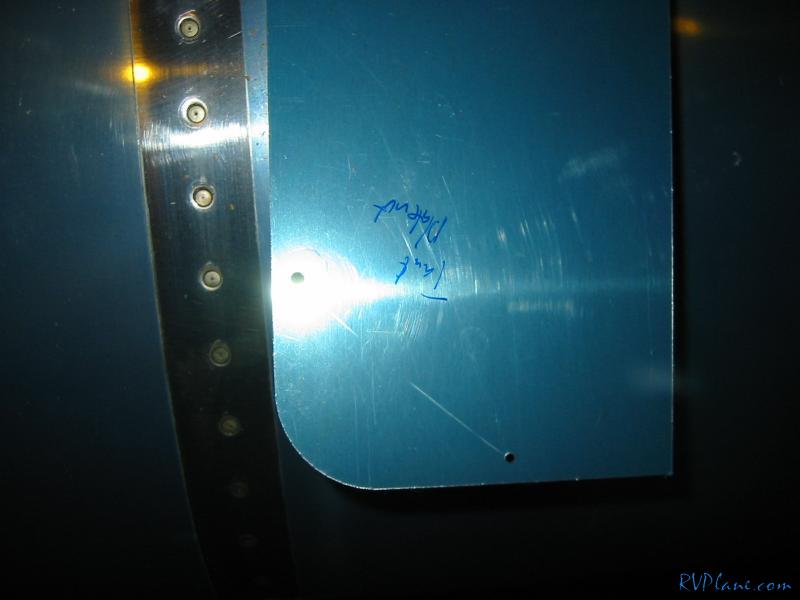 Boom...the top of the fairing clecoed on. 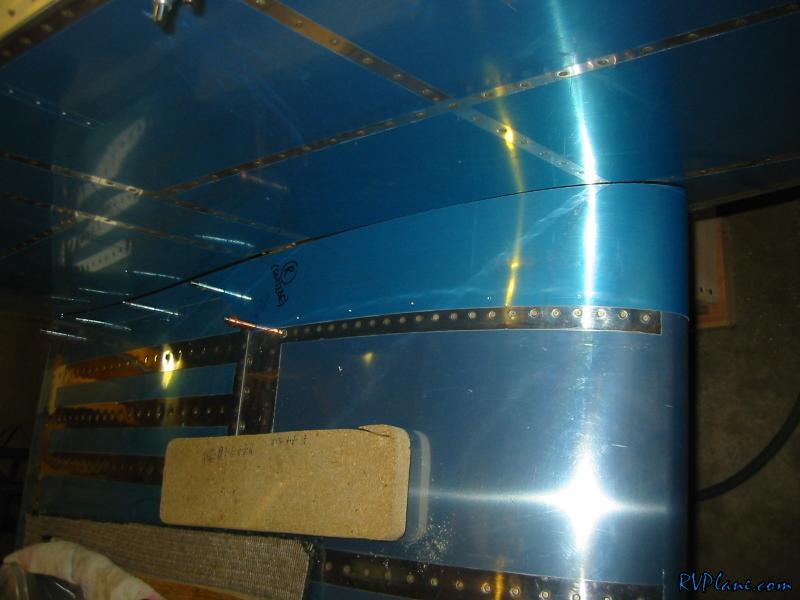 I used the bottom hole I enlarged to a #30 clecoed to the nutplate to hold the fairing in place. Its the only thing to cleco together on the bottom of the wing. 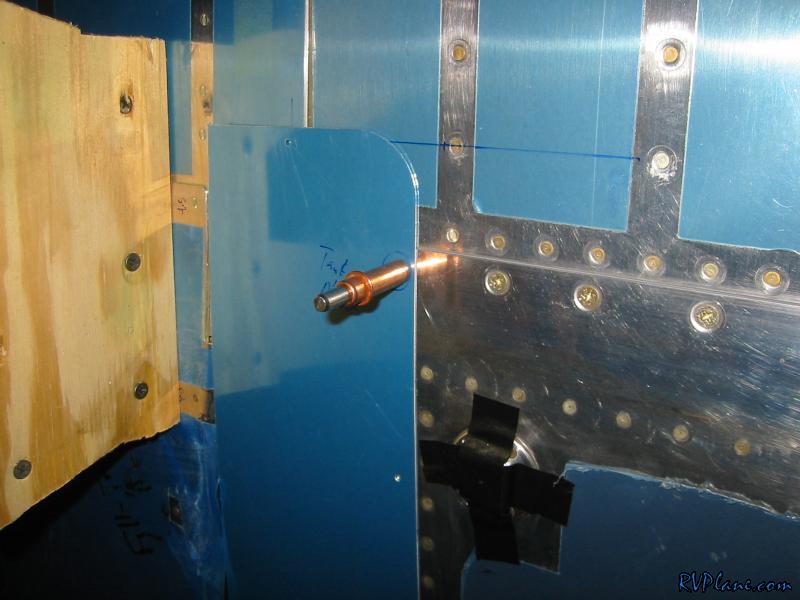 Once that was done, I used some AB4-187 (3/16" thick) bar to mark a 3/16" line from the fuselage on the fairing. The fairing needs to be trimmed to allow room for a rubber channel. I then spent a good amount of time trimming the fairing, deburring and dimpling. 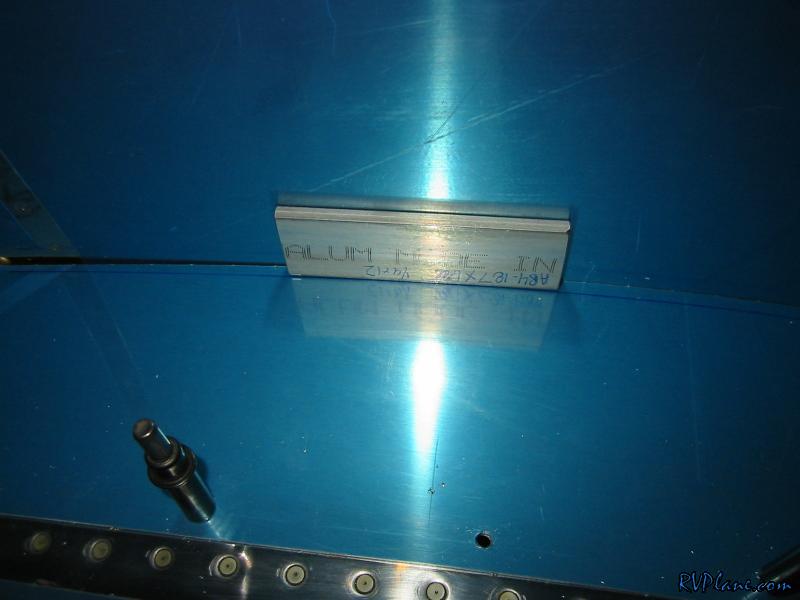 Next I started working on the vent tubing. A union needs to be modified where it exits the bottom of the forward fuse. I chucked up the union in the drill press (protected by duct tape) and used a file to remove all the threads on the bottom portion. 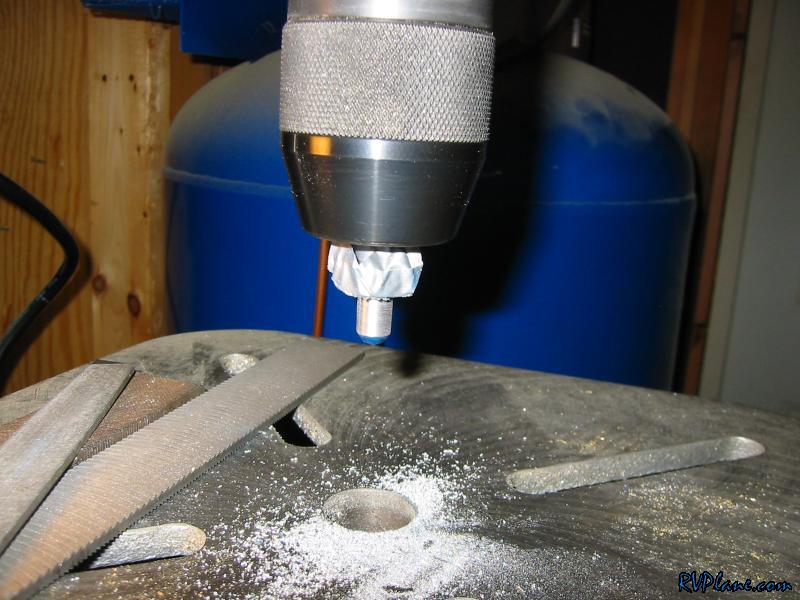 See? It wasn't even funny how quick it took to do these. The results look like a real professional did them. The bottoms still need to be cut off at a 45 degree angle, but I might wait to do that at work (what else would I do at work if I didn't have the plane to work on? ;-). 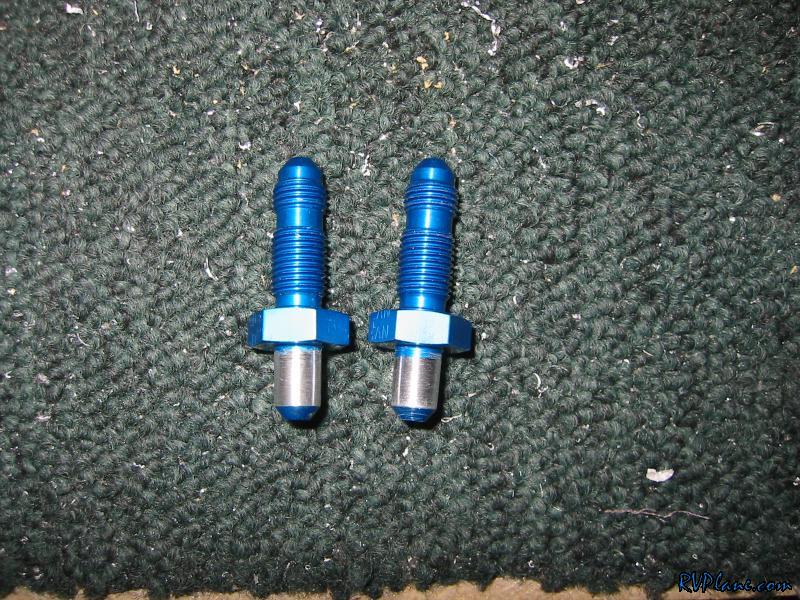
|
|||||
|
http://RVplane.com |
Last Modified: January 31, 2026 |