
|
 |
||||
Today covers the last couple of days. Anyways, once I was done countersinking the inside and outside of the frame, I countersunk the 16 rivets on the forward side of where the canopy frame halves come together. 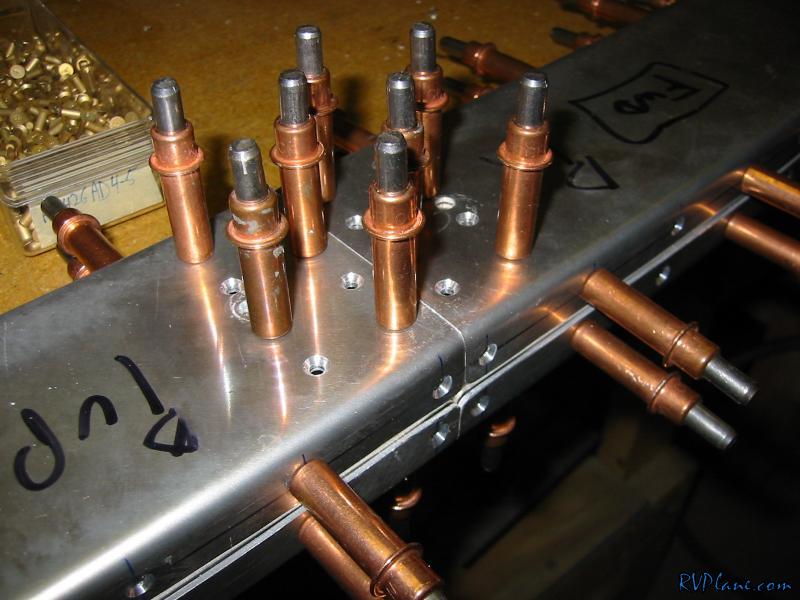 Next I mixed up some rage body filler and filled the tooling holes on the forward canopy frame parts. I don't like how the holes looked on some of the pics of finished planes out there. This is just one of those little things that make my plane mine. Totally overboard, I know. 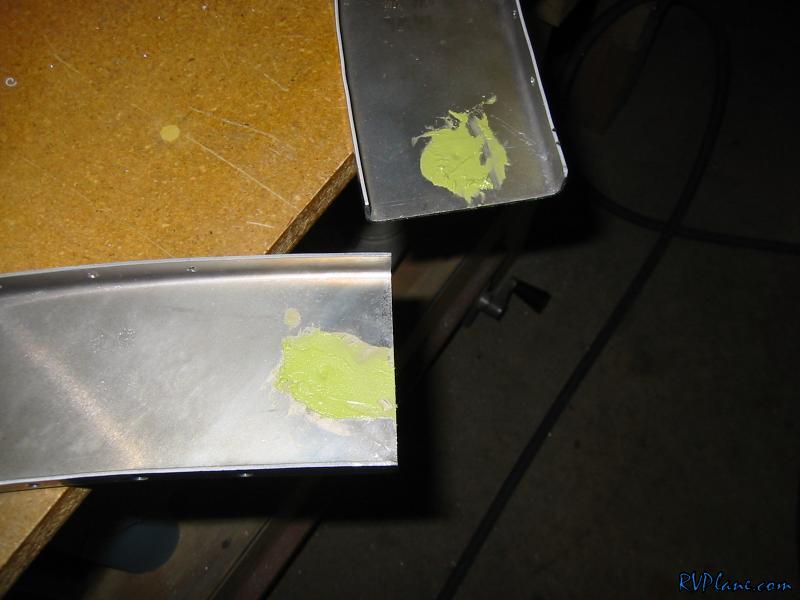 After a deburring session, I set out to prime everything. Originally, I was going to go with quick and easy spray can primer. However, I recalled talking to local RV-6 builder/flier Mike Rollison about this aft canopy frame acting like a rain gutter. Since the aft end of the tip up canopy rests right over the center channel of the frame, when rain hits it, it has the possibility of draining into the frame. Knowing this, I wanted the best protection possible so I AKZO'd everything that goes inside. 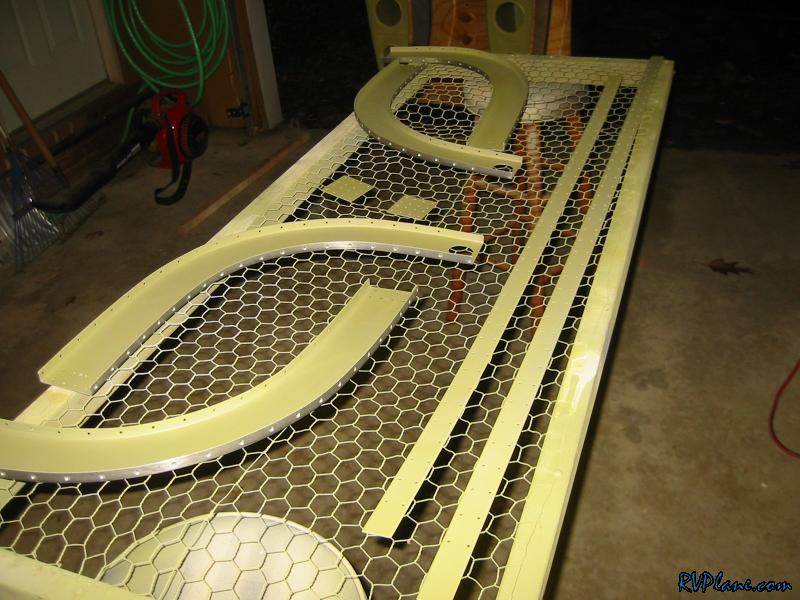 I riveted the strips to the forward side and then shot some JetFlex on the inside bottoms. Why? Well, on the aft section of the canopy frame there is a hole to access some bolts, and I thought it would look slick if when you looked in it you saw the interior paint instead of AKZO green. Took 15 minutes so who cares? 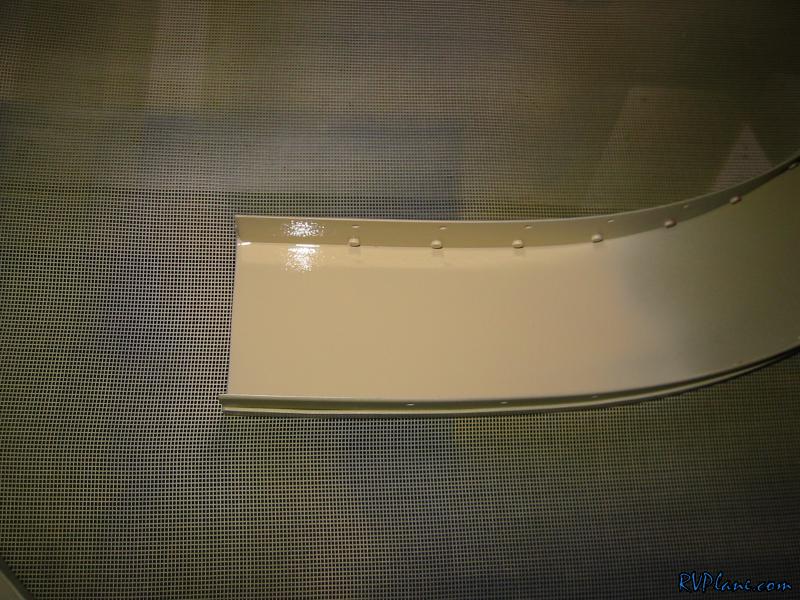
|
|||||
|
http://RVplane.com |
Last Modified: June 22, 2025 |