
|
 |
||||
Today was a milestone....broke the 1000 hour mark! Its' all downhill from here right?!?!?! Today was also the first weekend day that I didn't have anything else going on so I was able to get some great time in on the project. I started out by trimming the canopy frame to sit at the proper height. Also, where the frame buts together is parallel now, thanks to some fancy filing. 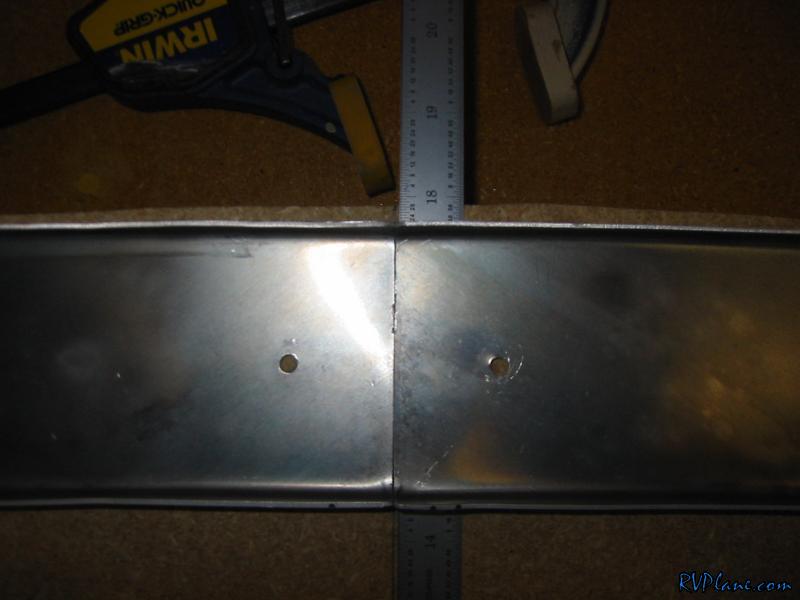 When I filed, I had 3 goals - to make the end of the frame but up against the angle perpendicularly, make the two halves butt up flush and make the height 17 19/32". 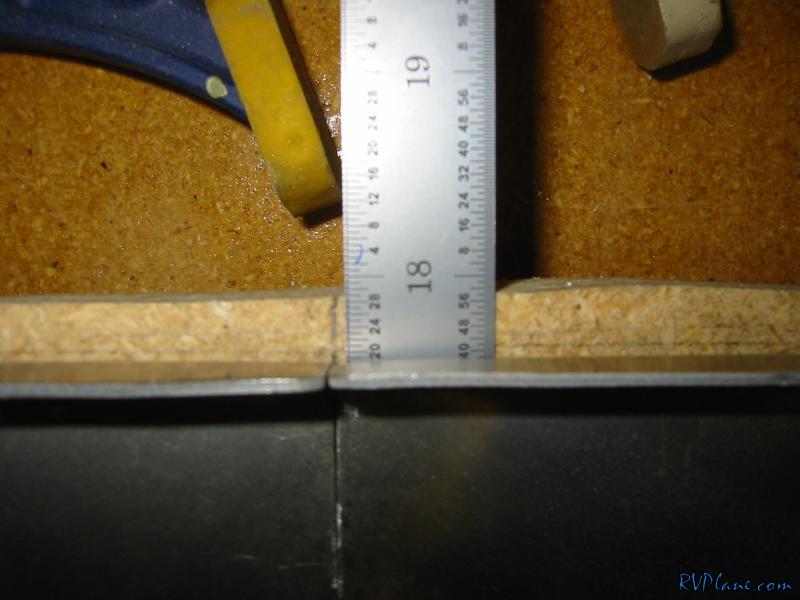 I filed the ends down to make them flush as well. 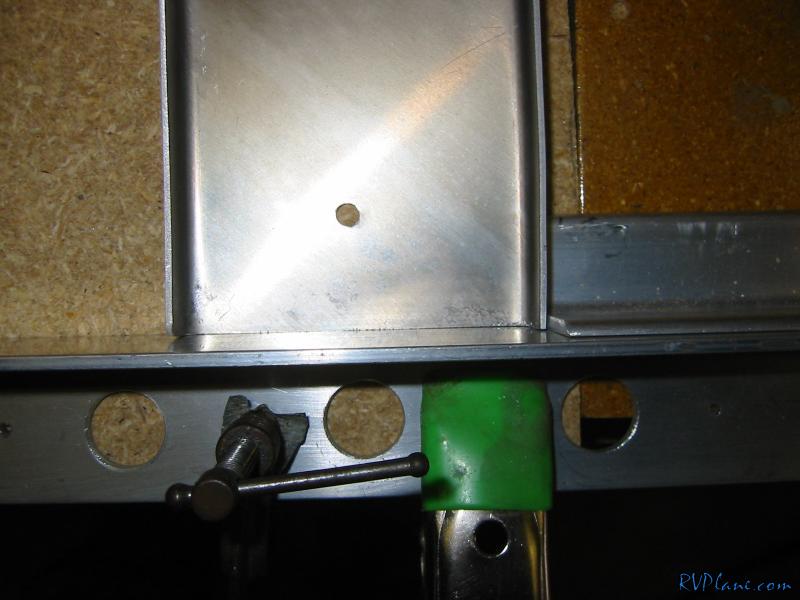 Here is the other side, for what it is worth. 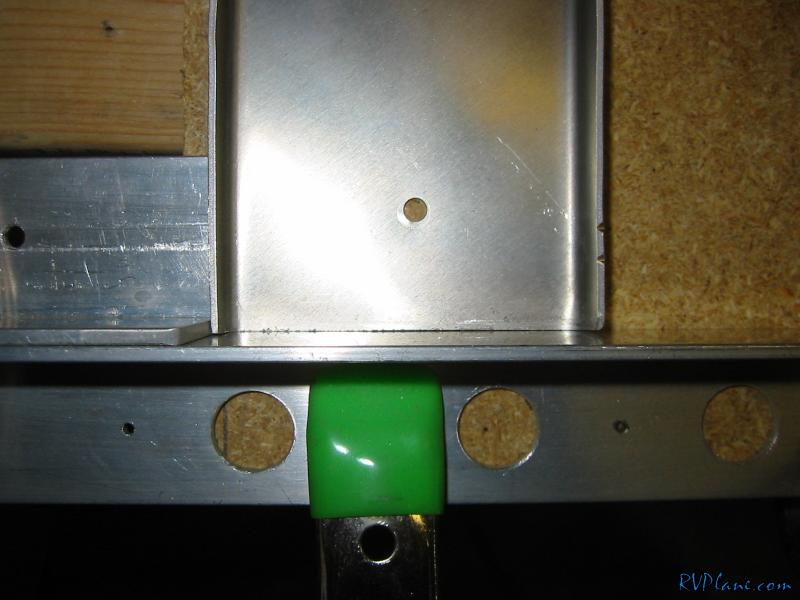 Next I centered an drilled the joiner plate. 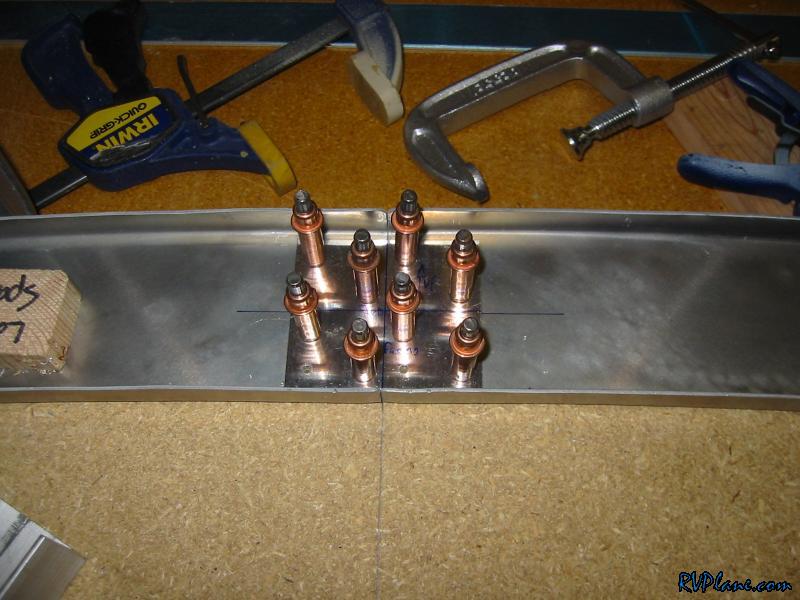 My next task was drilling 19 evenly spaced #30 holes on the inside of the canopy frame, to be used for attaching the canopy frame to the two strips of 063 that attach the two halves together. While searching through some builder sites, I found that Richard Horans http://www.rvproject.co.uk" had the easiest, most accurate method. What he did was measure the distance between the first hole and the last hole on the arc, then mark those two points on a strip of masking tape attached to something flat. Then wip out the rivet fanout spacing tool and all the sudden you have 19 perfectly spaced marks. Genius! 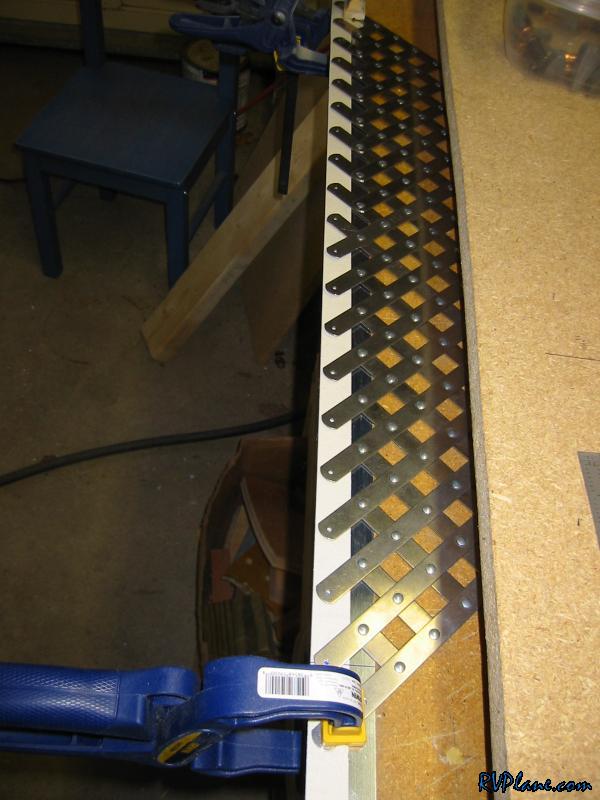 With the fan gone and the marks made into lines, its time to stick this to the frame. 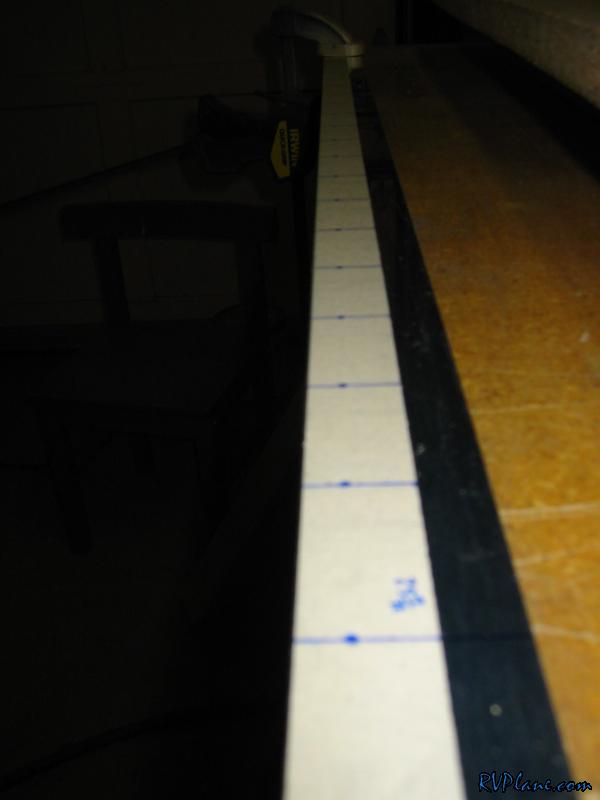 Perfection, and it was ever so easy. Gotta love it. 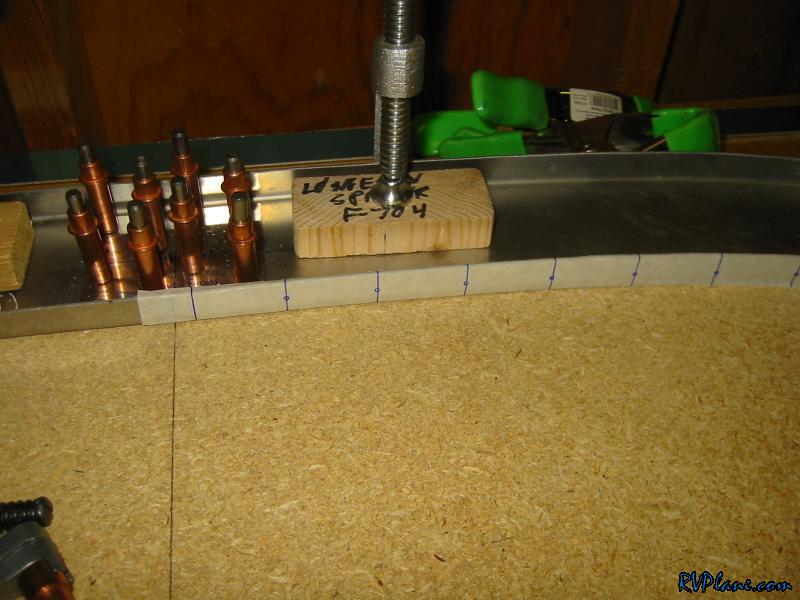 I found my strips needed to be beveled on the top and bottom (or front and back from the plane perspective). So I spent a ton of time intimate with the vixen file to get a decent bevel along the strip. When I clamped it down to the channel, my calculations tole me it should be 1 3/8" from the particle board. 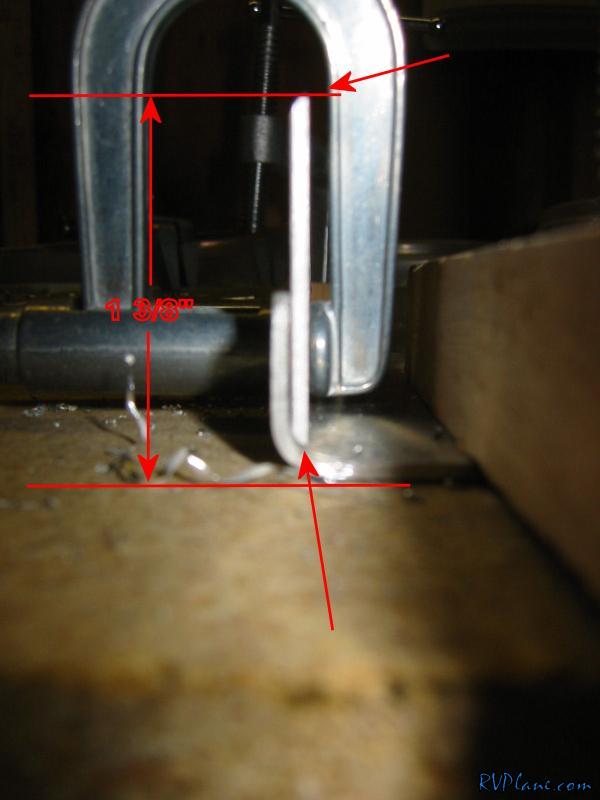 With everything clamped down, I drilled the inside aft holes to #40. I used a 12" #40 drill bit to get to these holes. What a pain that was. 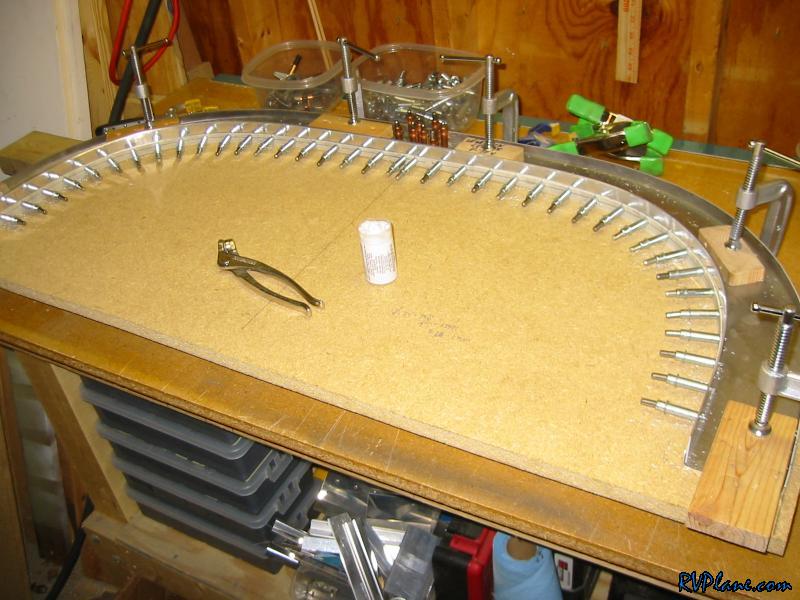 Did the same with the outside, except because I cut my particle board to the general shape of the frame, I could use standard drill bits to drill these. Much easier. 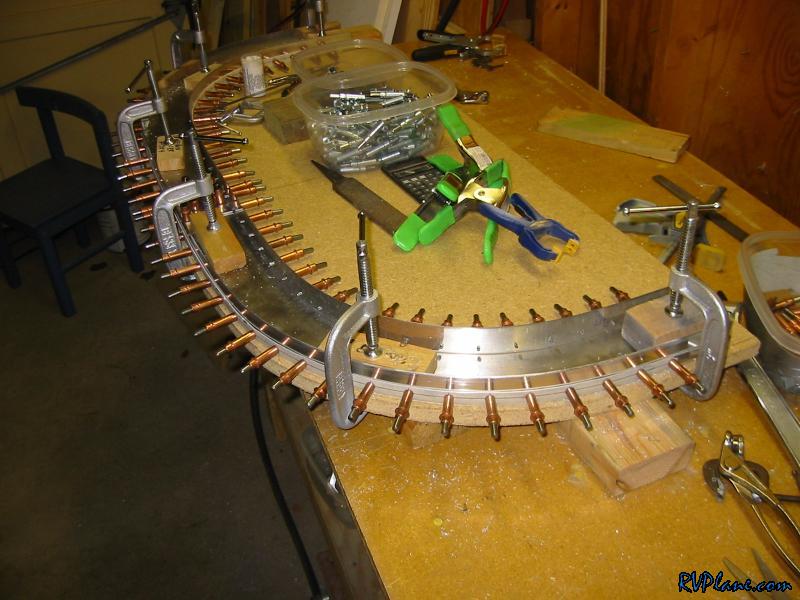 I then made 6 1 3/8" spacers out of some 2x4's 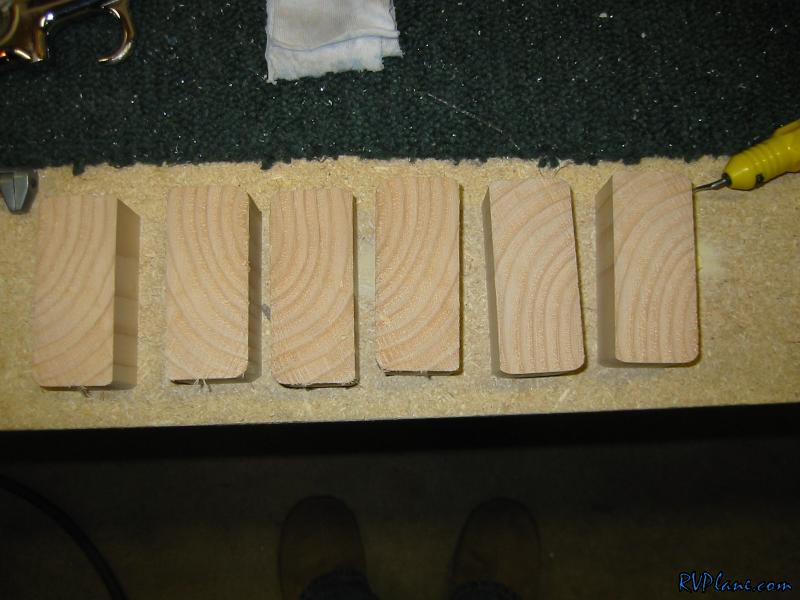 And places the spacers around the aft channel 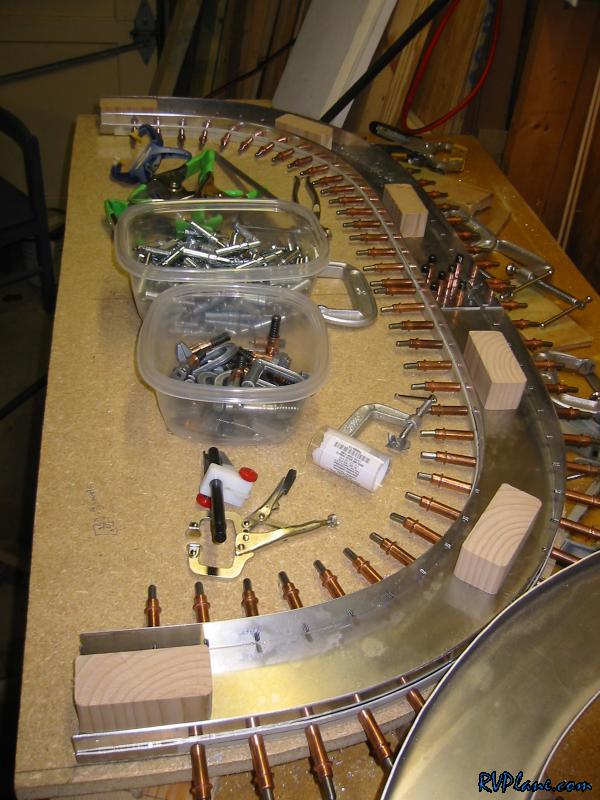 Then places the forward half of the canopy frame on top of the aft section and clamped it down. The spacers I made assured a consistent 1.5" spacing between the halves. 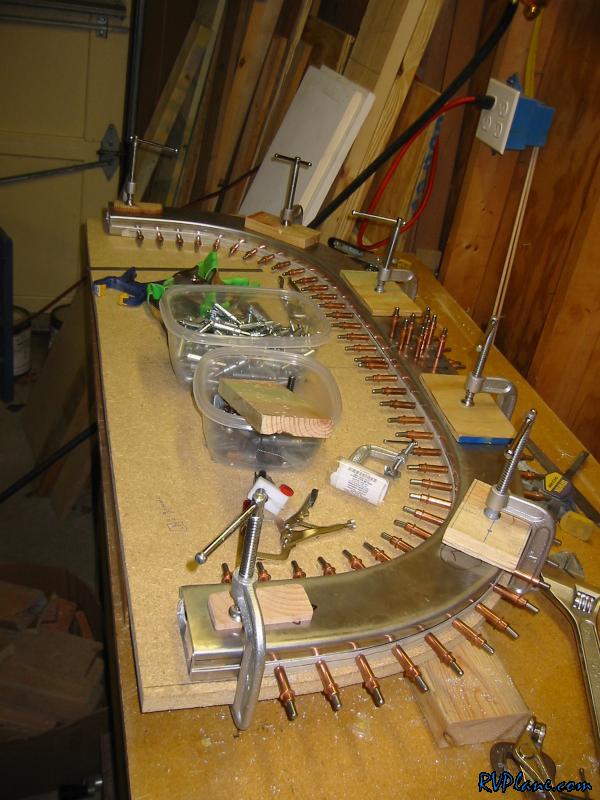 I marked the holes from the aft section on the forward section to make sure my layout was as close as possible. 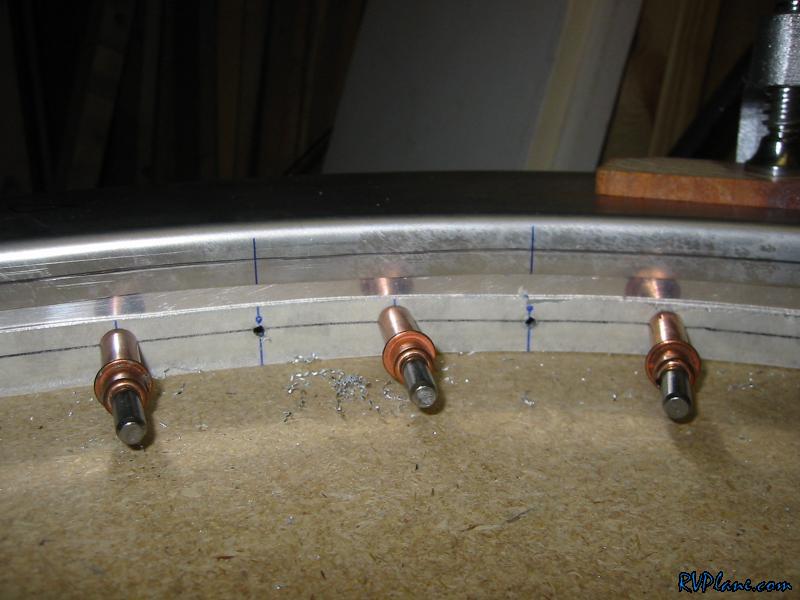 With everything drilled, I just had to sit it on the fuselage to see how it turned out. Looks great....now lets check the spacing. 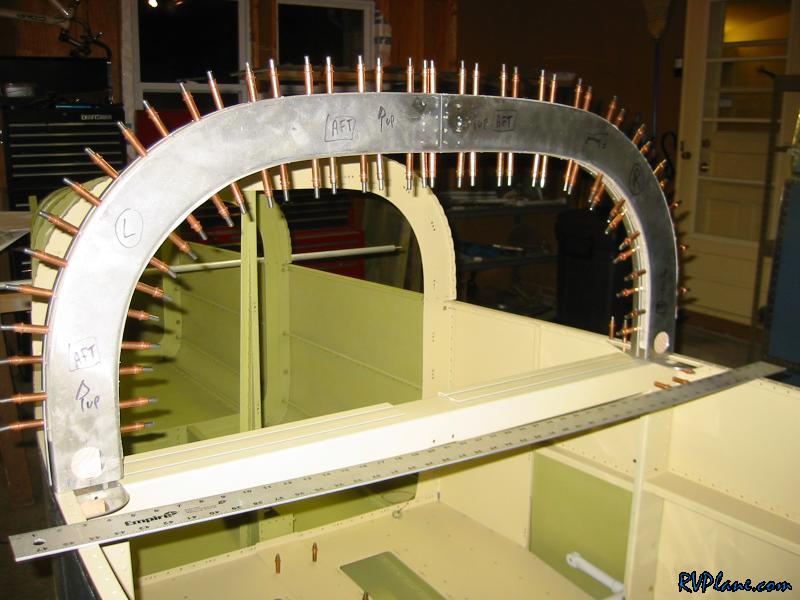 With the other end butted against the side of the fuselage, I am showing 3/8" spacing here, which is exactly what it should be! 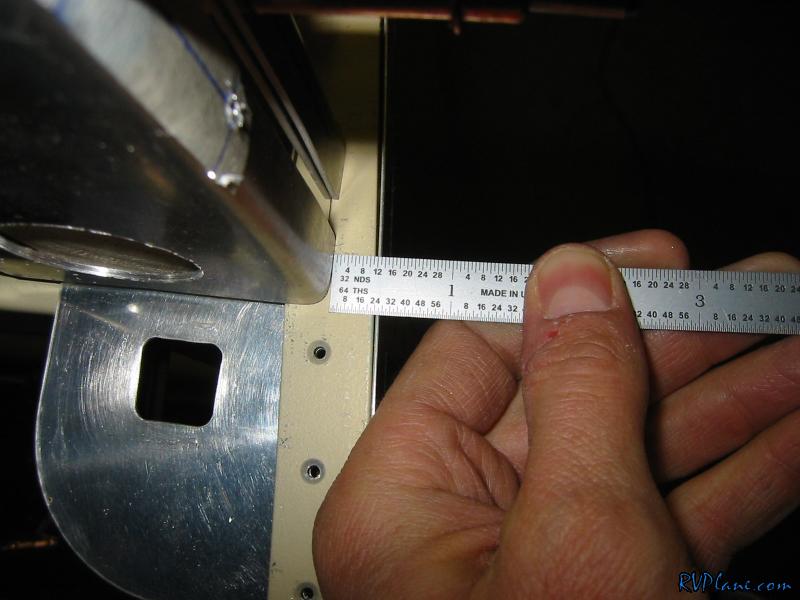 The strange thing is the canopy frame "grew" about 1/16" taller than the original 17 19/32" I measures. Wierd, but better than shrinking! 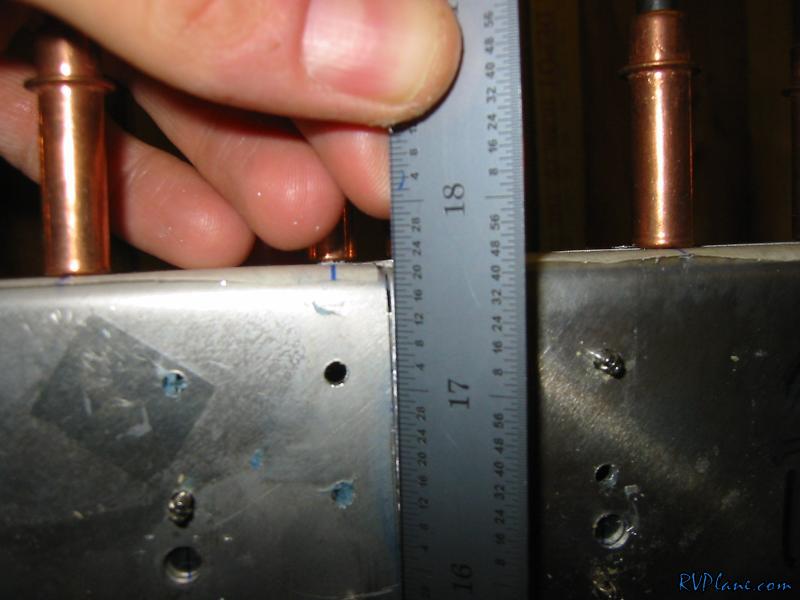 One of the many piles of shaving produced today.... 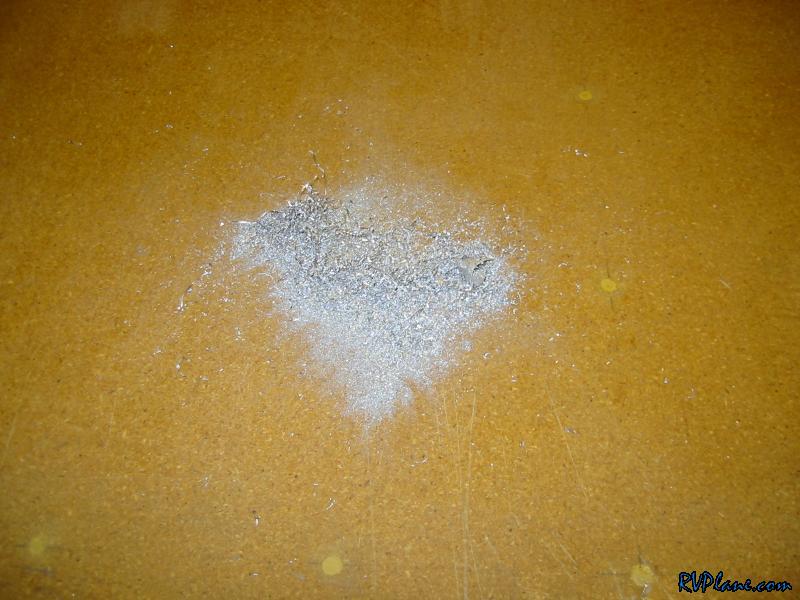 I then drilled the angle to the aft section of the frame. 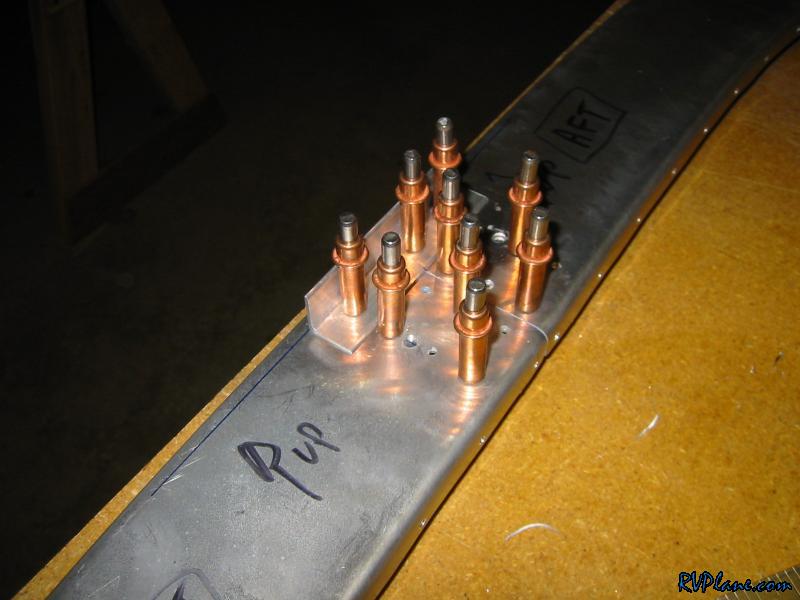 Finally I started to countersink the frame. My calculations tell me there are over 160 holes that need to be countersunk. I countersunk the beast clecoed together so the strips will provide the countersinking bit something to pilot of. I also ditched the countersinking cage and am doing this freehand. The cage doesn't really work well without constant adjustments for this curve. I will finish this up tomorrow. 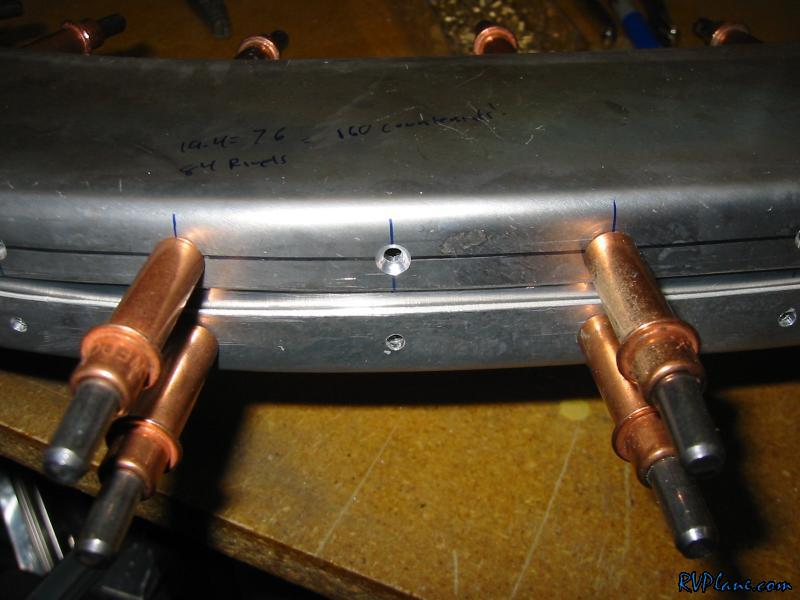
|
|||||
|
http://RVplane.com |
Last Modified: January 31, 2026 |