
|
 |
||||
I finished up the seatbacks by drilling the upper angle and the upper hinge. Just as a heads up, the measurement Van's gives ya for the length of the upper hinge is about 1/8" off. I made mine a little longer to alleviate any edge distance issues on the edge rivets. 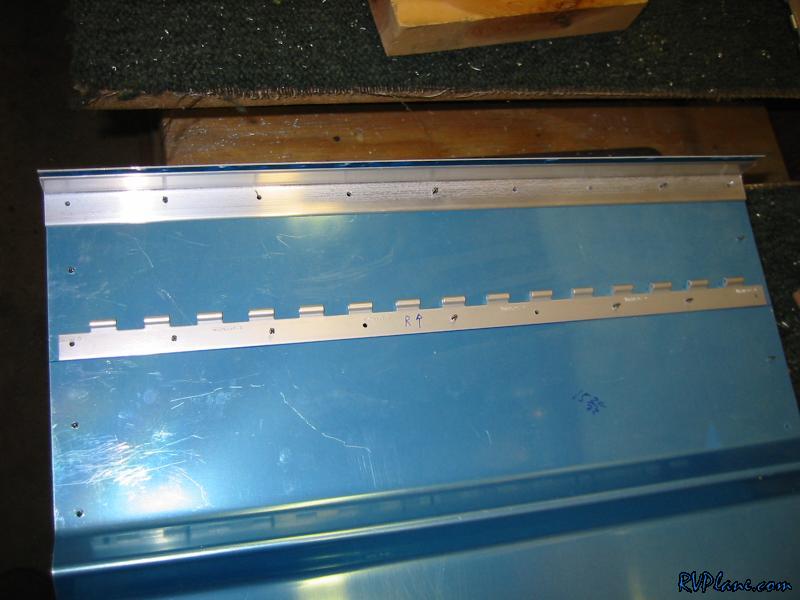 This doesn't look airplane related! This is a 5HP engine off of my brothers sailboat. It wasn't starting, so I volunteered to help out and take a look at it. Long story short, I took about 2-3 hours tonight to rebuild the carburetor. After I put it all back together, it started on the second pull. Giddy up. I have no clue why I work in the tech sector...its way more fun to fix engines all day. 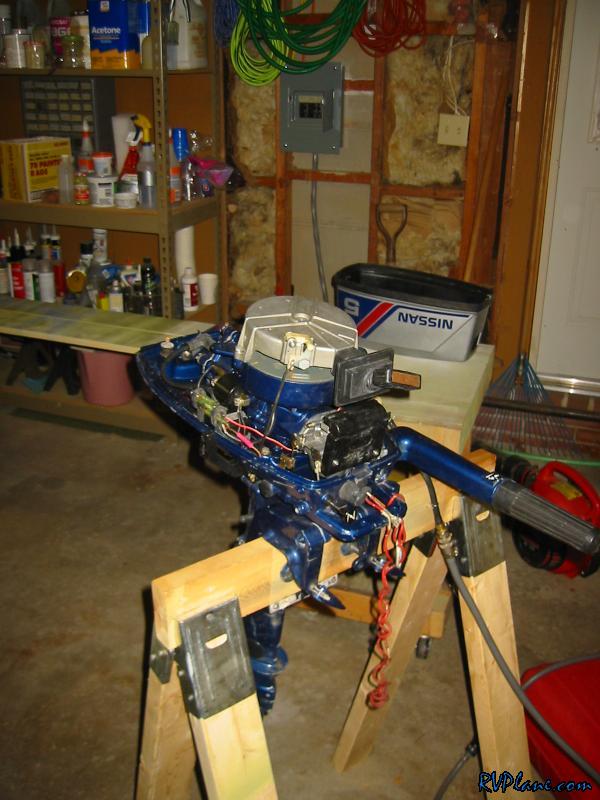 OK, back to the seatback braces. I cut out the 4 optional lightening holes. I didn't do this to save weight, but rather to add some coolness to how the plane looks. Swiss cheese is way more exciting then american cheese! 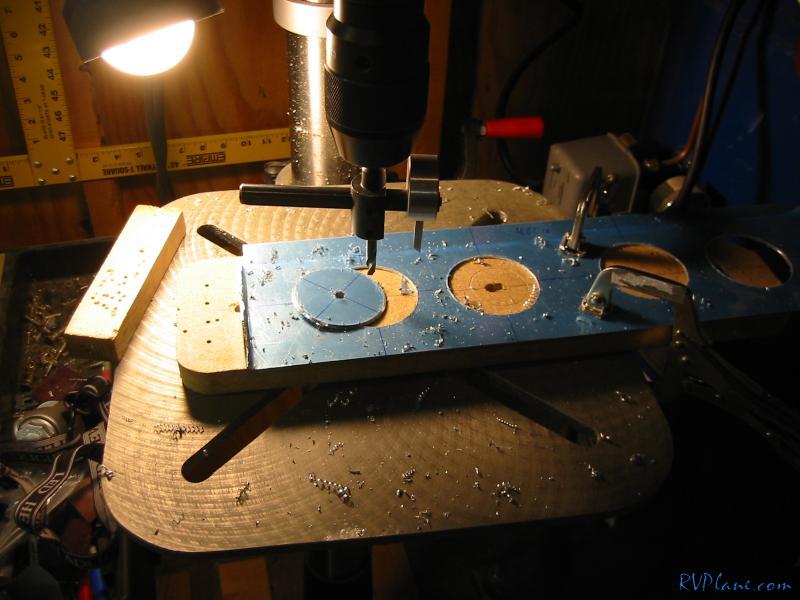 So, how much did all of this work (yeah right, only took 1/2 hour at most) payoff? A measly 2 oz.  Next the spacer spanner came in handy once again for laying out the holes on the brace for the seat attachment hinge.  With the hinge drilled, the fabrication for the seatbacks are done! I still have to enlarge most of the holes to 1/8", but that won't take any time at all. 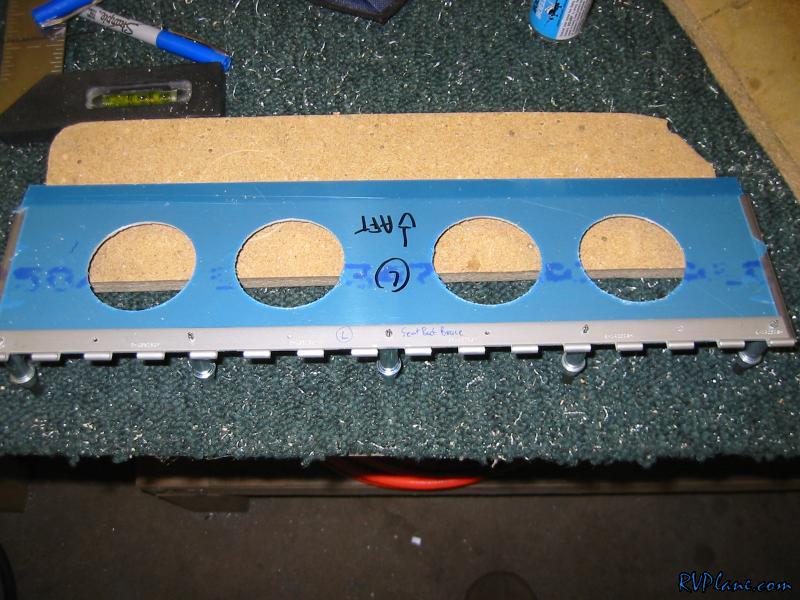 Finally I fabricated the Z-brackets for the tunnel cover. 
|
|||||
|
http://RVplane.com |
Last Modified: June 22, 2025 |