
|
 |
||||
Man, I thought the seatbacks would be a piece of cake to assemble. However, I didn't account that nothing is prepunched. Old school building techniques here! Anyways, it took a good solid hour to figure out where all of the holes go on the sides of the seat. 1/2 of the holes aren't called out, you gotta figure out where 5/16" is from the vertex of the radius. Lotsa fun. 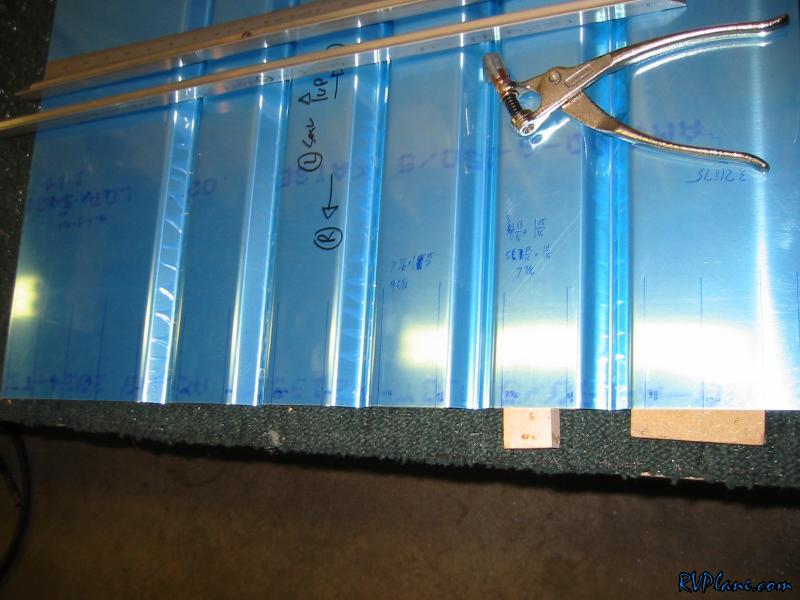 I transfered the drill marks to one of the angles and drilled it in the drill press. Having a fence on the drillpress made this a walk in the park. Instead of repeating this arduous process for all 4 long angles. I simply backdrilled the rest of the 3 0.125" angles. I setup this little jig to keep things easy to handle. 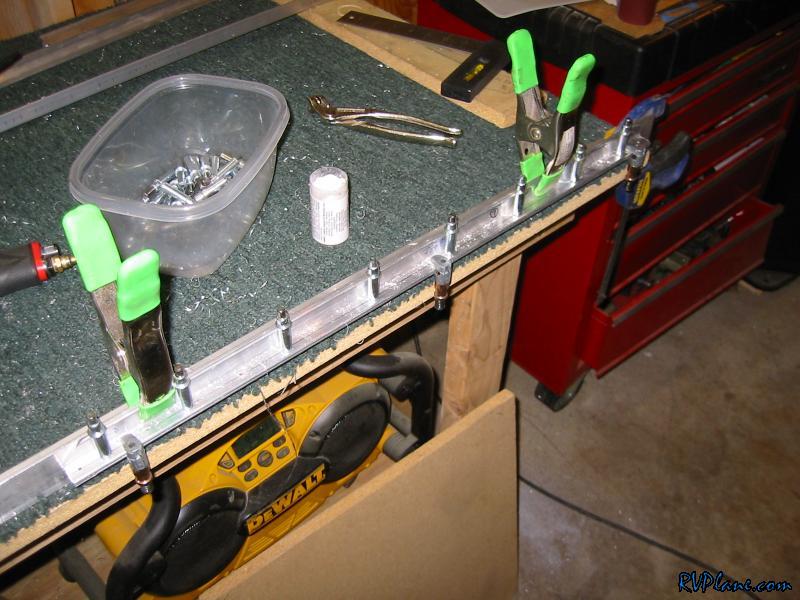 With all 4 long angles drilled, I backdrilled them to each seatback skin. 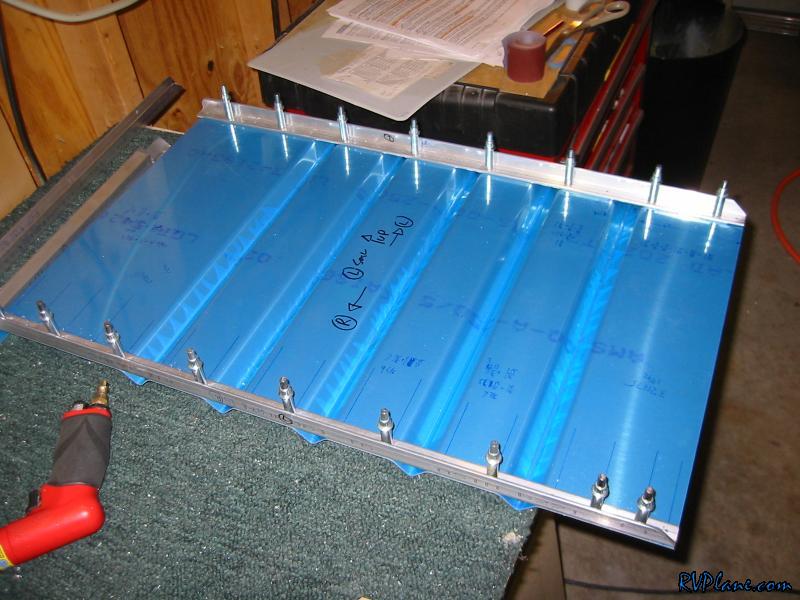 Next you need to drill some more holes for the lower angle, upper angle and the upper hinge. I whipped out my rivet fan spacer and banged these out in no time. It would of sucked to measure out these holes by hand 6 total times! 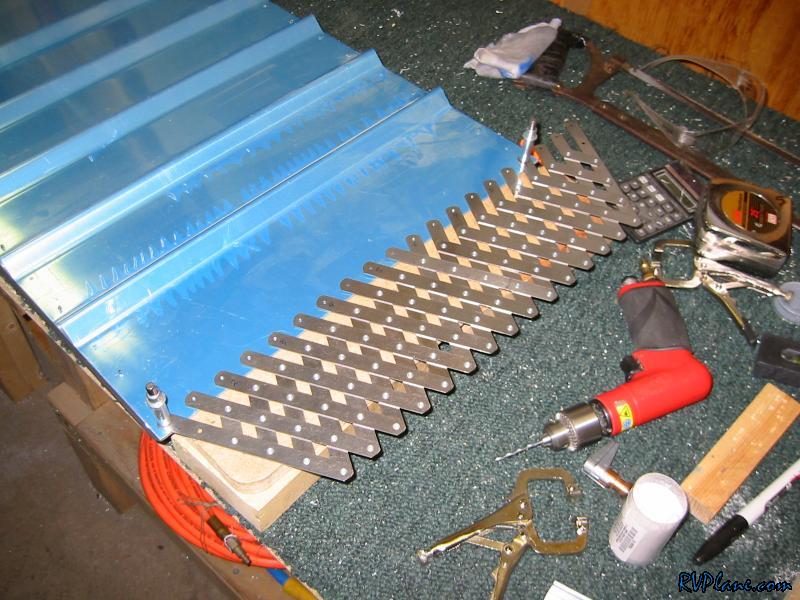 The upper angle's vertex needs to be rounded off to match the contour of the bend in the top of the seatback skin. I started to do this with a vixen file, but I was getting bored of that process. I whipped out my bench sander and it made short work on this process. The pic shows the before and after...obviously the angle on the left is the end result.  See how the angle fits in here nicely? That's it for the night. Hopefully only one more night is needed to finish fabbing up these seatbacks. 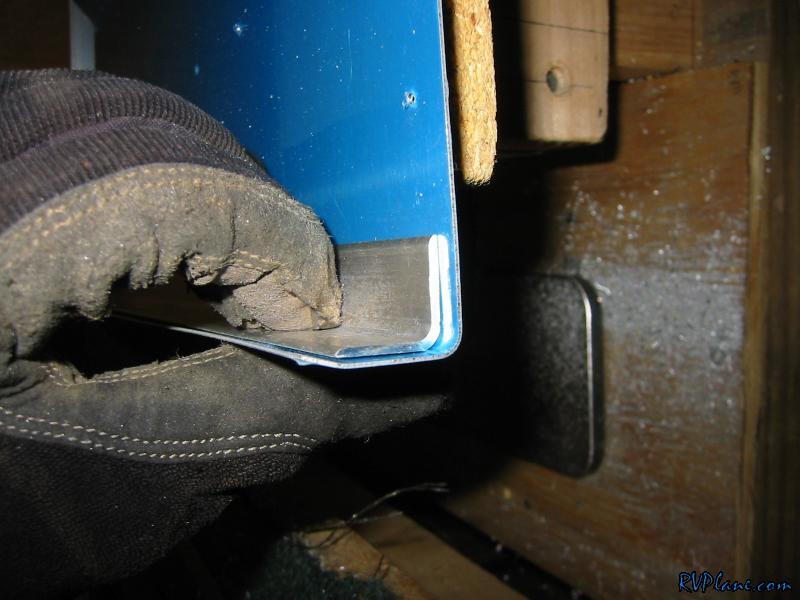
|
|||||
|
http://RVplane.com |
Last Modified: June 22, 2025 |