
|
 |
||||
I started out today with drilling the counterweight on the left aileron. I started with a 3/32" drill bit, so I wouldn't dull my #40 bits. Then I used a #30 to final size it. I used lots of boelube. 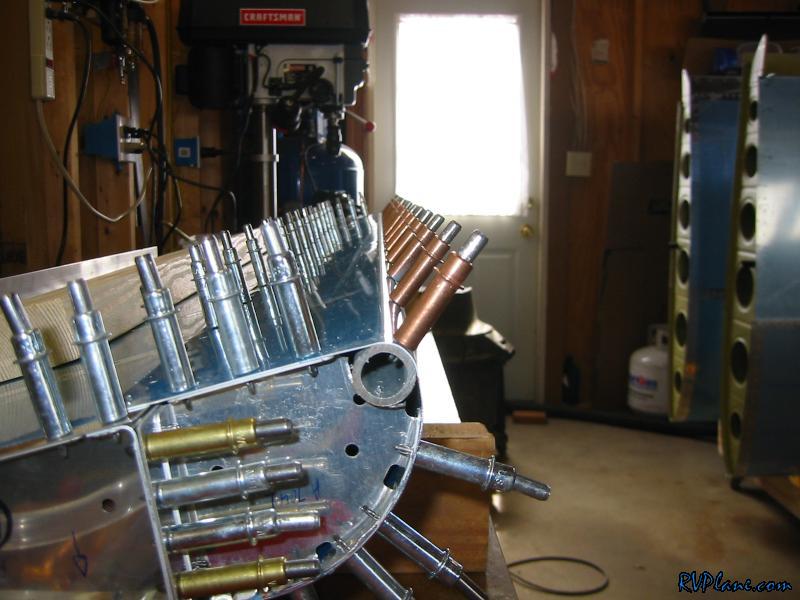 Next I final drilled the bottom rivets. These get drilled out to #30 to accommodate the pop rivets. 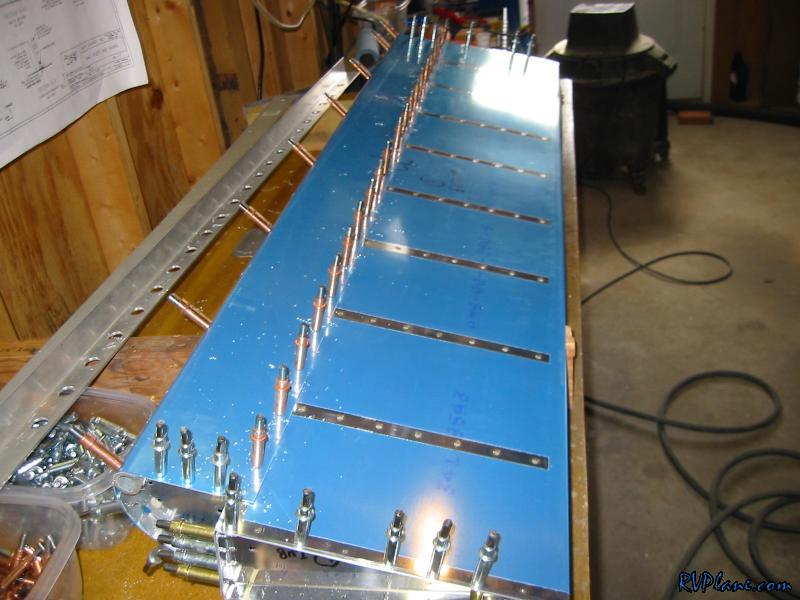 When I put together the right aileron, I noticed that the aileron had a slight bow - maybe 3/32" at the worst spot.  I didn't know if I could fix this, so I tried clamping a long piece of angle to the trailing edge before match drilling the aileron. I lucked out because this method took the bow down to 1/32".  I broke out the 12" #30 bit to get these holes on the aft side of the counterweight.  Next I countersunk the galvanized pipe.  I needed to dimple the leading edge of the aileron skins, but you can't use a c-frame or DRDT because it would ding the skin. So I did what all other builders do and use the countersunk galvanized pipe as the female die and a male #30 dimple die. This jig was used to hole the pipe on top of a 2x8.  I used a threaded rod to make a holder for the male die.  After a couple wacks with a mallet, the skin dimpled nicely and the rivet fit perfectly. 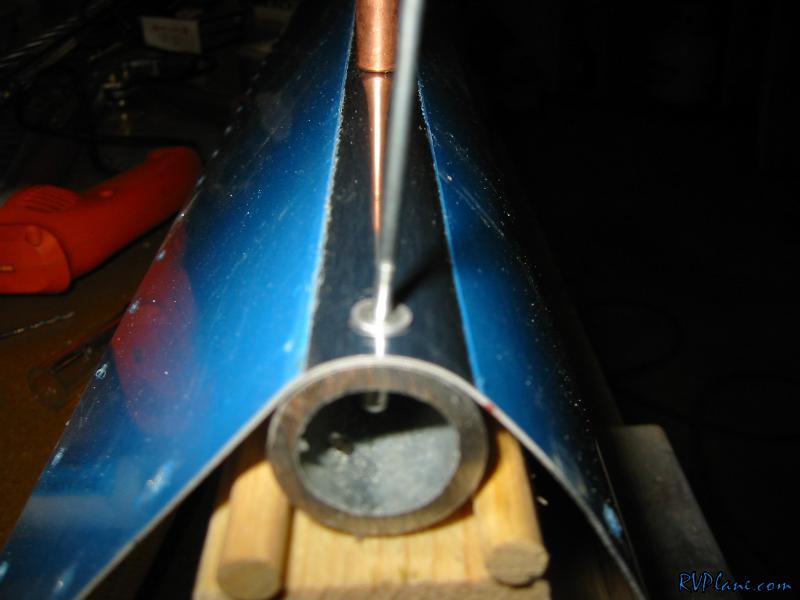
|
|||||
|
http://RVplane.com |
Last Modified: November 16, 2025 |