
|
 |
||||
After my #30/#40 dimpler mix up the other night I needed a day away from the project just to regather all of my thoughts and take a break. I have more or less worked on the project for at least an hour for the past 6 or so weeks. At work I was seeing how other people countersunk the trailing edge of the rudder wedge. In Tom Emery's RV Builders class he recommended holding it in your hand so that you get the incident ange just right. I tried that already and didn't like it. It worked fine for the short wedge in the kit but not for the real deal. Other people made shims to make the surface parallel with the bottom and use a drill press. The problem with the drill press idea is you can't really hold the cage from spinning. Well, you could clamp down the piece, then you have two hands to use, but that is a lot of clamping and unclamping that could lead to everything being slightly off. My second hole that I did the other day was slightly oblonged because a) the countersink was too deep and b) the hole does get enlarges a little, expecially when doing the back side, so the countersink can wobble and cause this effect. I was on Doug and Linda's RV-7A site and saw how he drilled piece of aluminum angle to act as a guide....It looked like a good idea! Here is what I did. I got a piece of 6-7" angle iron that was in the RV practice kit as extra stuff to play with. I mounted it on top of a piece of 3/4" plywood so that the angle layed over the front side, towards the bench. I then lined up the skinny side of the wedge (one might call it the trailing edge/side) with the edge of the angle aluminum and clamped it in place. Only 10 or so holes lined up, but that was good enough to do at a time. The less I match drill the less I change enlarging holes. So boom, I had a piece of angle that had a perfect line of holes, and I also had a block of 3/4" plywood that had the same hole pattern in it so the clecos had something to sit in. AND, I didn't have any holes in my workbench. Life is good. I took a piece of thick aluminum sheet scrap and drilled a #40 hole in it and did some test countersinks until I got it perfect. Then I countersunk away at the wedge. I have to say that besides the two holes countersunk the other day (one of which is sort of nasty), it turned out great. I am not at all concerned about the nasty hole. It is the second in from the edge, and it is not all that bad. This is the angle stock that comes with the Vans project kit. 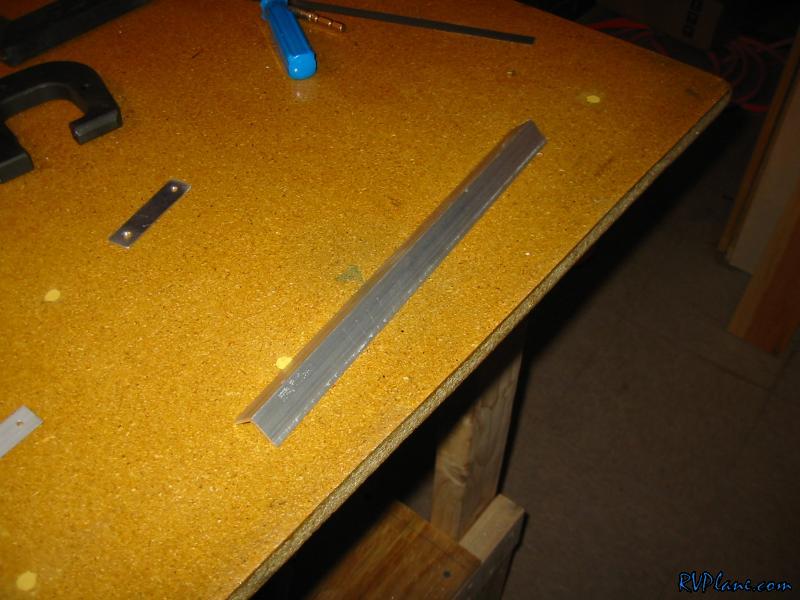 My clamping of the angle to the 3/4" plywood for the first drill. 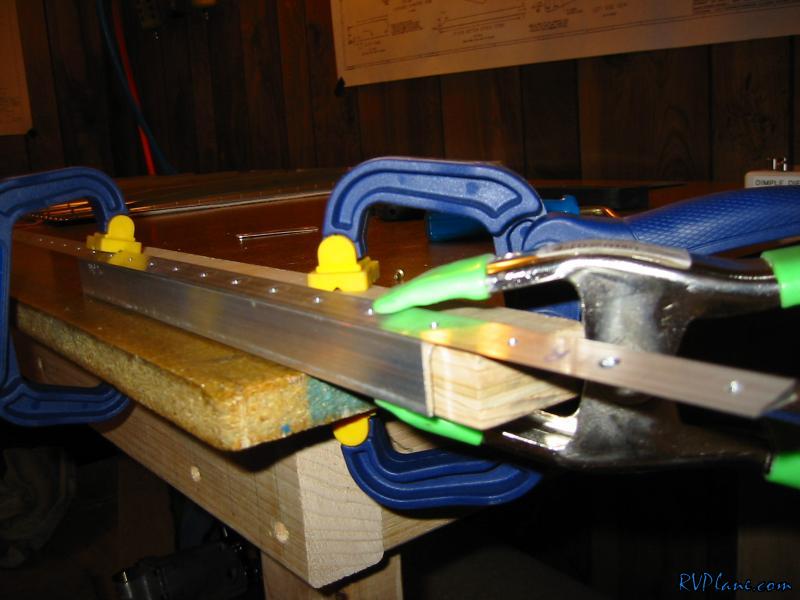 All of the holes drilled. I put about 1/2" into the plywood for cleco clearance. 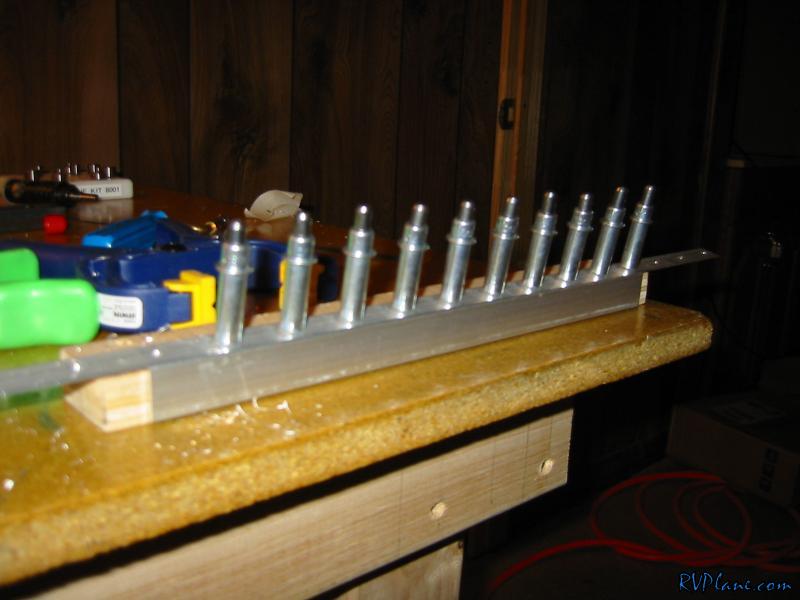 The finished product. 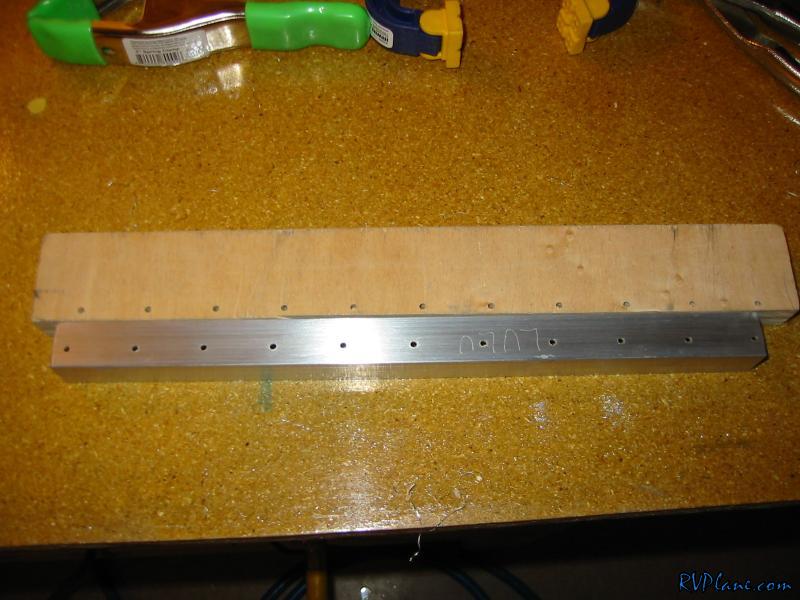 This is my one malformed countersink. The cause of this is too much countersinking (too deep) and not having anything for the countersink bit pilot to track on. The metal is so thin that the bit might walk on you and cause this wallowing effect. I also saw this wallowing effect when I was countersinking the trailing edge wedge on the RV practice kit. Although it did not enlarge the hole that much, the second countersink edges had some slight waves in it. I did not understand why they happened at the time, but I do now. All the rest of my countersinks do not have any waves in them as the bit was held solid. 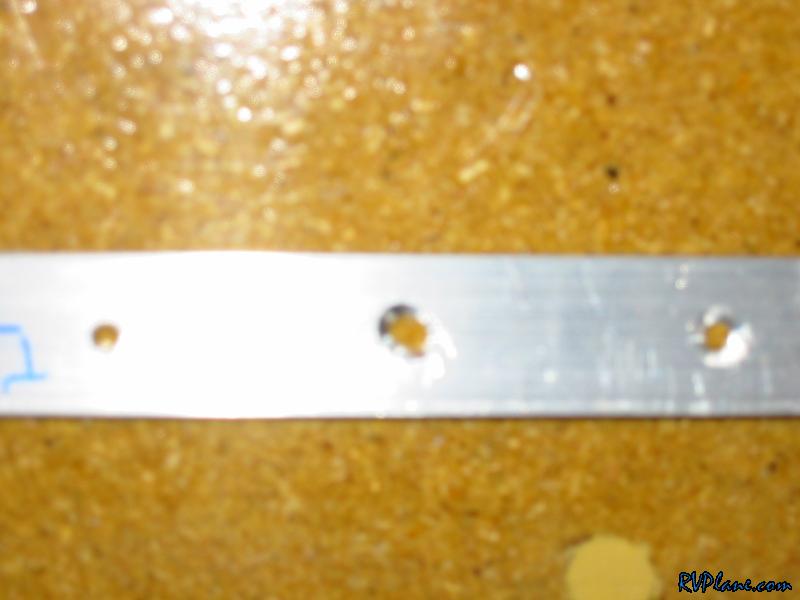 Another fuzzy shot. My old school canon 2 megapixel camera doesn't like close-ups.  This is my test countersink - it is the cut off from the horn brace...Yes, I have a surplus of these. The horn brace has fairly thick sheets to it, so it was ideal. 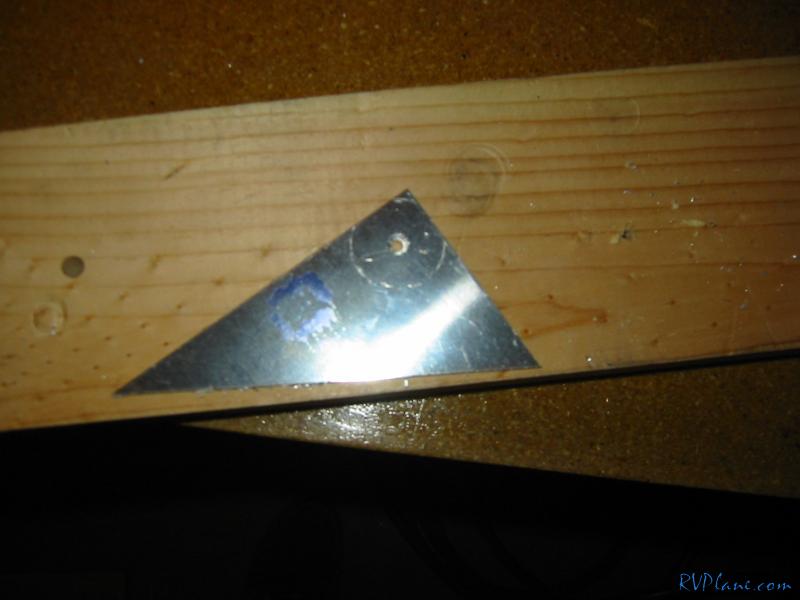 I clecoed the wedge to the jig. 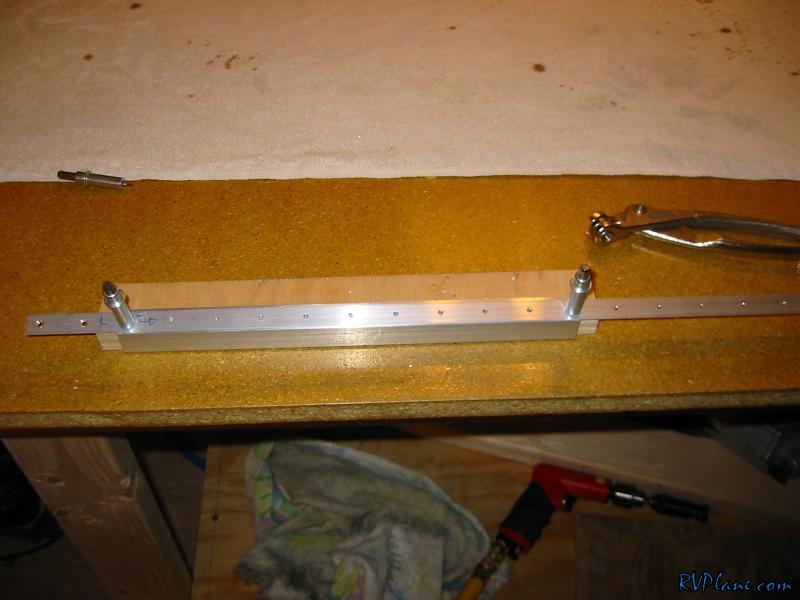 Then drilled. It went super fast. Every set of countersinks I tested with my hand countersink testing tool that I made. 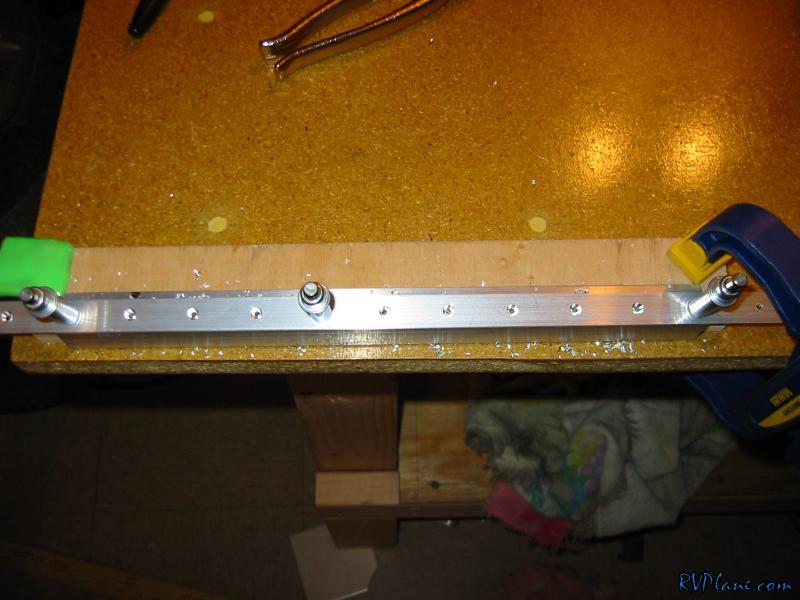 The finished product. It sits very flush to the skins! 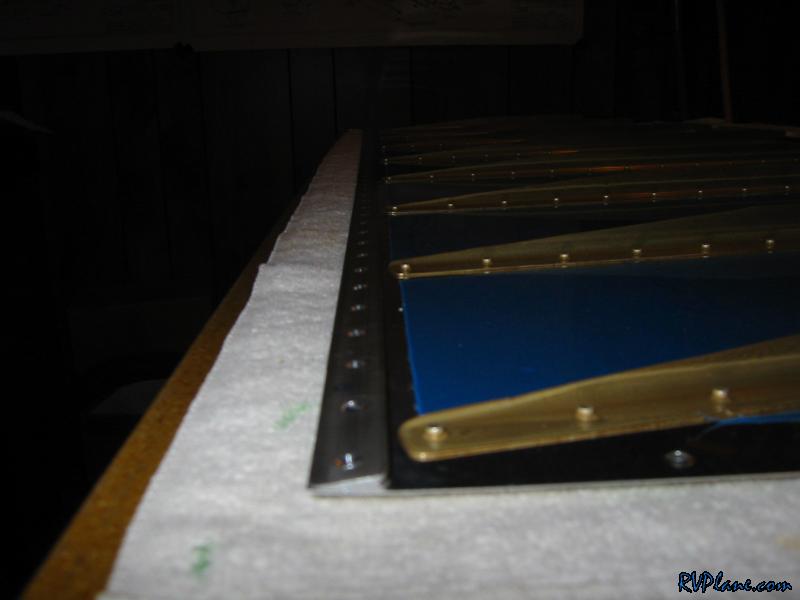
|
|||||
|
http://RVplane.com |
Last Modified: January 31, 2026 |