
|
 |
||||
I know, I havent been working on the project all that much. I have been busy trying to find a house for the plane, er, I mean myself. Tons of time wasted on realtor sites, appraisal sites, financing, turbotax and not to mention the realtor. Its a real frustrating process. Anyways.... I mounted the trim tab on the elevator and put a nylon line along the trailing edge taped taught at the root of the trim tab and the tip of the elevator. I have a small clamp holding the trim tab in place. With everything lined up, I drilled the 3 holes in the root end of the trim tab. Van's says to use CS4-4 pop rivets which use a #30 dimpled hole. While that is all fine and dandy for the leading two holes, I was worried about edge distance on the trailing hole. So I did a #40 hole there, and use the MK???? blind rivet - I dont know the exact number, but it is the only #40 flush blind rivet in the kit. After that was done, I drilled the holes for the tip flange of the trim tab. This took some measuring. I didn't want the rivet in the elevator to be overlapping in space with the rivet in the trim tab. I ended up using a #40 hole for the trailing hole and a #30 hole for the leading one just for edge distance concerns. Turned out to be more of a issue on the root end, but I dont want to have to order a 4th trim tab skin! Finally, I squeezed the rivets holding the hinge on. I used a nylon string to measure how straight the trailing edge was. Basically taped it to one end, stretched it to get the sag out, then taped the other end. It didn't even occur to be to double check my method with a ruler. 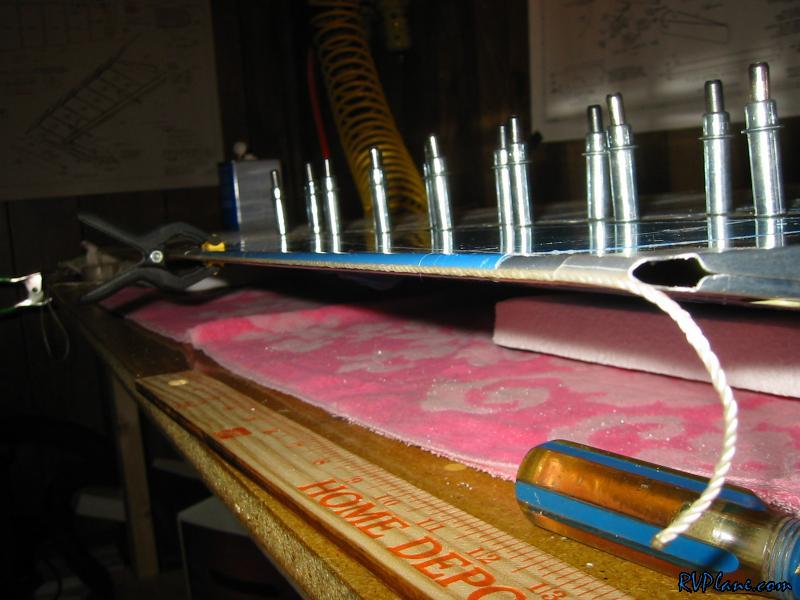 Notice in this pic how the top flange doesn't really come down all that far. I think I even pushed the two sided together so I would have proper edge clearance on the trailing hole. This is what probably lead to my demise! 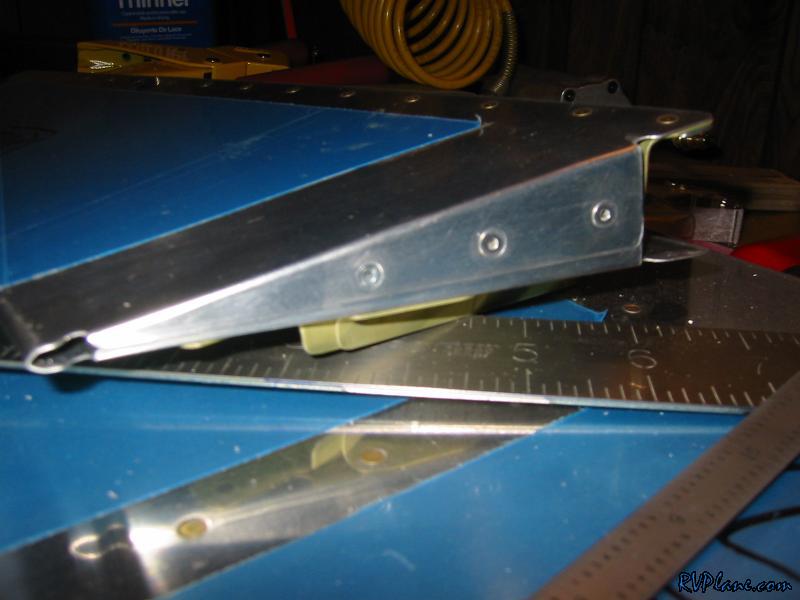 Finally, the tip end was riveted. 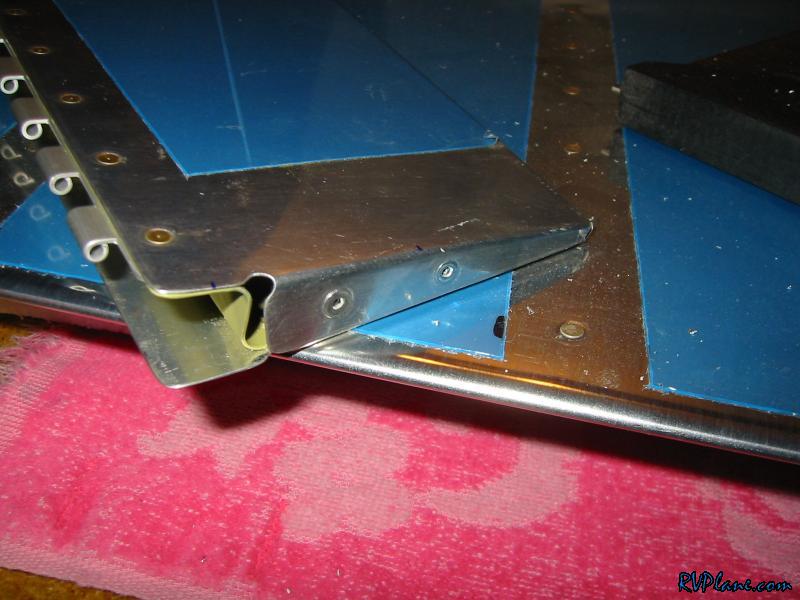
|
|||||
|
http://RVplane.com |
Last Modified: January 31, 2026 |