
|
 |
||||
At work today I tried bending the tabs on the trim skin. Unfortunately, the bending brake wasn't open enough to allow the overhang of the other end of the skin. I ended up getting a 30 degree-or-so bend on one of the skins. No loss, no gain. One thing that I wanted to pickup at the hardware store was some MDF or equivilent "hard" wood to make bending blocks out of. Supposedly pine and other soft woods don't work well. MDF came in some shapes that I didn't think were useful - mainly 3/4" sheets. I opted to pickup a 4' section of 2x2 oak. It was about $6, but it was straight and hard as hell. Now, before I begin, some of you might be wondering why I am straying away from Van's instructions to do the final bend on the trailing edge of the trim skin before bending the tabs in. Well, I am doing this for 2 reasons. Firstoff, if you bend the skin first, then the tabs, you are forced to use blind rivets to attach the lower skin to the spar. Secondly, if you bend the skin first, you need to have two blocks to bend the skins with. One of the blocks get affixed between the skins, the other one is on the top. This setup seems to lead to some possible moving of the blocks. If I just have one block clamped directly, there is less chance for the block to move. I got it home and started my bending block for the trim tab. I have a compound miter box saw that made this a breeze. I cut a block, got some good double sided carpet tape and fixed it on the skin/block, then the skin/table, then clamped it all down tight. Did the first bend with a 1x4, then broke out the flush set on the 3x rivet gun. I played with the pressure until it was low enough where I could put my hand on the flush set without it causing any pain. 15 PSI was my magic number. I did as instructed by vans and my tab came out looking great! I did the other tab also, and it turned out great too. Next I started making the blocks for the elevator. It took a little while to get everything just right and snug. My marks of the inward edge of the trim skin bend. 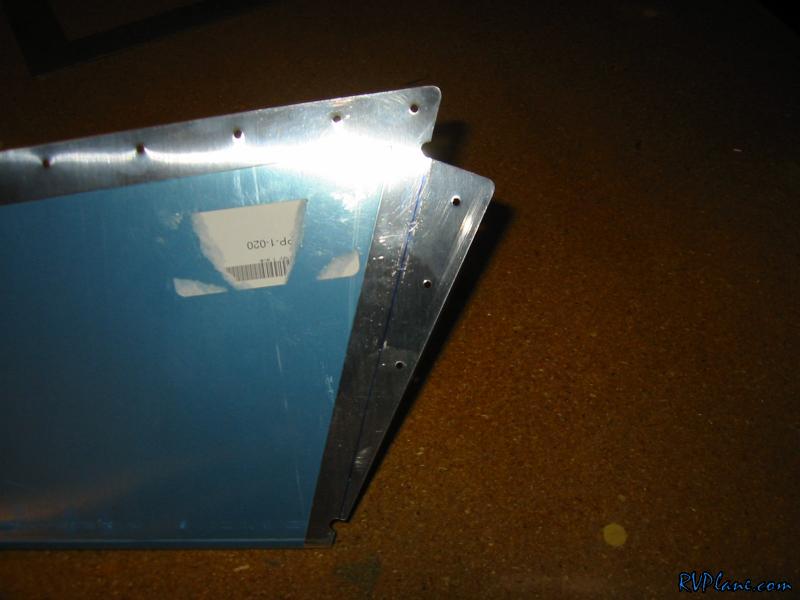 The bend I did at work. This is as far as the bending break would let me go before the skin interfered. 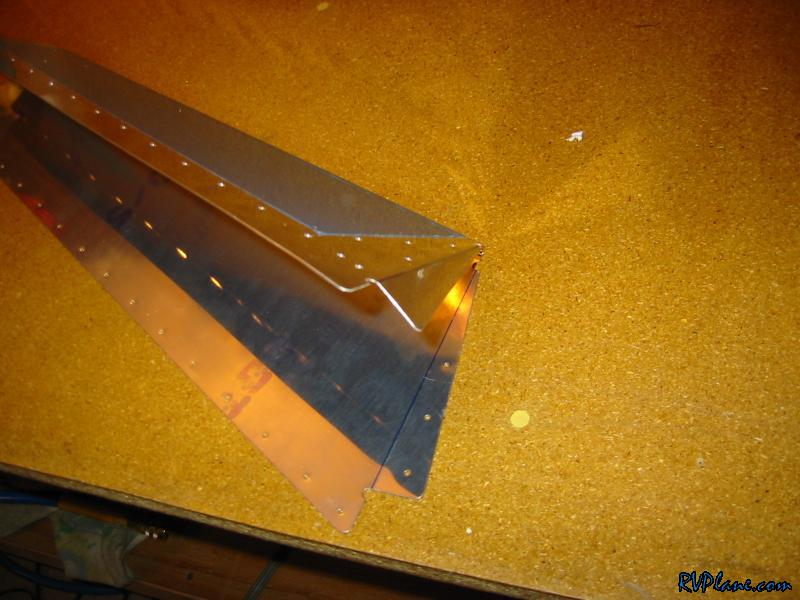 This is the 2x2 of oak I got at lowes. 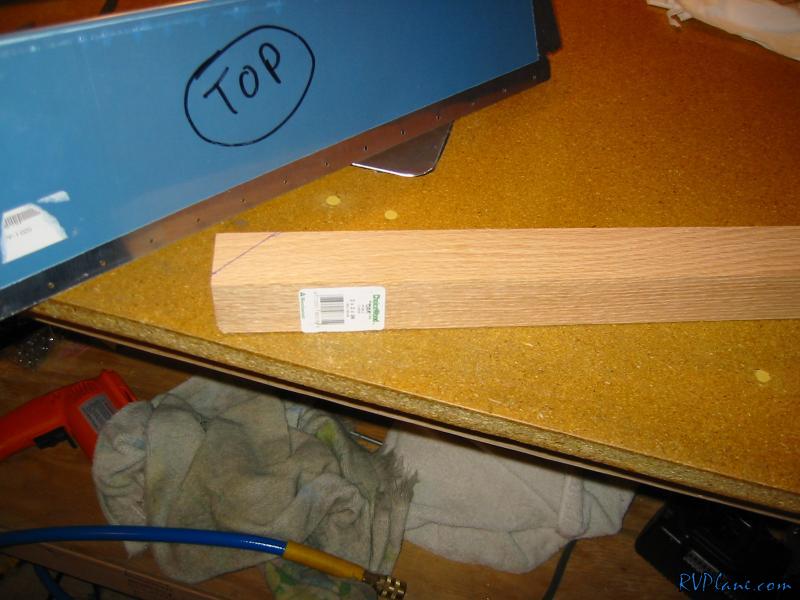 The cut. 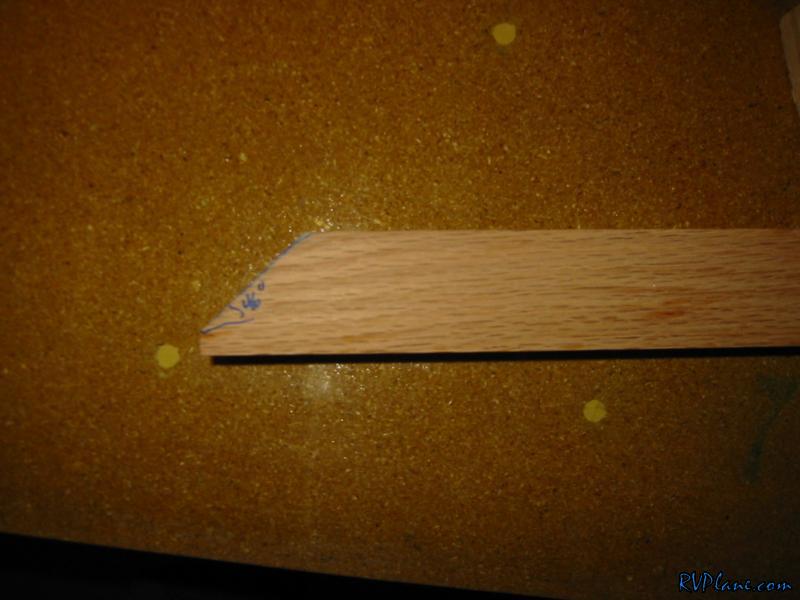 The tape.  I taped the block to the skin, then put tape on the bottom of the skin to hold to the table. 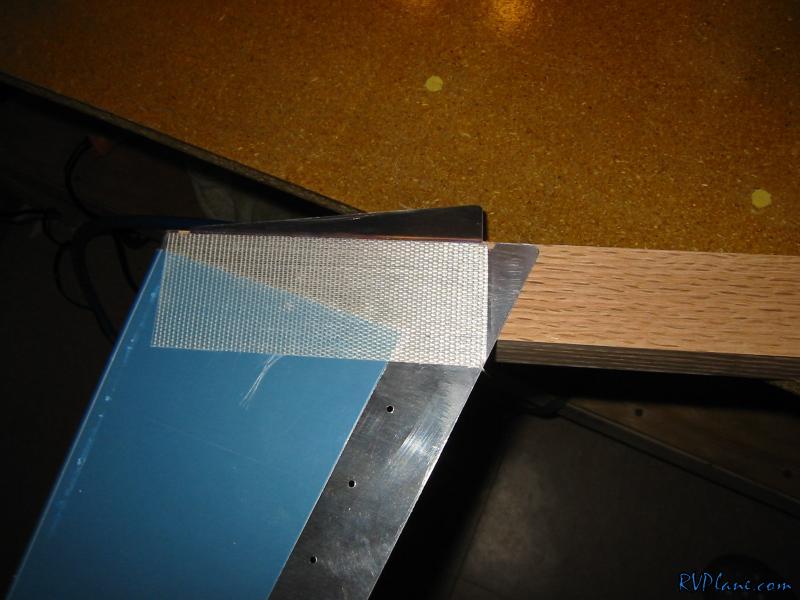 My clamp system. It worked great. 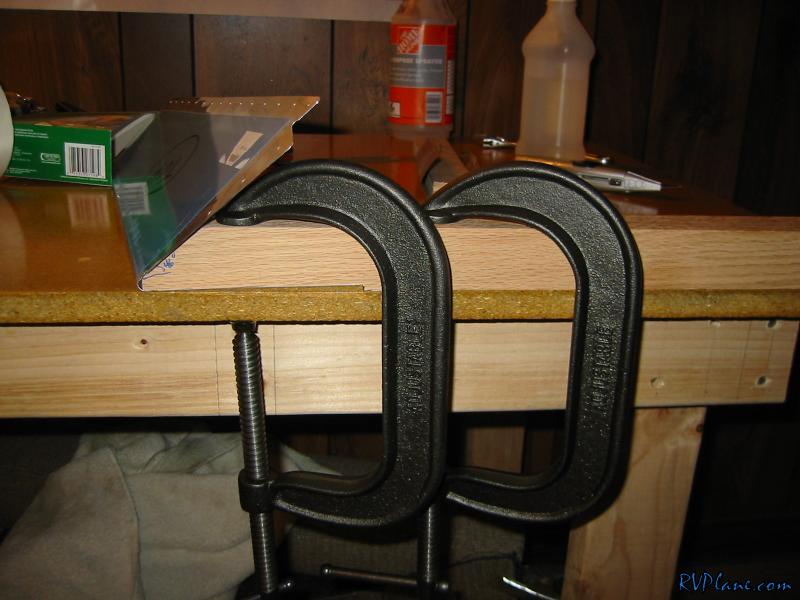 The final bend. 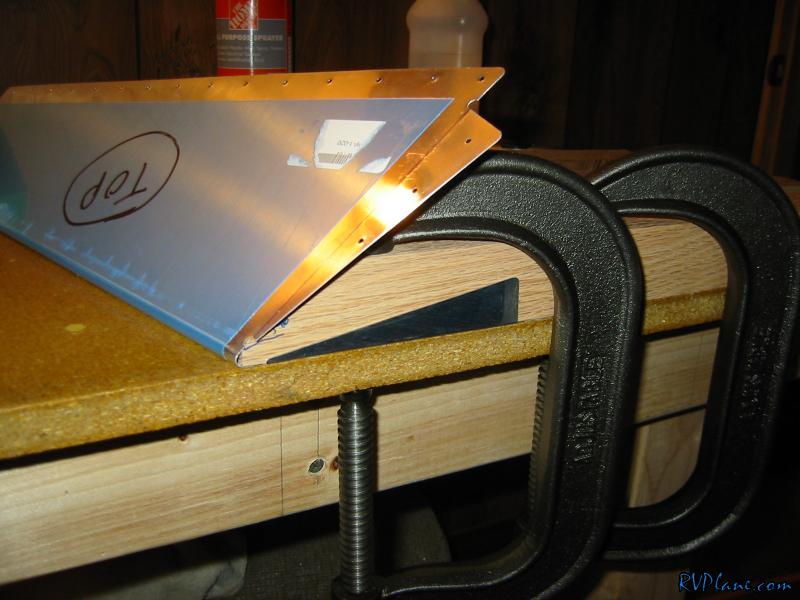 Other side bent. 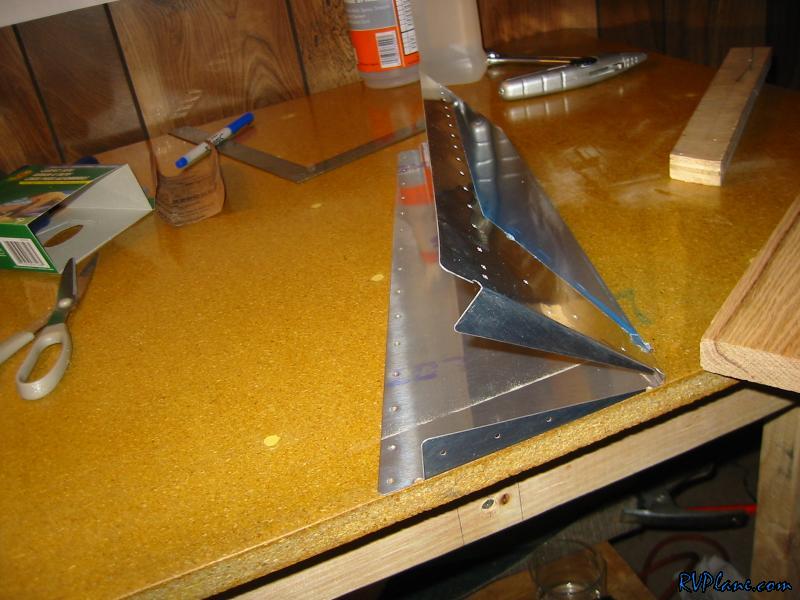 I was playing around with the other side bend. This one isn't too obvious. This line is just an extension of the skin's top. 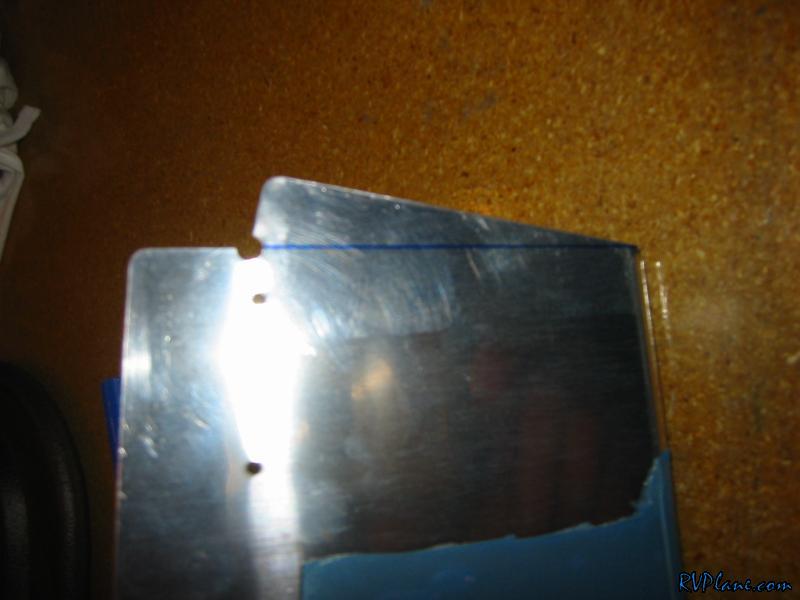 The line I marked isn't very perpendicular to the leading edge of the trim skin. I am going to wait on this one. 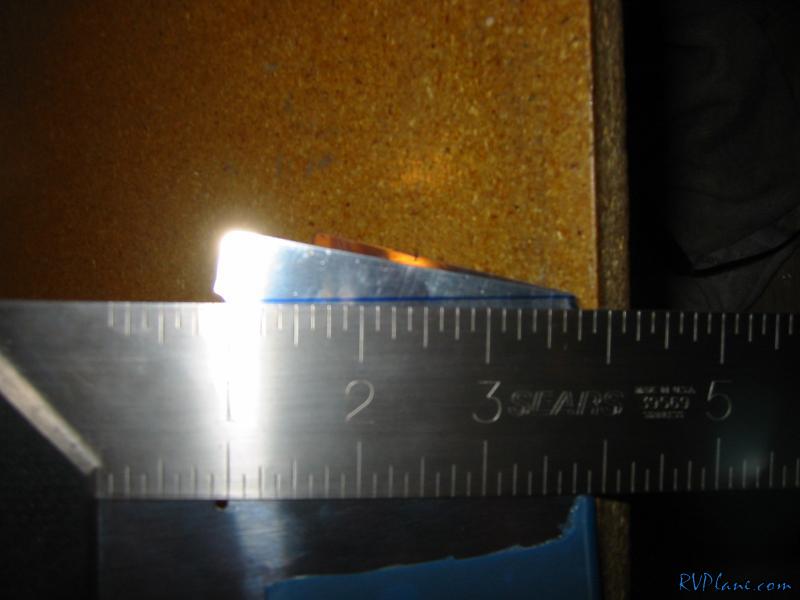 My inner block for the elevator bend. Notice the allowance I made for the dimples to not be squished. 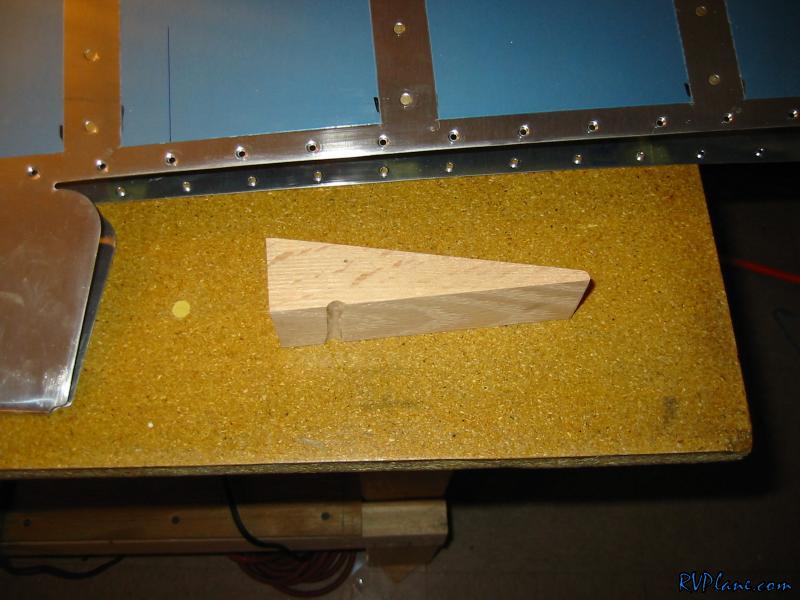 My line on the inside of the skin. It is perpendicular to the trim spar. 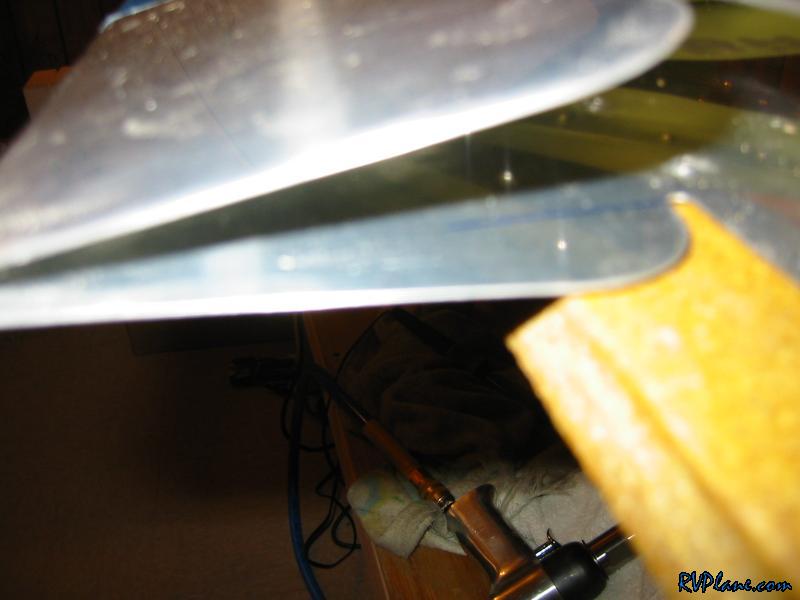 The block in place. 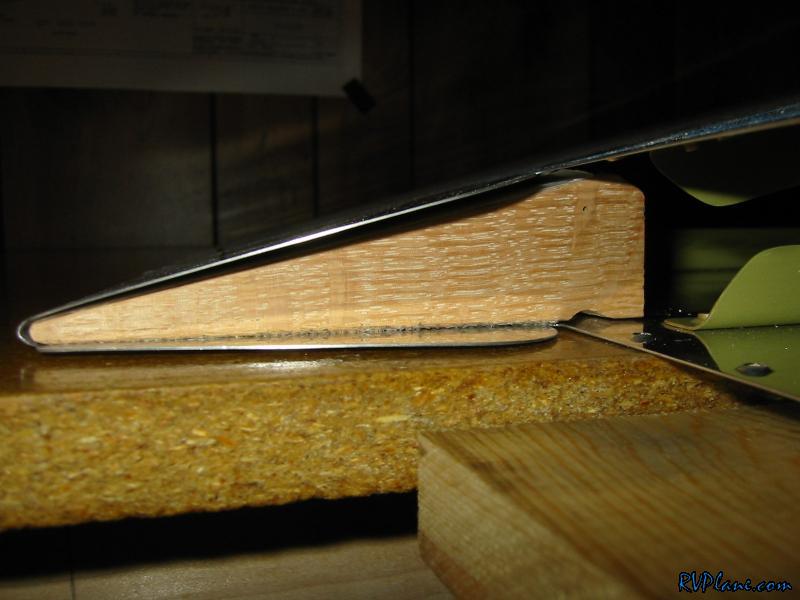
|
|||||
|
http://RVplane.com |
Last Modified: January 31, 2026 |