
|
 |
||||
I got the piano hinge from Van's today. $3 for the hinge, $11 for shipping and handling! I am not really complaining. I have only junked 2 parts, and both of the mistake were caused by drilling/cutting before I knew what I needed to do. I took a good hour just positioning the hinge and figuring out all of the little issues I might have. When I measured the drill line, I used double sided tape to hold the hinge onto a piece of wood to keep it straight. The hinge has somewhat of an inherent bow to it. Next I clamped the hinge to the trim tab and lined up everything. Then I drilled it. It came out looking really nice! Next I countersunk the holes on the top of the trim spar and then hit them with spray can primer. After the hinge was on, I figured it was time to bend the other tabs of the tab. I lined up the trim skin on the left elevator to see where the line should go. Perpendicular to the leading edge of the tab skin was the ticket. Here is something that I learned about bending the trim skins like I did - My bends came out TOO perfect. The tabs were pretty much on top of one another. This lead to some slight buldges outward. No more than 1/64", maybe 1/32". I would definitely use this method again for bending the tabs before I bent the skin together in the brake, but I would offset the bottom (inner) tabs about 1/32" to accomodate the other tab. Anyways, my bends came out looking great. Next I deburred the edges and holes of the tab skin. After that I back riveted the spar bottom to the skin, along with the horns for the trim servo. I goofed the root-most rivet by having the die hit the horn mounts. This caused a very slight distortion in the skin that wouldn't let the next rivet sit right. While I was drilling out the first rivet, I drilled through my finger with a #40 bit. It actually just grazed the side of my middle finger, but there was a ton of blood everywhere....cool. I drilled out the hole to a #30 next to see if an OOPS rivet would make it look any better. The OOPS actually looked a little worst. Its on the bottom, and its very minor...just a FYI for the next guy. New hinge....lets hope this is the last hinge I have to order from Van's..... 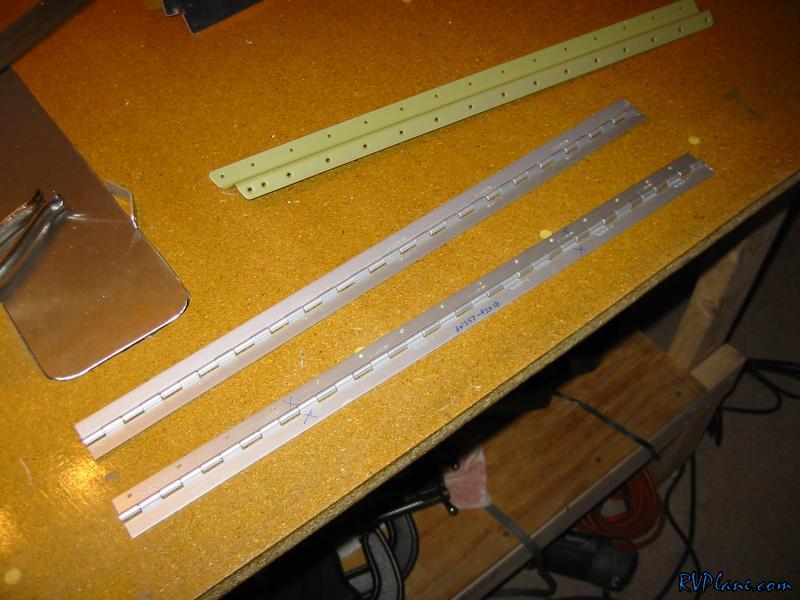 Drilling the hings. These clamps worked great. The cleco clamps didn't fit around the hinge. I suppose I could of taken the hinge apart looking back on it. 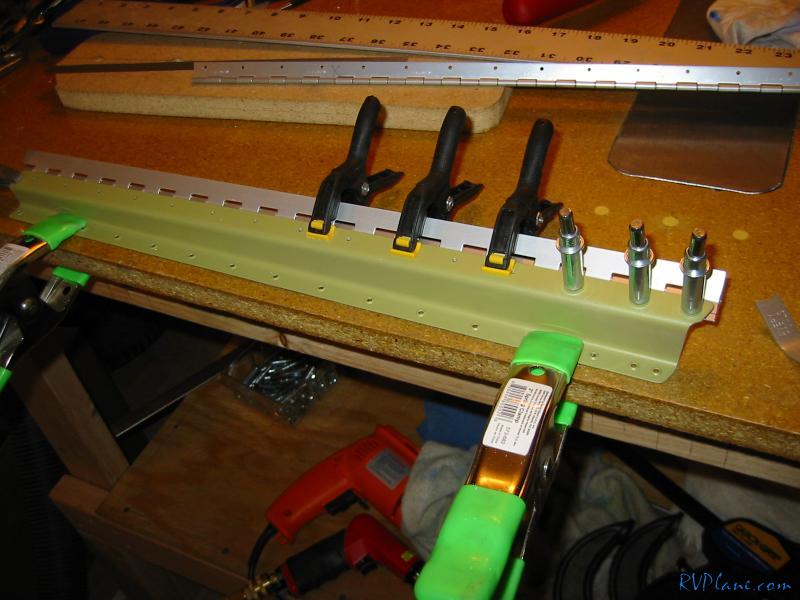 Here is my edge allignment. 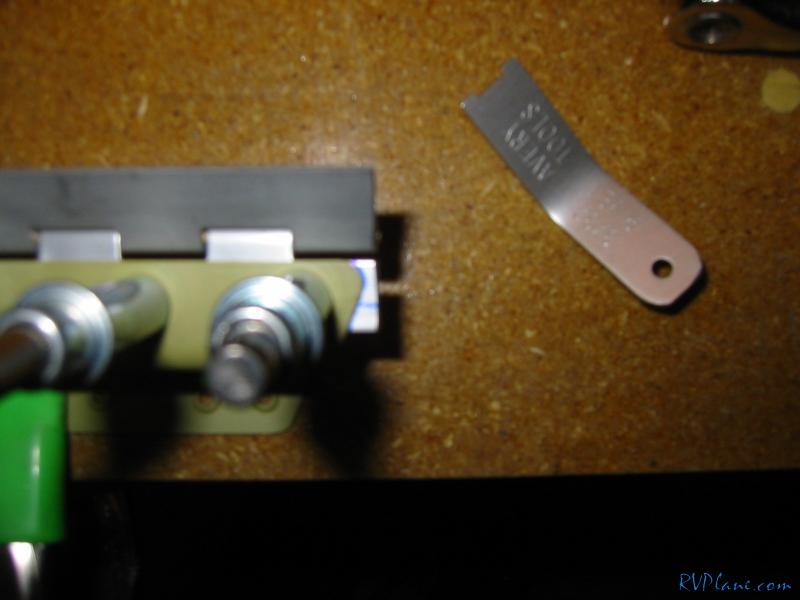 I clecoed the spar to a piece of wood for countersinking. 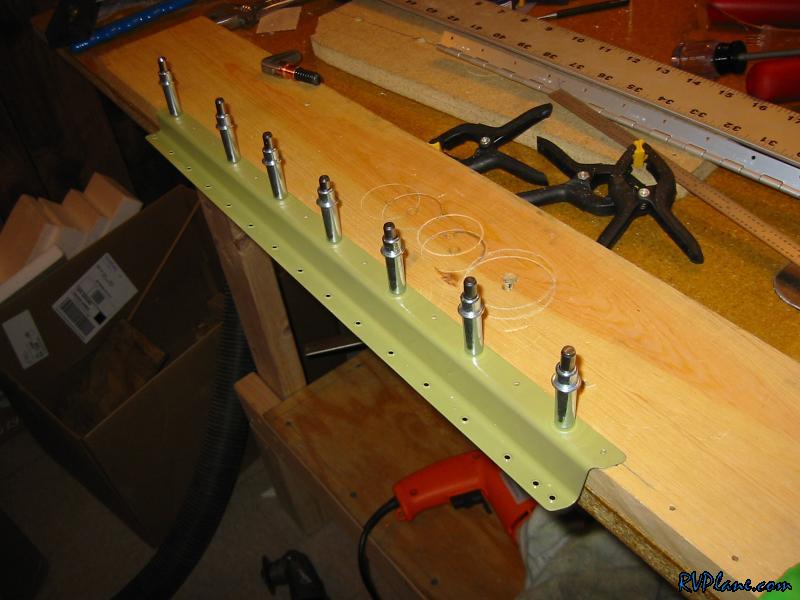 All the holes countersunk. 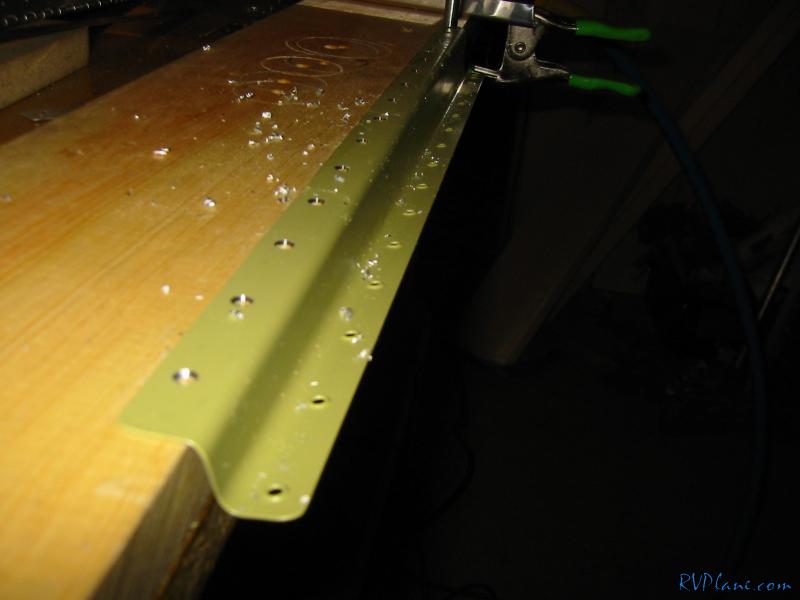 This is the spar after the primer. 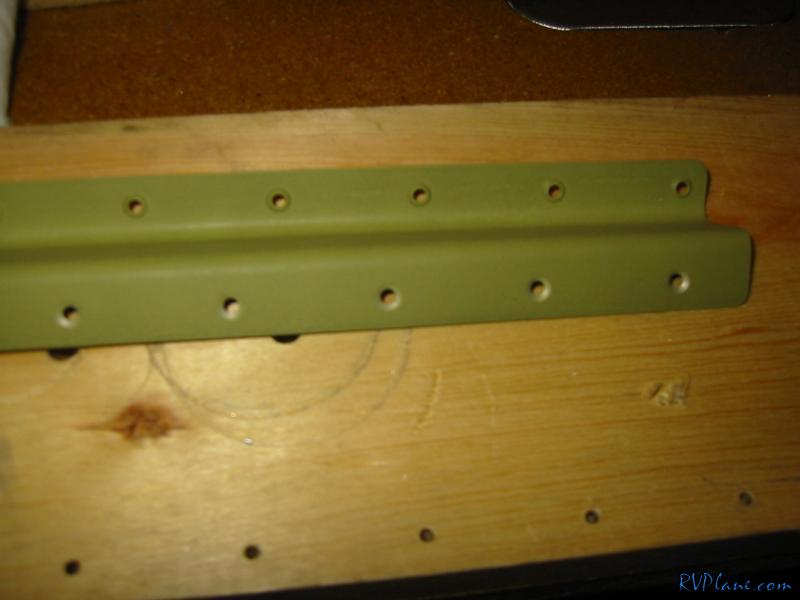 Dimpled skin..... 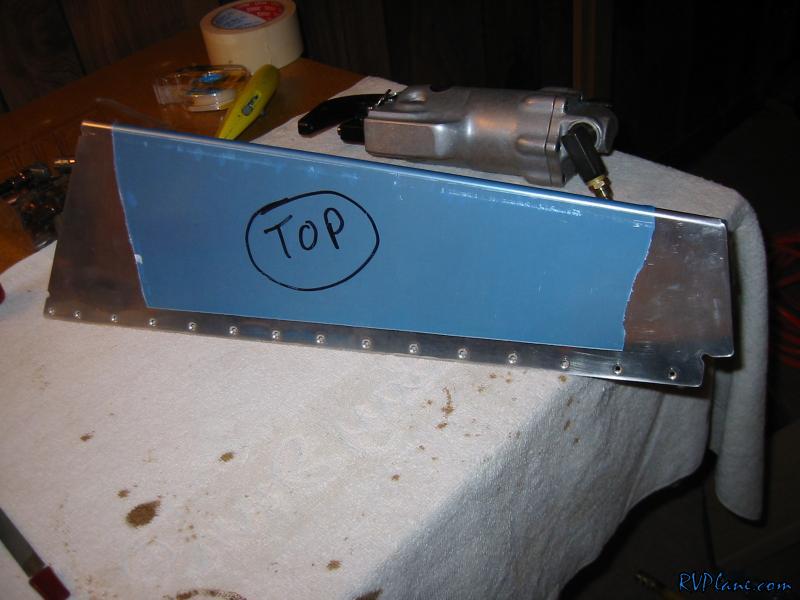 The first bend...it went smooth as silk. 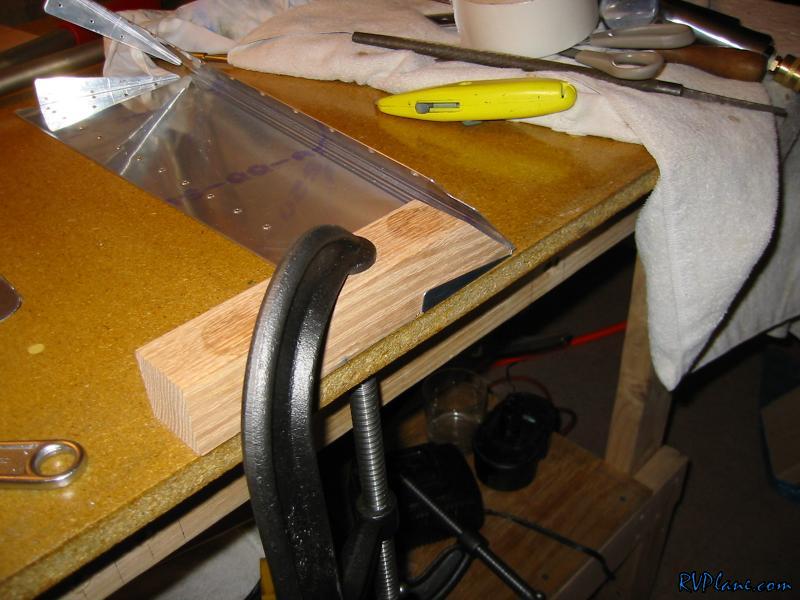 I jumped the gun and clecoed on the trim horns....these came off so I could backrivet the spar. 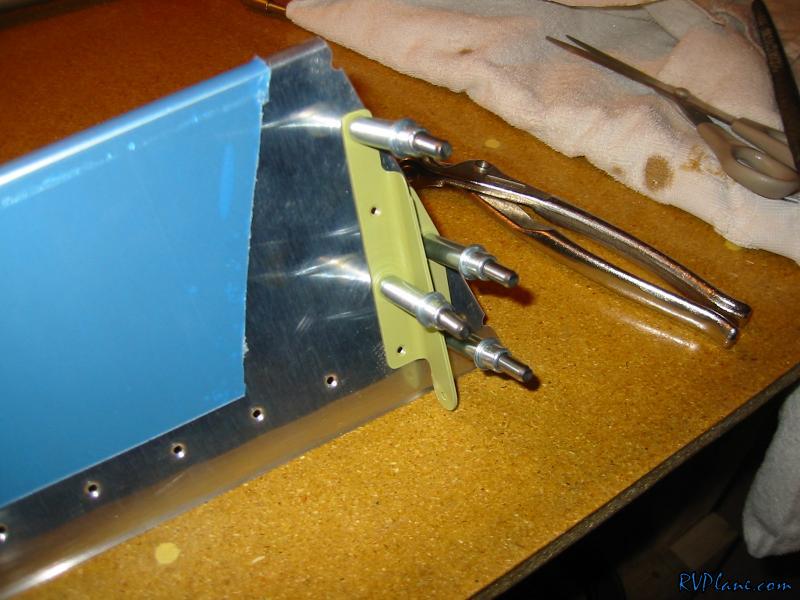 This is the spar getting ready to be backriveted. 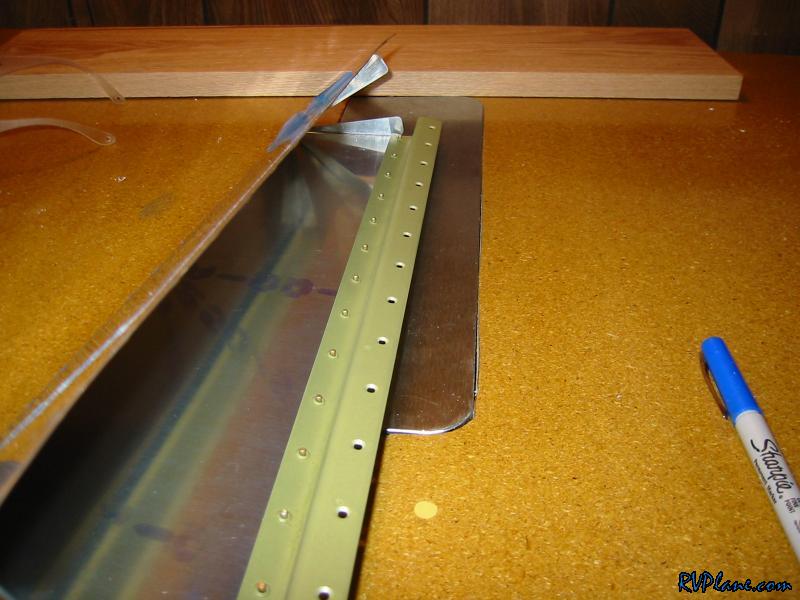
|
|||||
|
http://RVplane.com |
Last Modified: January 31, 2026 |