
|
 |
||||
I had a great productive day in the shop today. I started off the day with some motivation to get the empennage fairing finished. I installed the HS and VS again and then trimmed the curve that goes around the elevator controls. 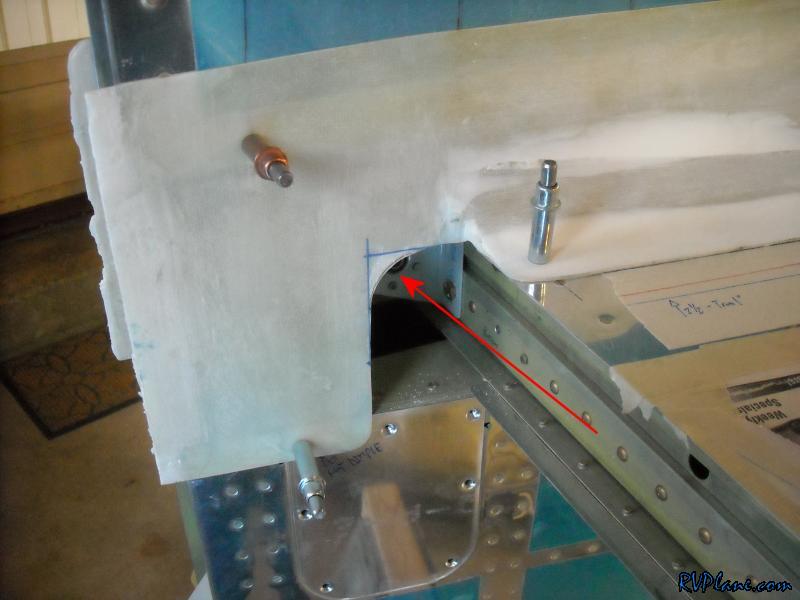 Next I trimmed the back off. This sucker should be officially done trimmed and all that's needed is filling. 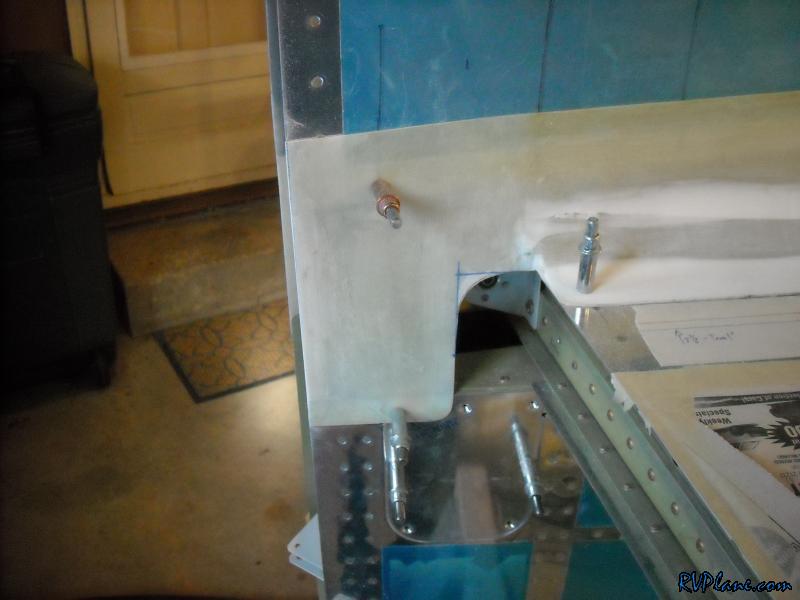 Speaking of filling, the right wingtip needed its #27 holes filled because of chipping when I drilled the wingtip lens attachment holes. 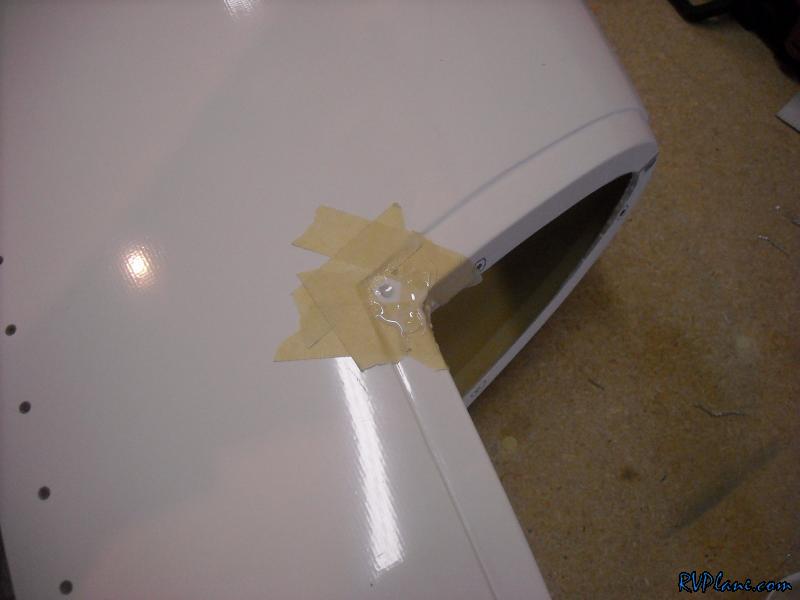 Once that epoxy was curred (1 hour epoxy), I drilled the #6 holes and installed the nutplates. 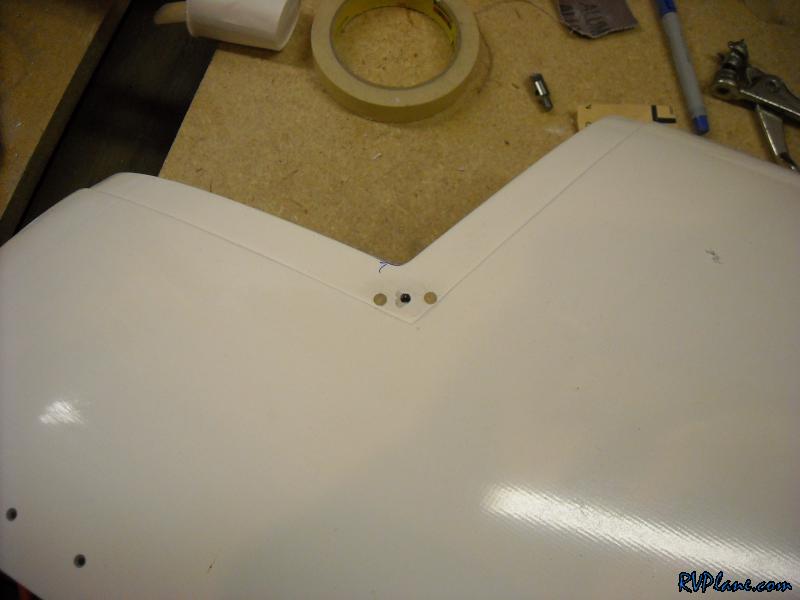 Next up was finalizing how my landing light brackets will fit. So far so good. 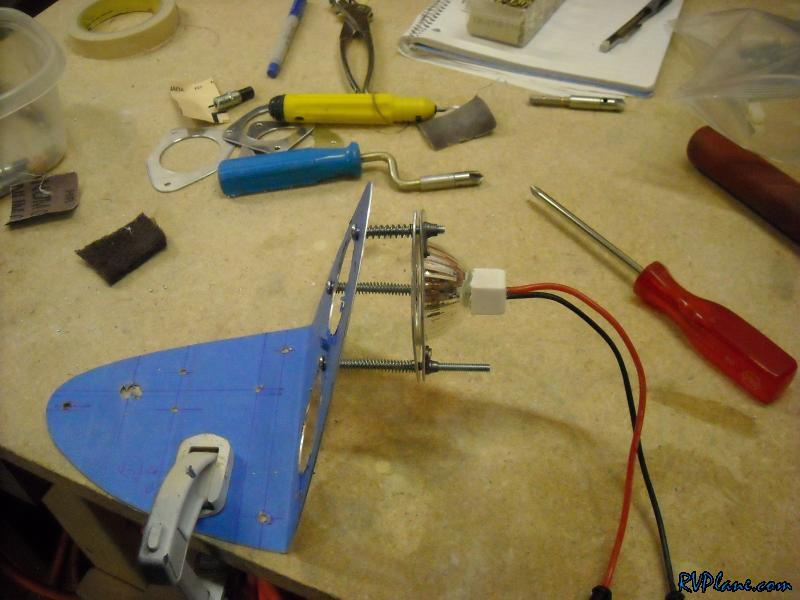 With the bulb installed, I just needed to fire them up. I was a little disappointing at first, but when I opened the garage door to see the true projection of these 50W HID bulbs I was impressed. I did make the mistake of looking into one of them. Ouch! 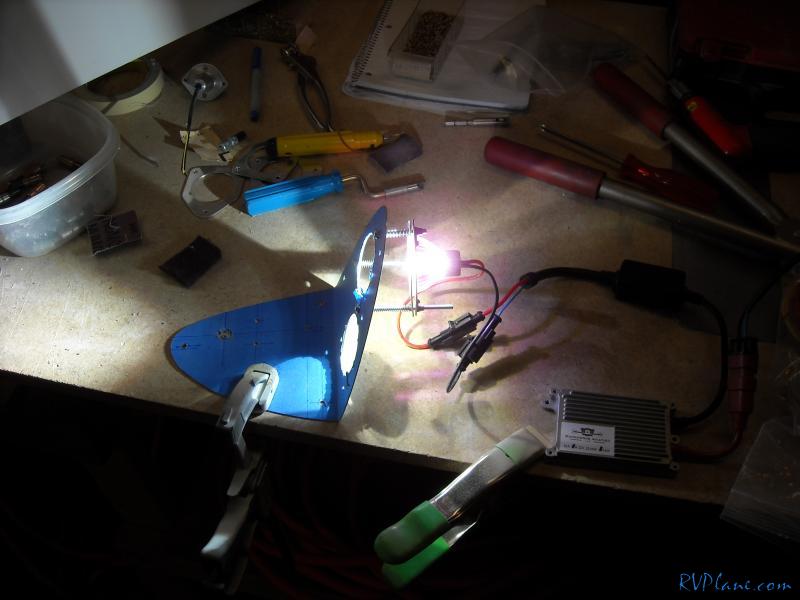 While I had everything wired up I figured I would get some current measurements. 5.88 Amps once it was warmed up. I think I saw it go as high as 6.5A on startup. 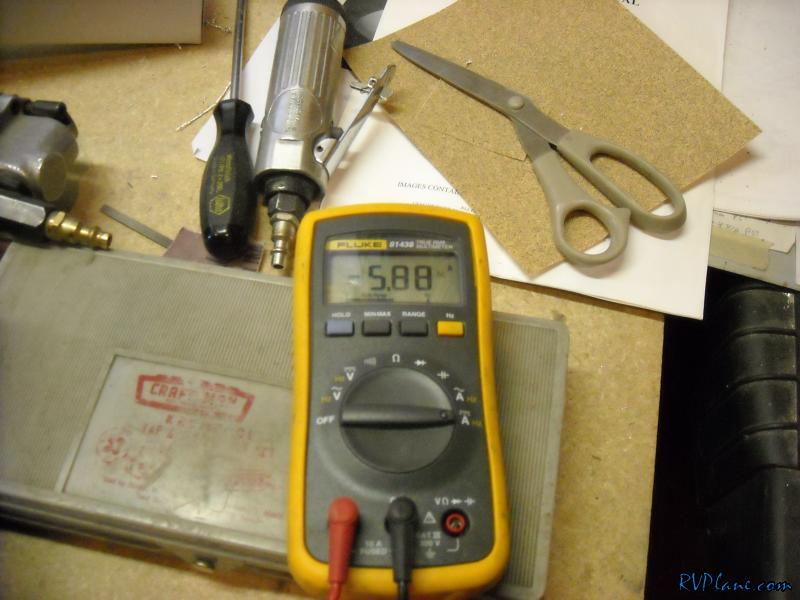 This was a old battery I had the lights attached to, so it was only at 10.5 volts. At 14V is should only draw 4.35A. 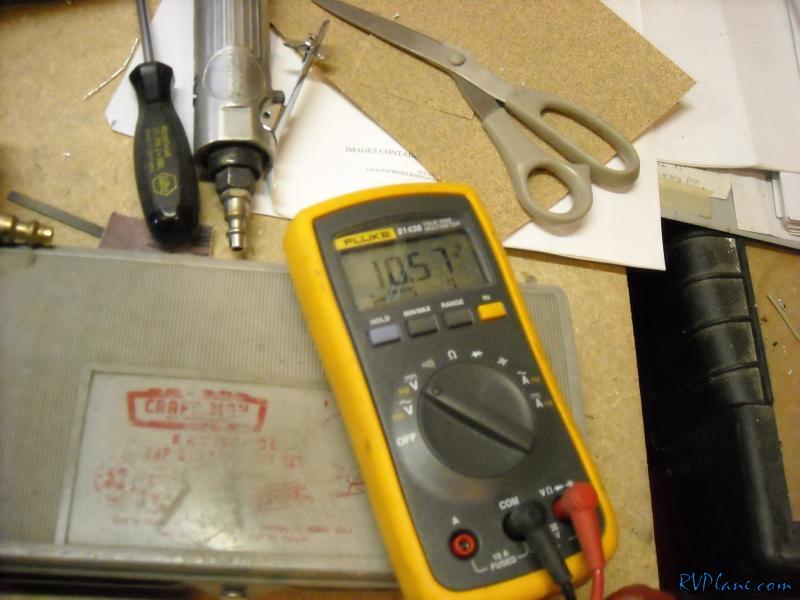 Here is where I ran into a little problem. When I installed the second light the bracket interfered with the other light. 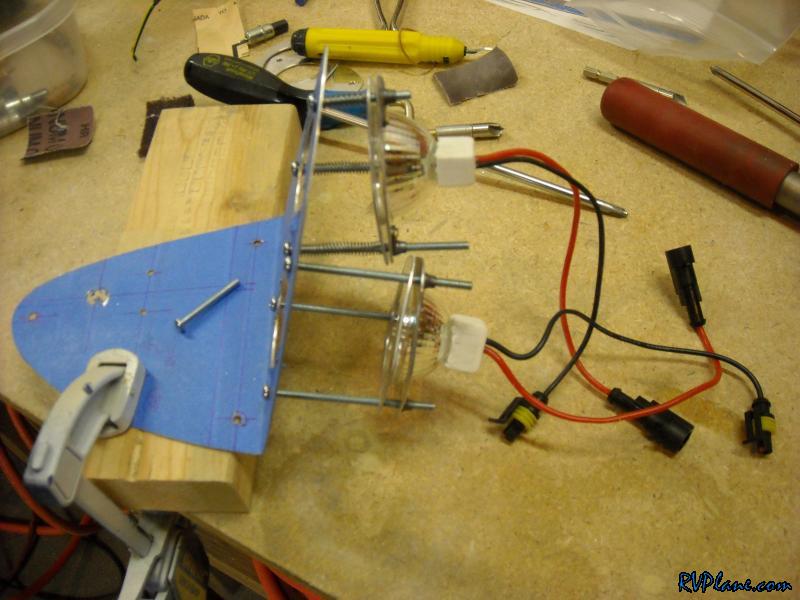 Right here. What I am going to do is stagger the lights so the outboard (taxi) light will be more forward than the inboard (landing) light. That should eliminate my interference issues. It will require another trip to the hardware store for longer and shorter bolts. 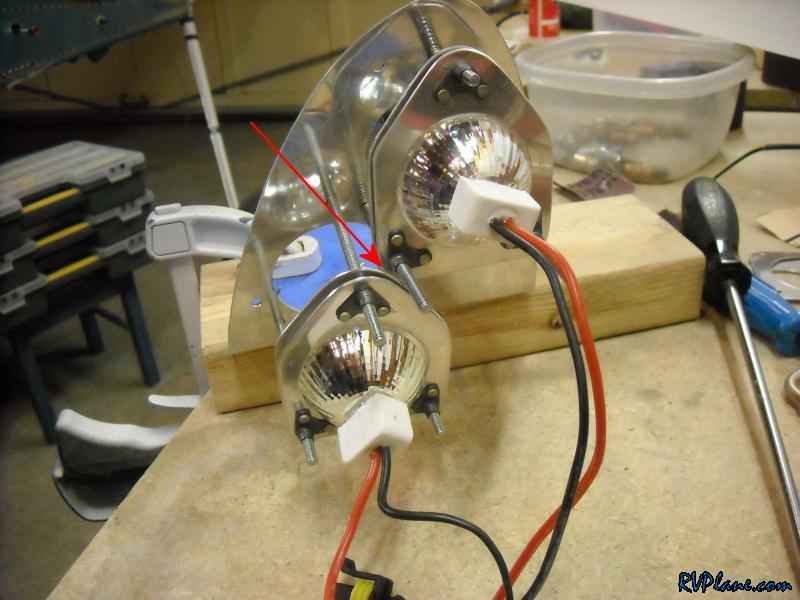 Next I worked on the tail light. I am using the AeroLEDs SunTail product. It attaches to the bottom of the rudder tip with two #4 screws. I made a template out of some 063 of the mounting base I am going to design. 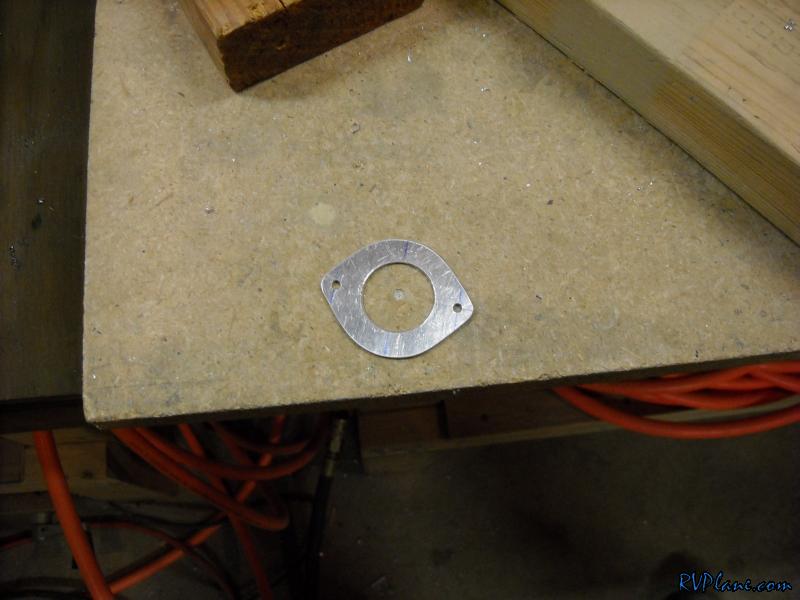 Here is the light itself. The quality is amazing. 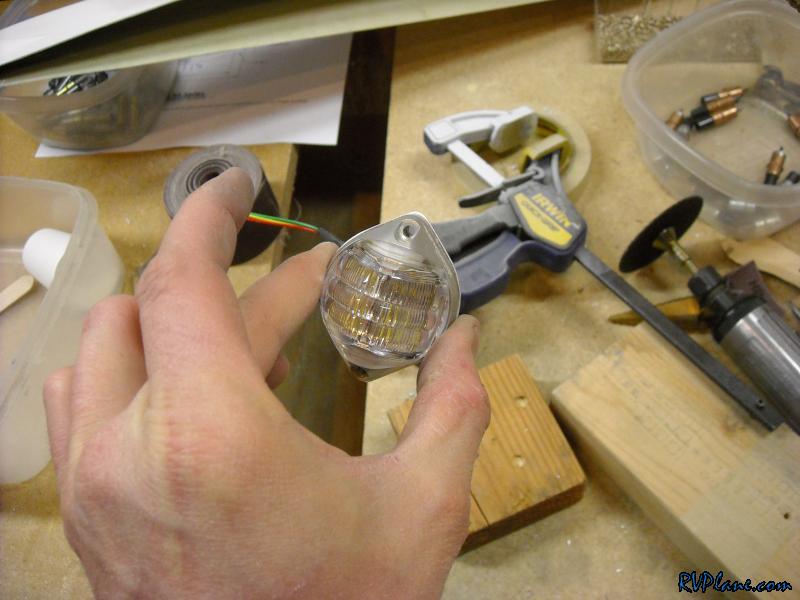 Here the backing plate template is in place. I made a 1" hole in it. 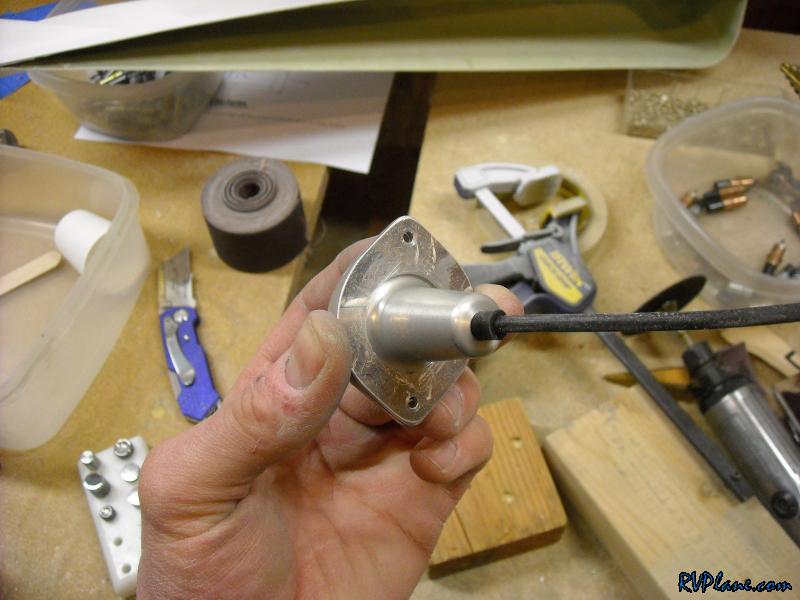 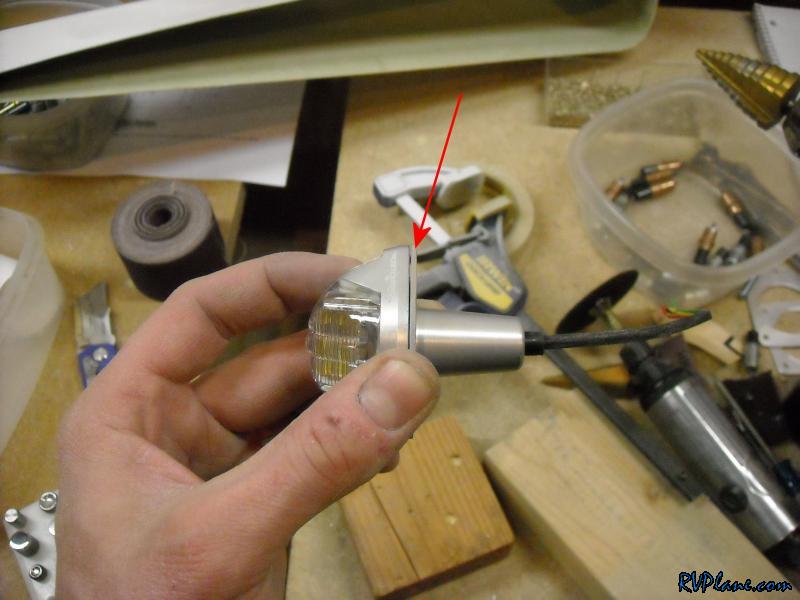 The reason I made the template is the real mounting plate is going to be made out of 0.187" material. I got this from some left over angle I trimmed up. I made two #42 holes and tapped them to 4-40. I then screwed the template into the .187.  I used the template in order to trim the 187 to the proper size. I got through some of the trimming tonight, but this sucker gets WAY hot when using it on the bench sander or scotchbrite wheel. So I needed proper cooling intervals. 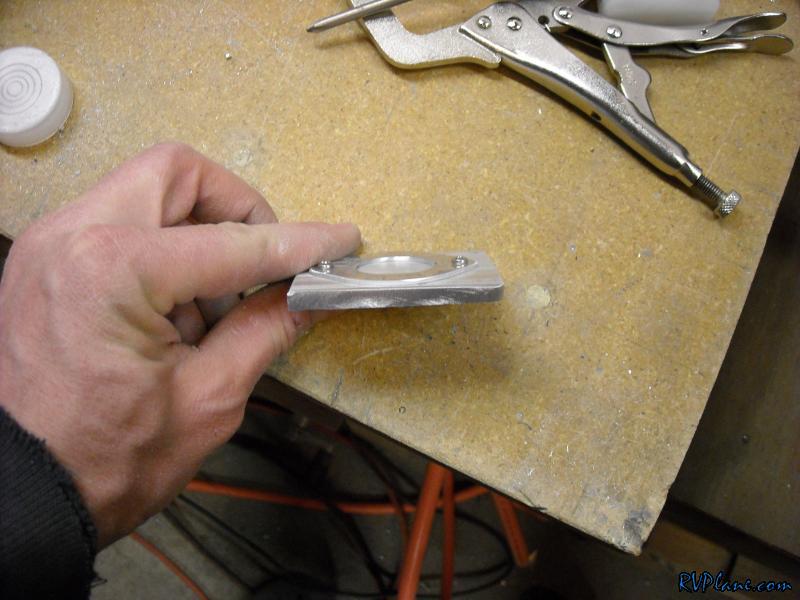 During the whole day I was working on the empennage fairing by filling the low spots with Rage Gold. I think I have this thing almost ready for primer. It's looking really great. Rage is such a pleasure to work with. Sandable in 15 minutes. Can't beat that kind of curing time. 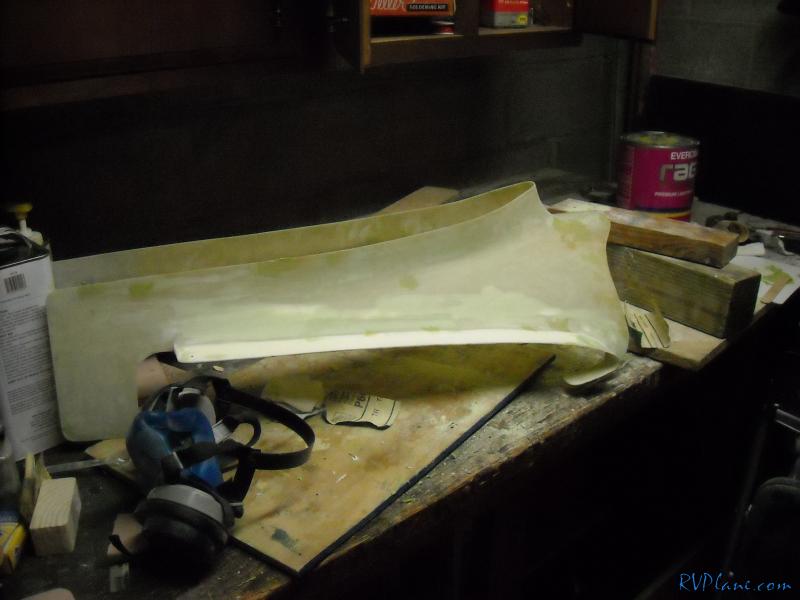
|
|||||
|
http://RVplane.com |
Last Modified: June 22, 2025 |