
|
 |
||||
Happy New Years! I was away the last few days hanging out with friends. I got back last night and had no desire to work on the project. Today I didn't have that much more desire -- it was about 28 degrees out. Outside of the garage the wind was gusting to probably over 30 kts. No way I wanted to face that. After I let the heater run for a little, I went back to work on the empennage fairing. The flox filler I set the other day worked perfectly. It took out all of the flex from the extra fiberglass I added. Today I needed to trim the extra glass back and get the fairing into more or less its final shape. 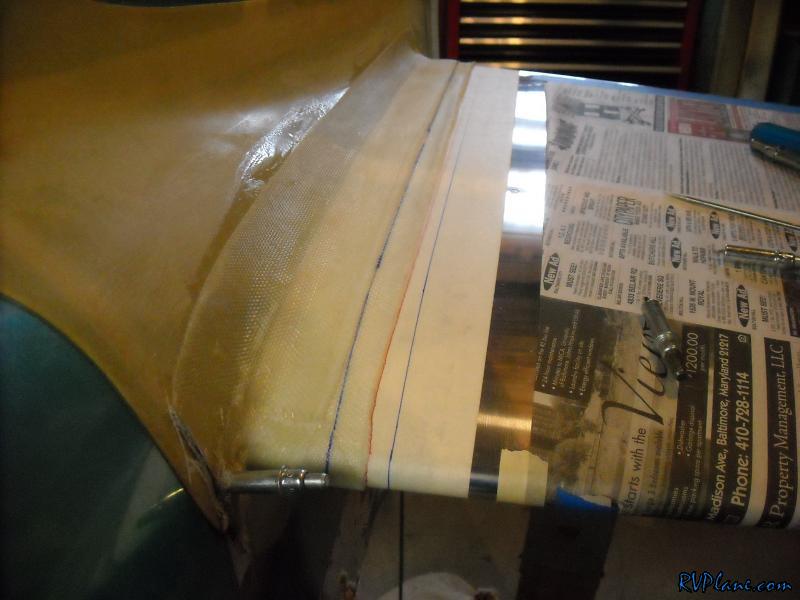 After a lot of use of the cutoff disc and sanding drum in the dremel tool, followed up by some good old fashion sanding, I had the final shape down. It looked freakin' awesome. 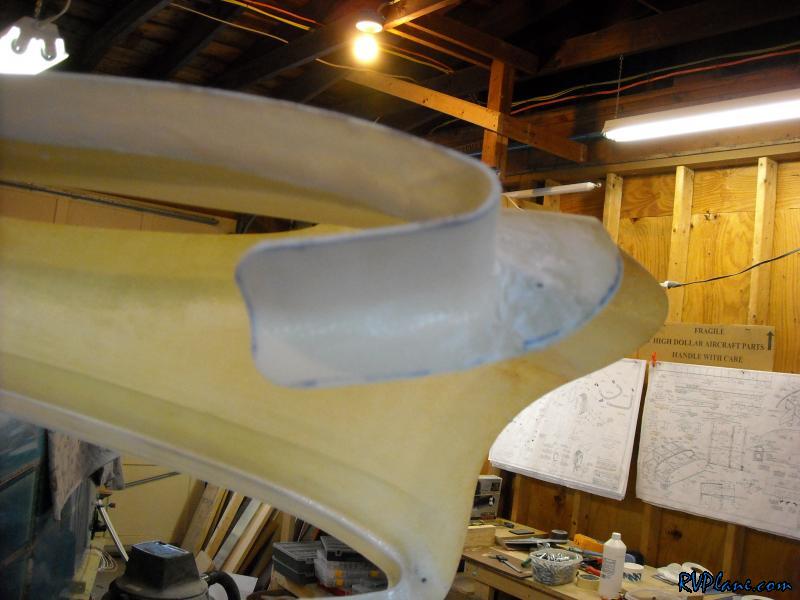 Next I needed to figure out how to attach the bottom part of the fairing to the horizontal stabilizer. I wanted to put a nutplate on the aft spar of the horizontal stabilizer, but I was concerned the elevator would interfere. So I did a little test. 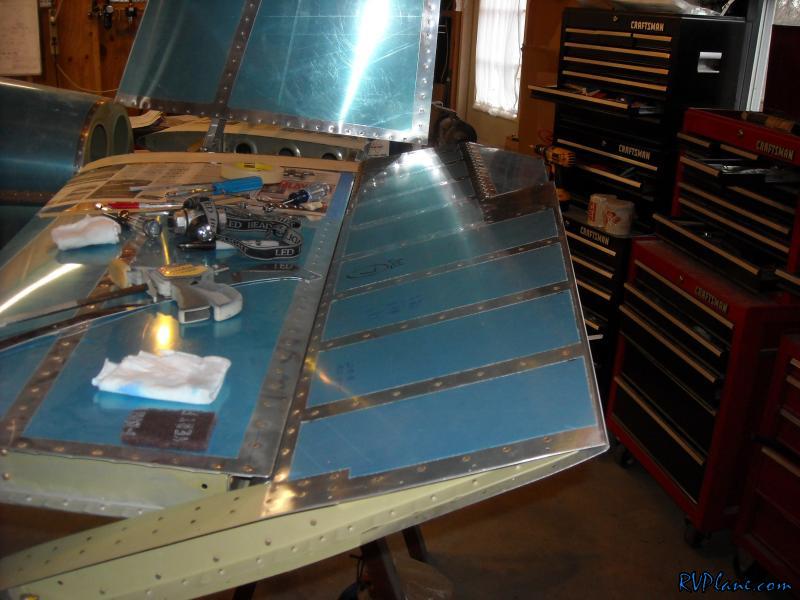 The red arrow points to where the nutplate would go. No chance of interference with the elevator in the up position. 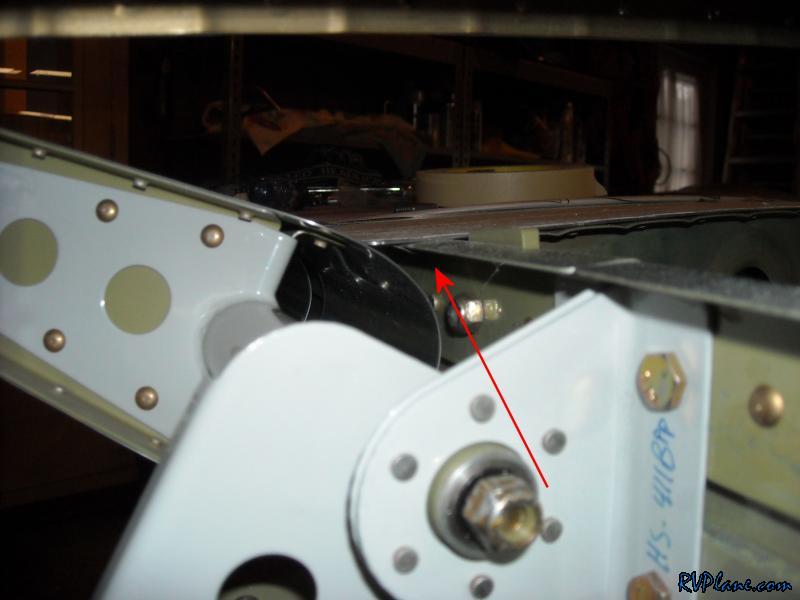 Down position of the elevator yielded even more clearance. It's a go! 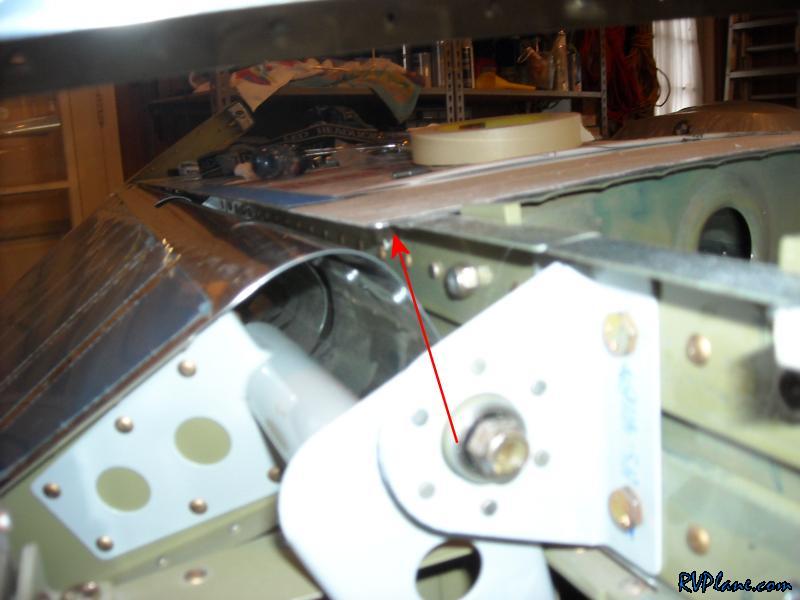 So I drilled a #40 hole between the inboard two most rivets along the rear spar. 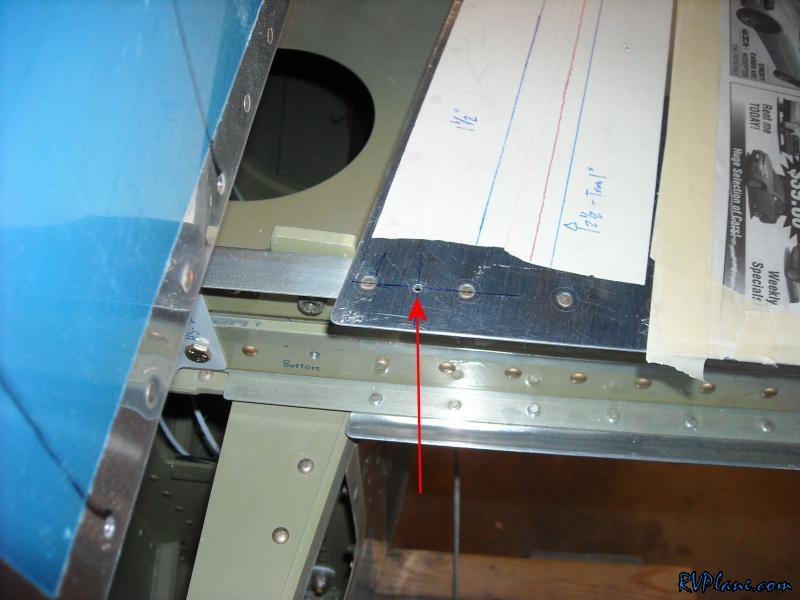 Then I drilled the fairing to the new hole. 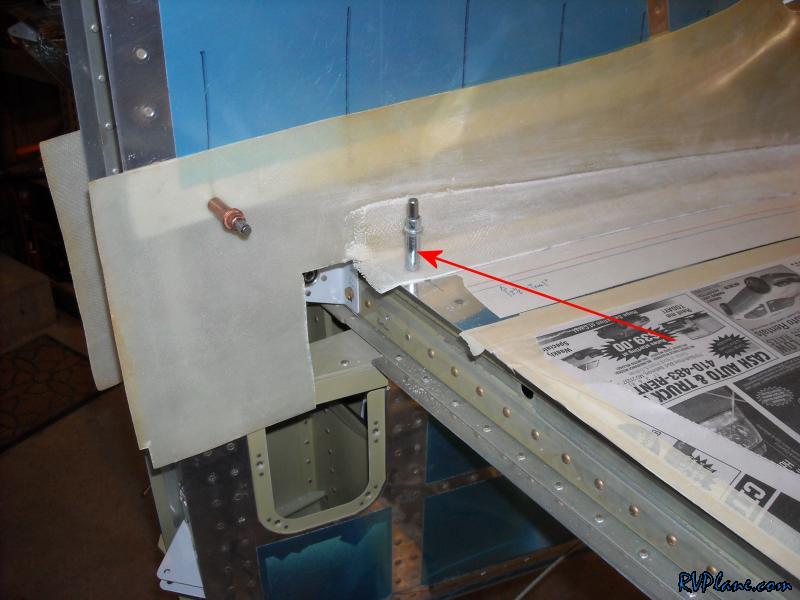 I trimmed the fairing some more. This is more or less the final fit. I don't know about the rear of it....I think I will trim it a little differently eventually, but this is good for now. 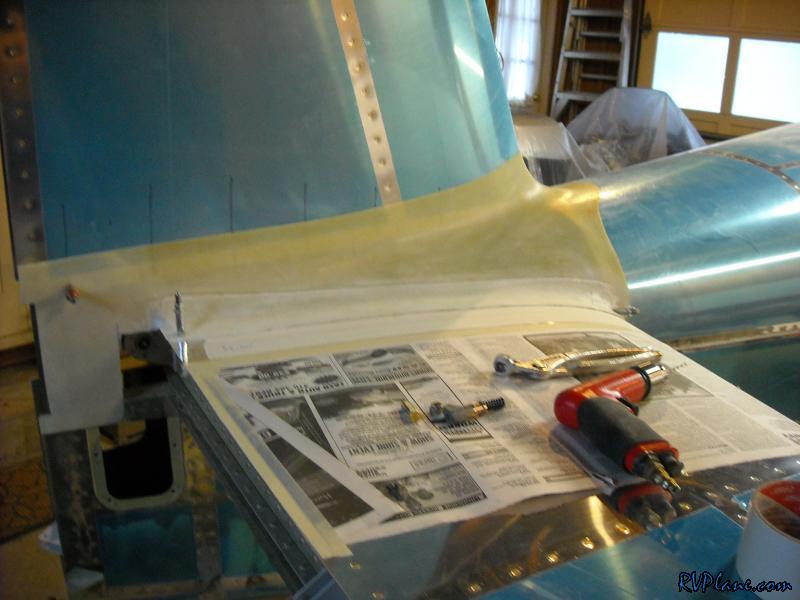 The front turned out amazing. Looks way better than it did stock. Well worth the 2 days of work to get it to this point. 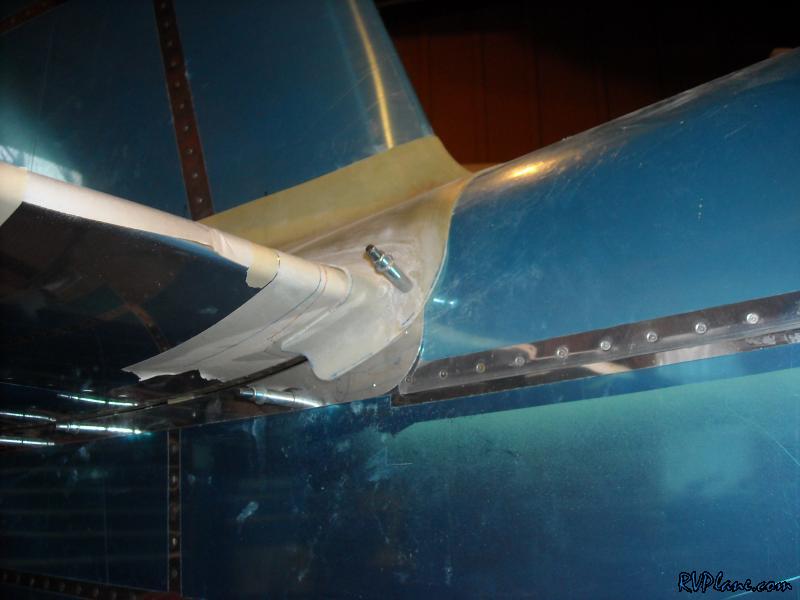 Next I needed to drill the bottom elevator fairing to the longeron in the aft section. These two holes overlapped the inspection panel. 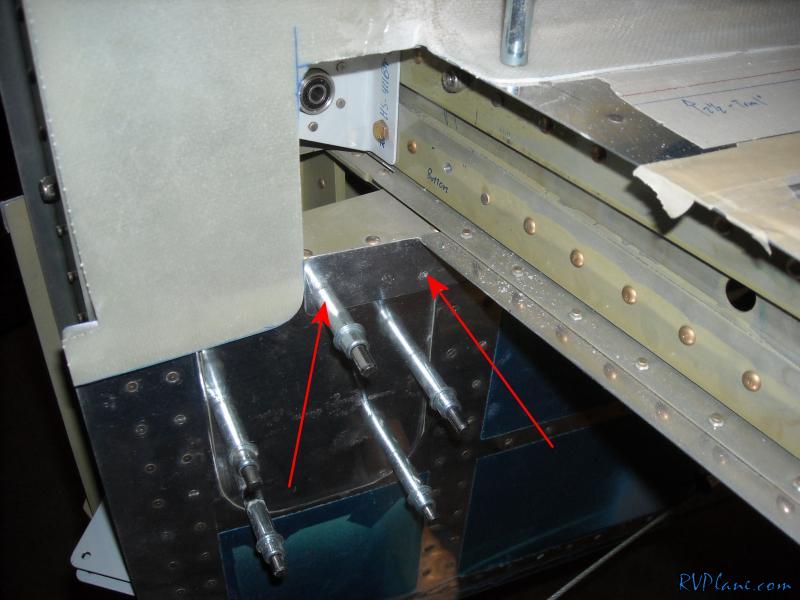 Then I used the rivet spanner to make the aft hole in the inspection cover, and drilled the bottom of the fairing to it. This will be the last hole holding on the empannage fairing -- 4 per side. 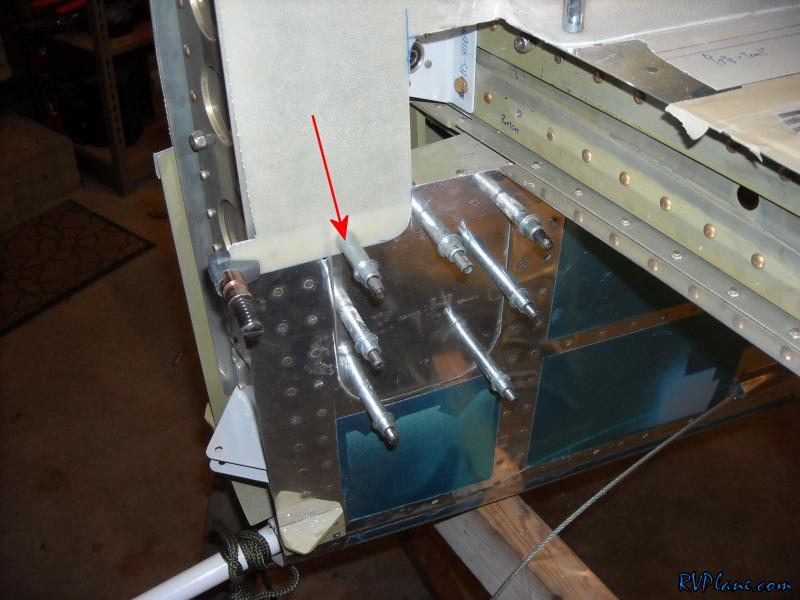 I needed to get out of the garage for a few hours because it was just too damn cold. After taking a few hour break, I got the motivation to lay up some microballoons on the top of the fairing. I needed a thick mixture to prevent it from running or dripping. However, the problem with making it thick is it is almost too thick to feather. My solution was to slightly dilute the micro-mixture with some acetone -- maybe 5-10% or so dilution. This thinned out the thickness of the micro and made it easy to spread. Also, acetone evaporates quickly so it thickens extra fast. One of the drawbacks of mixing in acetone is it weakens the epoxy, so it must be used sparingly. There is still a lot of filling left to do on this, but this is a great start. 
|
|||||
|
http://RVplane.com |
Last Modified: June 22, 2025 |