
|
 |
||||
I got some decent work done on the top cowling tonight. First off I dimpled the .020" spacer and countersunk the hinge. The hinges used between the firewall and the cowl is much thicker than the P257 hinge used on the rest of the airplane, and was no problem countersinking. Once everything was prepped, I test fit the top cowl. The drawing say to use a .090" hinge pin on the top hinge for the curvature, but I found this pin to be way too thin. I ended up using the .120" hinge that was in the kit as well. I figure I can always take this hinge down a couple mils with some sanding to make it fit better. This pic shows how easily you can see the hinge through the fiberglass. 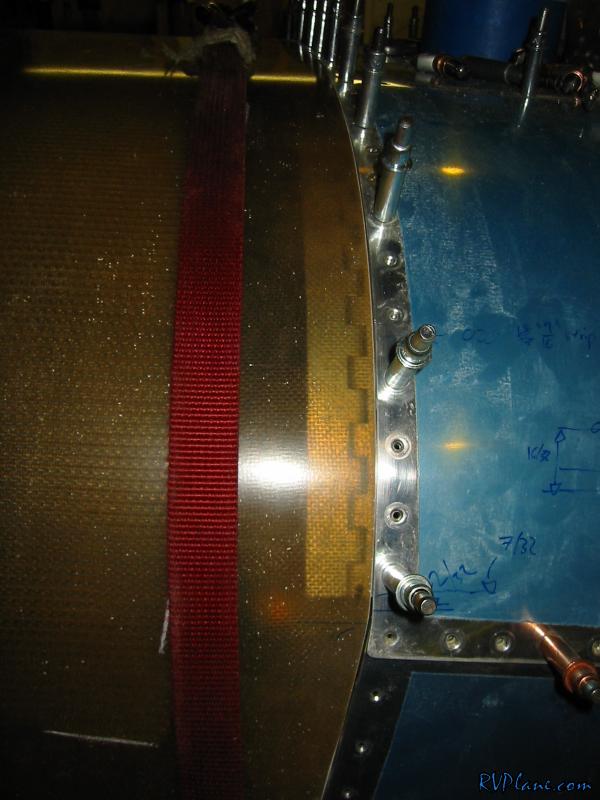 Next on the agenda was to mark the rivet holes. I put a piece of masking tape on the top cowl and marked where the hinge begun and ended. Using some fancy math and a rivet spanner, I measures out holes that were approximately 1" spaced (this spacing was mentioned in the instructions). 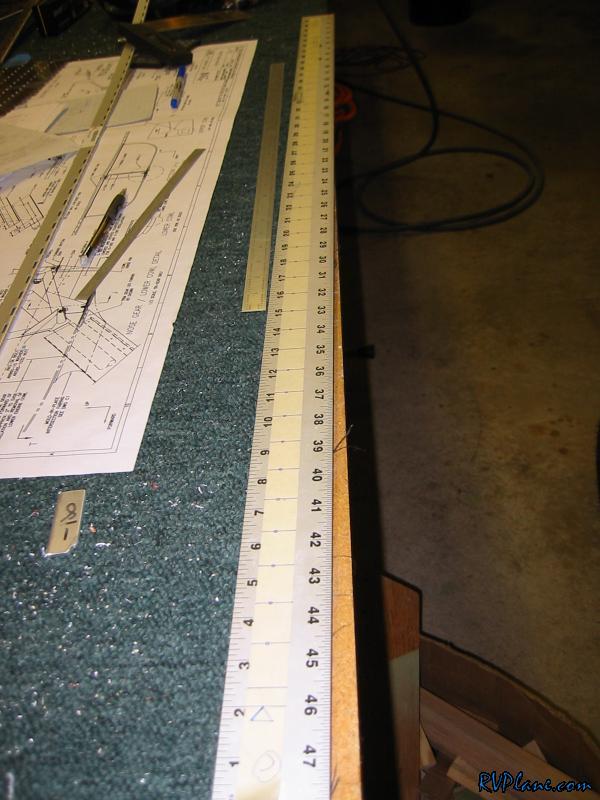 I put the tape back on and marked the top cowl with the spacing. 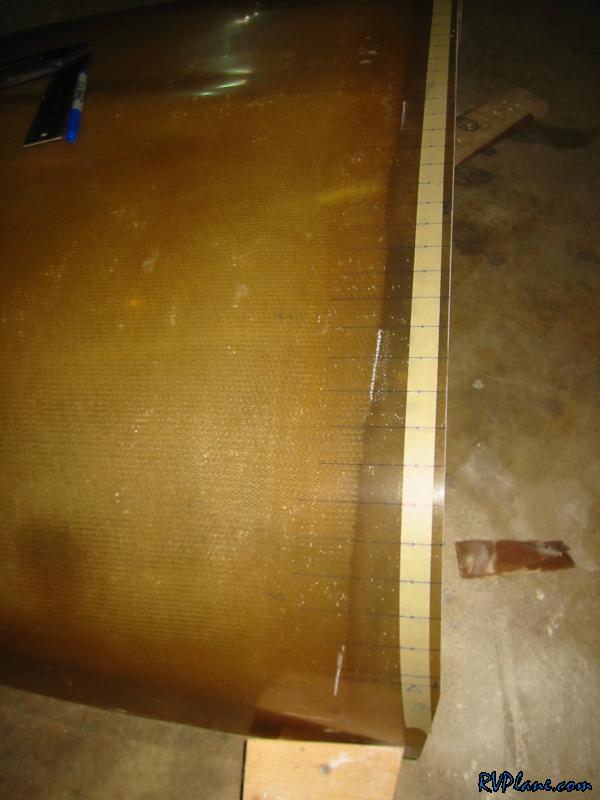 Finally once everything was perfectly aligned, I put in 3 clecoes to the top hinge. The rest will get drilled when the bottom cowl is fit just in case anything moves a little. 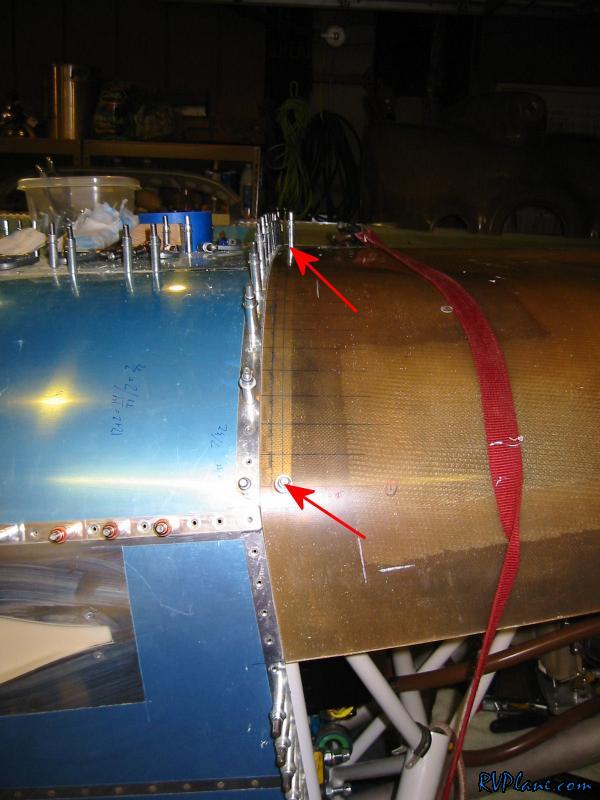
|
|||||
|
http://RVplane.com |
Last Modified: June 22, 2025 |