
|
 |
||||
All of this did not happen today. I have been way behind on my updates and don't remember anymore when all of it happened. I installed the struts and was able for the canopy to open for the first time. 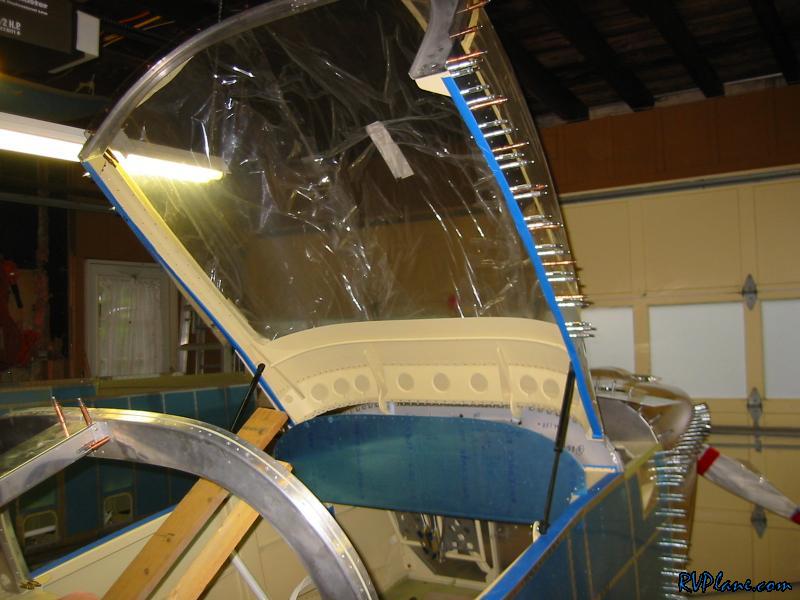 I installed the struts backwards (upside down) from how the plans specify. Someone on one of the forums said you get a smoother action for the full length of the travel of the strut if they are upside down. Something to do with the dampening mechanism being submerged in oil the whole travel in this configuration. Whatever! 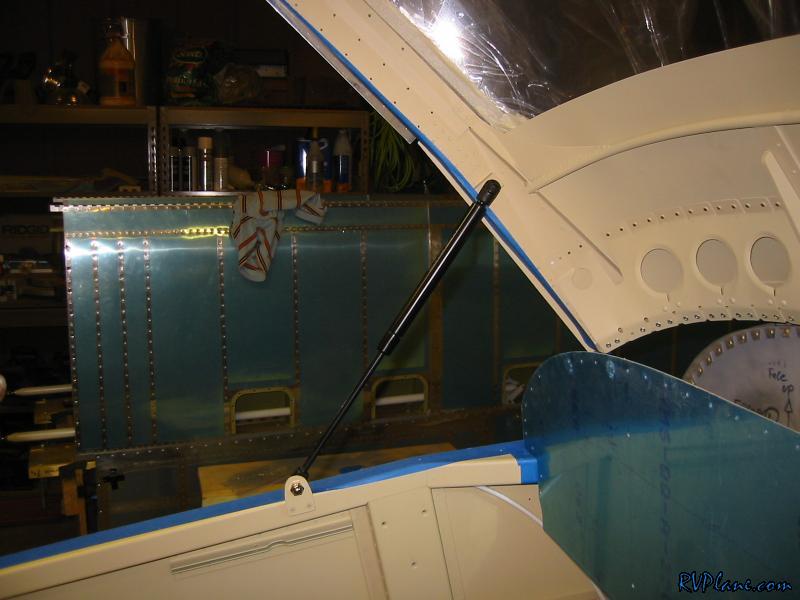 I trimmed the aft of the canopy skirt. 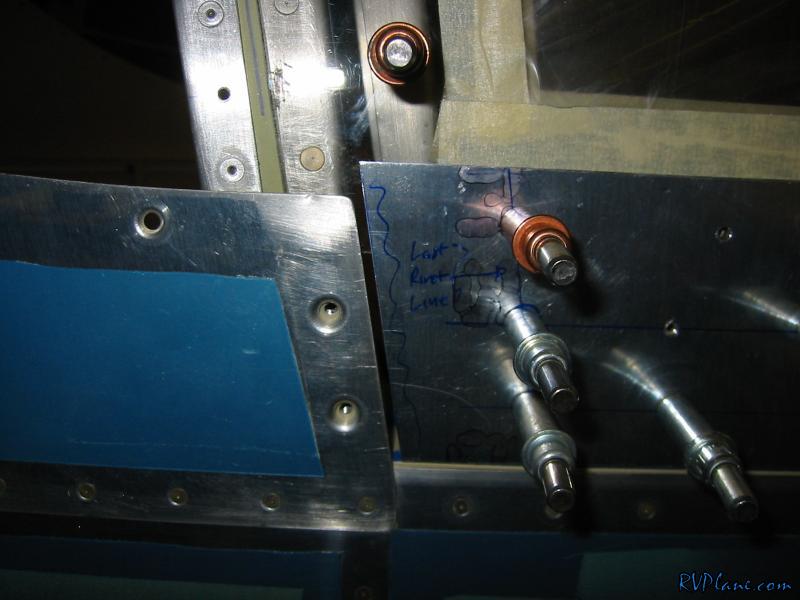 Next I countersunk the sides of the canopy for #6 dimples where the frame overlaps. 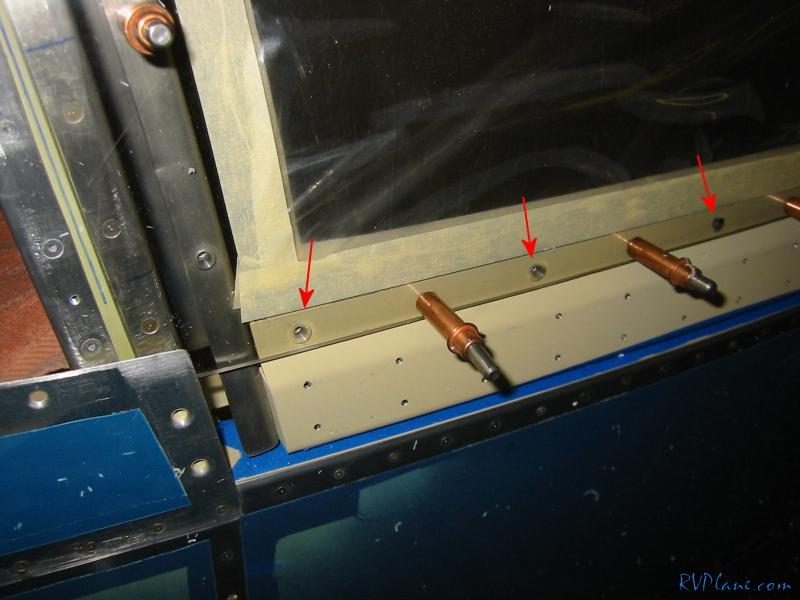 Once everything was countersunk, I enlarged all holes in the canopy to 5/32" using a plexiglass bit included in the Avery kit I purchased. Although a #6 screw isn't that large, making the hole in the plexiglass allows for it to expand without causing any cracks. Once this was finished I deburred the holes. This is officially the last holes I needed to finish up on the canopy. No cracks! Yippee! 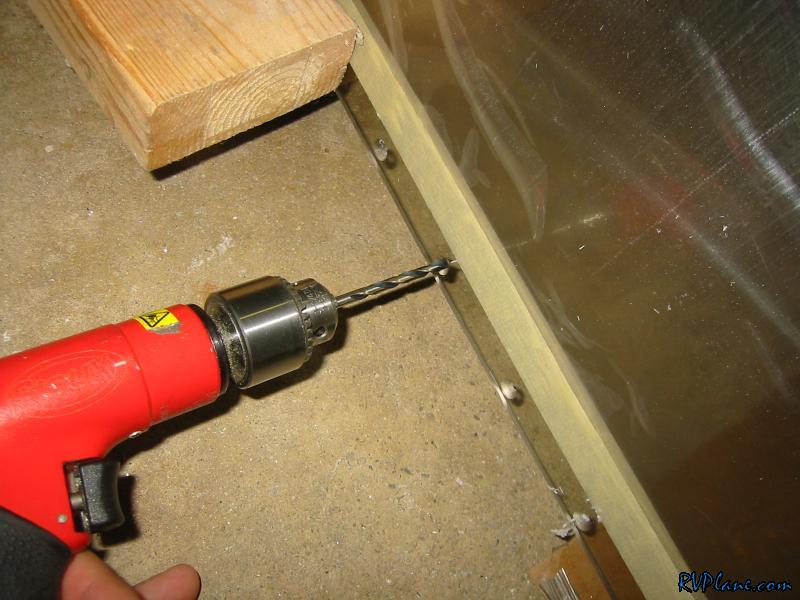 The front of the canopy was about 1/8" above the skin of the canopy frame. I wanted some way to hold it down. So I made some clips out of 0.032". All of this will be covered and reinforced by the fiberglass fairing. 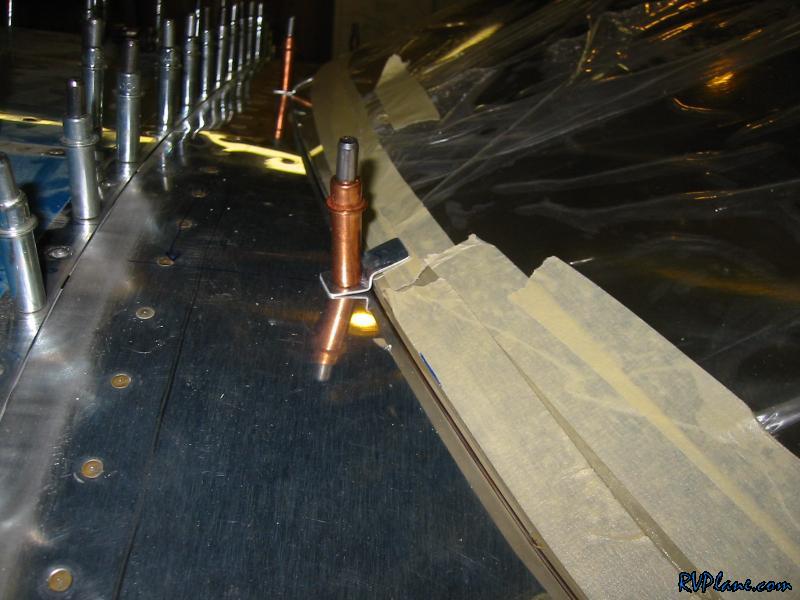 I installed three clips total. 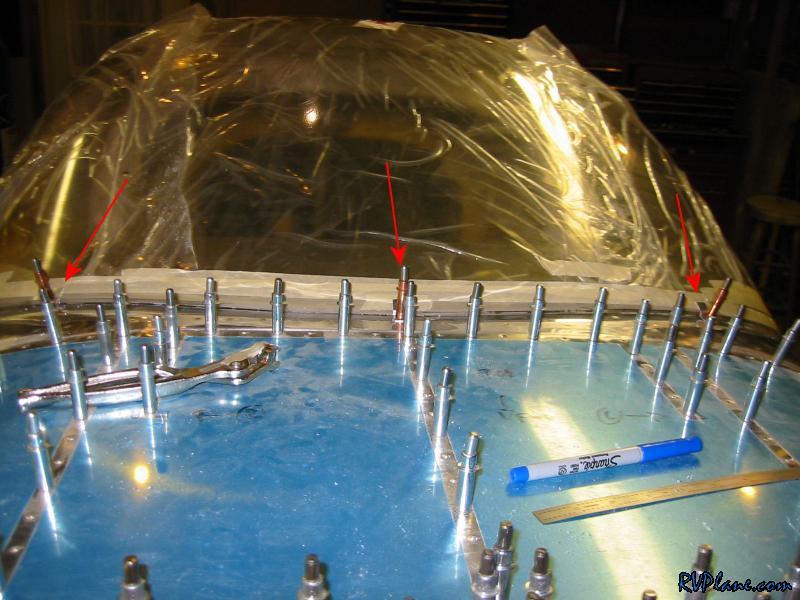 Next I finished up the forward transition of the side skirts.  I have a nasty gap here. I have no idea where it came from. No doubt some fiberglass down the road will fix this. One of the many things to do once I get her in the air. 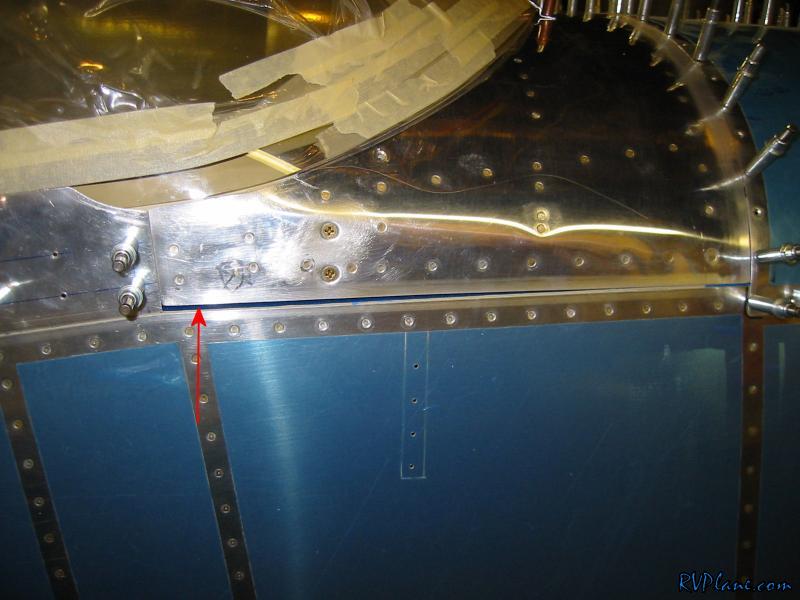 One of the last few things I needed to take care of on the canopy frame was making a handle to lift the frame with. I made it out of 0.063" angle. I put some sexy curves in it instead of making it boring like Van's would. 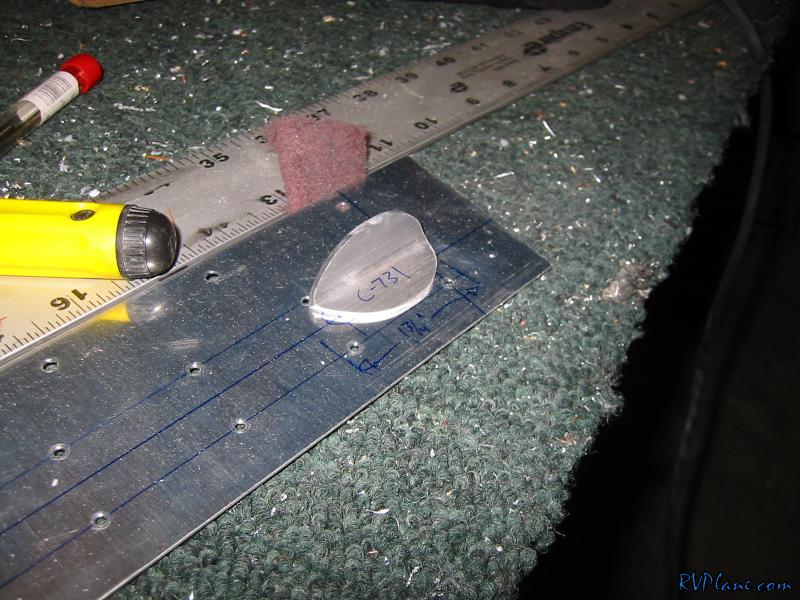 I also installed it with two #8 screws instead of rivets. 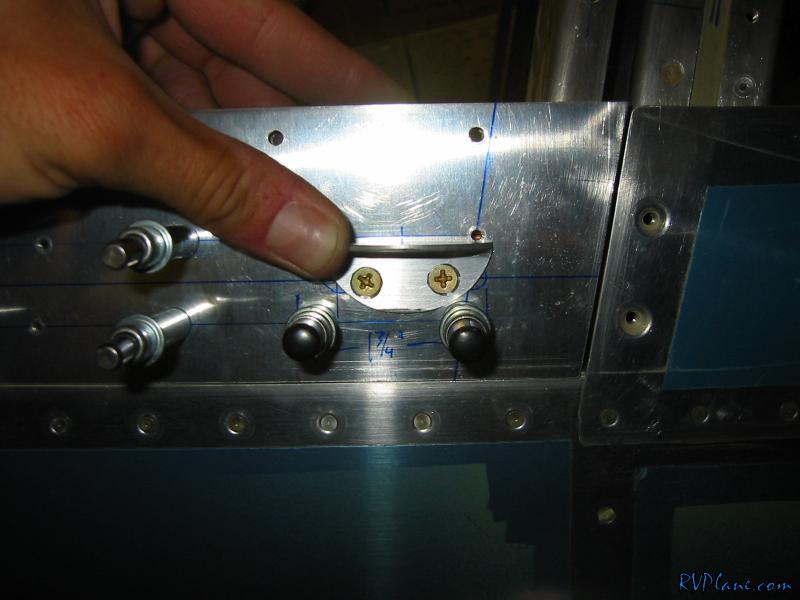 Another shot. Looks awesome. 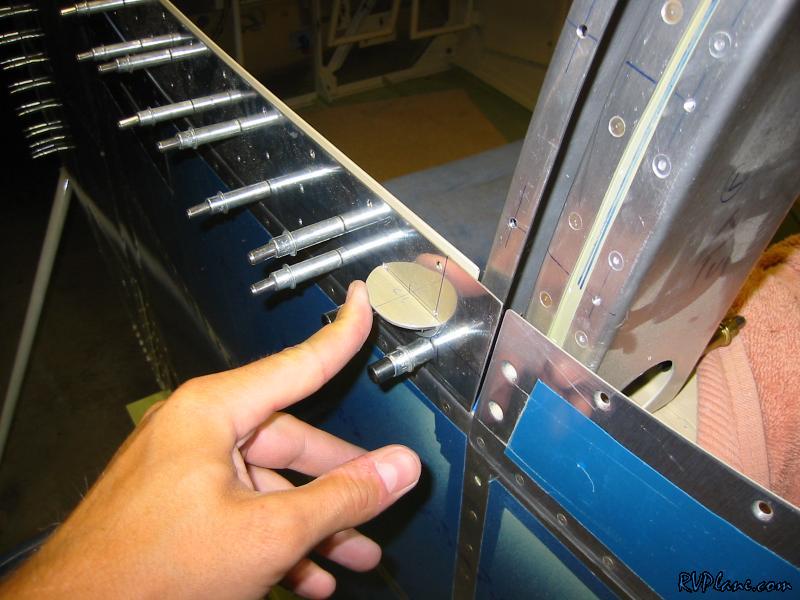 I have had a hell of a time getting the canopy frame to open without it catching on the top skin. I needed to file it back a good ways. In the process, the skins caught a few times and caused some slight bends. Its frustrating to take this thing off and on to fix these issues. It's almost there. 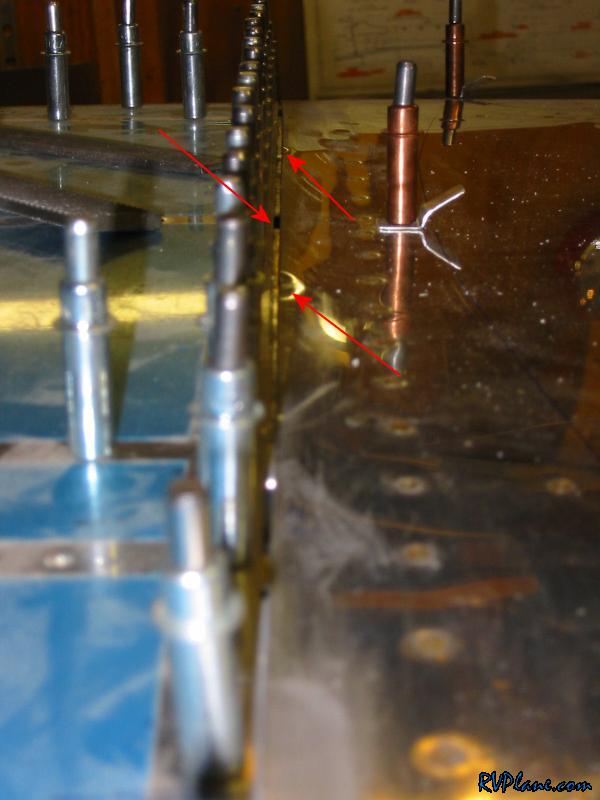 I drilled the UHMW block for the canopy handle. However, I drilled it at a slight skew so the handle only rotates 180 degrees without interference. I am going to buy a new block and make it right. It looks awful this way. 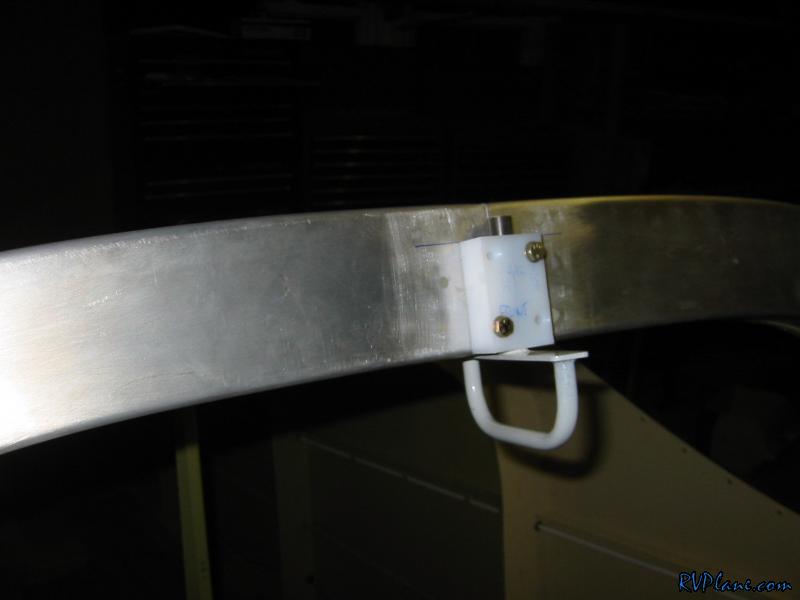 I needed to install the latches on the frame that locks it down to the fuselage. These are a real treat to try to do because there is no access whatsoever. I did just what Van's said to do and drill some #40 pilot holes where I think the hole should be and "walk" the hole up or down while I stepped it up to a #12 for a AN3 bolt.  One of the holes for the latch interferes with a tooling hole on the canopy frame. However, since a bulk of the hole goes through the 1/8" angle on the back of the side frame, this doesn't matter that much. Plus the latch fingers hide this for the most part. 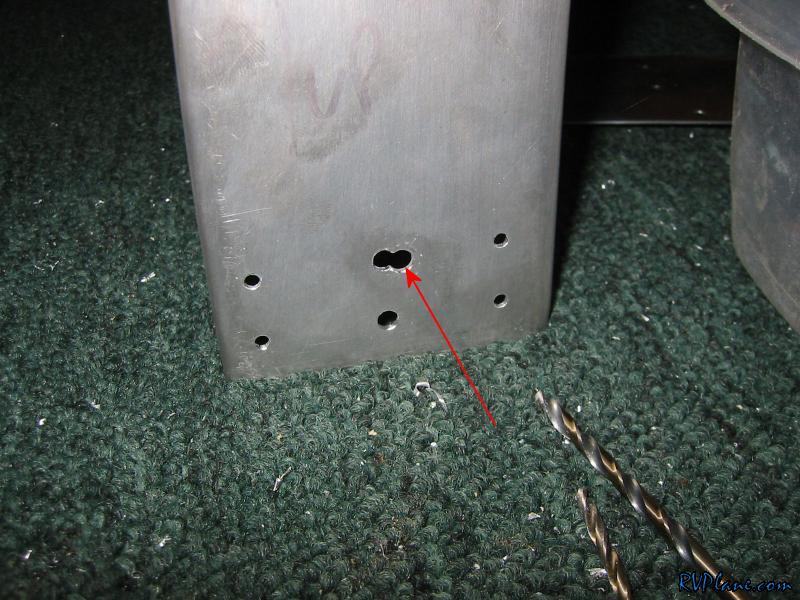 One thing on my list for a while was to make some spacers for the two rivet holes that didn't touch the canopy frame tubing. I borrowed some 5/8" diameter aluminum rod and made them spacers. It took a while to make these small suckers. There is a lot to them. 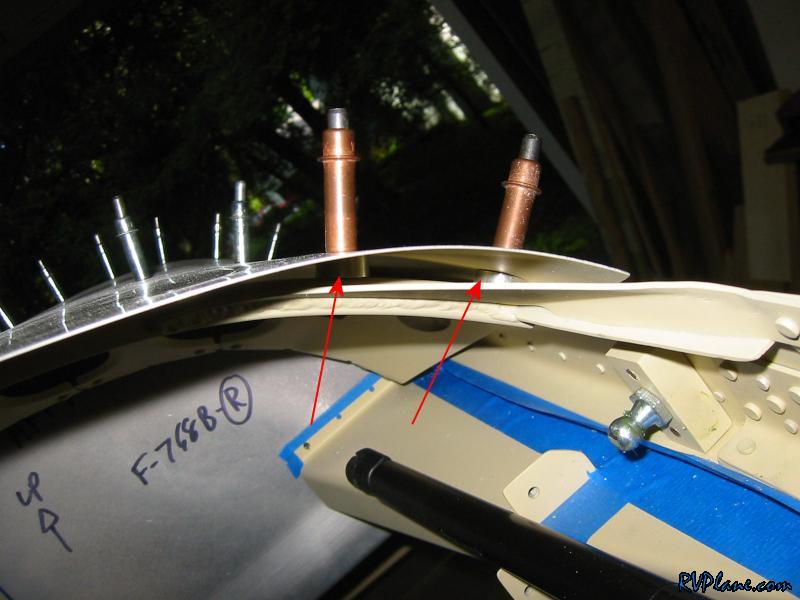 Fast forward a couple of days and I got the replacement UHMW block from Van's and drilled it perfectly this time. I think that $7.00 screwup is my only for the finish kit. I'll take that! 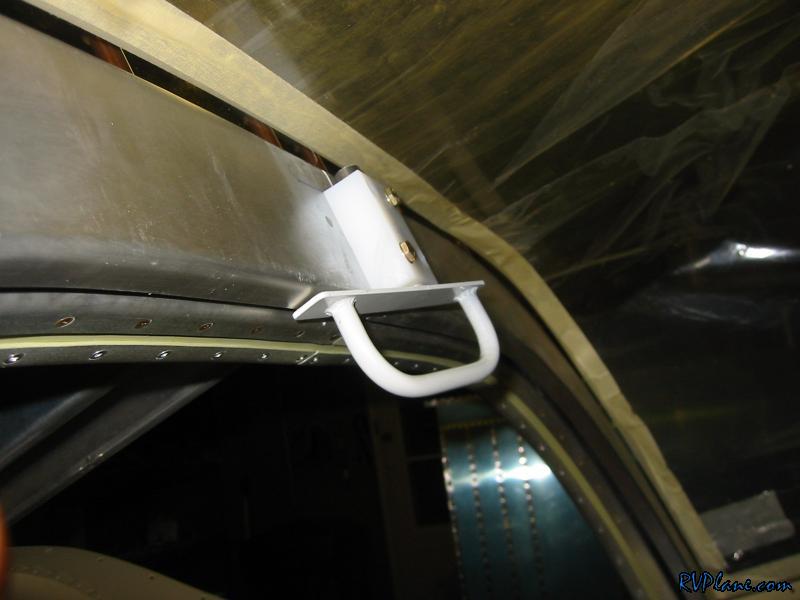
|
|||||
|
http://RVplane.com |
Last Modified: June 22, 2025 |