
|
 |
||||
Yeah, another weekend without any RV work...it was too nice outside and there were too many beers to be consumed to worry about the project! Someone on the VAF forums wanted to know how people were going to install their safety trim box. So here a pic of it is. For those that don't know what the safety trim is, its a device made by TCW Technologies (http://www.tcwtech.com/) that controls the aileron and/or elevator trim servos. From their website: Safety-Trim greatly simplifies trim switch wiring, especially when installing pilot and co-pilot switches. 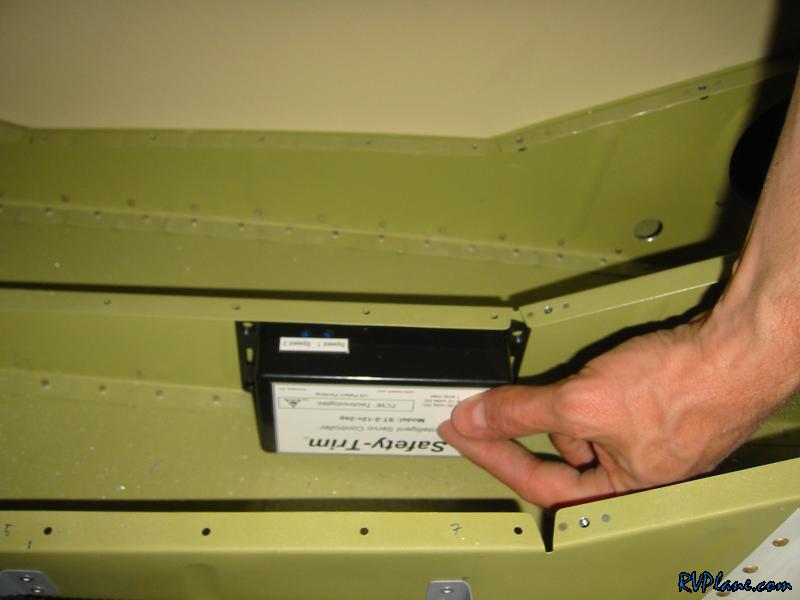 I drilled the canopy side rails with the rivet layout called out in the plans with #40 holes. The idea is you drill the plexiglass with a #30 plexi bit aimed at the #40 pre-drilled holes. I used 2 1/32" spacing (2" was called for). I also left out the front-most hole. Some people complained too much pressure between the canopy and the side rail was at this hole causing some premature cracking. 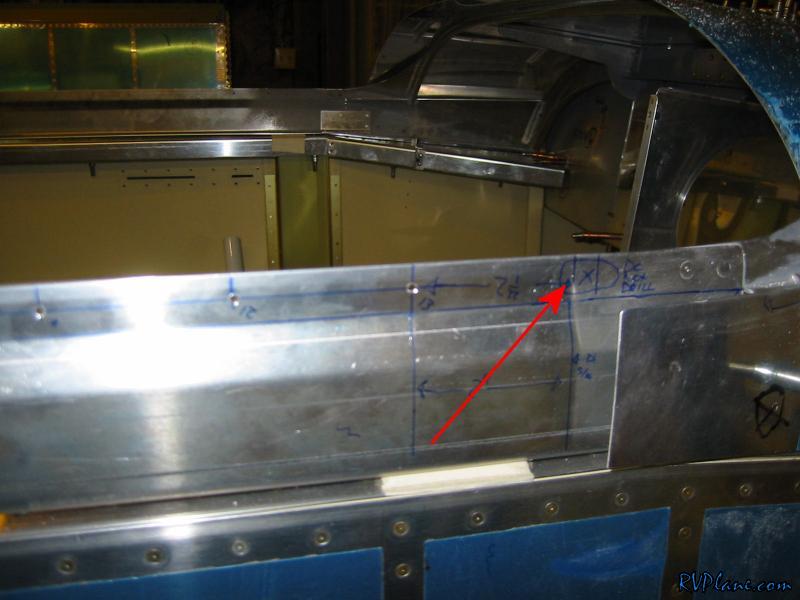 Drilled the canopy frame also with #40's. 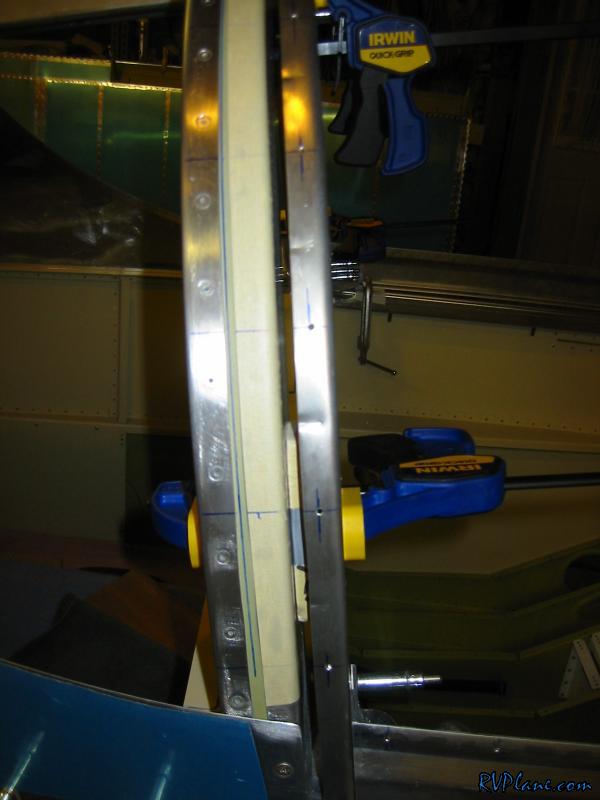 A lady at work was nice enough to let me borrow her space heater, so I put it under the canopy to get it nice and toasty. 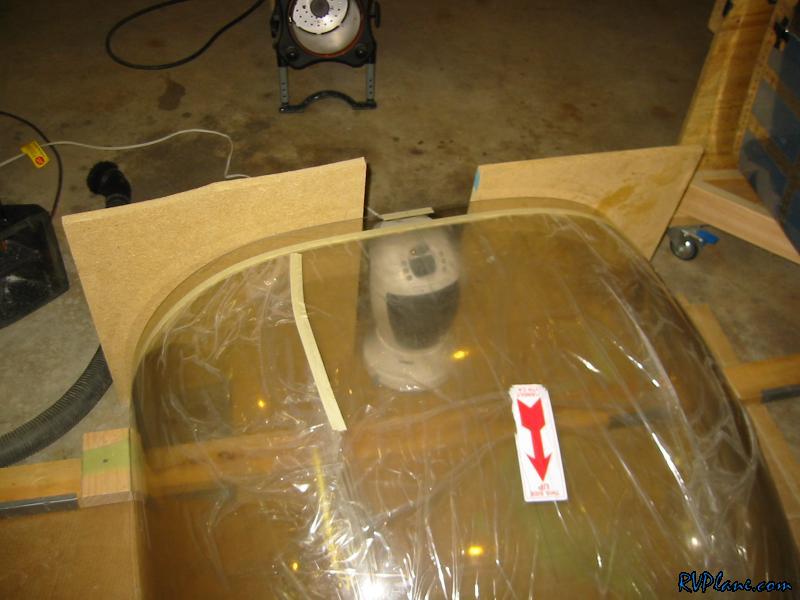 I heaved the canopy on the fuselage...one of the last times! 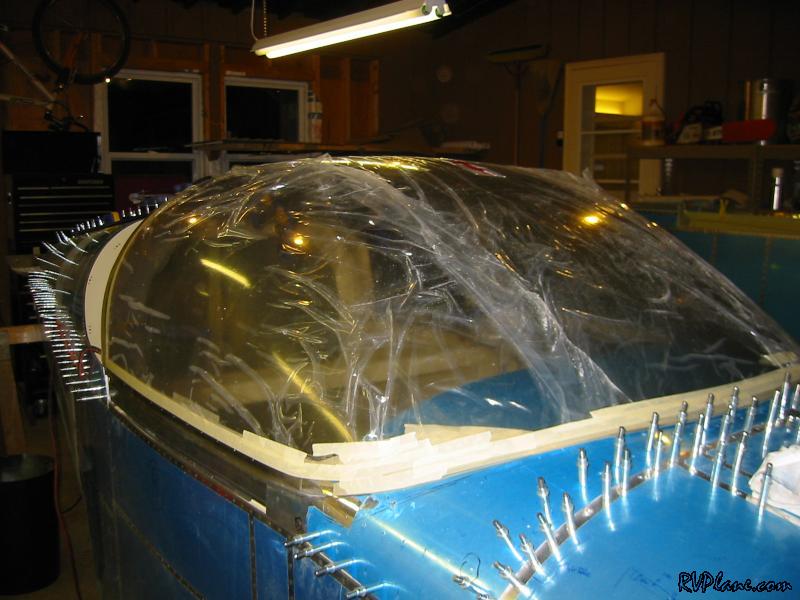 I then put the heater in the fuselage and let it cook a little more. I really don't want any cracks from drilling it. 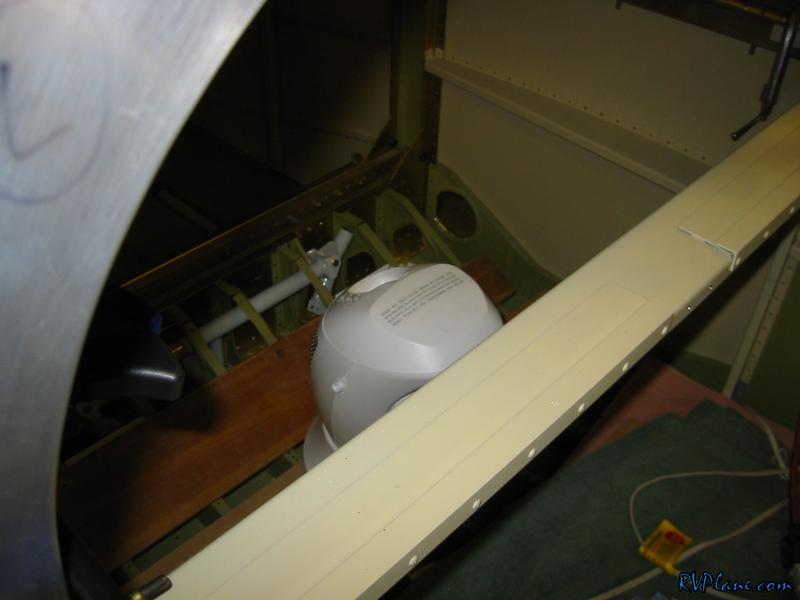 I played around with the plexi bits on some of the scraps I had laying around. I tried all kinds of pressure/speed/edge distance combinations to get it to crack. I actually did get it to crack when I pushed down really hard while drilling slowly. But I made a million holes without cracking when I had the drill spinning fast and using very little pressure, letting the bit cut through the plexiglass. 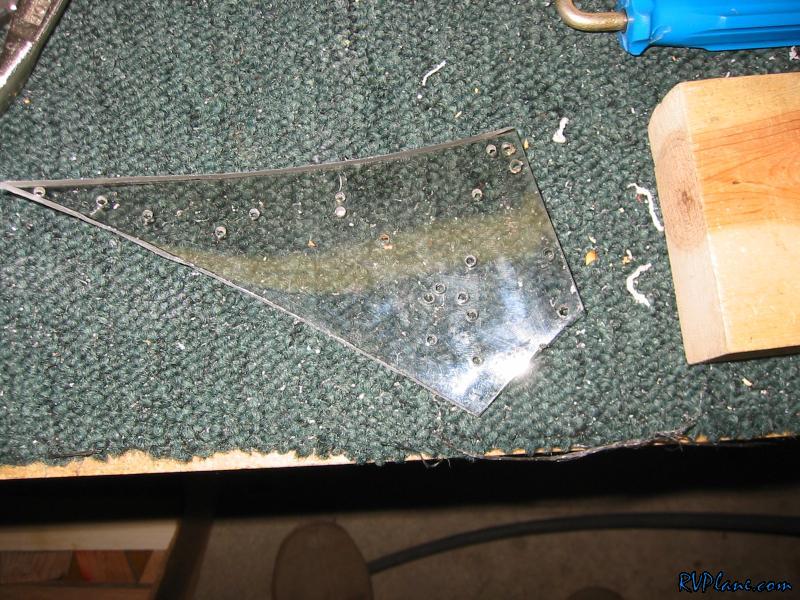 One last time I clamped the hell out the the canopy to the frame/rollbar with 10 clamps.  And taped the sides down tight. 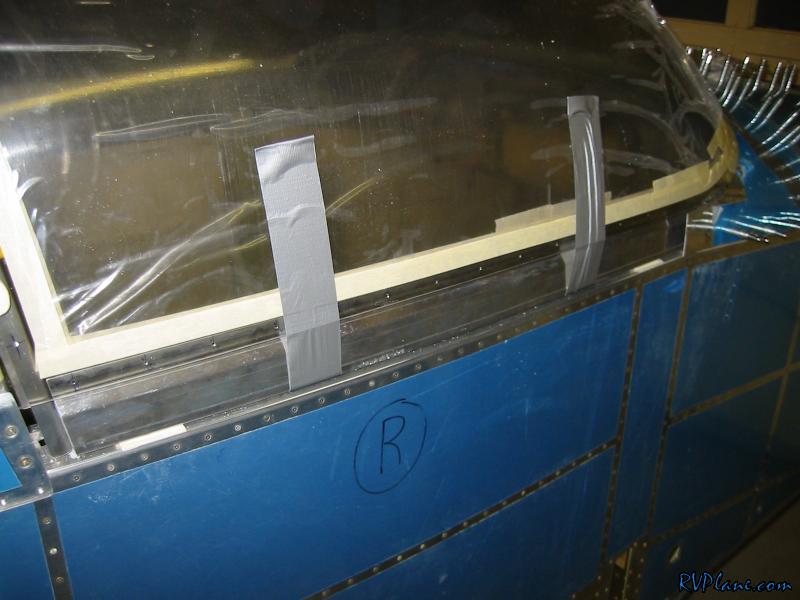 And kept the front taped down. 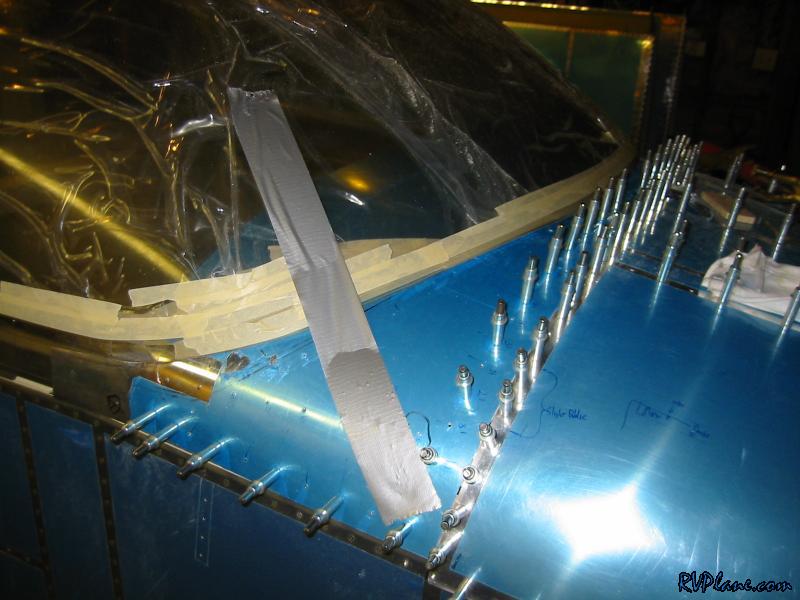 Going by Van's directions, I drilled 4 holes at the very top of the F-631A canopy frame. 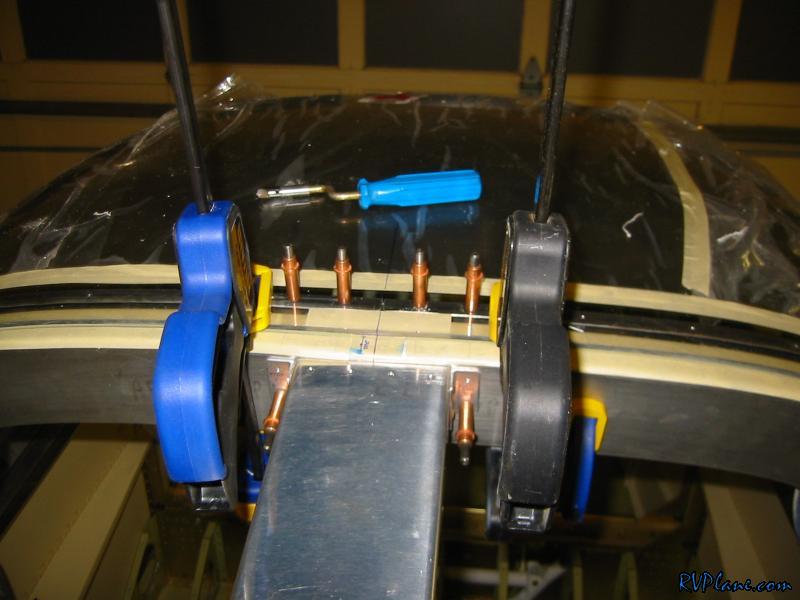 The I worked myself down the side, drilling about every 12". 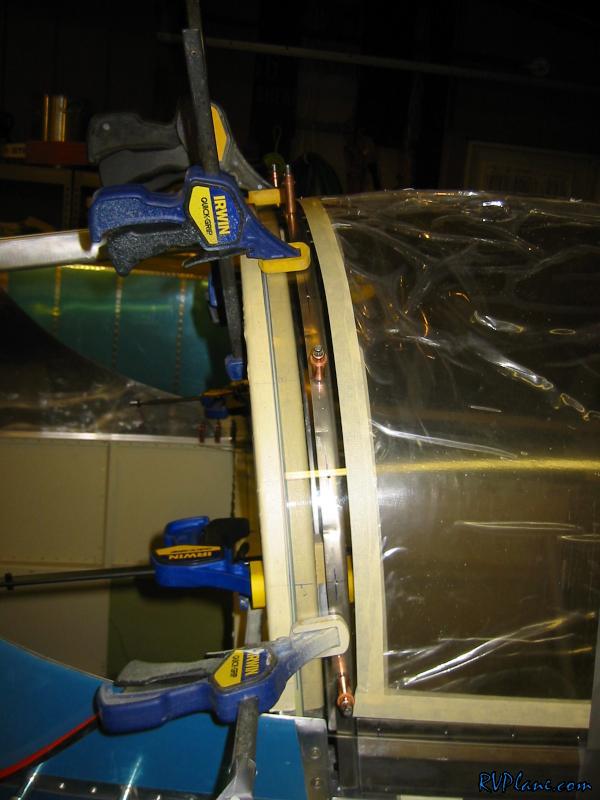 And then I did the sides, drilling about every 8". The canopy is in its final resting spot now. 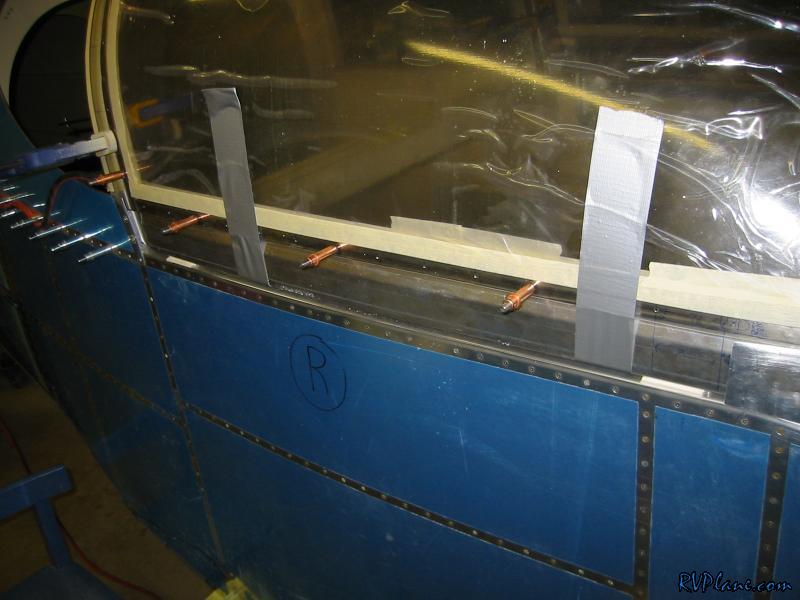 I then went back and drilled all the other holes. I am happy to say no cracks! My technique was drill #30 with a plexi bit, debur the one side of the hole and then cleco. Also, I don't think I need to trim the canopy any more. It's pretty much done. 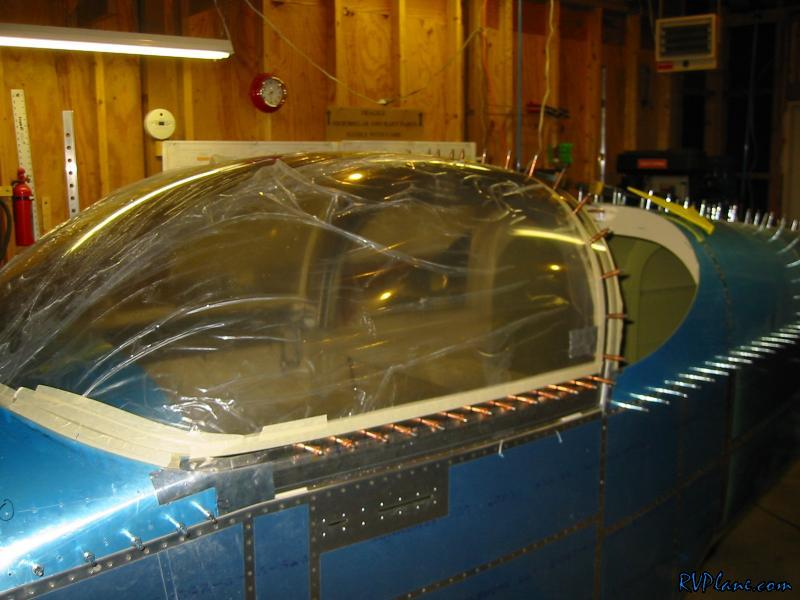 This pissed me off - the front rose about 1/8" on the left side. Oh well, I did everything I could to keep it down. This is a pretty typical problem. I figure I will fill it with black dyed epoxy/micro-balloons to keep it hidden from the inside. 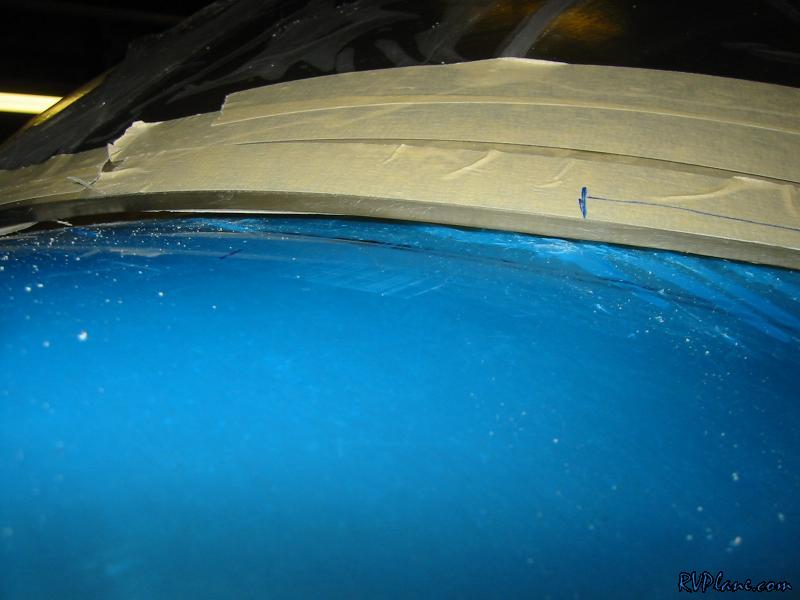 I got the aft canopy from the basement and put it on the fuse.  I marked a line where the aft top skin meets up with the aft canopy and labeled it 1,000,000 times DO NO CUT. I need to cut about 1.25" from this line. 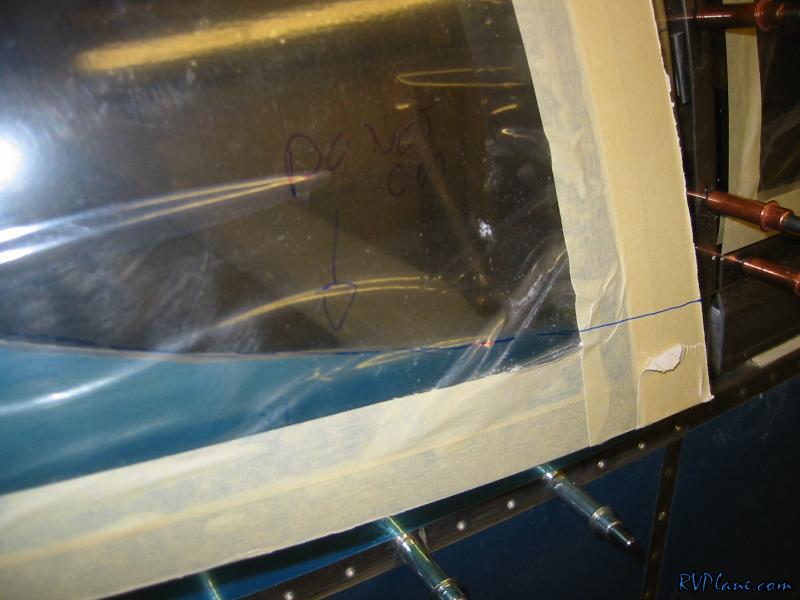 Oh, I unclecoed the canopy for the night. I was worried a big temp change could cause the canopy to crack with the pressure from the clecoes, especially since the inside holes weren't deburred. 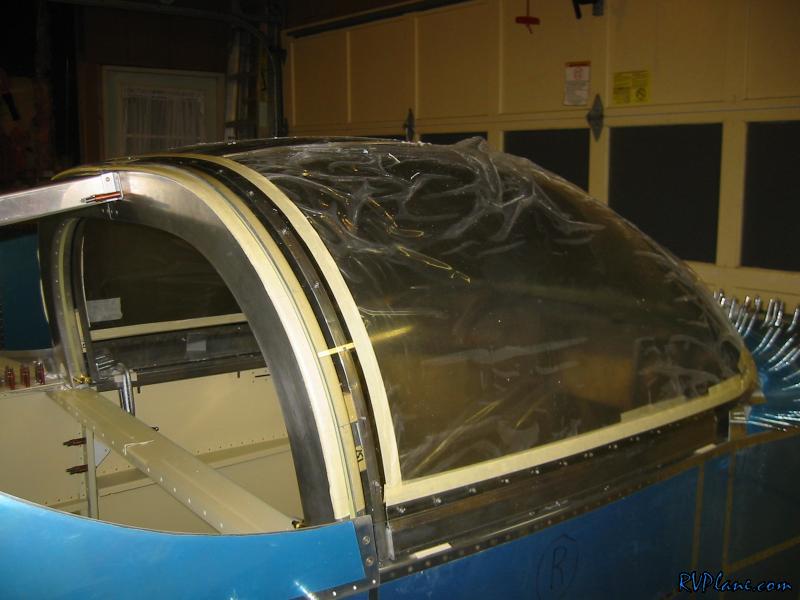 I then did a rough trim of the aft canopy. This was a major pain in the butt - definitely worst than the big cut. It was very awkward and a very LONG cut. Great progress tonight, and I am glad to have the drilling behind me. I was really worried about it, but like always, turned out to be a total non-event. 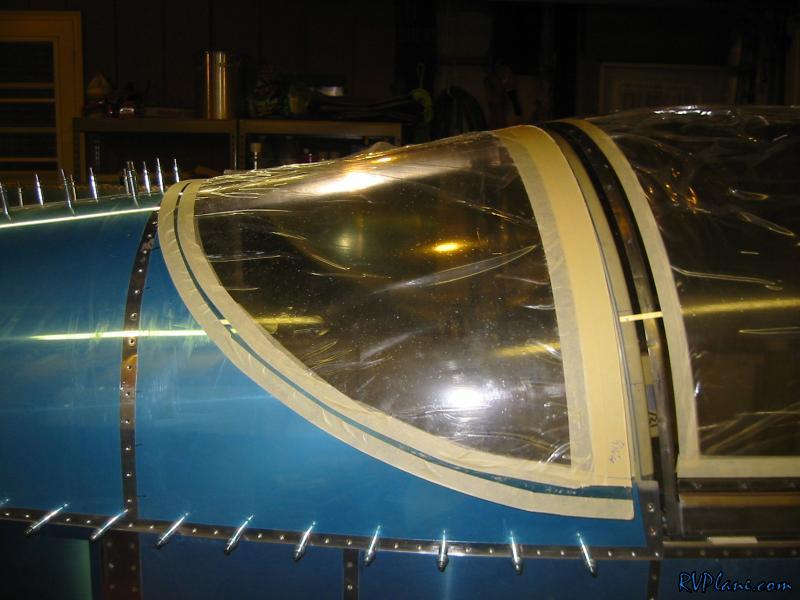
|
|||||
|
http://RVplane.com |
Last Modified: January 31, 2026 |