
|
 |
||||
Tonight I just didn't get the time I usually get on the RV. Got out of work an hour later than usual, and bother by calls from work all evening. Oh well, I can't complain, my job rocks 99% of the time. Anyways, I needed to rivet the top tabs between the canopy frame and the sides. I have no idea why you gotta wait until now to do it -- it's not like anything moves. Anyways, I marked and drilled two #30 holes. They don't give you dimensions for these holes (at least I didn't see them), but it was pretty simple to lay out two holes.  I countersunk the holes, riveted in a AN426AD4-5 rivet and then got out the dremel with the drum sander. I used it to smooth the transition from the side frame to the canopy frame. The transitional area is pretty much seamless - so much so the rivets I put in blended in perfectly! 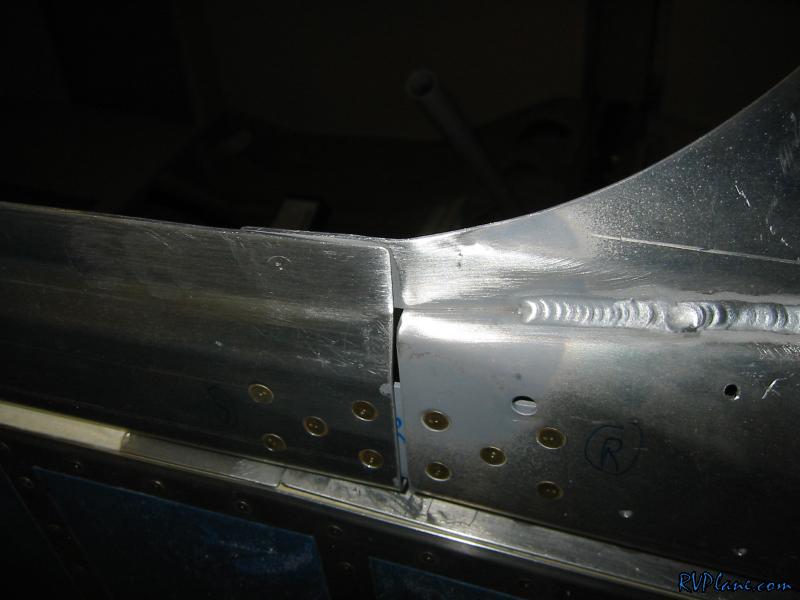 Here is another shot trying to show the blend. You can see the aft rivet here, but not the front one.  Next I marked where the joggle starts in the side canopy frame. This is the eventual cut line for the sides of the canopy. My line was 9/16" from the top of the frame. 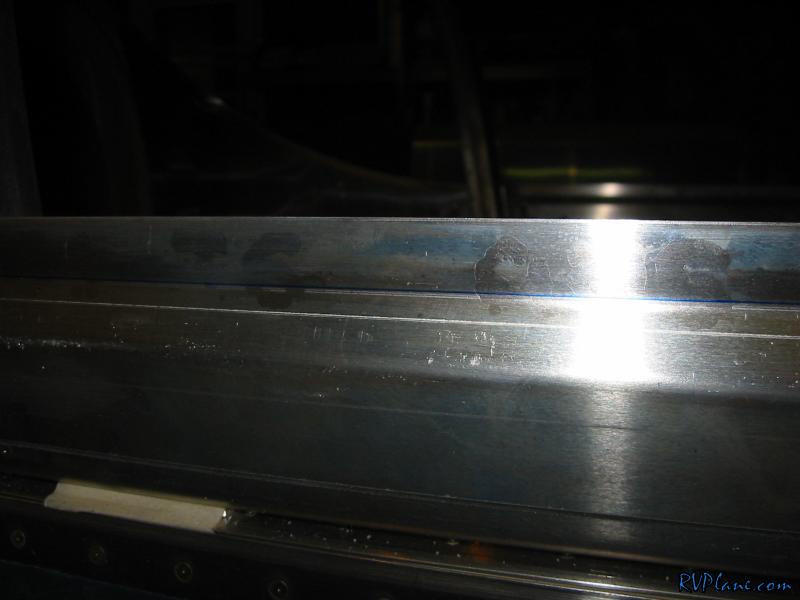 I put the canopy frame back on and clamped the hell out of it. 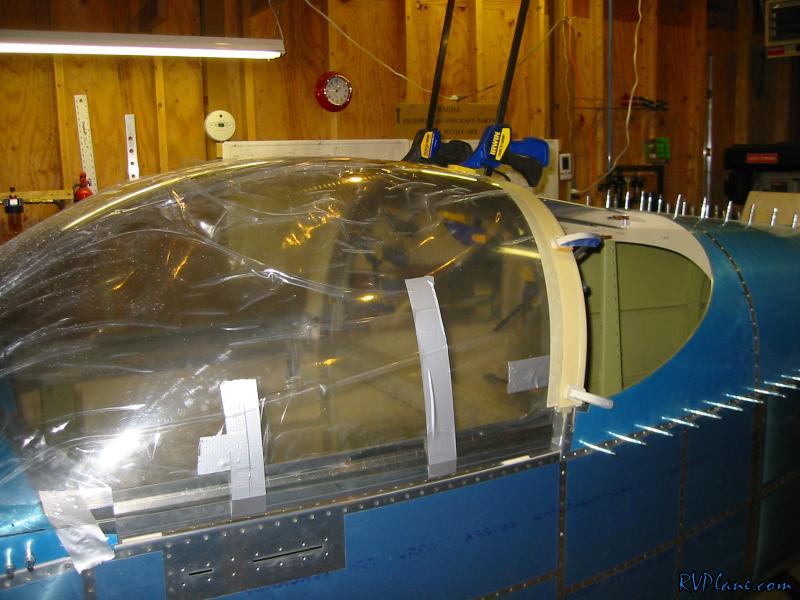 I used 6 clamps to hold down the aft to the rollbar.  I also used some duct tape to pull the sides into the side frame. This worked amazingly well. Here is the outside of how it is taped.  And here is the inside. Took no time at all and is fully adjustable. All in all, a good evening in the shop. Maybe I'll get the nerve up tomorrow to cut the sides. It is supposed to be getting progressively warmer this week, so that will be better on my electric and propane consumption to heat the garage up, although, I am getting used to it being 80 in there! 
|
|||||
|
http://RVplane.com |
Last Modified: June 22, 2025 |