
|
 |
||||
The last time I worked on the canopy frame, I was trying to get the C-614 as perfect as possible. Since the no-hole yoke didn't fit in here, I decided to tightly clamp everything down, take the frame off the fuselage, and then rivet it. 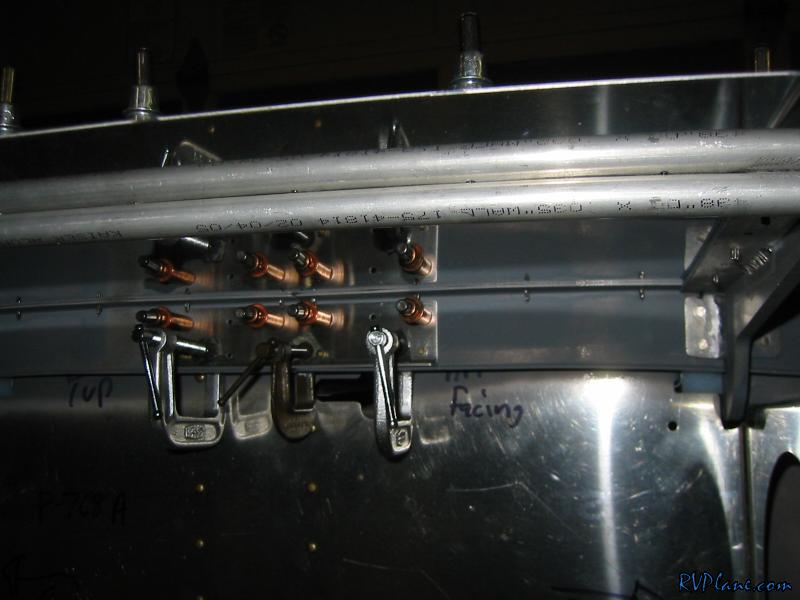 Here the two halves of the forward frame are riveted together. 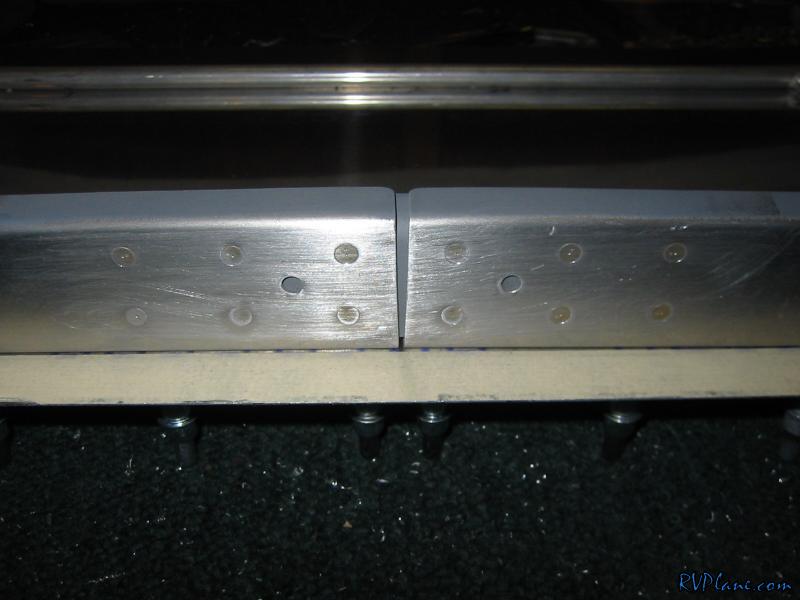 While the frame was in the fuse, I also marked through the 1/4" holes where the drill will go in the hinge brackets. Notice the lack of edge distance on the 1/4" hole. Nevermind the fact this needs to be enlarged to 3/8"! 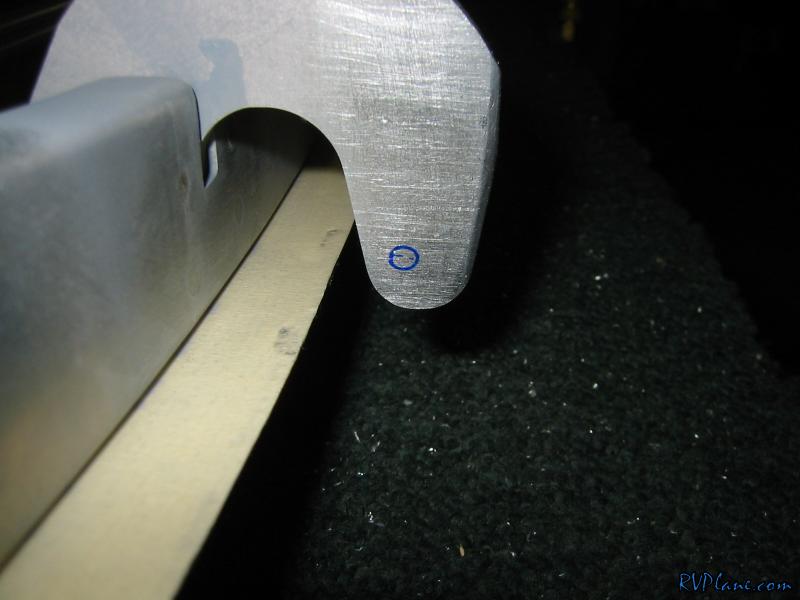 Looks like I will have about 5/64" to 3/32" of edge distance. Although this sounds like nothing, other builders have bothered Van's engineers and this is no issue. 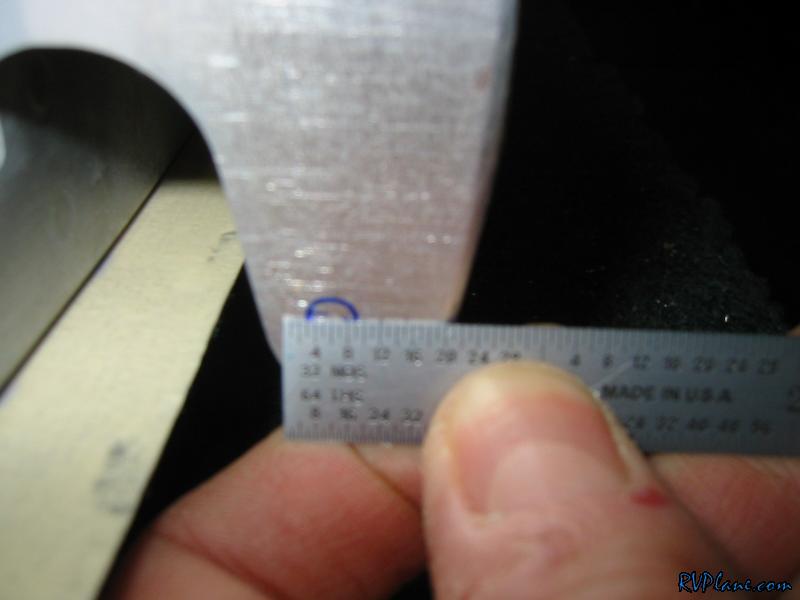 I fit the canopy frame on before I marked the brackets for the 1/4" hole. I found by hitting the frame right above the brackets with a mallet caused everything to fit a little nicer (i.e. push everything down). 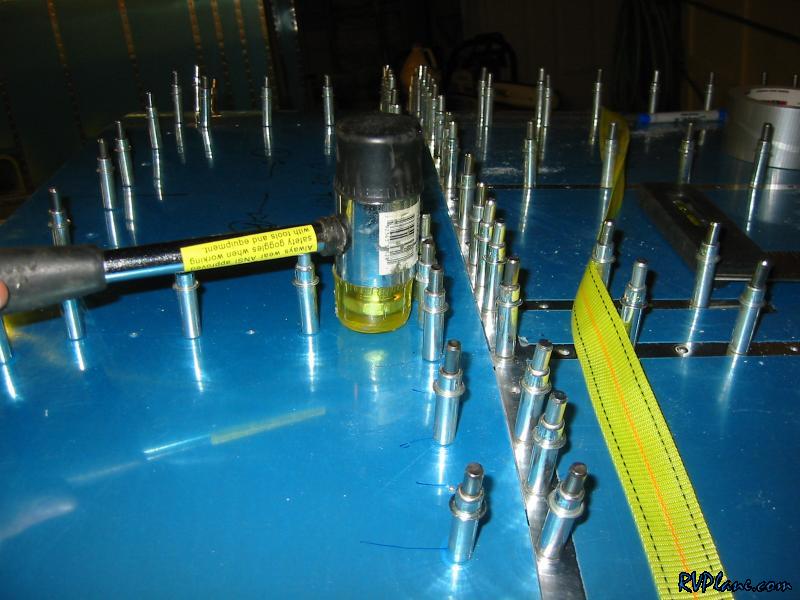 I got my 1/4" right angle drill bit out. This was the first time in the build I have needed it. 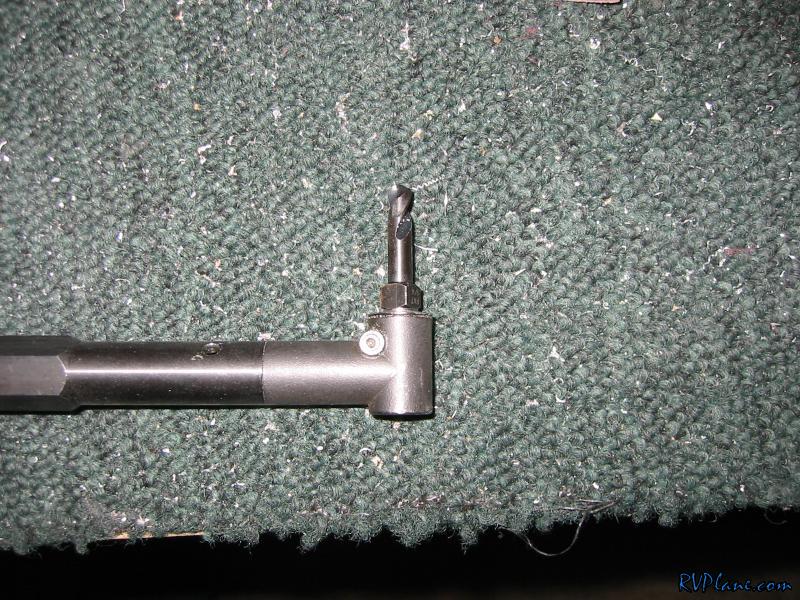 What I did was drill slightly into the canopy frame bracket with the right angle drill. 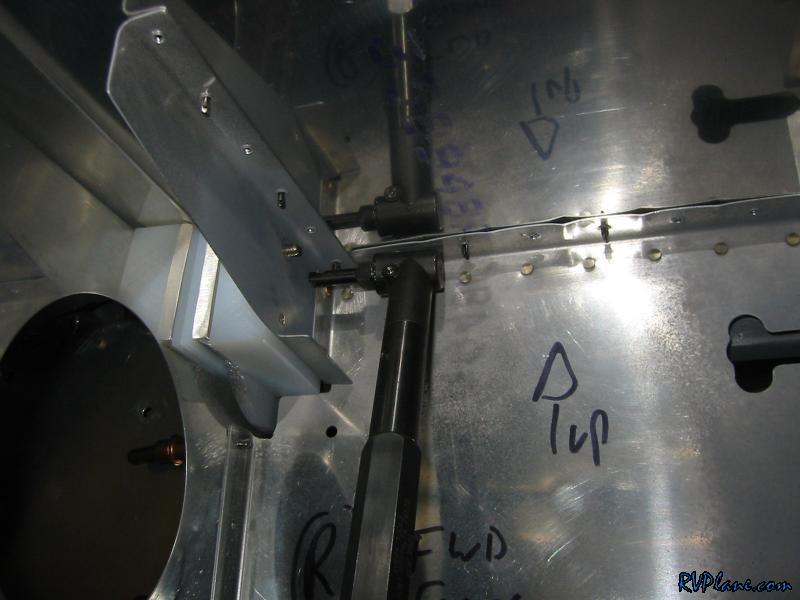 Here you can see the right hand side with just a little penetration of the 1/4" drill bit. 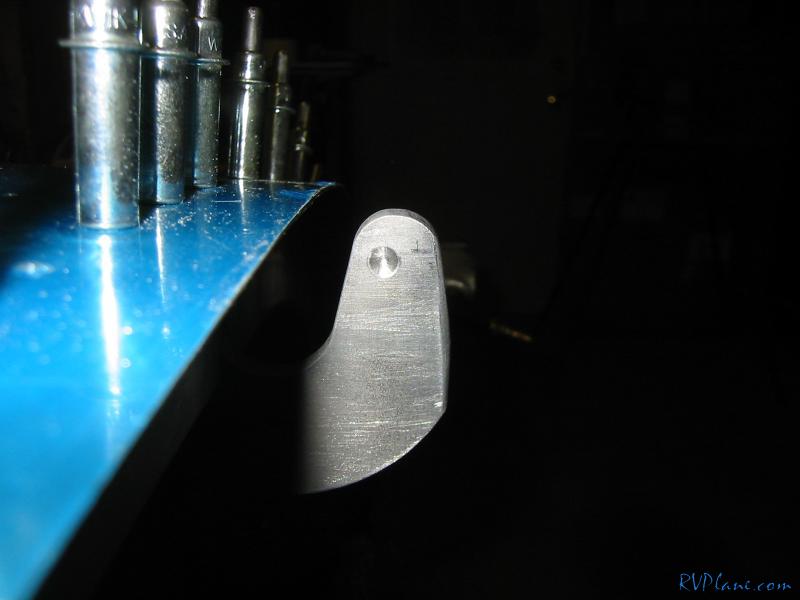 Same goes for the left side. 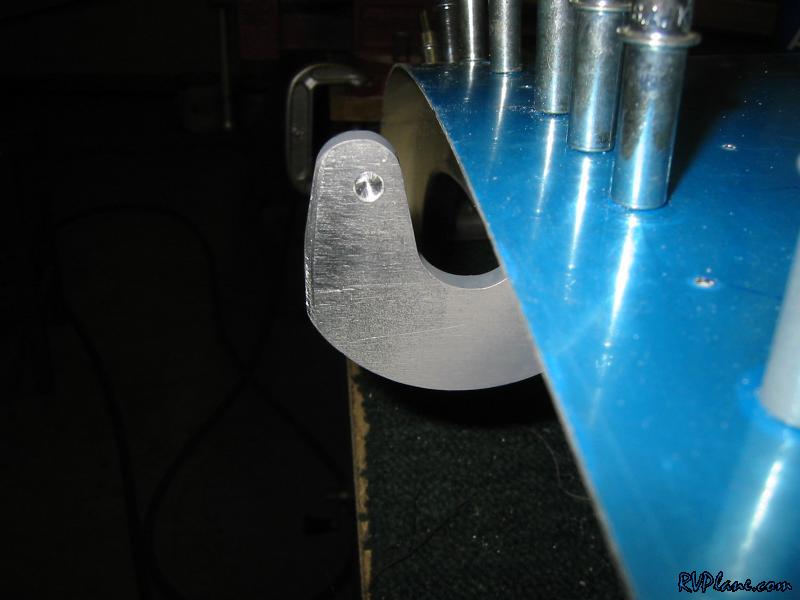 Since the holes need to be perpendicular the the surface, I drilled a 1/4" hole in a hard piece of oak wood on the drill press. 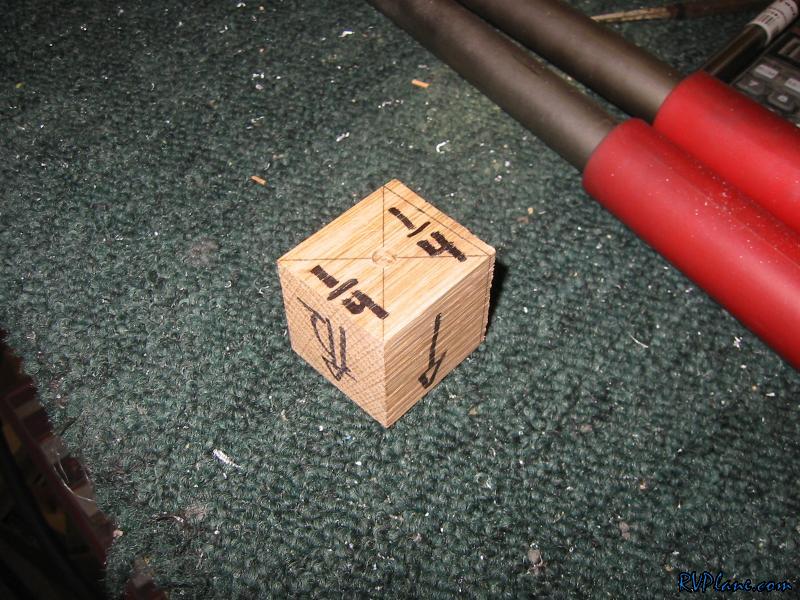 I clamped it to the bracket and used a 1/4" normal bit to drill the hole all the way through. 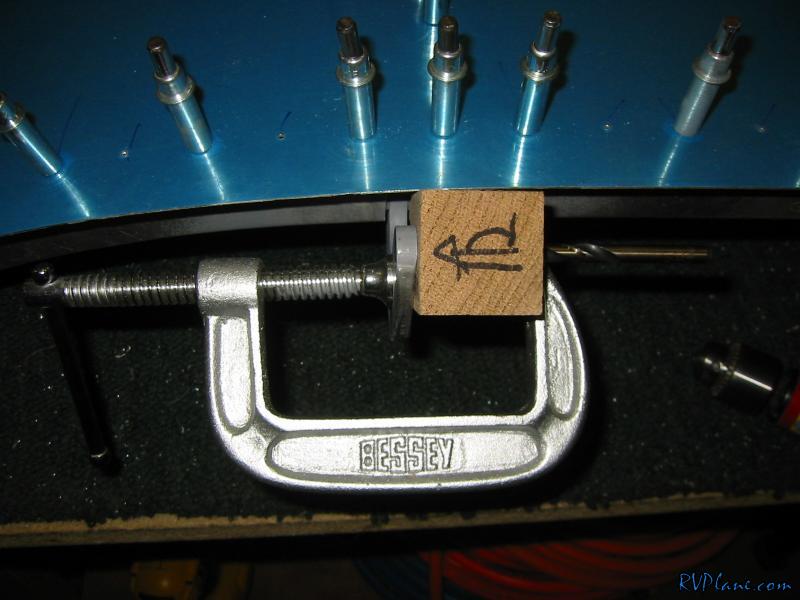 I then enlarged the 1/4" to 3/8" by using a Unitbit to 11/32", then a #U bit, then a 3/8" reamer. In the end, I had about 3/32" of metal between the hole and the edge of the bracket. Good enough for me. The bushing will add in some more support. 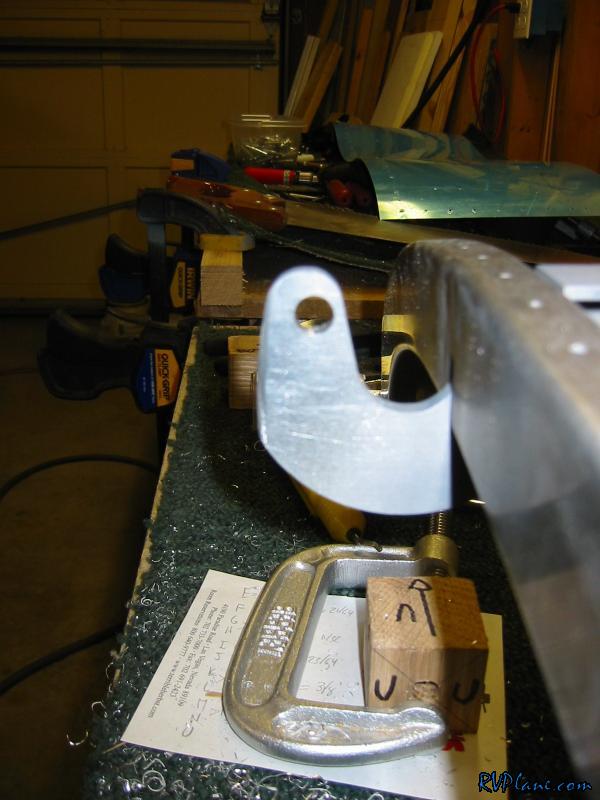 I then pressed in what appears to be a brass bushing with my hand squeezer. 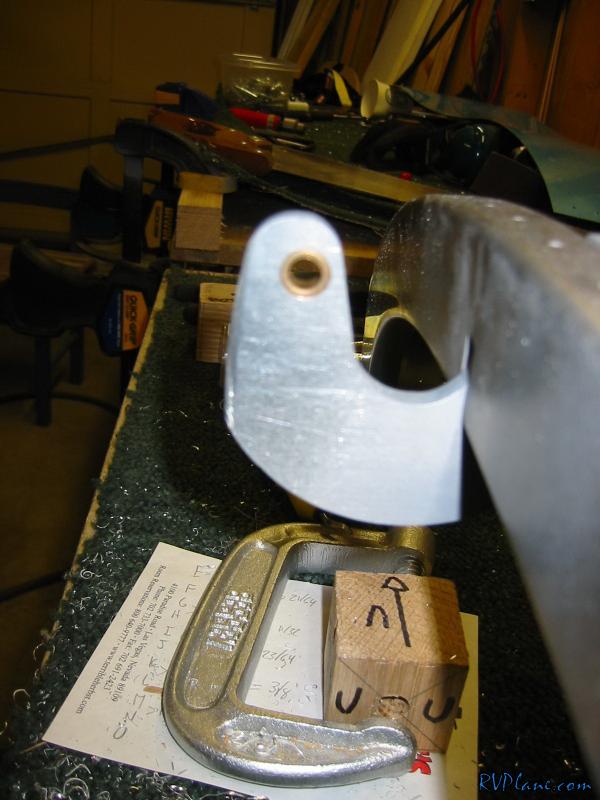 I ground down the end on these pins to make it easier to insert the pins into the canopy frame for the multiple fittings. 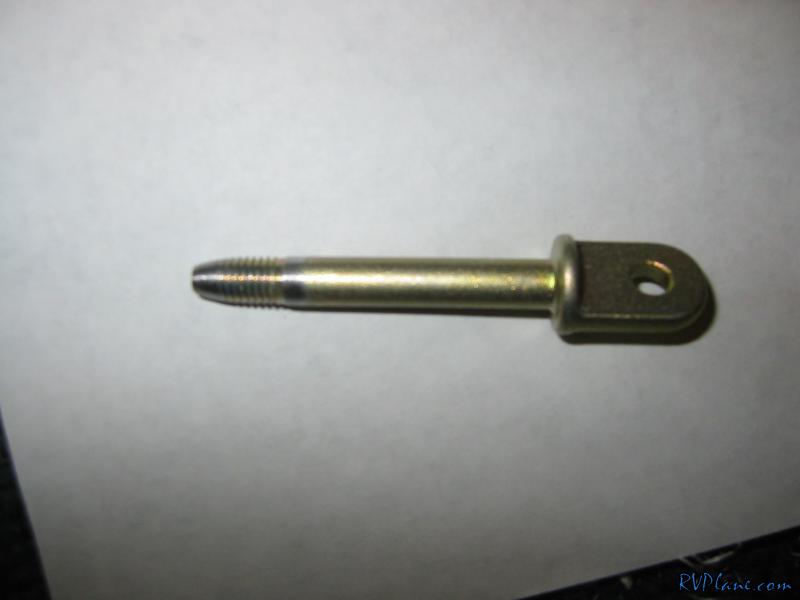 Here the frame is fitted with the pin inserted. The tapper immensely helped. I used a awl first to get the general alignment, then inserted the pin. 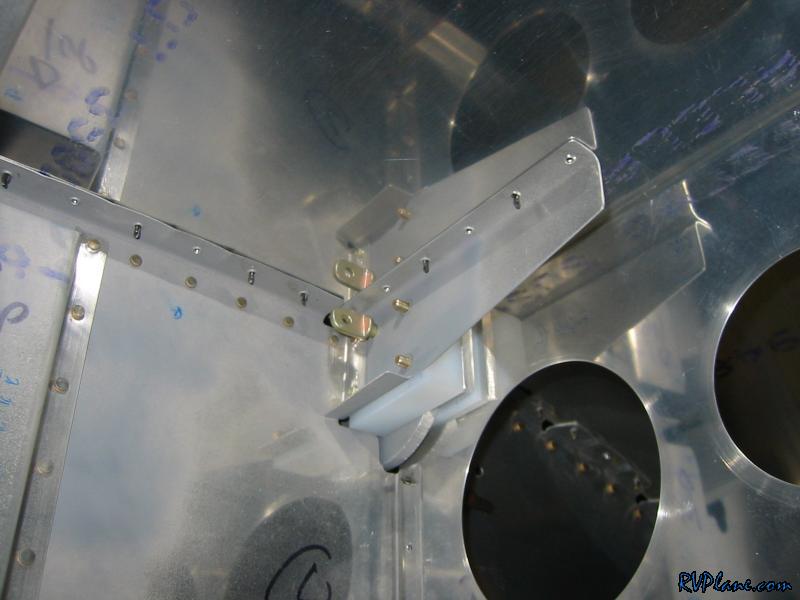 And voila, the frame is on the fuse. 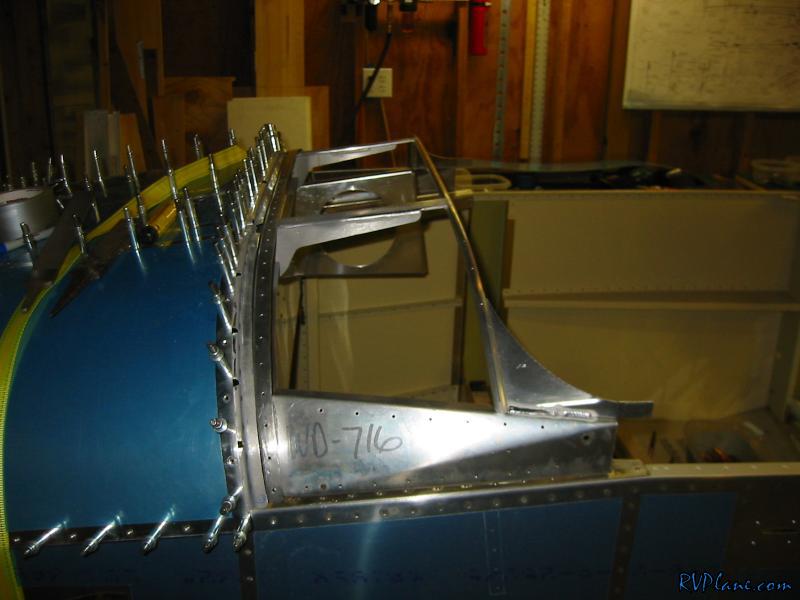 First issue is a good amount of interference with the center canopy gap seal. This was an iterative talk of marking where the interference was, taking the frame off, filing the gap seal, fitting the canopy frame and checking again. Took about 10 times to get it perfect. 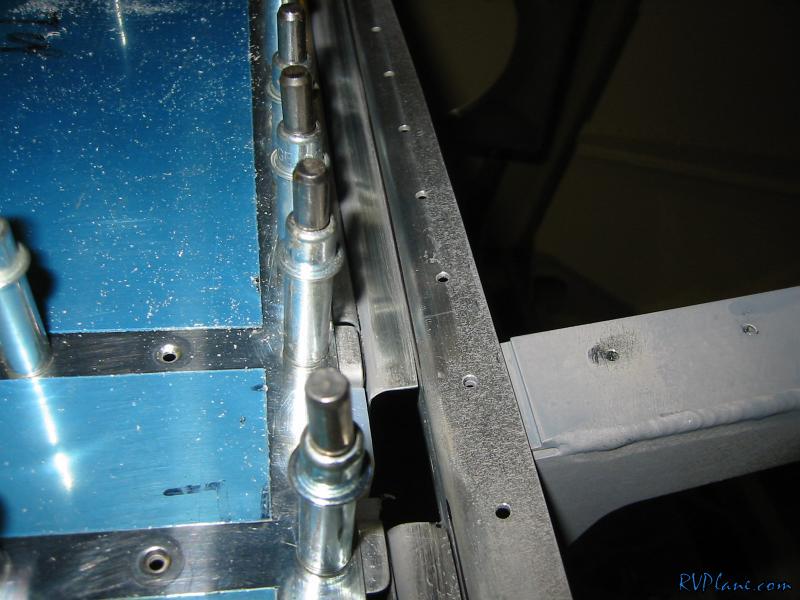 And here it is, finally rotating without interference. 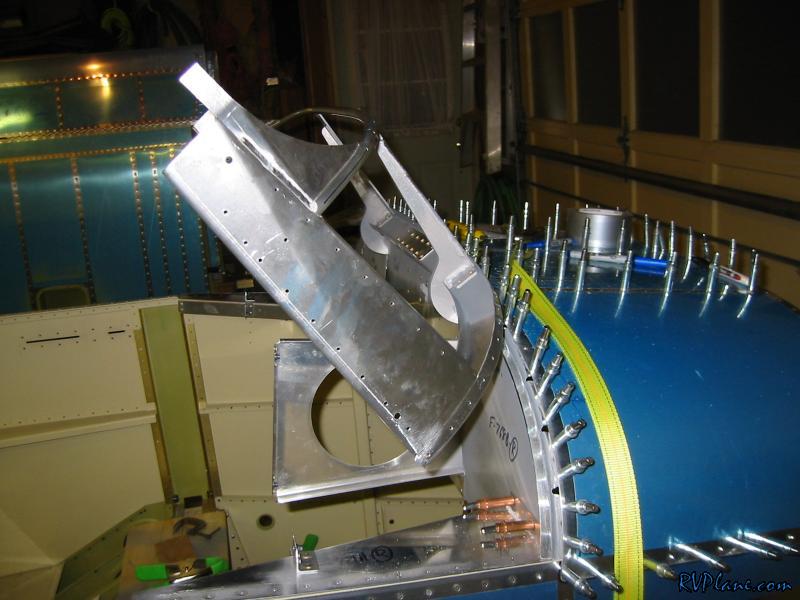 I put the skin back on the canopy frame, as instructed by Van's, and this is what i saw.....DOH! the left side has about a 2/32" gap 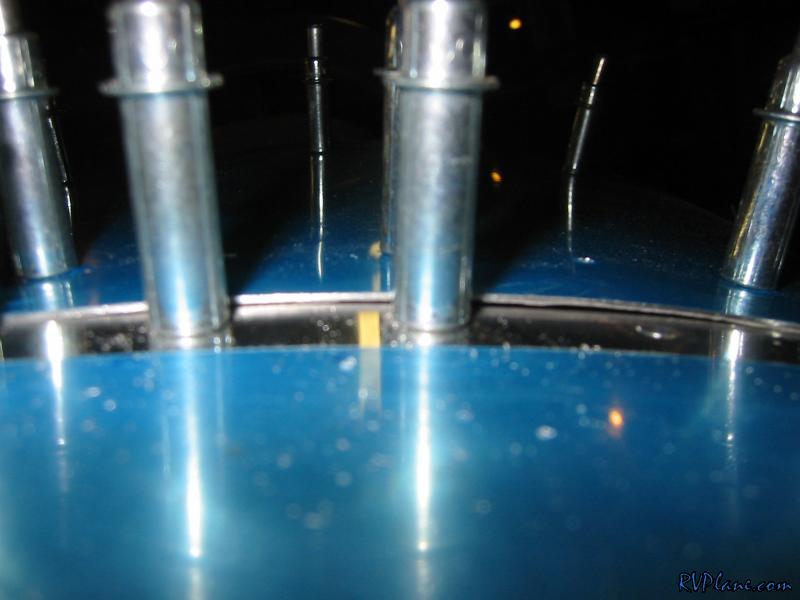 Double DOH! The right side has 1/32" gap! This is a super common problem with the tip-up RV's. I am not really mad at all because I did my very best at this alignment and it just didn't turn out perfect. Some people fix this with paint and filler later on. I think I have a metal shrinker at work I can use, and I know another local RV builder has a shrinker. I figure I can lightly shrink the skin at the 10 and 2 o'clock bulging areas. So when I get a chance that is what I am going to use to make this skin fit better. 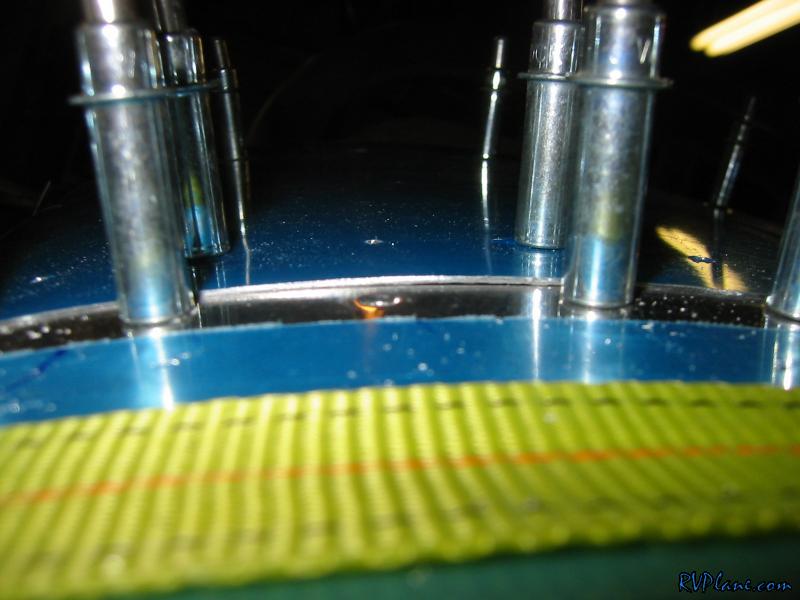
|
|||||
|
http://RVplane.com |
Last Modified: June 22, 2025 |