
|
 |
||||
Short night tonight, but better than no time! I rigged up the aileron servo to the rest of the mechanism. Installed the cotter pins and called this done!  Next I clecoed the bracket to the seat ribs and positioned the powder coated bracket in the middle position. Once the PC bracket was set, I clamped the servo down. 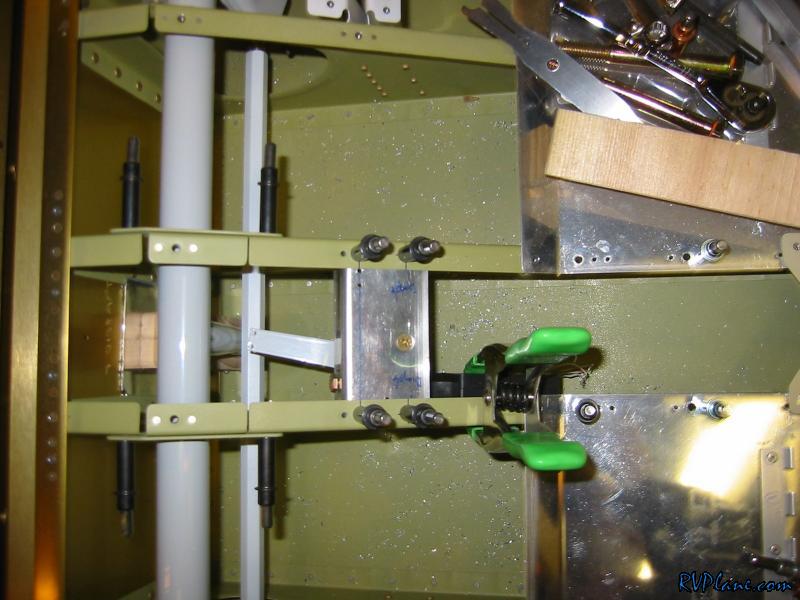 I had a short #27 threaded drill bit for the 90 degree drill adapter, but it was too short for the job. 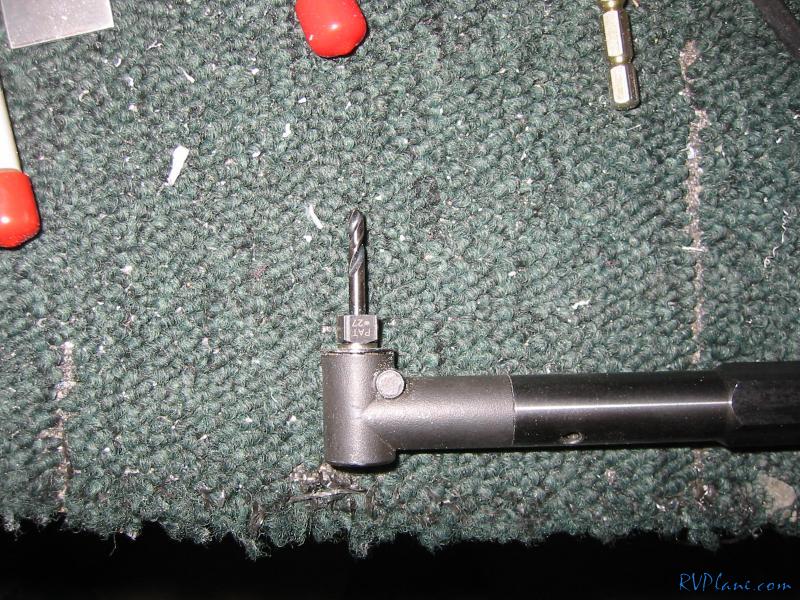 I decided to make my own #27 custom length drill bit. I chopped a normal #27 drill short.  Then I used this adapter that came with the 90 degree bit kit  it worked perfectly. Not too long, not too short. I am calling this DONE for now. I still need to rig up the springs and wire the servo, but both of those can wait. All the fabrication is done. I still need to prime the bracket and install nutplates, but that can wait for a priming day. 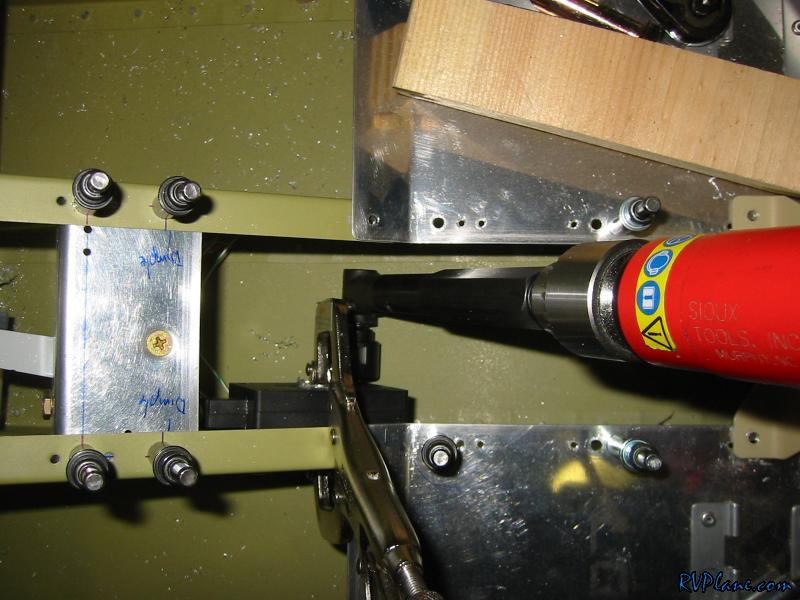 Oh, I got a bunch of stuff from the powder coaters today - fuel tank attachment steel, the tailwheel parts and the brakes. They did a pretty good job of plugging and taping everything off. What they missed was mainly my fault for not labeling everything better. That pretty much did exactly what I labeled - no interpretation. It took about an hour to sand off all of the excess power coat to get everything back together. No complaints, as they did it quickly. 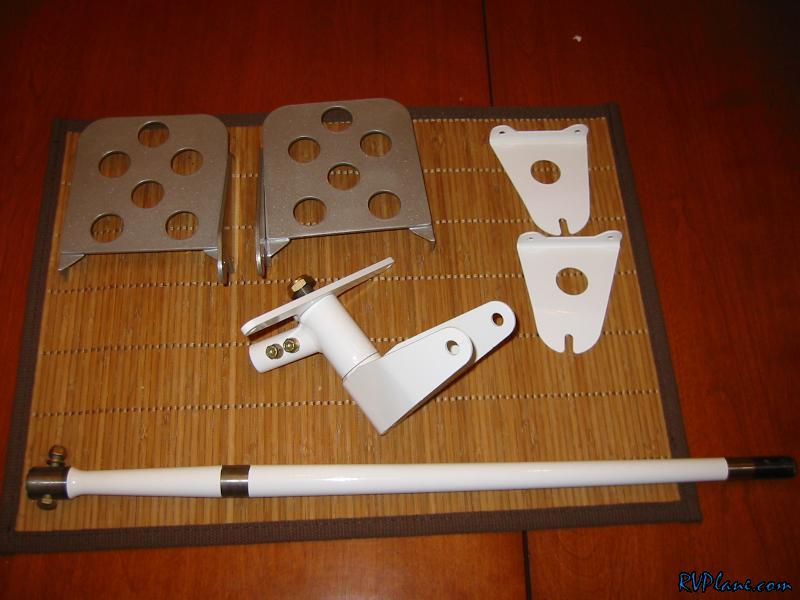 My brake pedals turned out AWESOME. I was going for more of a chrome look, but the powdercoaters said the chrome finish looks like crap, and plus they never run it, so I would have to pay a lot more for the setup. They talked me into Silver, whick turned out really great. It has a great textured look. 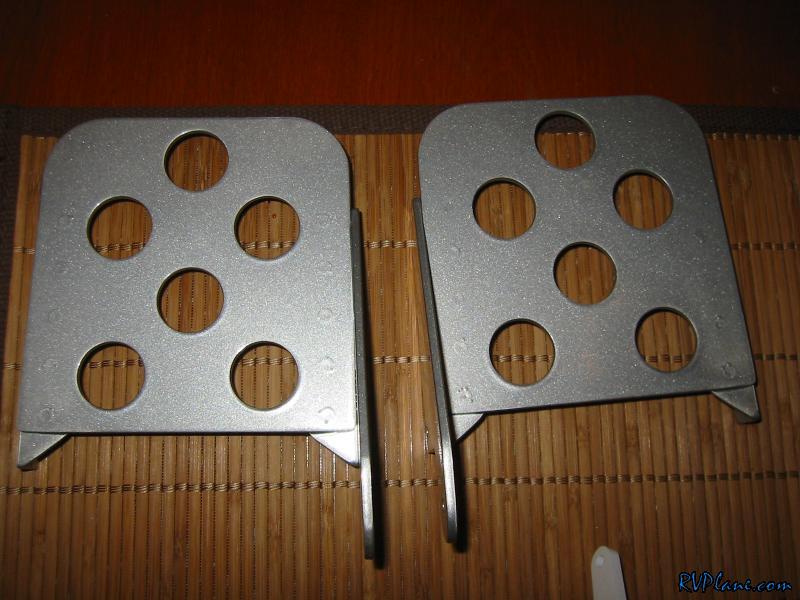
|
|||||
|
http://RVplane.com |
Last Modified: January 31, 2026 |