
|
 |
||||
My plan is to mate up the wings to the fuselage this Saturday. Today is Tuesday, and I only have tonight and Thursday to get all of the prep out of the way before the big event. I bought some 6" long 7/16" bolts from Lowes to use as temporary drift pins. These go in first before other 7/16" hardware store bolts are used. I cut off the threads and taped down the front of the bolt to help ease it into the fuselage. I also took a few mills off of the shank of the bolt. 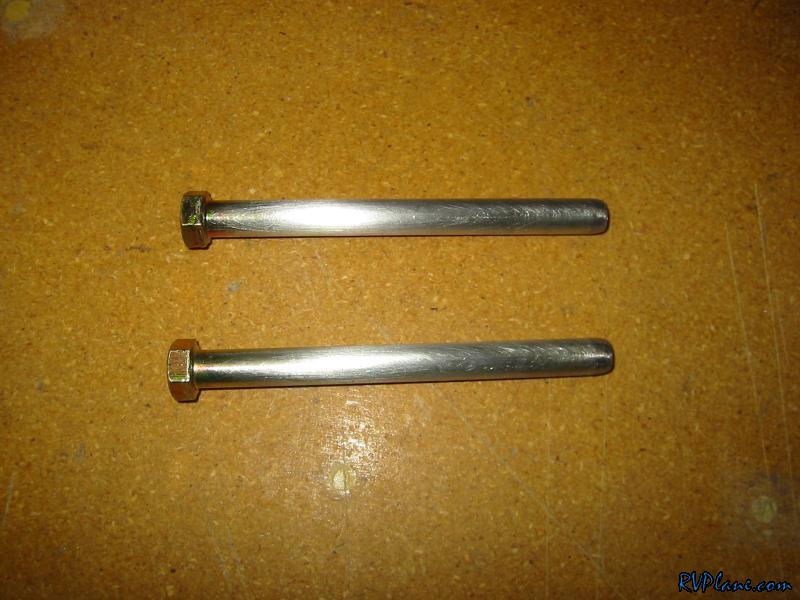 I had a hell of a time finding 4.5" long 7/16" bolts (the right length for this process). Home Depot didn't have any 7/16" hardware and Lowes' selection wasn't very good at all (plus what they had was high grade expensive stuff). I ended up finding the 4.5" long bolt at the local Ace hardware. The bolts needed to have a couple mills taken off the shank. I chucked the bolt in the drill press and used the vixen file just a tad, followed by a fine file, emory cloth and a scotchbrite pad. 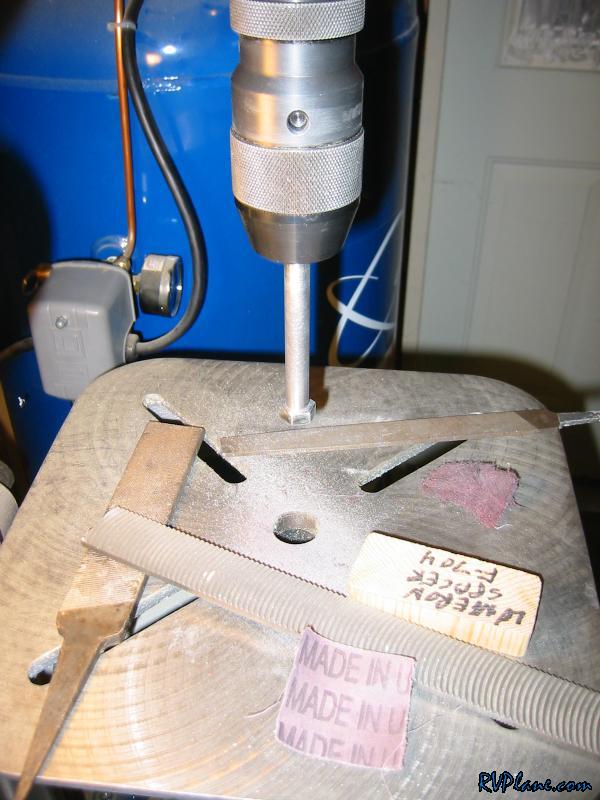 I knew I had it right when the bolt would easily go through both center spar sections. 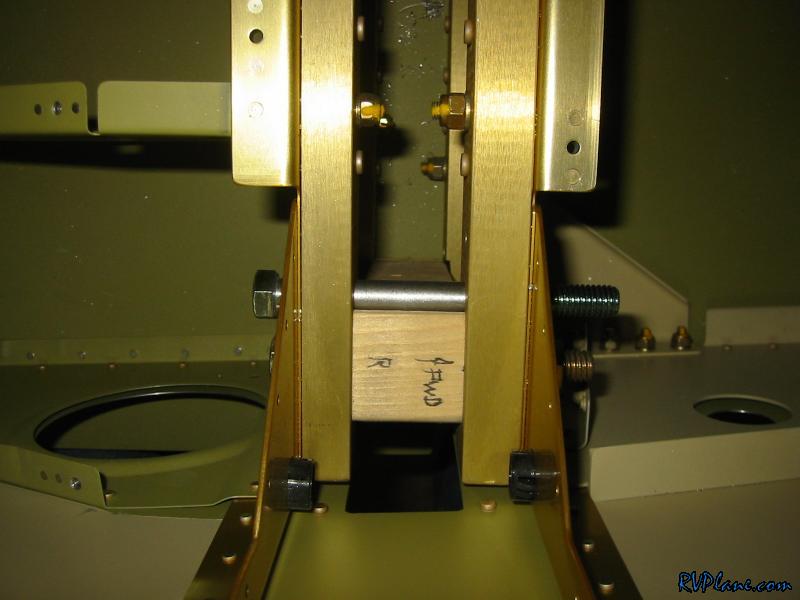 Next I measured out where the conduit would penetrate the fuselage and made a 3/4" hole. This will most likely get a 5/8" gromet. 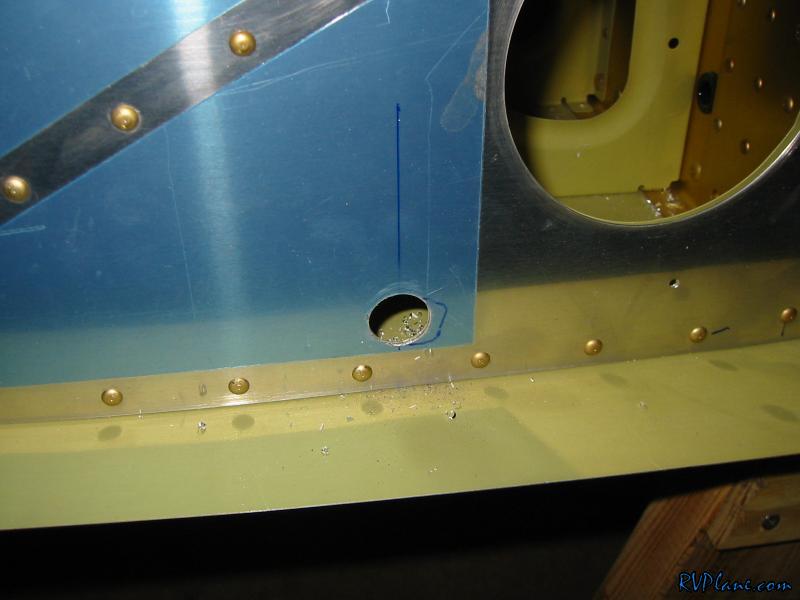 In order to drill the bottom wing root fairing (its actually the part attached to the fuselage), you need to mark lines where the holes are that didn't get rivets on the wing root. I made some perpendicular lines followed by a 3" line parallel to the wing root. These two lines will enable me to know exactly where the hole is already in the wing so I can attempt to backdrill into it. 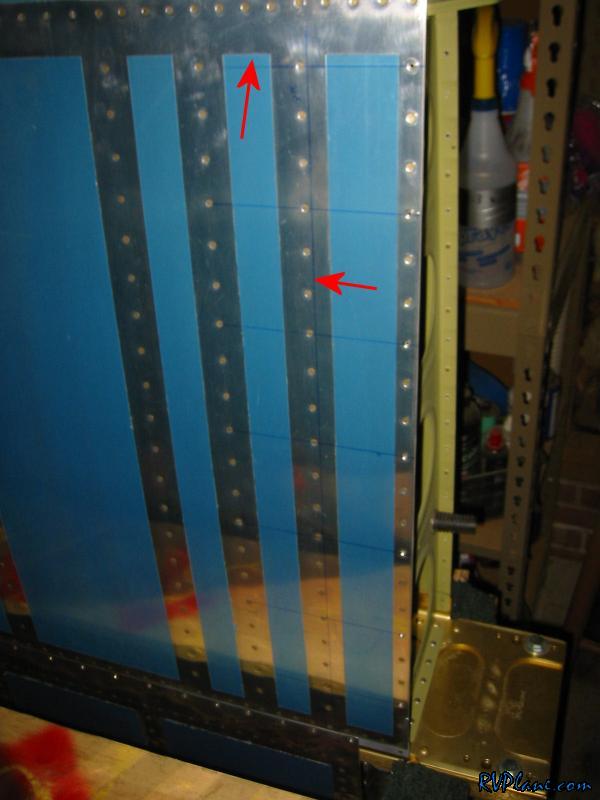 My fuselage stand has been a little wobly, so I put some 1x3's on it. Much much sturdier now. 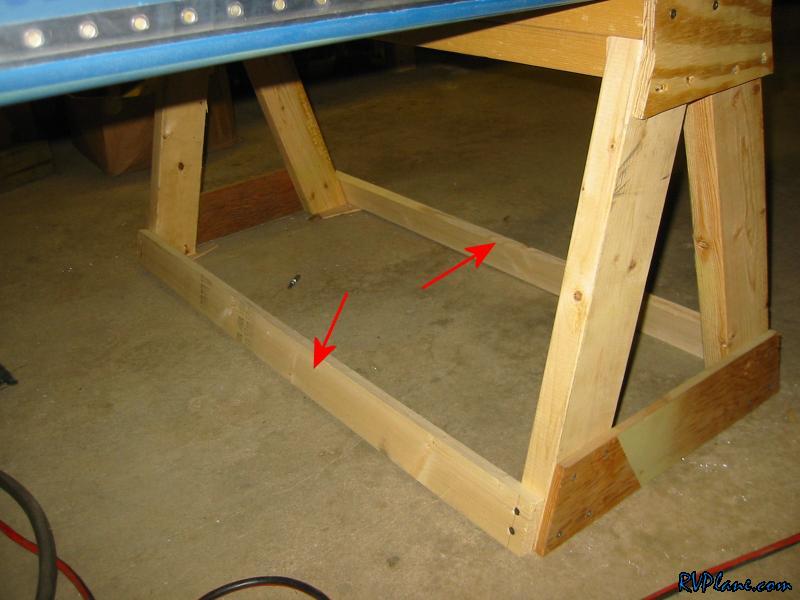 I got the aileron pushrods down and adjusted them to the proper length. 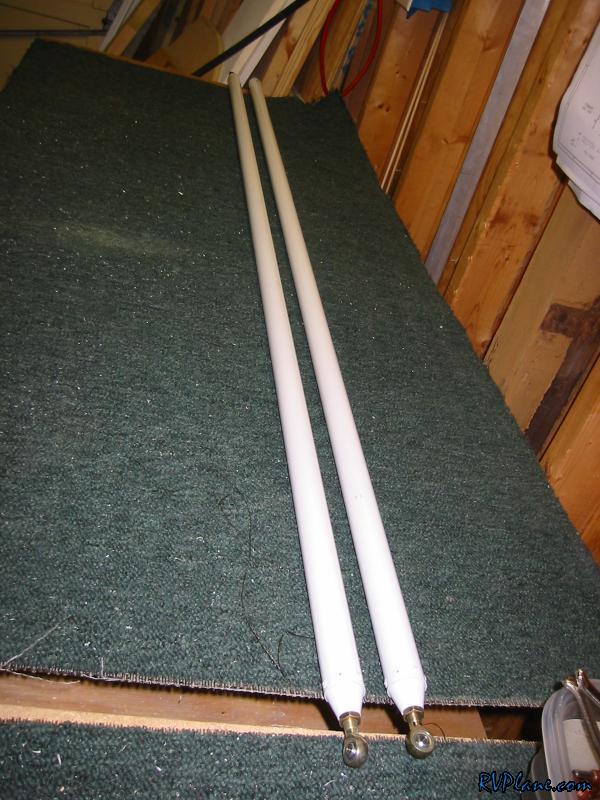 Next I marked the rear spar on the fuselage for edge distances. I thought that red sharpie was the appropriate color. Basically, you are using a 5/16" bolt which means you need 5/8" edge distance. This is super critical (as mentioned in the instructions) to nail. What you see pointed out is the approved area for the center of the drill bit to be. It seems I have TONS of room to work with. The only unknown is to the left, which will be indicated by how the rear wing spar fits into there. 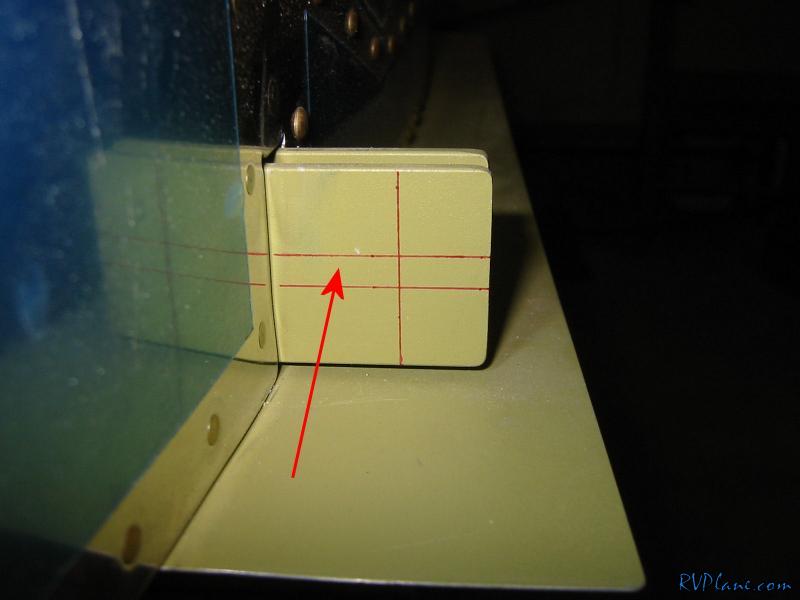 Next I needed to take off the ailerons and flaps. The aileron attach points have all kinds of washer combinations so I made a little drawing on masking tape so next time its easy. 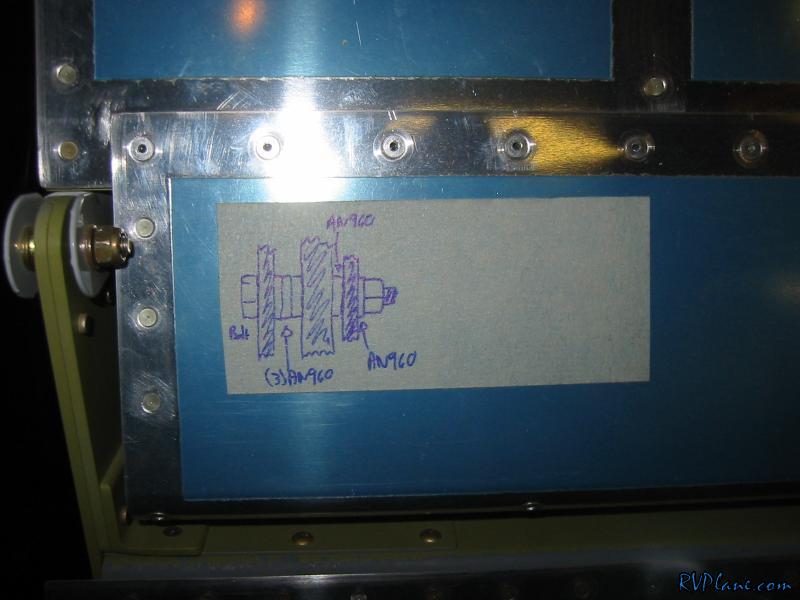 Finally I needed to make a 1 1/16" bushing for where the aileron pushrods attach to the bellcrank. I have no idea why I didn't do this long ago, but whatever. Its so easy to cut tubing precisely now. 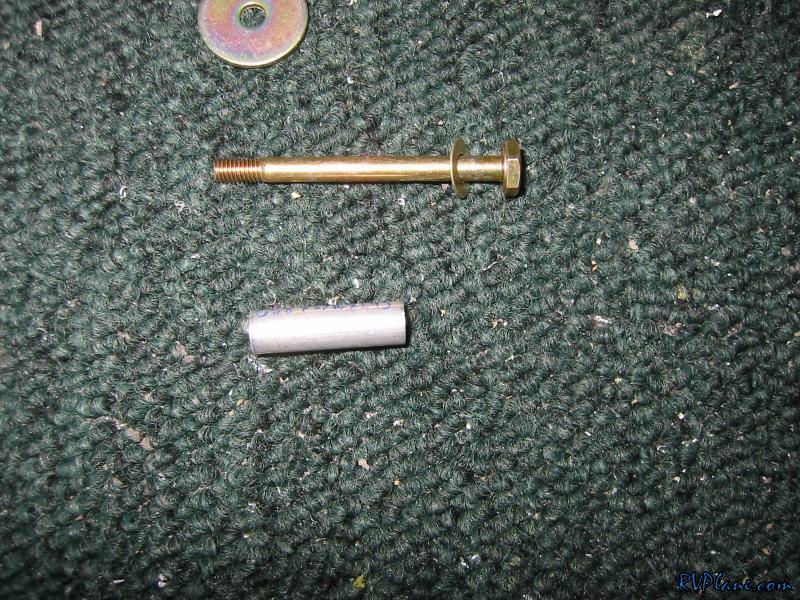
|
|||||
|
http://RVplane.com |
Last Modified: June 22, 2025 |