
|
 |
||||
I started out today making the outboard seal support angles. These things probably took longer to make than the rest of what I did today. 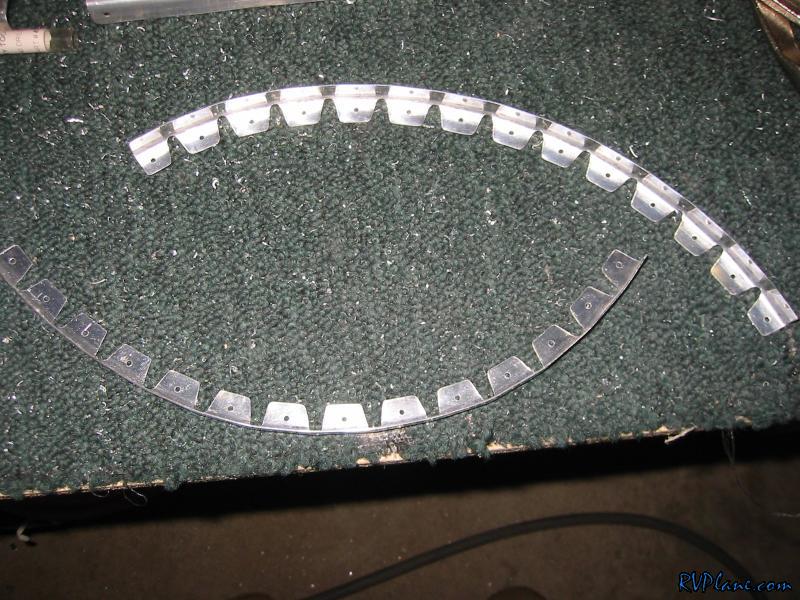 I mounted the seal support angles to the outboard subpanels with a 1/8" spacing. 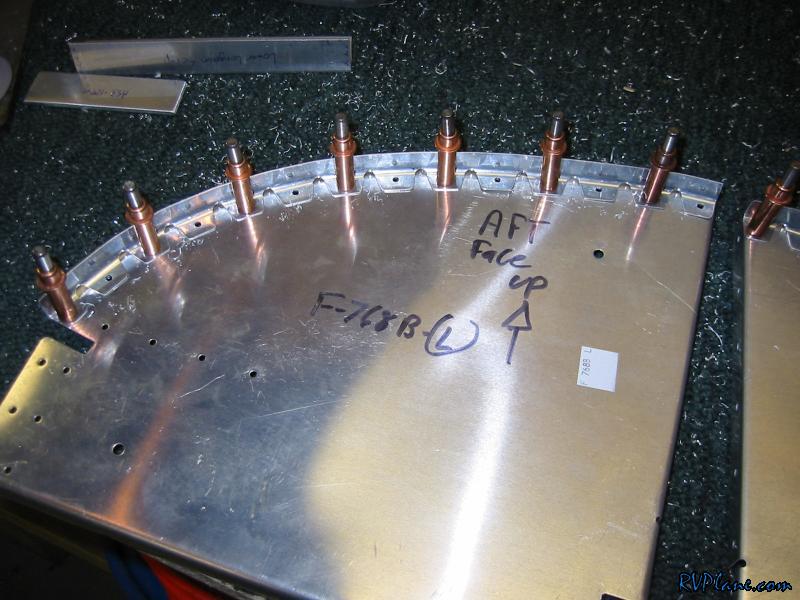 Now the fun begins....I mounted everything to the fuselage.  Next I struggled to get the forward top skin on. It wasn't so bad....and ITS THE LAST SKIN! Anyways, with that skin on, I backdrilled the holes into the F-643-1 Fwd Fuselage Channel (center) and the two F-644-L/R channels (outboard) 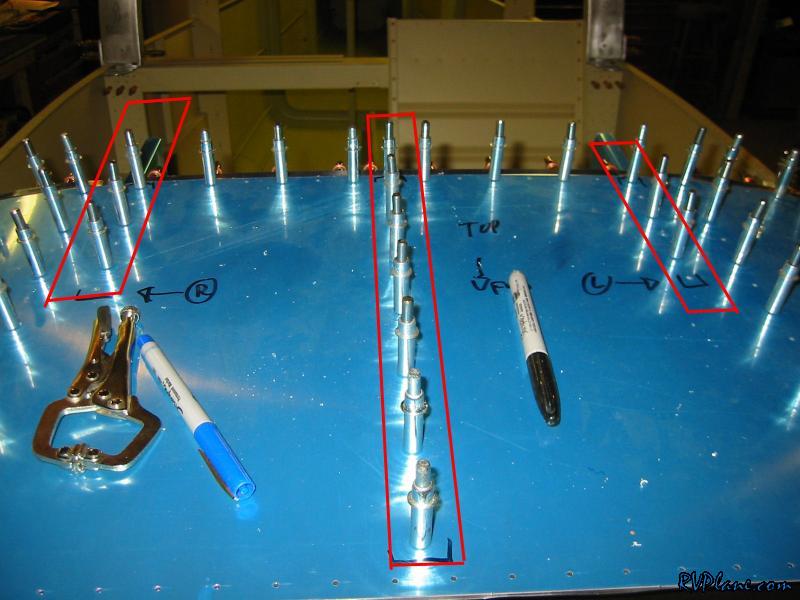 Through the firewall recess, I drilled the F-644-L/R channels to the center subpanel with a angle drill. 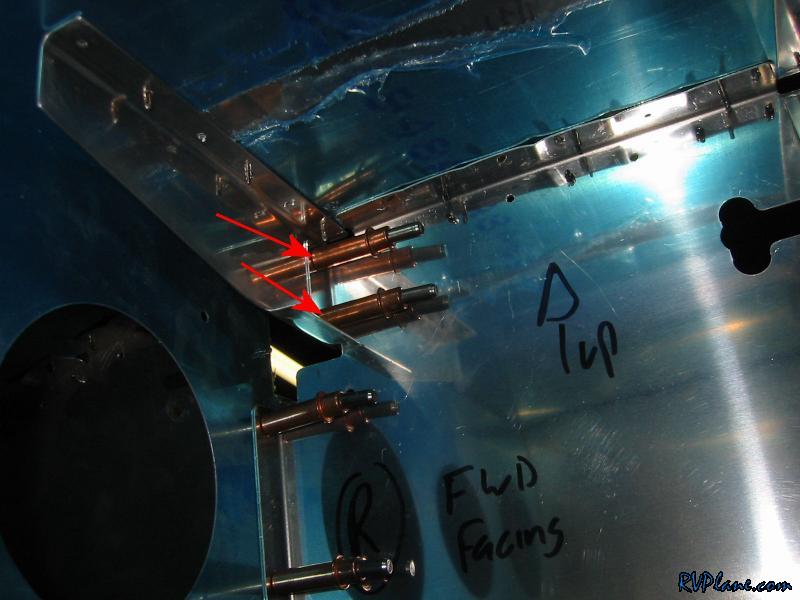 I am too lazy to flip the orientation of this pic...but it shows the top skin drilled and clecoed to the firewall. I needed to flute the firewall to get it it contour to the curve. 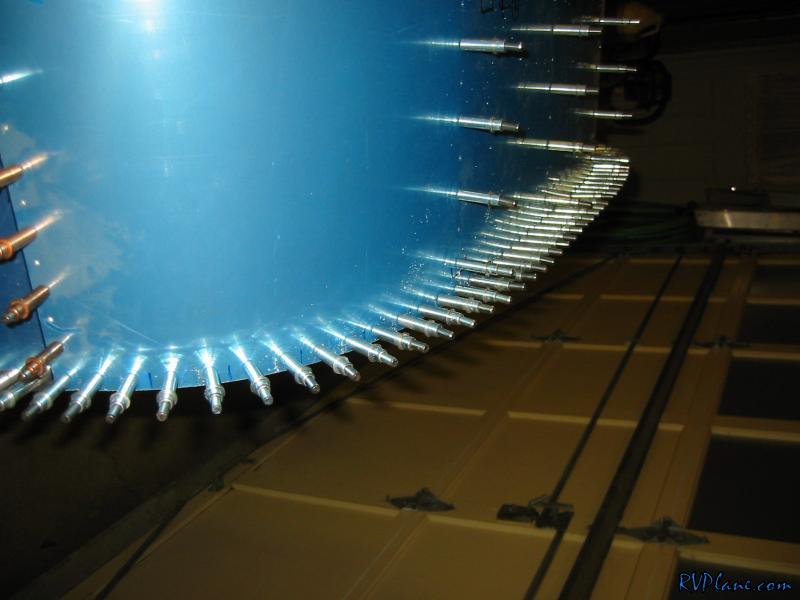 Next was drilling the F-643B angle to the F-643-1 channel. The instructions tell you to do this before the channel goes into the plane, but how would you know the proper angle it forms with the firewall? Anyways, a 12" #30 kit easily worked by pealing up the top skin. 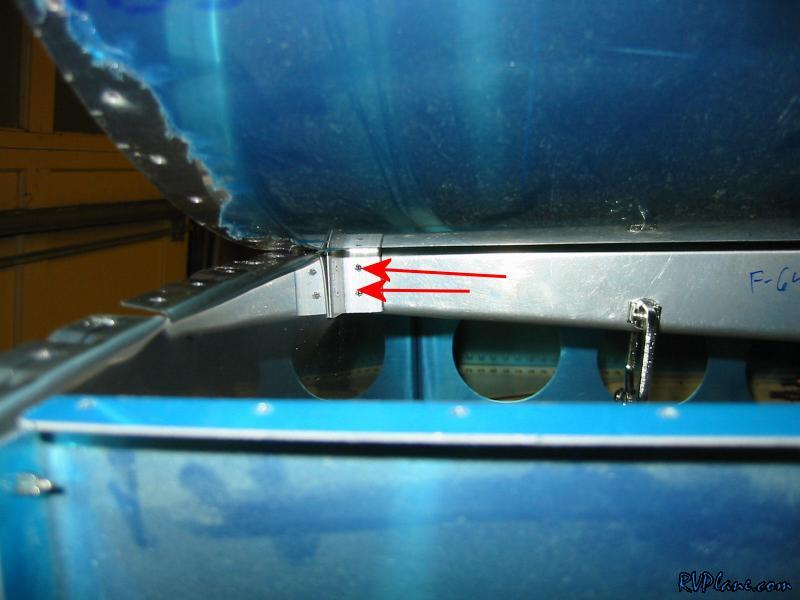 Next was drilling the F-643B angle into the firewall. To do this, I first removed the center subpanel section. 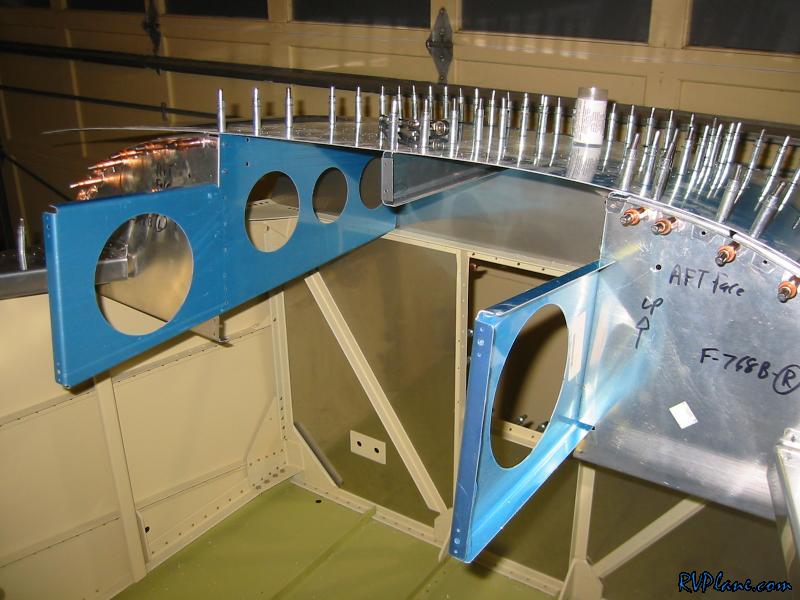 Then using the 12" bits, I drilled those two holes into the firewall. 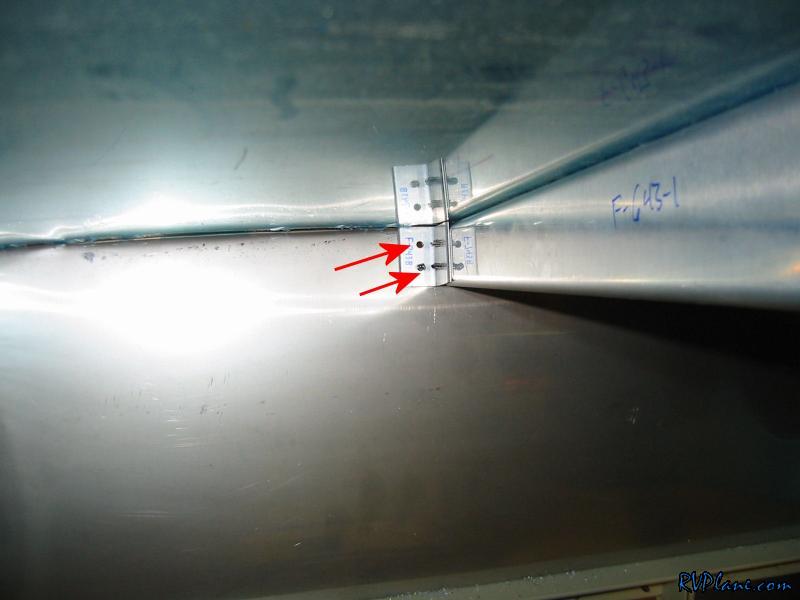 To finish up the evening, I mounted the panel. Looks kinda bare without being full of avionics eh? This was a great day in the shop! I can see the end of the panel well in site! 
|
|||||
|
http://RVplane.com |
Last Modified: June 22, 2025 |