
|
 |
||||
Finally got some time to get this fuse back together. Before I installed the center section, I riveted the F-715 end ribs to the bottom skin.  Next I riveted the rear flange of the F-715 seat rib to the F-705 bulkhead.  Onto the forward F-704 main bulkhead. If you are building an -7A model, don't do this! There are (6) 1/4" holes per side that are used for the gear attach weldments for the -A models. For the straight sevens, these need to have bolts installed.  The rib that connects the F-706 to F-707 bulkhead hadn't been riveted yet, so I slammed that out and riveted it to the F-706 bulkhead.  I flipped the center section and jointed it to the aft fuss. After a little fuse, everything lined up.  Next was to install the spacer between the fore and aft F-705 bulkheads. Again, not spelled out anywhere to do this now, but why not since the access is so nice?  I needed 3 washers to get no threads showing on the nut - this is the max washers you can put on before you have to downsize bolts. Again, the gear weldment for the -A models would attach here, so I guess thats why its a little sloppy.  I got the side skins out and sanded off the paint on the forward end, where it overlaps the firewall. This is so the firewall sealant has something decent to stick to on the skin. I am treating the firewall sealant just as I do the tank sealant.  Next I riveted the F-704 doubler plate to the side skin as indicated in the manual. Only the rivets around the main wing spar get riveted, with the exception for the bottom forward one. The bottom skins uses that hold too, so a blind rivet will be used there eventually.  I also riveted the gusset to the bottom of the firewall. The 3" yoke had no problems reaching. Also, I am trying my best to put all of the manufacturer heads on the "viewable" areas of the interior and leave the shop heads hidden, where given the choice. I think it looks better.  I clecoed the side skin all the way up to the F-902 bulkhead. Why there? Because I want to be able to peal back the skin enough to apply the sealant and prep the surfaces. The firewall had no issues just hanging out, supposed by all the longerons.  See - firewall is attached on the bottom to the lower longeron.  And to the main longeron. These stubby clecoes are the bomb! Normal clecos were rubbing the skin a lot.  Next I installed the side stiffener. I kinda meant to do this before the firewall went on, because Van's tells you to. I am glad I didn't, because it would of been something else to worry about and hold while the firewall was installed. I just bent back the skin and got the pneumatic squeezer in there without any issue.  Next I riveted the F-902 bulkhead to the F-7101. Again, mfg heads of the rivets where people will see.  Once the F-901/7101 combo was clecoed it, I riveted the bottom of the 901 to the lower longeron.  Next I clecoed in the tank attach doubler. I am glad I riveted the 901 to the lower longeron because access is much better before this is clecoed in. 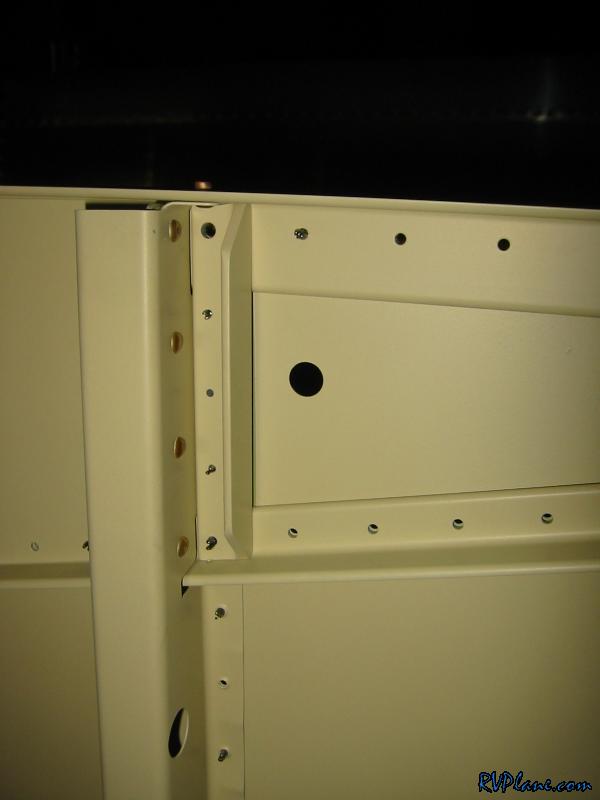 and then I bolted on the lower longeron to the lower engine mounts. I see no reason why not to do this now. I needed to add a AN960-10L washer to the called out washers because the nut was bottoming out to one of the bolts.  Finally, I started to rivet the side skin to the F-704 bulkhead by using a squeezer throught the aileron pushrod hole. Easy Easy Easy. 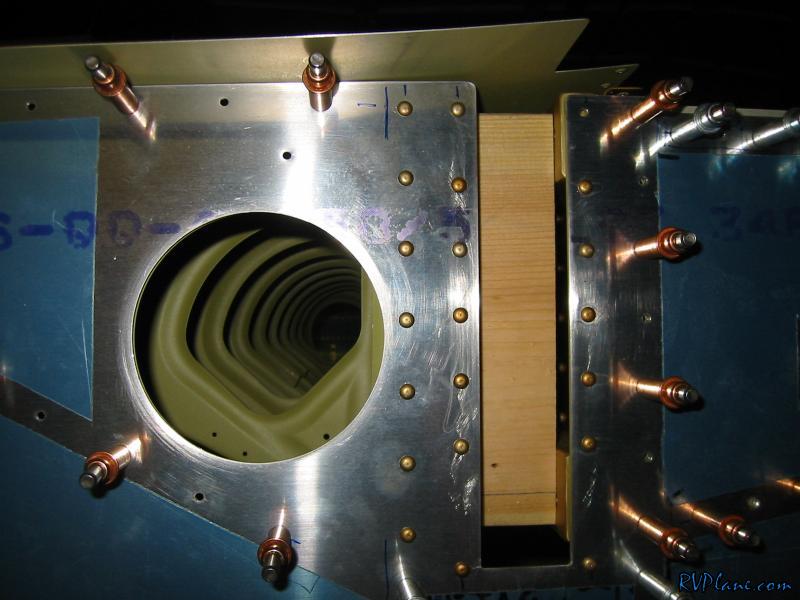
|
|||||
|
http://RVplane.com |
Last Modified: June 22, 2025 |