
|
 |
||||
One item that has had me concerned is how to seal the side and bottom skins to the firewall. Doing it after the fact doesn't seem like the best time to do it, since you don't have good access to the firewall to side skin because the firewall stiffener is in the way. And even if you did, the fire would already of penetrated the firewall by the time it got to the sealant. Even in Van's description of its firewall sealant (FlameMaster CS 1900), it indicated it should be applied between the firewall and the side skin. My original thought was to just use proseal (tank sealant), but after looking at the specs, it is rated for a max temp of 275 degrees F, while the firewall sealant is rated for 400 degrees F, with a flash temperature of 2,000 degrees F for 15 minutes. Big Difference! I didn't like how Van's packages its firewall sealant - $20 for a 3.5 oz semco cartridge. You pretty much have only one shot at using it. I called around to about 1/2 dozen places looking for affordable alternatives. One place quoted me $118 / pint! I almost fell off my chair. In the end, I found a deal better with Van's - Plus no handling fee. SealPak (316-942-6211) sells FlameMaster CS1900 in 1/2 pint for $24 and 1 pint for $40, and both come in two seperate containers that can be mixed anytime. There is a $20 hazmat fee in addition to shipping, but I would imagine that you would have to pay that for Van's sealant anyways. I ordered a pint, just to be on the safe side. It was only $16 more, which is less than I would have to pay in hazmat fees if I shorted myself. Onto the business of the day. More interior priming. I got through almost everything tonight. All I have left is the firewall and a smear I accidentally made. Here are the F-705 bulkhead top along with miscellaneous brackets, gussets and straps. 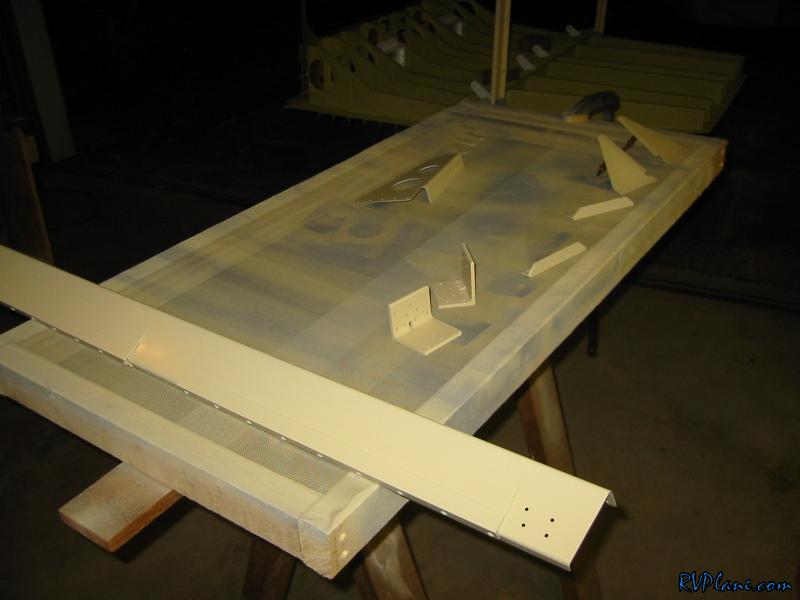 And also I got the F-706 bulkhead primed. This was a real pain to mask off. Really wish I did this at the getgo. 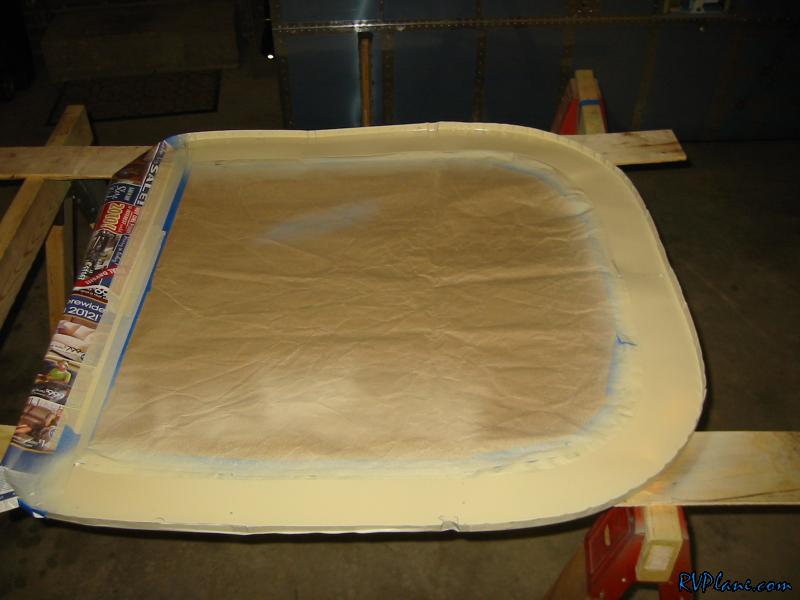 Finally I started masking off the firewall. Once again, I could of saved a ton of time by doing this before assembly. Whoever else is building one of these out there and hasn't gotton to this point yet, I highly urge you to pick out a interior color and start painting NOW. 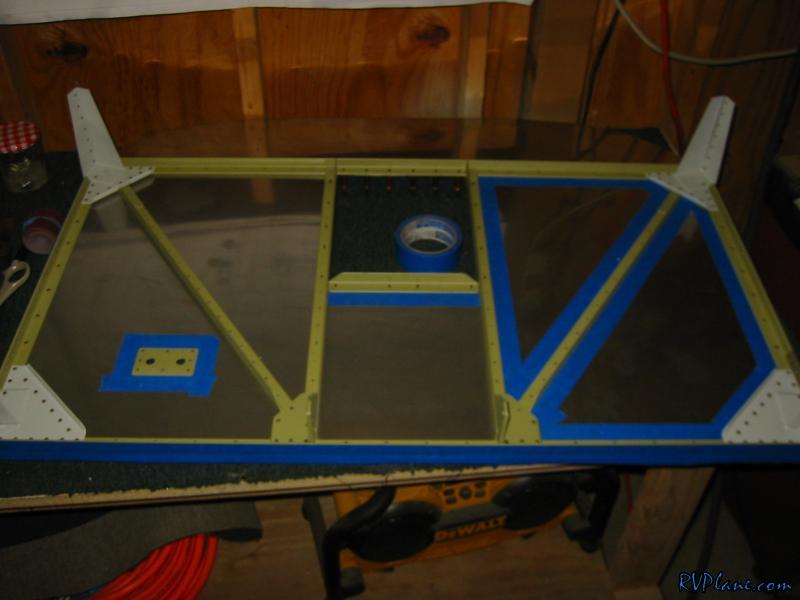 Also, I figured out the issues I was having with my JetFlex application. Turns out the tip pressure knob was turned down, causing the jetflex not to atomize as much as it should. The finish wasn't bad, but it wasn't good either. Like I said before, it will be easy to lightly sand down what doesn't work and put a light coat of "good" over it.
|
|||||
|
http://RVplane.com |
Last Modified: January 31, 2026 |