
|
 |
||||
After lining the top holes up, I drilled the two end holes of the bottom firewall to the bottom skin. I ended up marking a new centerline on the bottom firewall angle that was 1/32" aft of the centerline. That gave the proper spacing of 5/8" from the face of the firewall of the edge of the skin. I called van's about this and they said a little thing like 1/32" isn't a big deal since it will be made up by trimming the cowl. 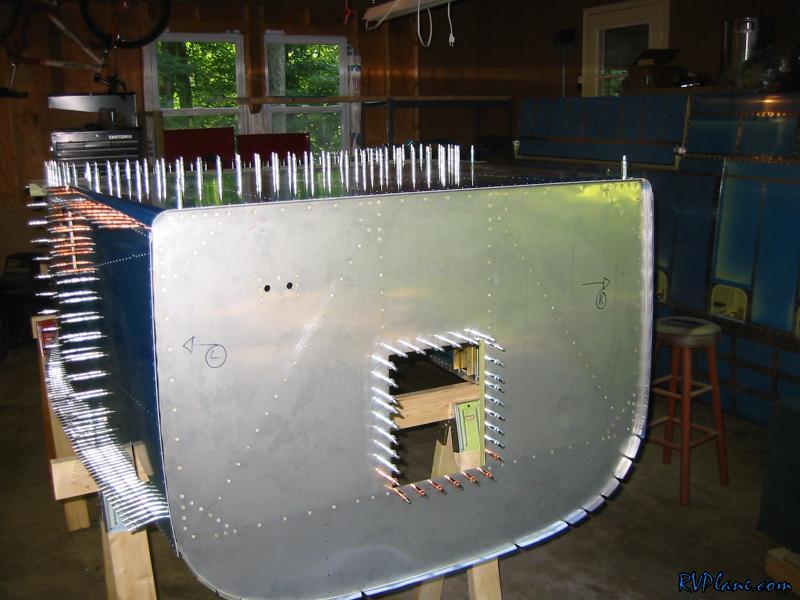 I noticed that the twist in the longeron didn't match up with the firewall bracket. After some work, I was able to match the bend perfectly.  I clamped down the firewall bracket to the longeron.  I put these holder rivets in the skin to longeron holes. Since the firewall bracket is behind here, you can't use a cleco. So, this is the only way to keep things lined up.  Once the firewall to side-skin spacing was checked about 100 times, I drilled it. 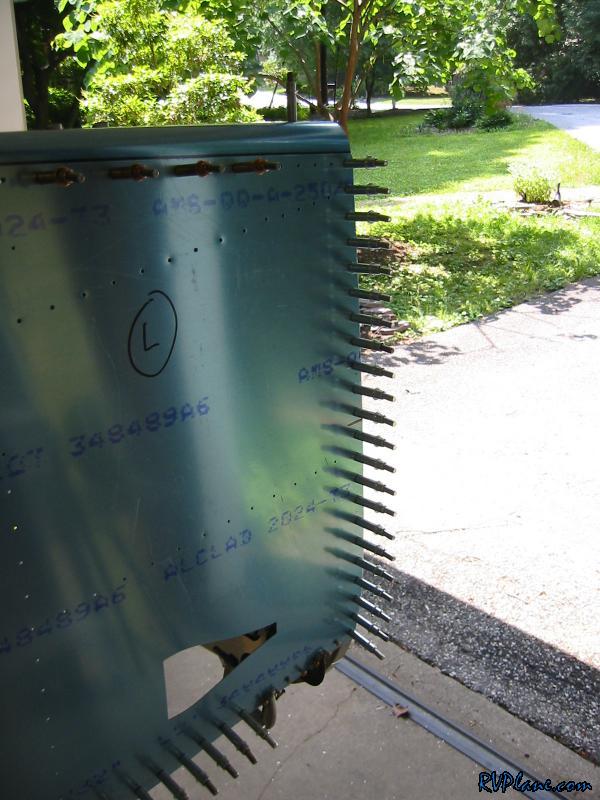 I then drilled the 7 #30 holes into the firewall bracket. 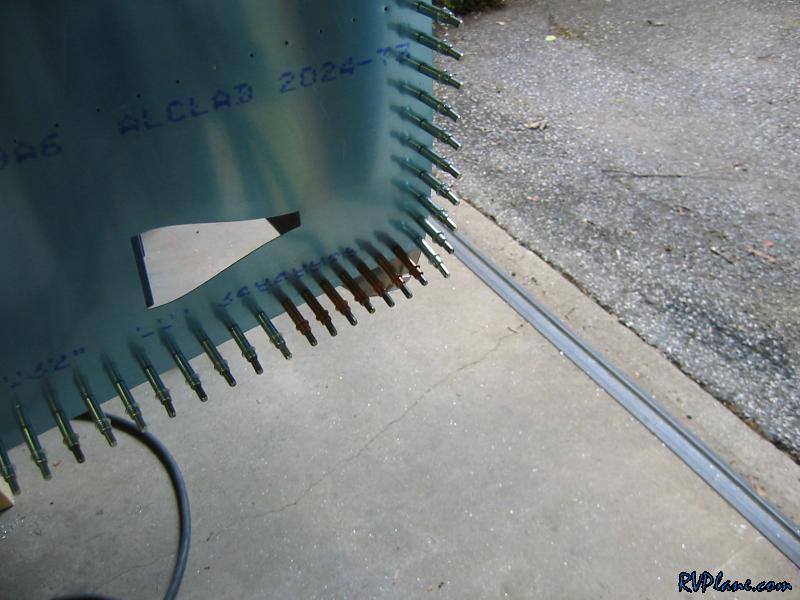 The hole edge distance was right on. 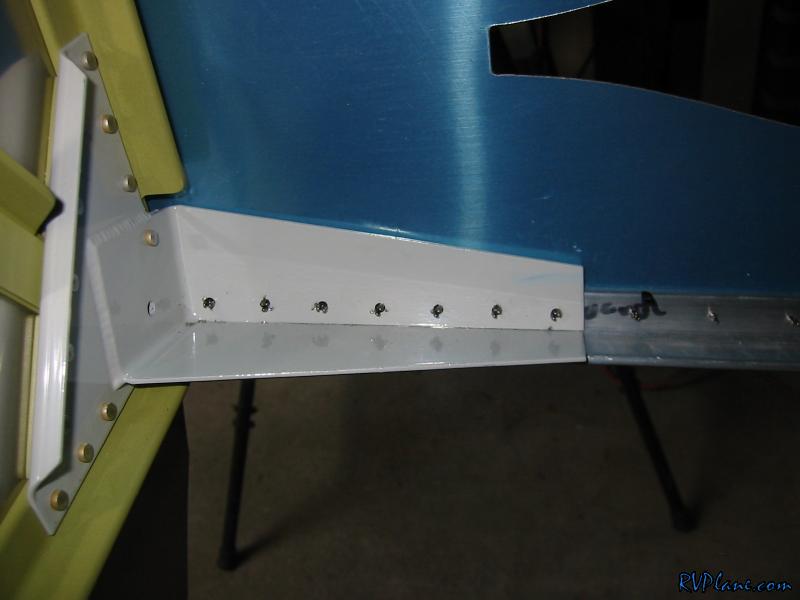 Next I drilled the auxiliary longerons to the side skin. Very straight forward, except the aft end needs to be trimmed.  I fabricated the F-719B clips that hold the firewall to the side skin stiffeners. 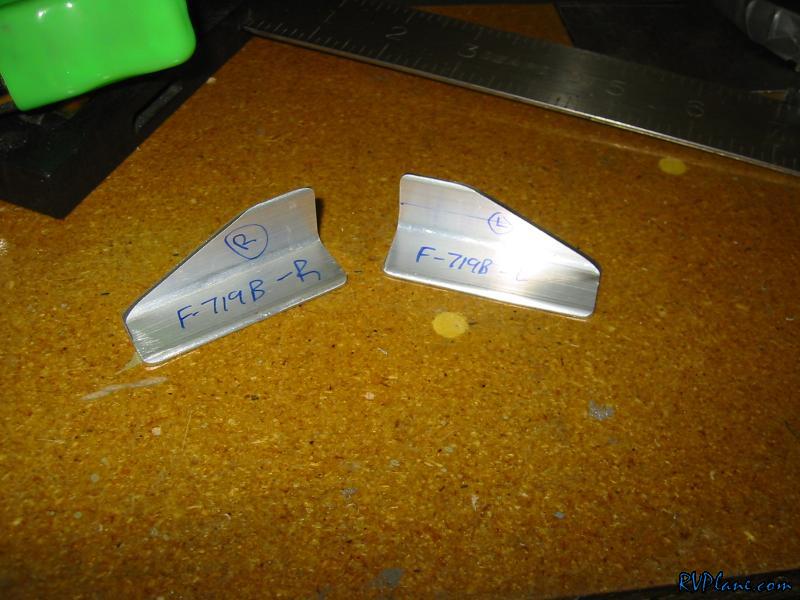 For some reason, I misinterpreted the drawings and trimmed 5/8 off the forward end of the F-719-L stiffener. I quickly realized that was wrong. It's only a 8 buck part or so, so I am not that pissed. Plus, its the first part I have screwed up since the trim tab. 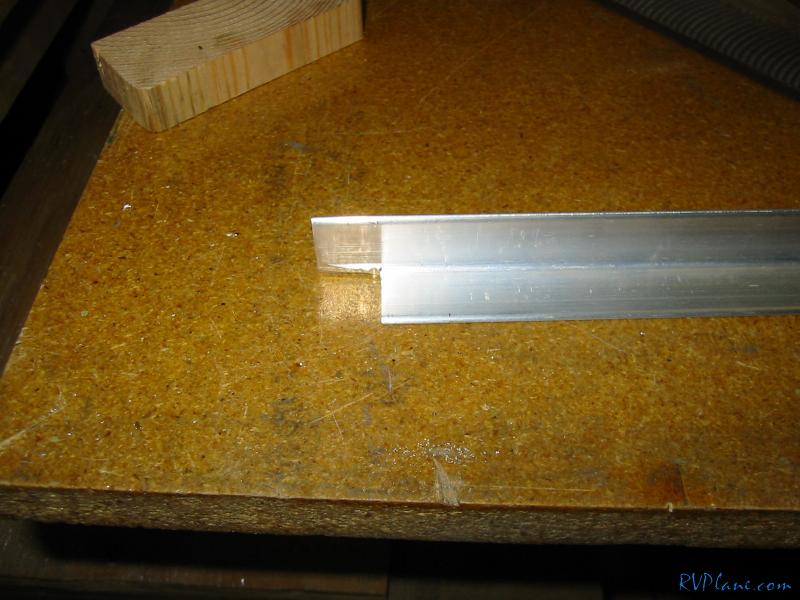 I was on a real roll tonight. I broke off a corner of my workbench where my vice was clamped down. I think I pre-cracked it a few months ago, but I finally did her in tonight. 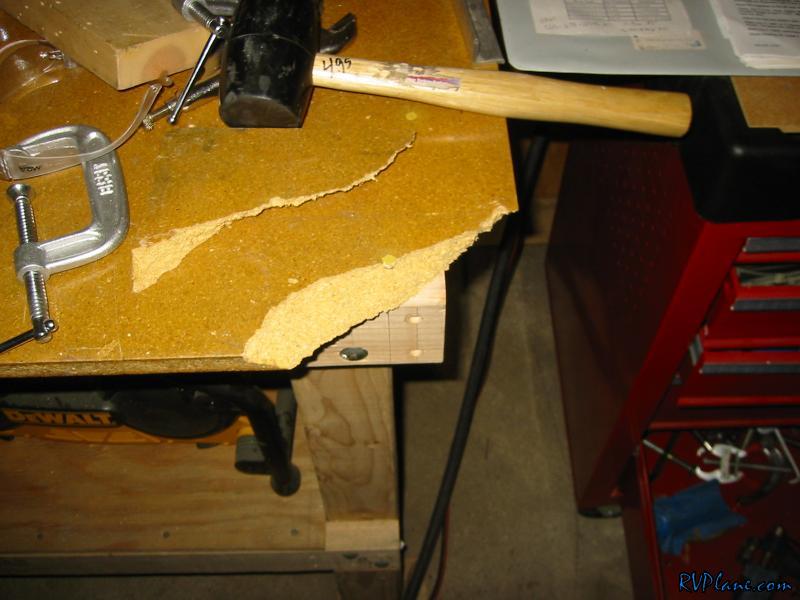 The right F-719 was a breeze to put on. These two holes between the stiffener and the clip were drilled by pealing back the skin and using a 12" #30 drill bit. 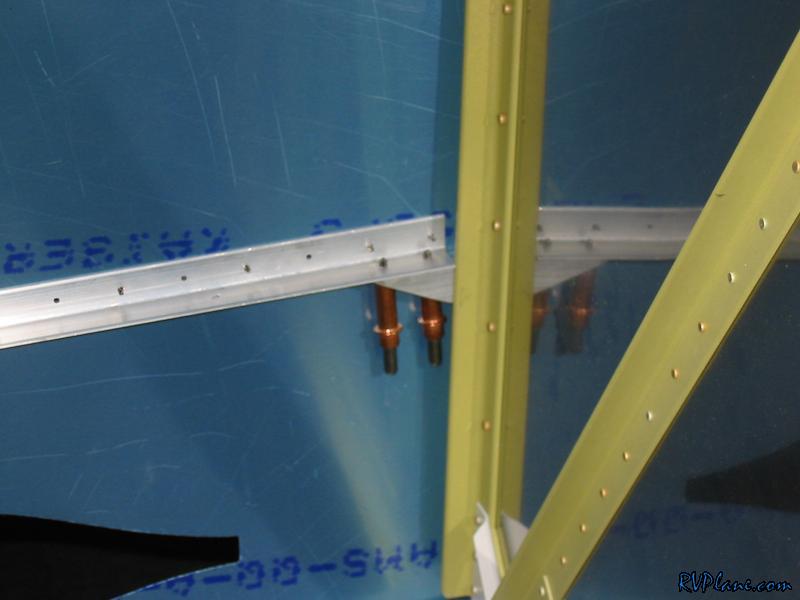 ...Like this. 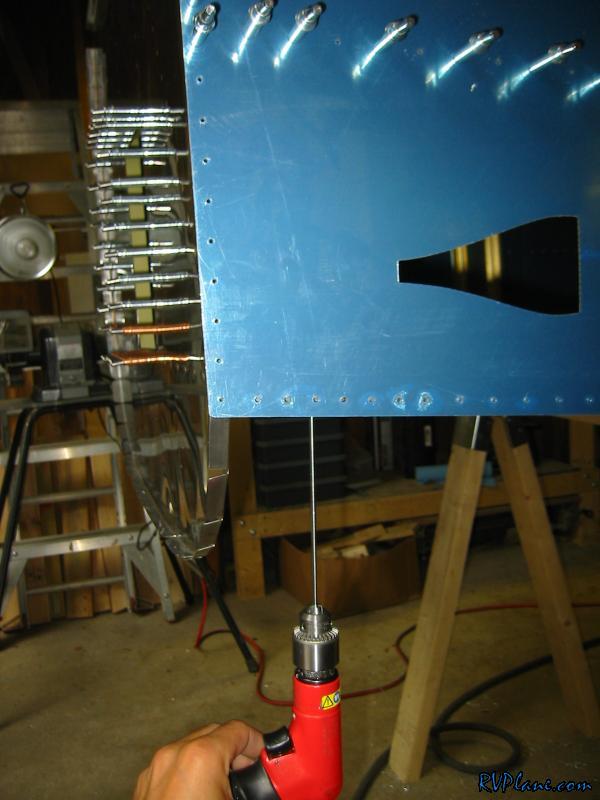 I didn't drill the hole in the F-719B clip that goes to the firewall because I didn't know how I would drill it back to the firewall. My solution is to drill the hole in the clip and firewall at the same time. I traced where the clip is on the firewall and marked a drill point. 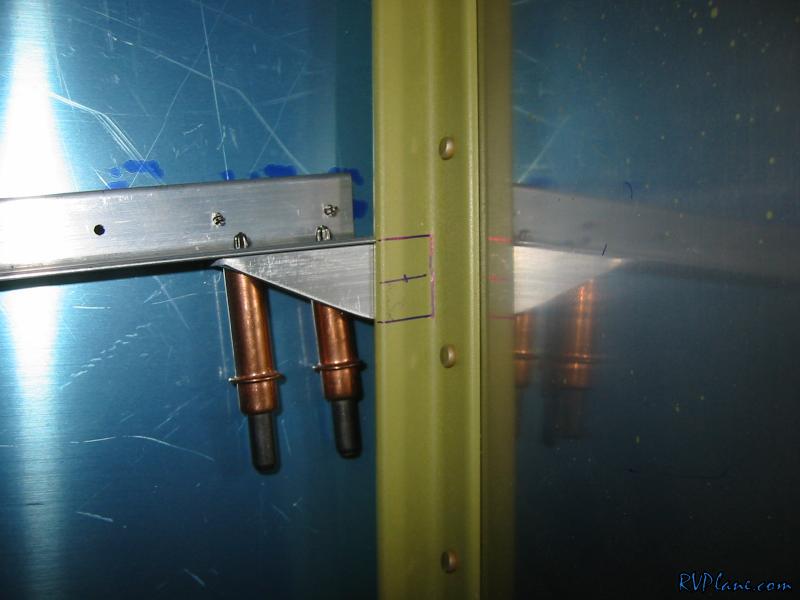 Using the 90 degree drill, I drilled the clip. 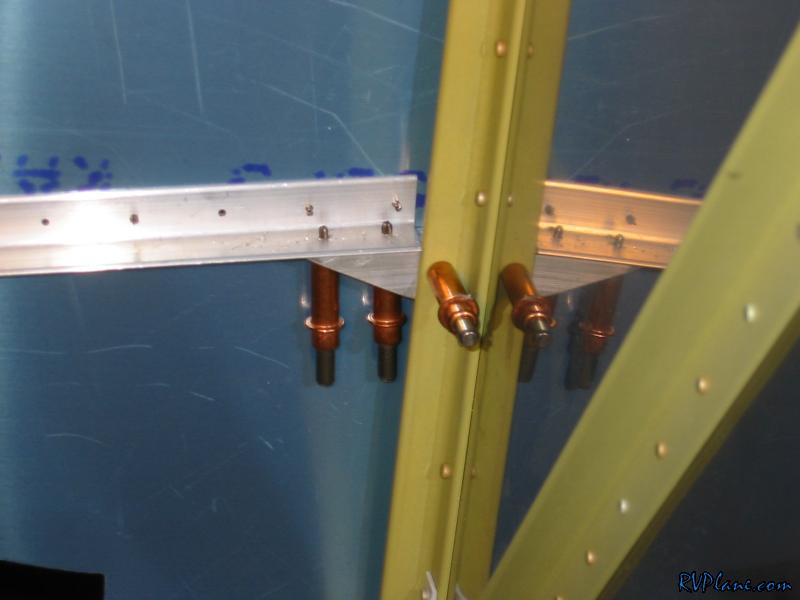 The forward end of the F-719 fits terribly. The last rivet before the F-704 bulkhead looks like it will be exposed. I will have to do some creative countersinking on the F-719 stiffener to make this look good from the outside. 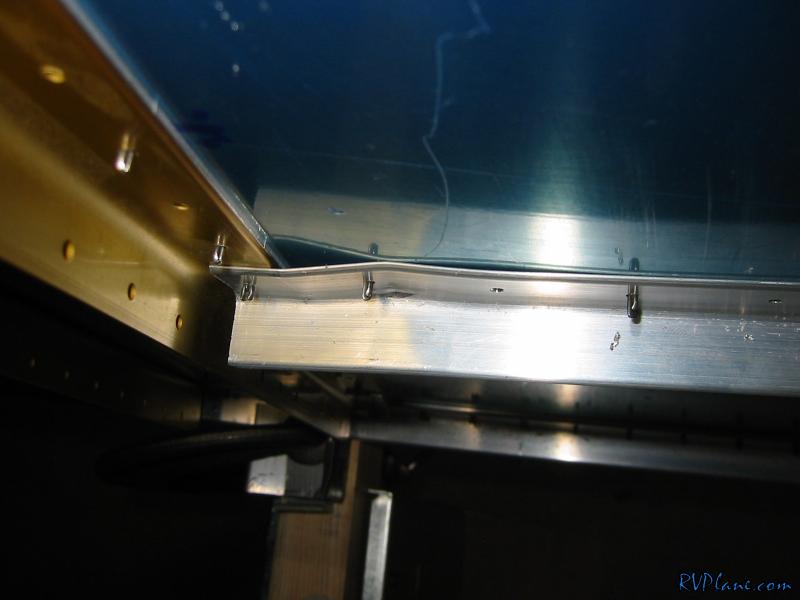 Finally, I fabricated the lower longerons. It took a ton of work to chop off one of the flanges of the angle and get it perfectly smooth. However, it was satisfying as hell with how good the outcome was. 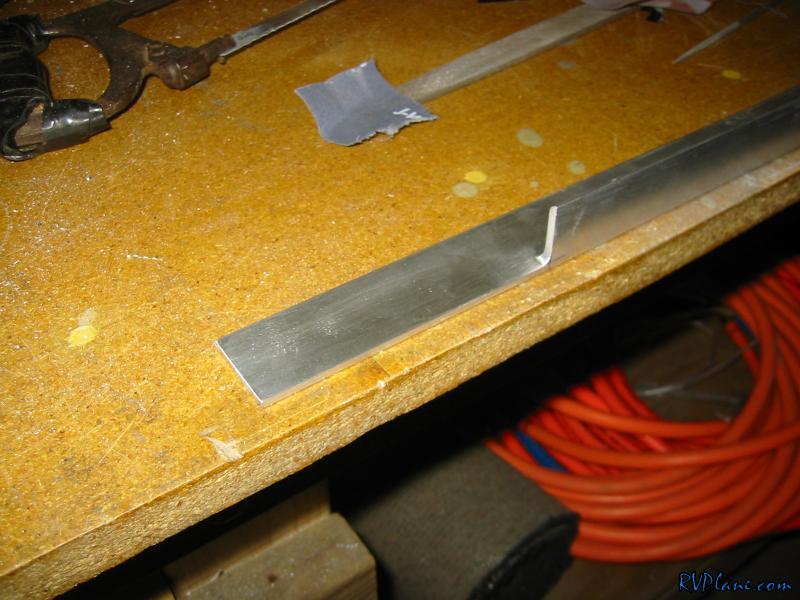
|
|||||
|
http://RVplane.com |
Last Modified: January 31, 2026 |