
|
 |
||||
I was supposed to be away on vacation all this week but some Yankee marina in New London, CT didn't understand why someone would want their boat put in the water beforehand. I endedup having a blast hanging out with my buddy, and I was able to skip back into town without wasting any vacation days. Gotta love it. Its not so bad, I can actually do some work on my RV. I received the TruTrak pitch servo mounting bracket today. This puppy costs $50, but you get that credited back when you buy the servo. My autopilot won't be installed for a while after the plane is done, but I figured might as well make it easy to do later on. I am kind of in bed with TruTrak now, but as of right now, they seem to fit the bill the best for my needs. I have heard nothing but great things about the Trio, but I don't want/plan any 3.125" instruments in my panel. Plus, if you want pitch, you need yet another controller in your panel. The TruTrak system is nice because they have a number of autopilots in the 2.25" profile. 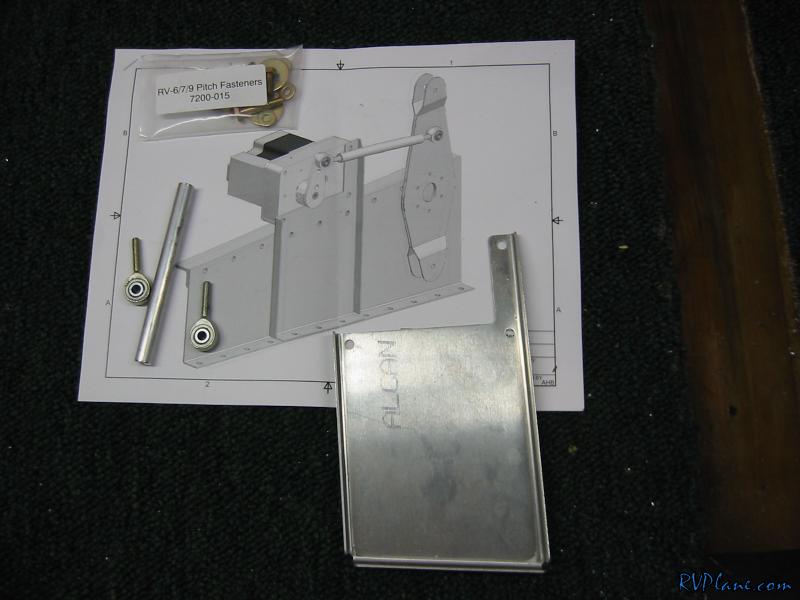 This hole gets drilled to the rudder stop, so you don't want to dimple it. It actually goes through 2 skins, a bulkhead and a j-stiffener. The chances of me remembering not to dimple all 4 of those are skim, so I drilled it to #30, which will be a visual reminder. I decided not to build the rudder stop not and wait until I mount the rudder to make sure it is made right.  Next I enlarged the holes to 1/4" for the tailwheel bracket. I usually hate enlarging holes, but it was easy using a #19, #12, C bit and then a 1/4" reamer. The holes came out perfect to boot. I am all about using reamers now. 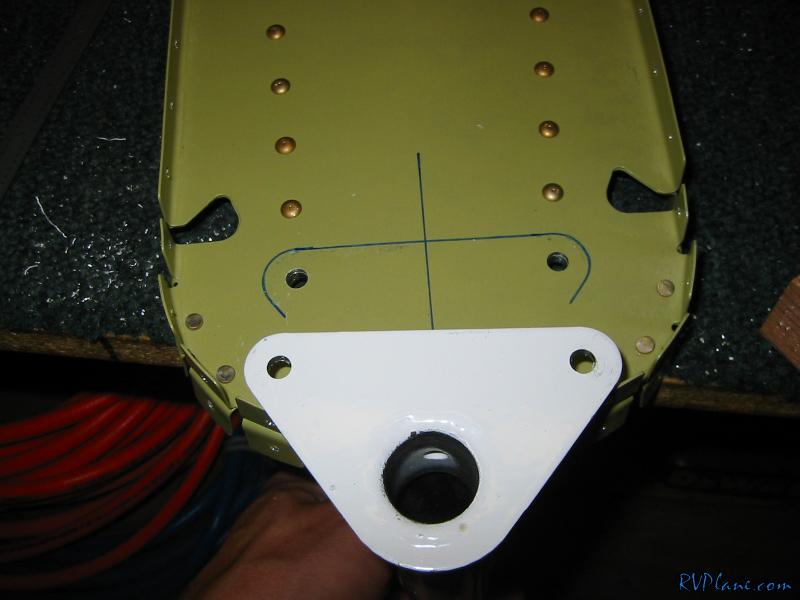 Onto the mounting of the pitch servo bracket. I drew a line 2.8" from where the elevator bellcrank pivots, as indicated in the trutrack drawings. UPDATE: Someone asked me how I came up with the magic 2.8" measurement. I thought I read them off of the PDF's on trutrak's site. However, once I reviewed them, the measurement wasn't there. I was able to dig up the original drawings that shipped with the bracket and they confirmed the 2.8"'s. For all of you, I took the liberty of scanning them in and posting them here. 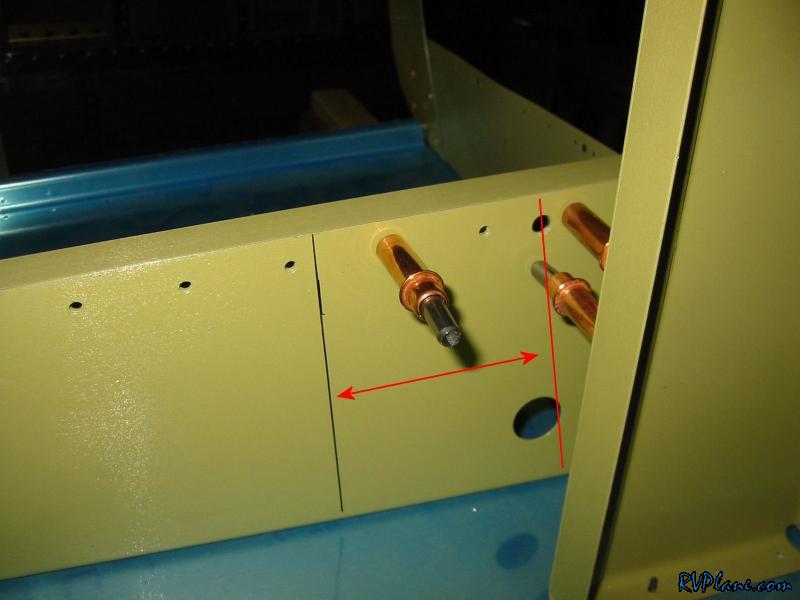 Since this bracket was designed for the RV-6, it doesn't go as the plans specify. I think in the -6, it only gets 4 rivets. However, with how it lays in position, it will get 4 rivets. I drew two lines on either end on where I think the rivets will line up - this will make sure that the bracket is more of less centered and I don't have edge distance issues. 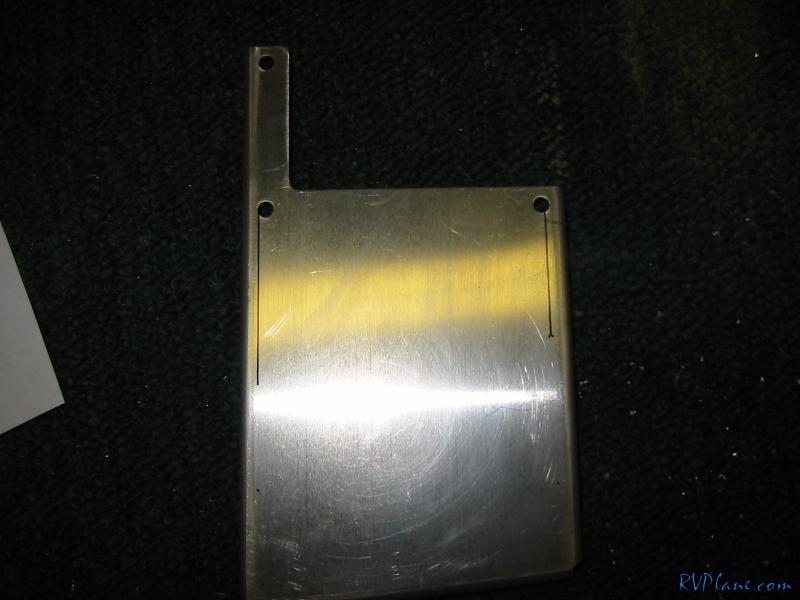 The bracket doesn't align with the perpendicular alignment mark. I don't think this is a biggie. 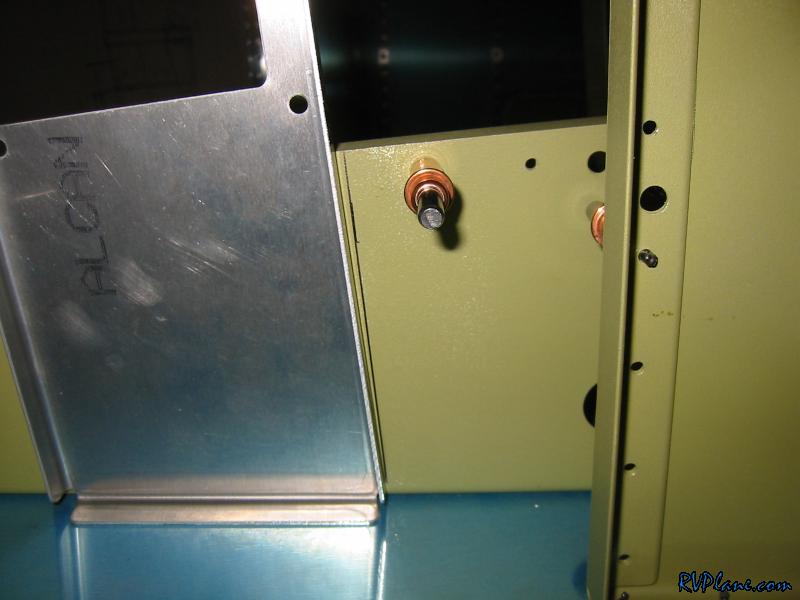 Here it is in its final spot with the holes aligned with the lines I drew on the bracket. Since the bracket "leans" back a little, I was concerned that the servo might interfere with the top of this rib that the bracket is mounted to. I looked up the dimensions of the servo and it will be just fine without interference. I think it was something like 1/4" you needed between the servo mounting holes and the top of the rib angle. I had way more than that, so I didn't care about the tilt so much. 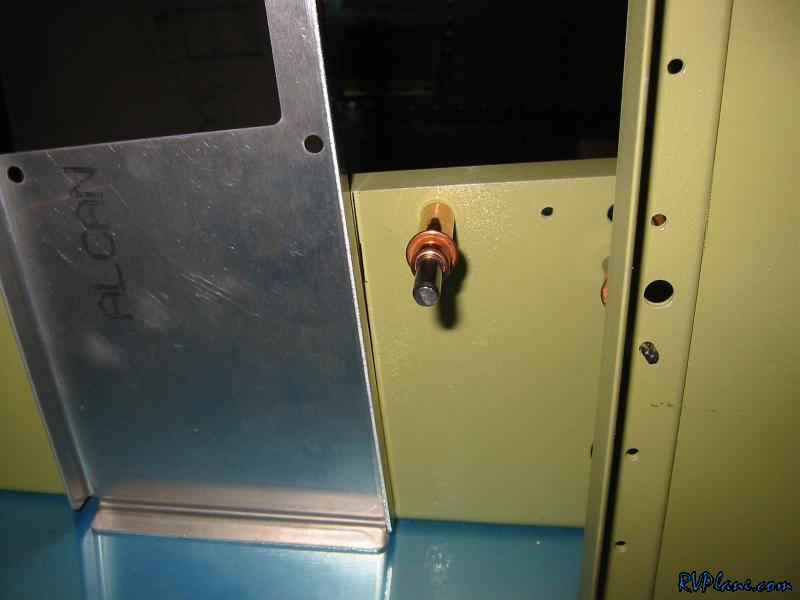 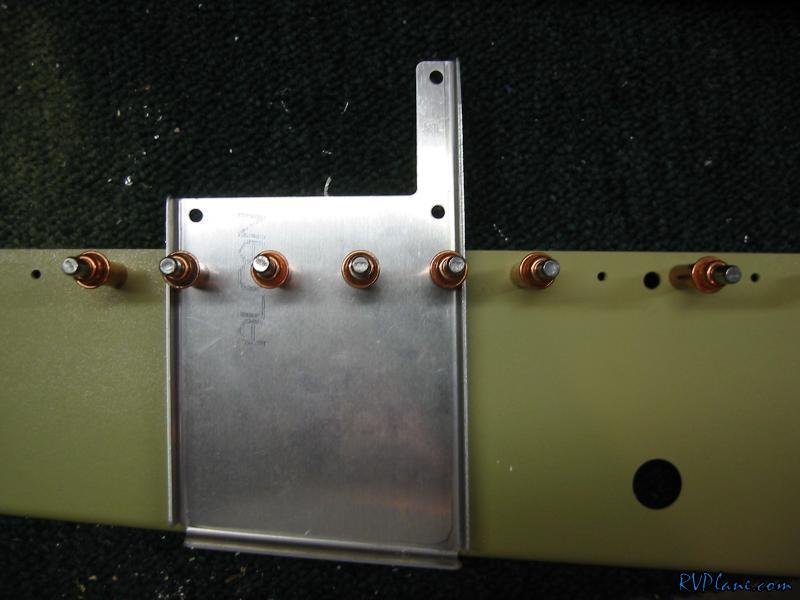 Now was onto marking where the bottom holes go. I used the holes on the rib as a guide. Notice that the one on the right isn't going to work because of edge distance issues. No worries, I am just going to omit that one. 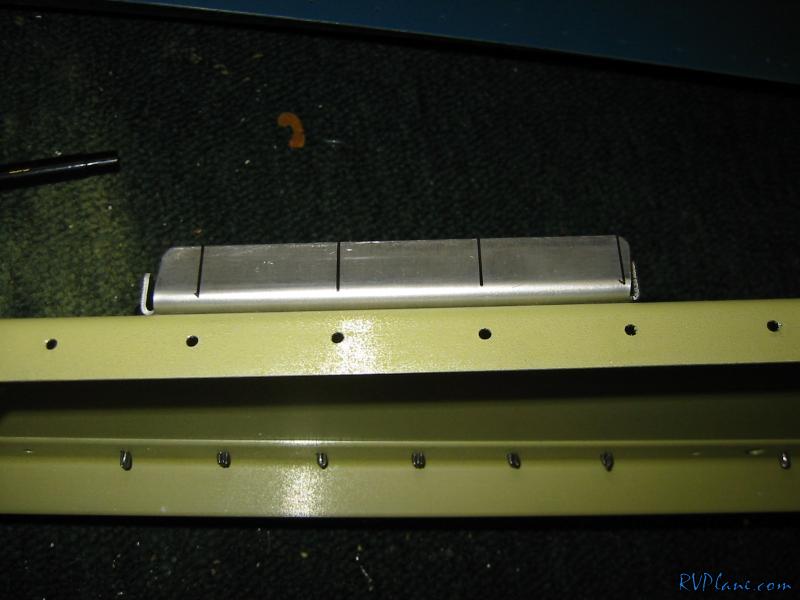 Once I drilled the holes on the bracket, I backdrilled the bottom skin. The fabrication of the aft fuse is officially over. 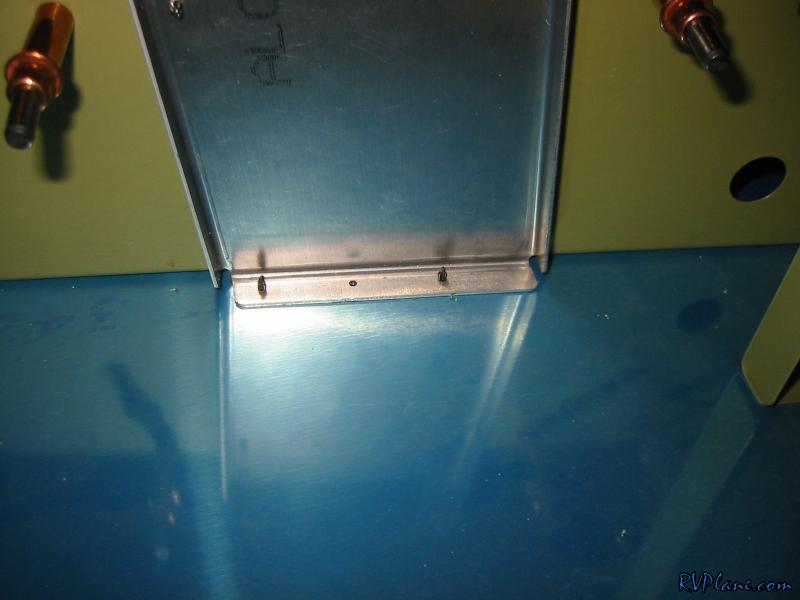 With everything disassembled, it is time to start deburring. 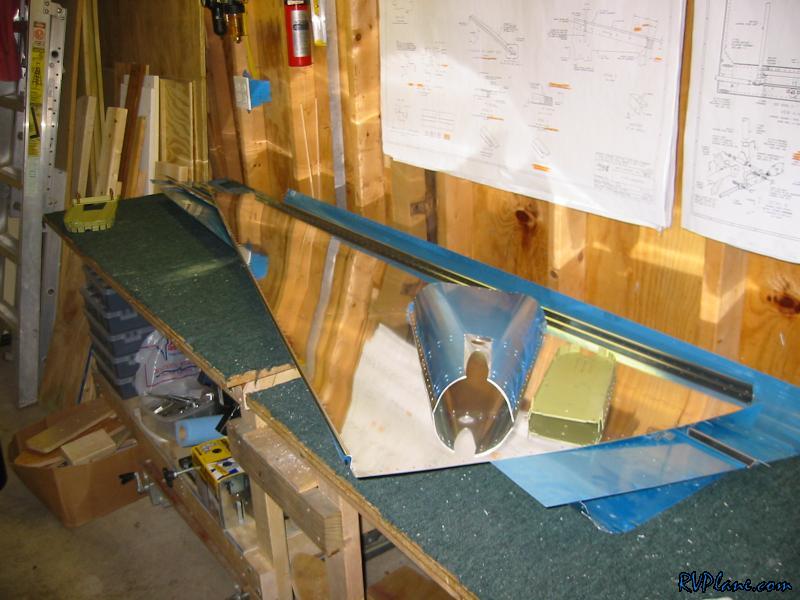
|
|||||
|
http://RVplane.com |
Last Modified: January 31, 2026 |