
|
 |
||||
Next on the agenda was to drill two keeper rivet holes on the aftmost bulkhead to hold the tailwheel bracket. The plans are very vague for where to put these things. They give you the horizontal placement (1/2" from centerline), but they don't give you the vertical. I estimated 18/32"'s vertical placement from the bottom tooling hole, using the 1/2 scale drawing as a reference. 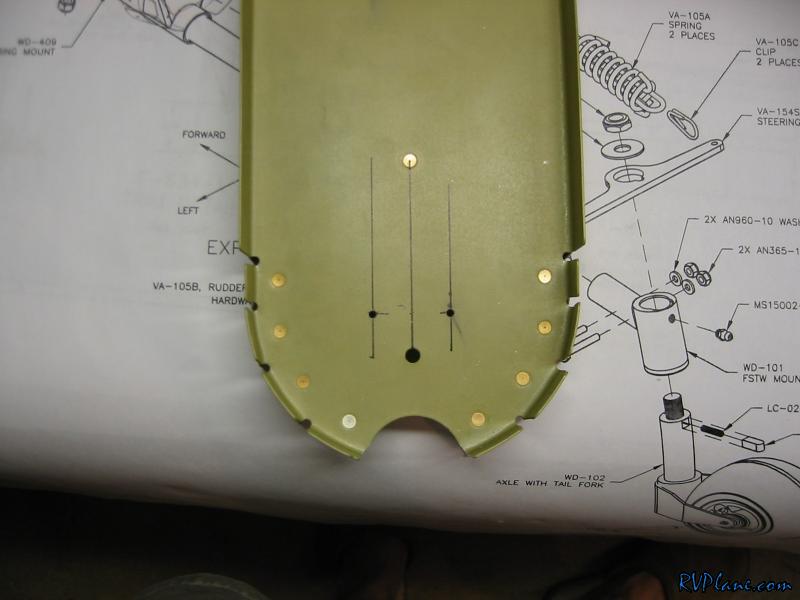 I clecoed everything back together and backdrilled the two holes in the bracket. 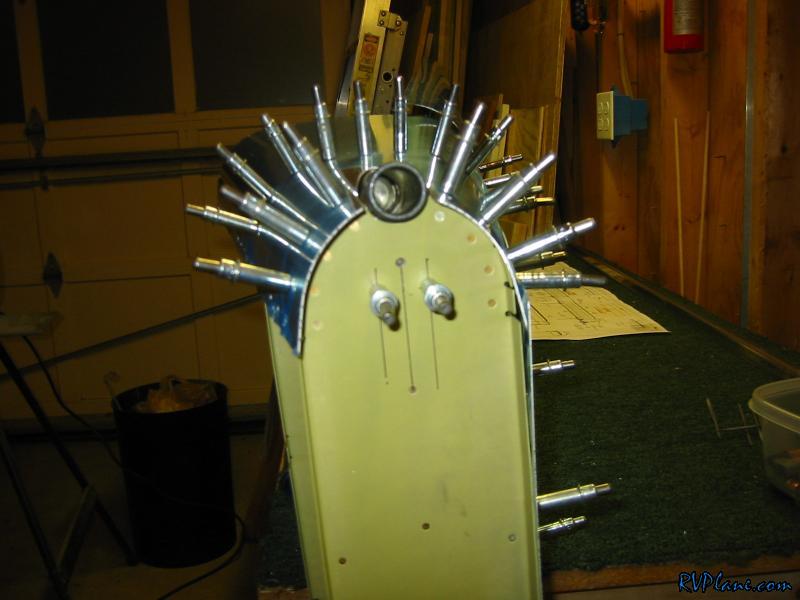 After trimming the mousehole a little, this was my end result. I am very happy with how this turned out. 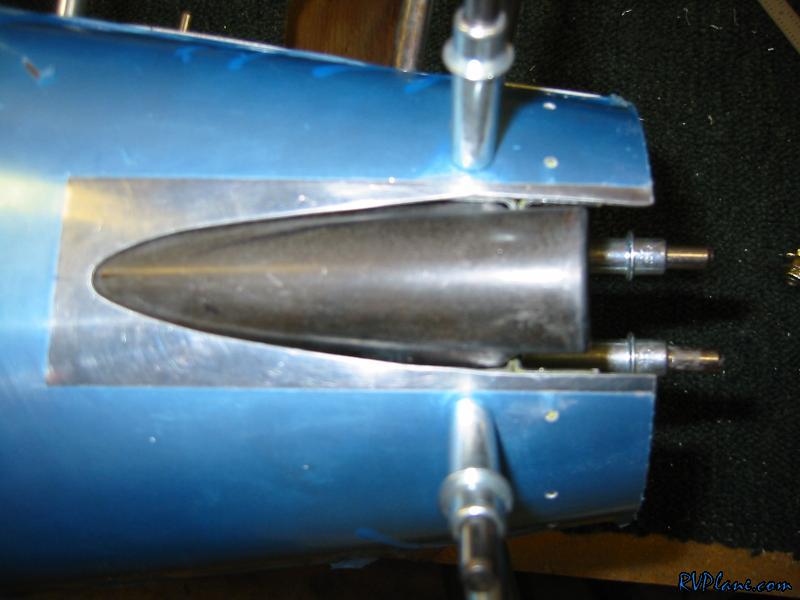 Next was enlarging the hole used to stick a socket through to attach the tailwheel. The hole in the bracket was a little off center, so that threw me for a little loop. In the end, I needed a 7/8" hole. I used a unibit to get to 3/4", then a 7/8" bit to enlarge it to the final size. 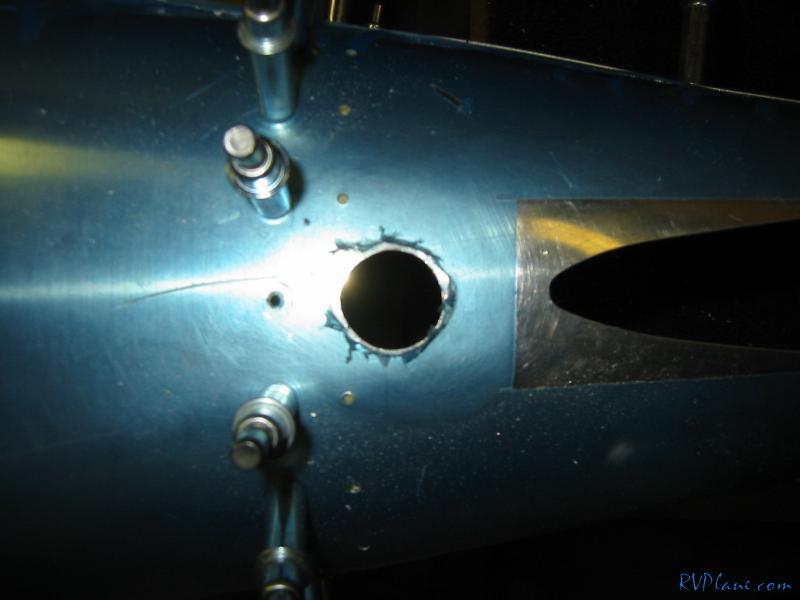 I kept the bulkhead clecoed to the bulkhead for this hole drilling to knock off the flange too. I was going to cut this off, but I figured a little extra support can't hurt. I didn't enlarge the two #30 holes to 1/4" yet because I am waiting for some reamers in the mail. 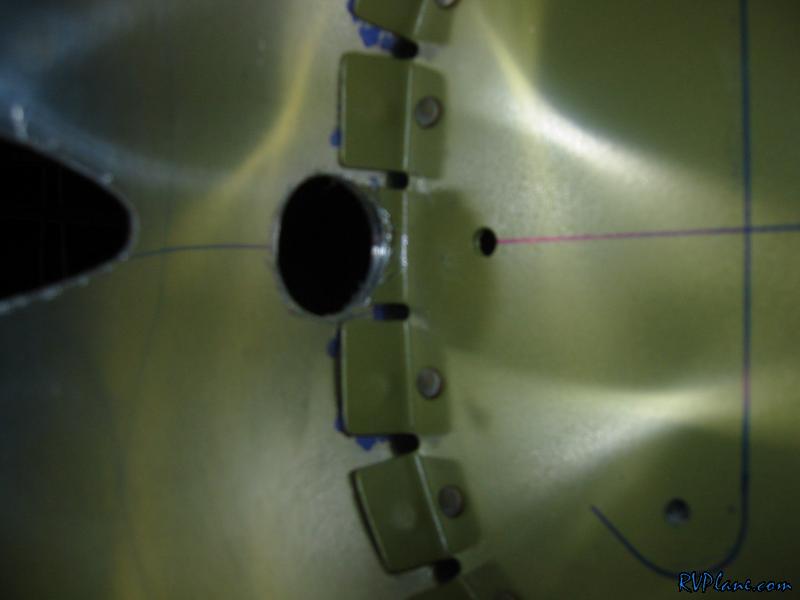 Next on the agenda was clecoing the aft fuselage together. You start with the F-707 and 708 bulkheads...  Then add the side skins and the rear bulkheads. You are supposed to put the F-706 bulkhead in before the aft fuselage, but that keeps you from moving the j-stiffeners around to thread them through the aft 3 bulkheads. I wasted a bunch of time clecoing and unclecoing this bulkhead. 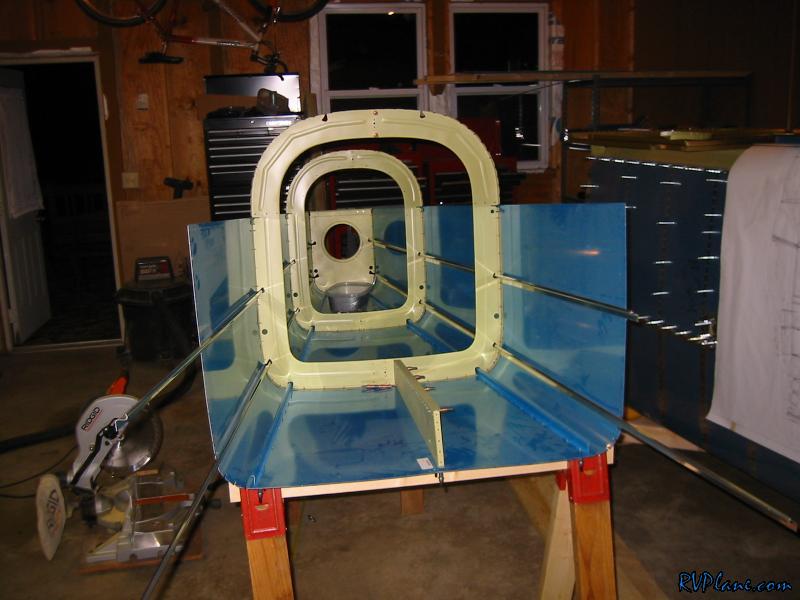 I still have to cleco a few of the rear bulkheads. This is starting to look very cool. Finally some reward after a ton of work poured into the fuselage. 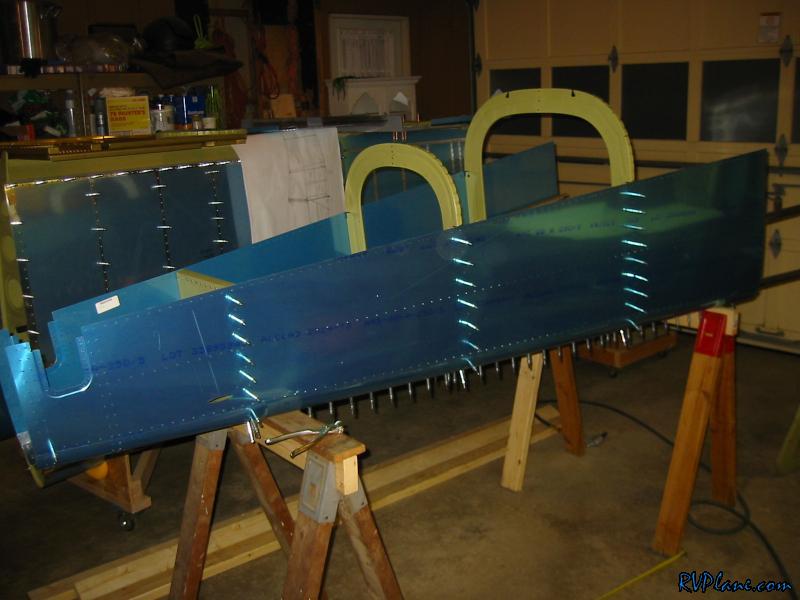
|
|||||
|
http://RVplane.com |
Last Modified: June 22, 2025 |