
|
 |
||||
While at work I snuck into the machine shop and cut these two spacers. I take back what I said about a week ago about not needing a bandsaw. I think that the bandsaw is a necessary item for the fuselage. I mean you could use a hacksaw, but get real. This 1/4" thick stock would give you a real workout.  It took me a while to get the rear spar bar aligned with the bottom of the bulkhead. Van's doesn't give you a clue in the directions or the plans. You basically draw a line down the middle of the bar, put it in between the holes and center it. I had about 1 35/64" of the bar exposed on either side of the bulkhead. Once that was set and clamped, I drilled all the #30 and #12 holes. 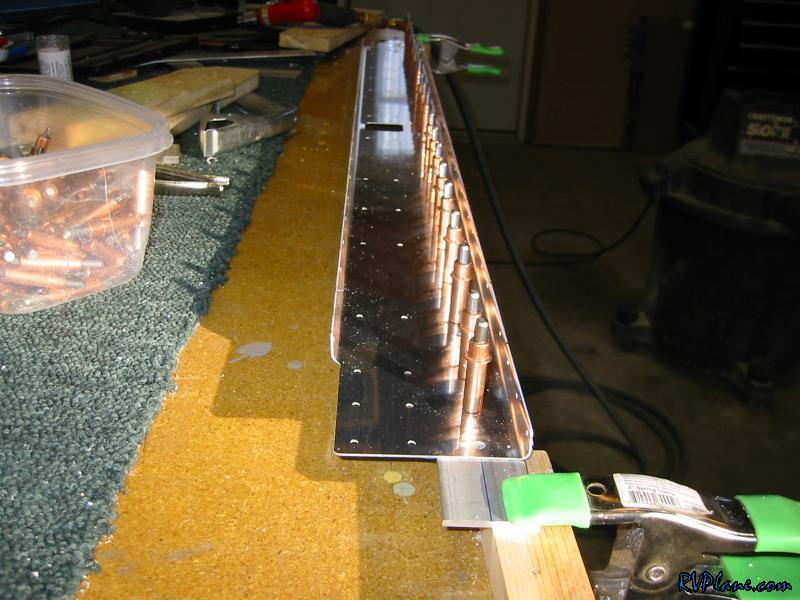 Now for the F-605J doubler. Let me say right now that I am glad I didn't trim it yet. Like I said yesterday, I was planning on trimming it today on the bandsaw, but last night I thought it would be nice to have the whole width of keep it aligned with the other bar for drilling. Anyways, I saw that some builders have has edge distance issues with the inboardmost holes on the doublers. So I marked where the edge of the doubler needed to meet against the main bar. 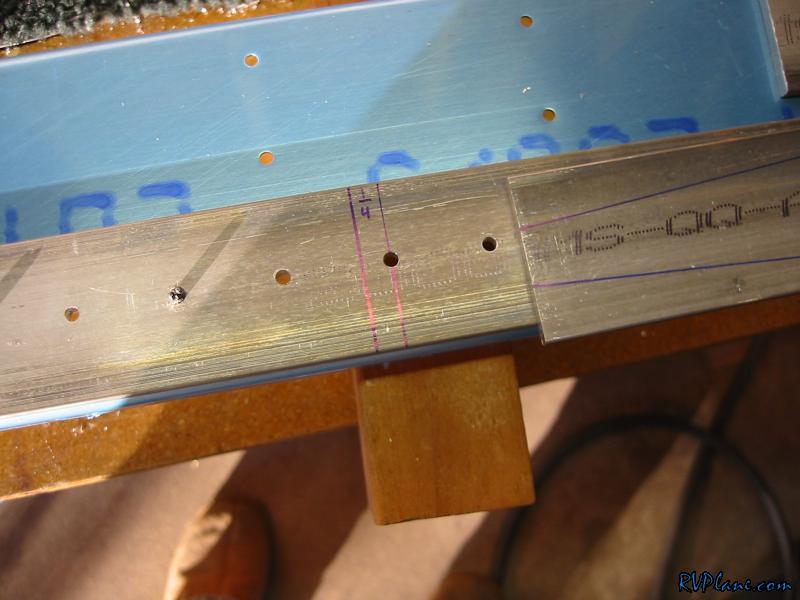 With everything aligned perfectly, I drilled the holes for the doubler. 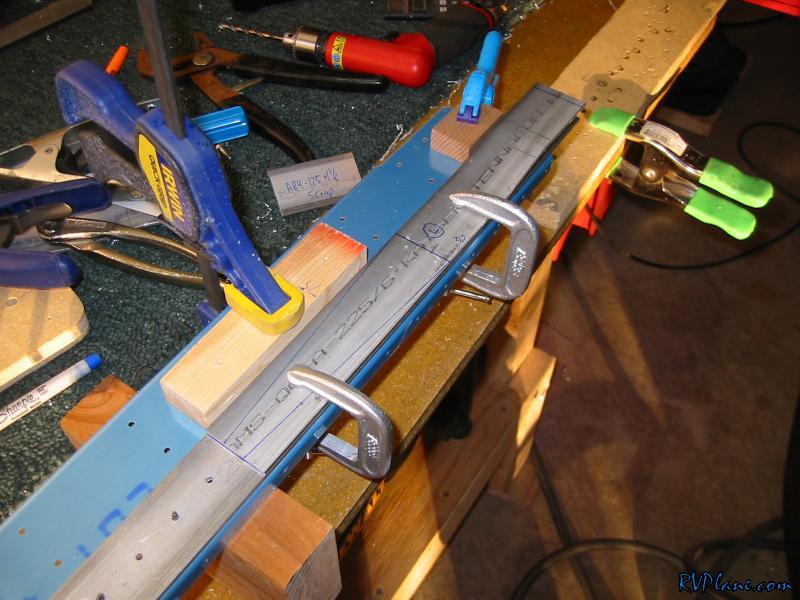 Notice how the outboard edge of the doubler hangs out about 1/4" I was going to trim this ahead of time, but again, I am glad I waited until it was all drilled. 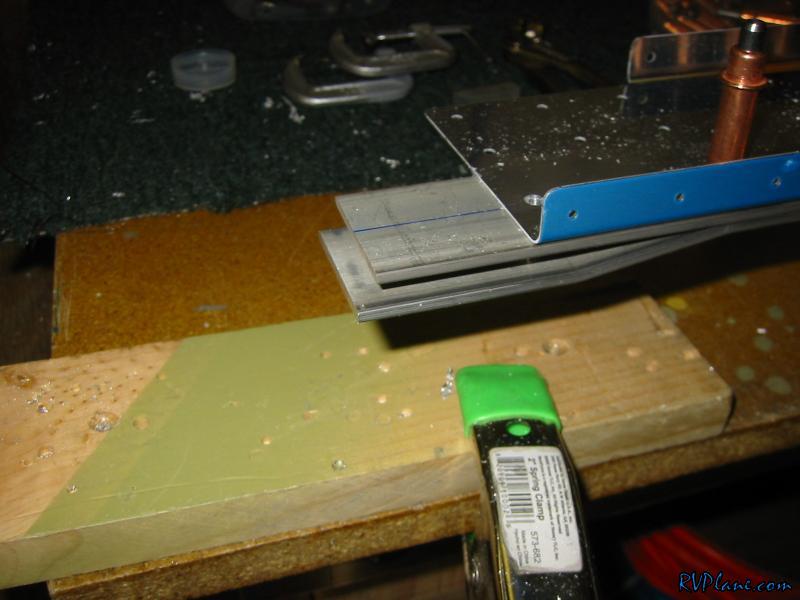 Edge distance turned out great here. 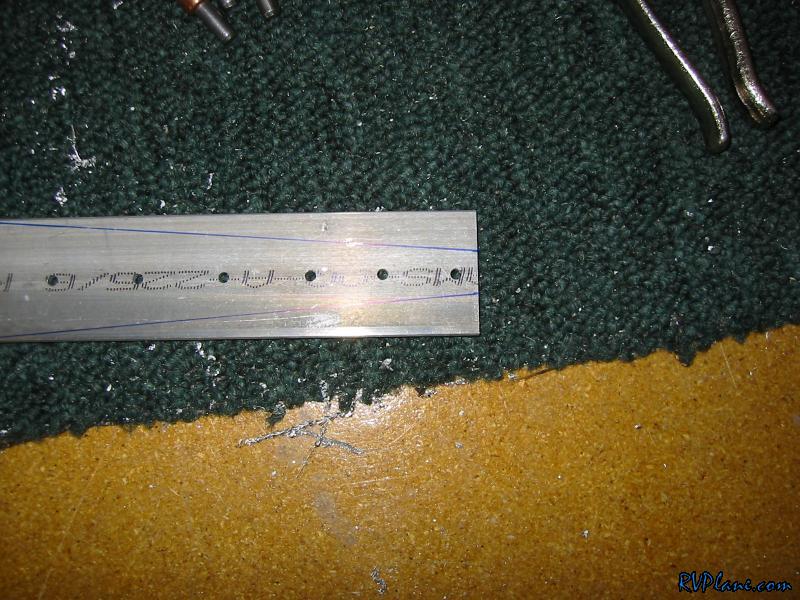 Next I marked a centerline on the spacer. 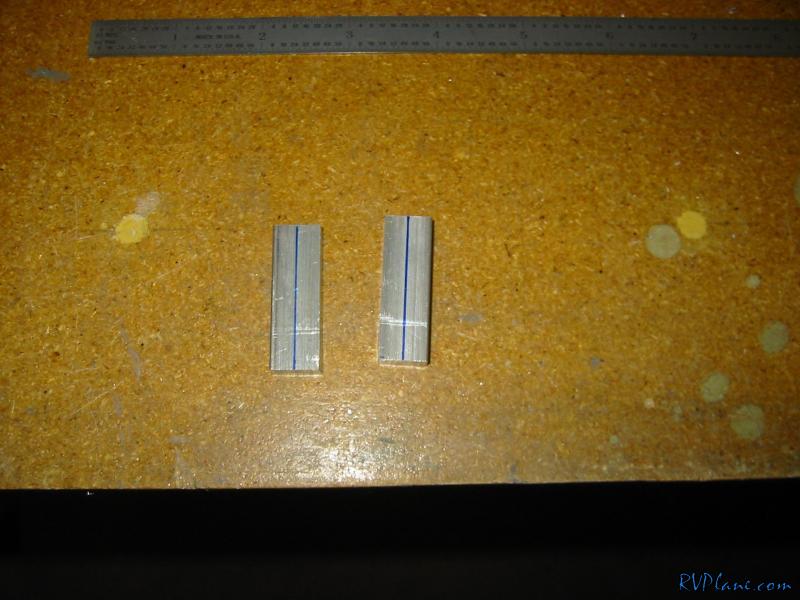 I scratched my head as to how to hold everything perpendicular and aligned, so I clamped a square to the spar and used doublersided tape to hole the spacer in place. 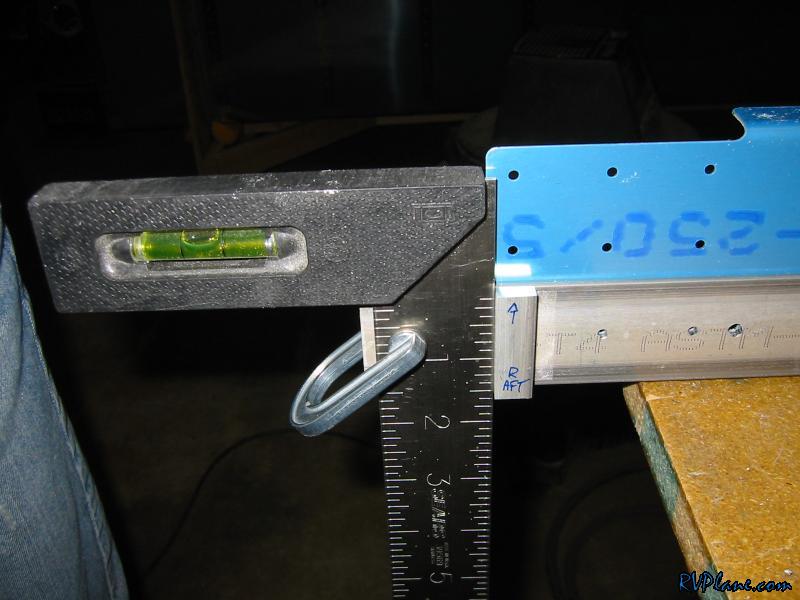 Next I backdrilled the doubler.  I then finally cut the outboard end of the F-605J doubler. It took a couple of iterations, but it turned out perfect. 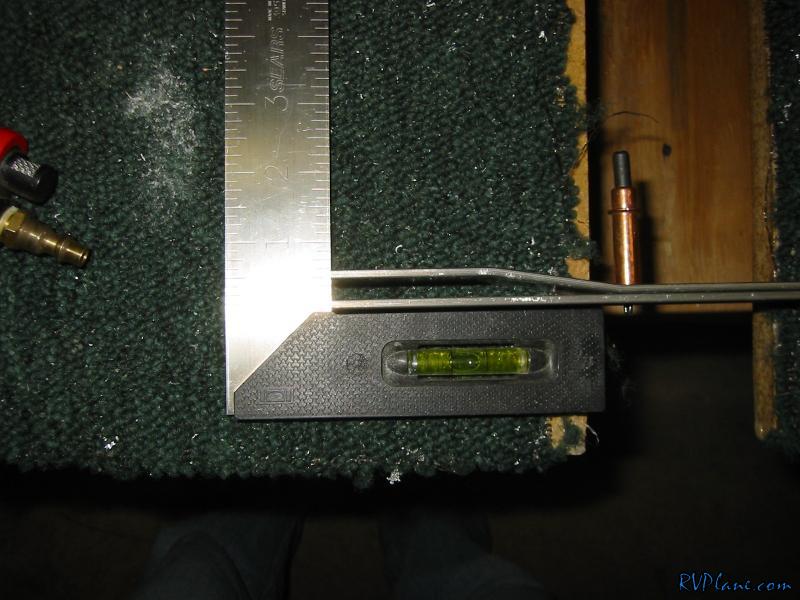 Next was onto the lap belt attachments angles. You need to drill all the left ones with a #12 hole at a specific location. I made a jig on my drill press out of some wood to get the alignment right. 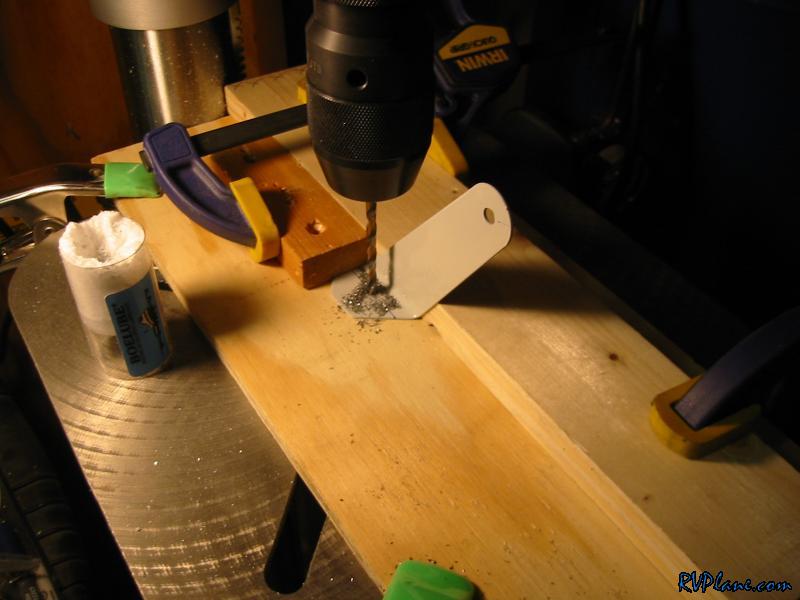 Next I screwed the left attachment angles to the bottom of the bulkhead with some scrap screws. 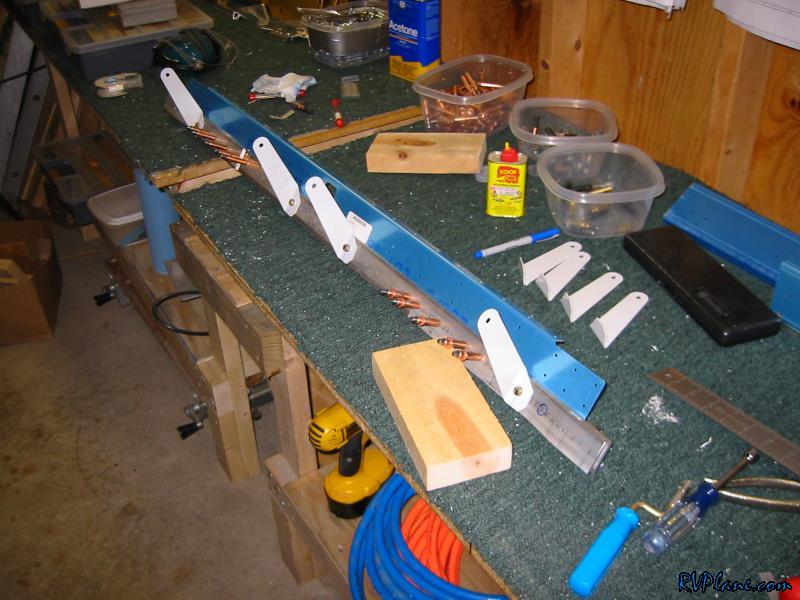 I then used AN3 bolts as a spacer between the two brackets. The AN3 bolt was exactly the same width as the plans called for. I got that awesome tip from Jaime Painters website (rv.jpainter.org.  All of the lap belt brackets are drilled! 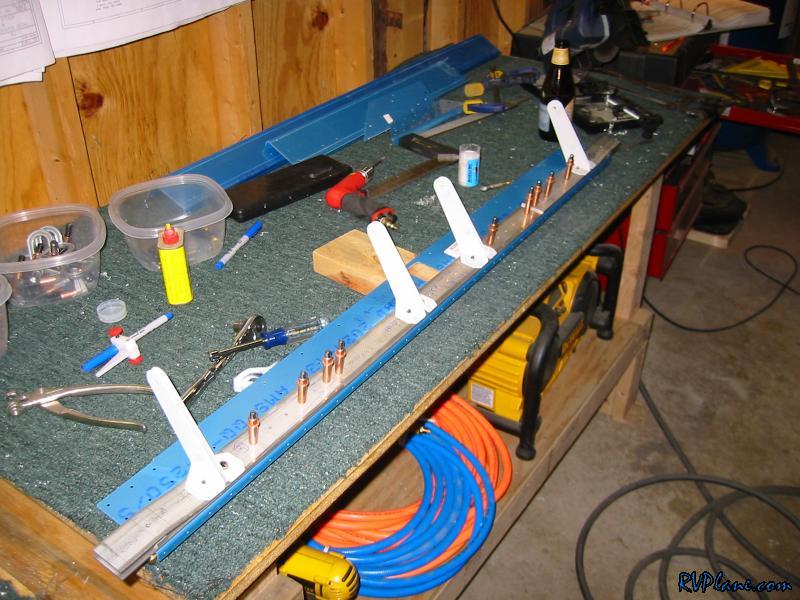 I need to trim some of these brackets because of interference with some rivets and also interference with the seat ribs. I am going to wait until everything is in place before I trim these guys. 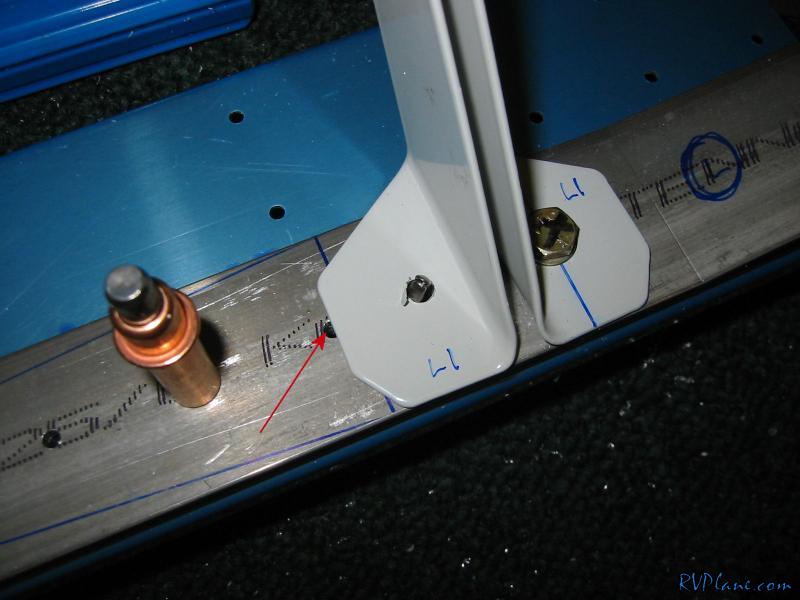
|
|||||
|
http://RVplane.com |
Last Modified: June 22, 2025 |