
|
 |
||||
I am digging the construction on the fuselage so far - dare I say that it is fun? Well, to me it is compared to the wings. I took the control brackets to work today and let the bandsaw loose on them. Took about 15 minutes to get them done. I couldn't imagine doing this with a hacksaw on the thick angle. 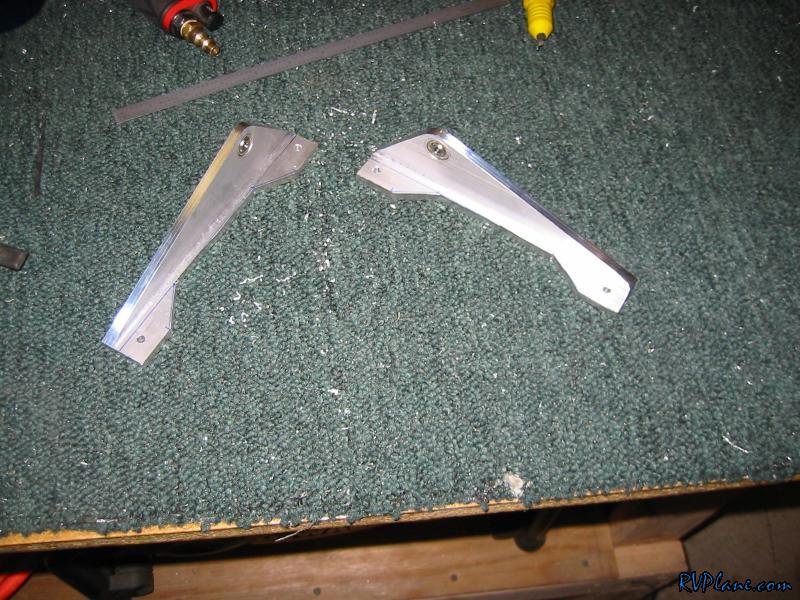 I smoothed out the control brackets and temporarily attached them to the read center section. I used some locknuts that I tapped out to tighten them down easily.  Next I test fit the control column or whatever it is called. The only reason I think that Van's wants you to do this now is in case you screwed up the drilling of the control brackets. I played around with the different combinations of thick and thin washers to make the fit just right. I think you are supposed to also put the control sticks on now, but I really don't see why, so I am skipping that.  I wrote down the washer combination that I figured out on the plans. I figured this will make it easy to put everything back together.  Next was onto countersinking the rivet holes for the nutplates on the top of the center section. 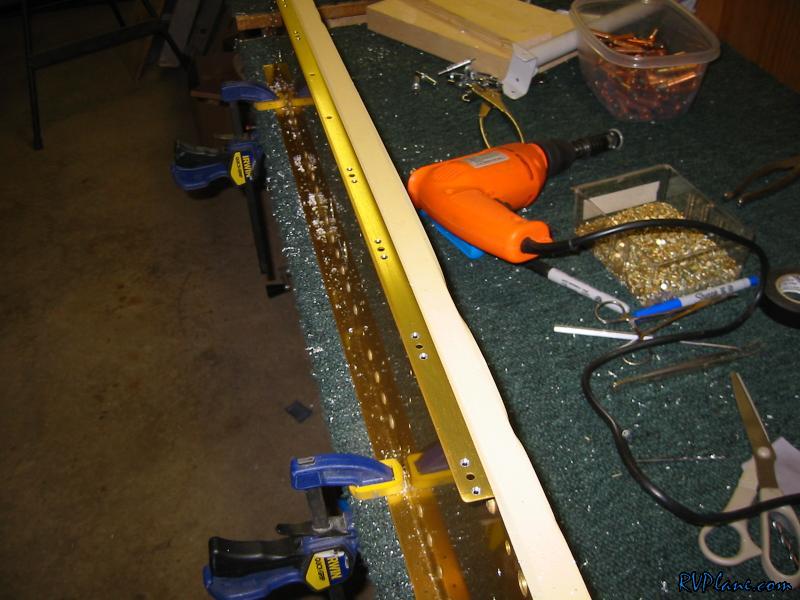 Then onto riveting on all 18 nutplates. 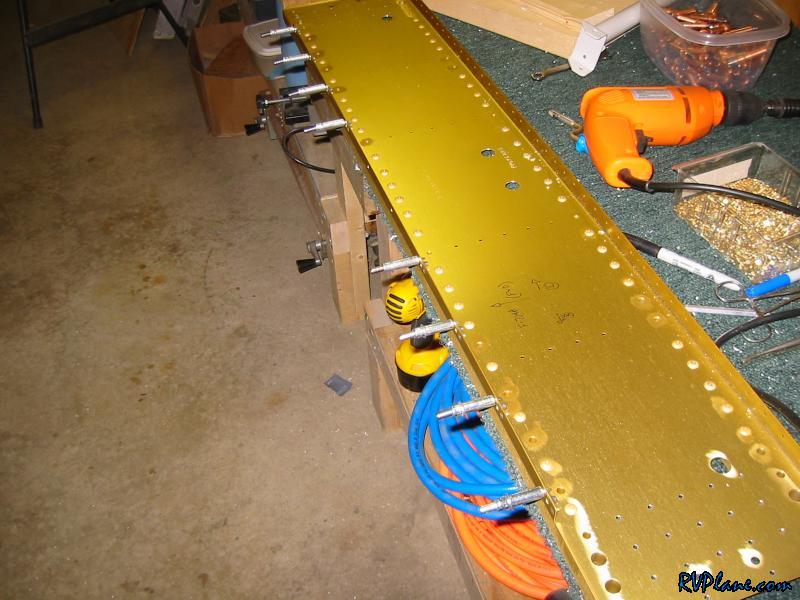 While I had the countersinking set out, I countersunk the forward facing side of the spacers for a flush head rivet. 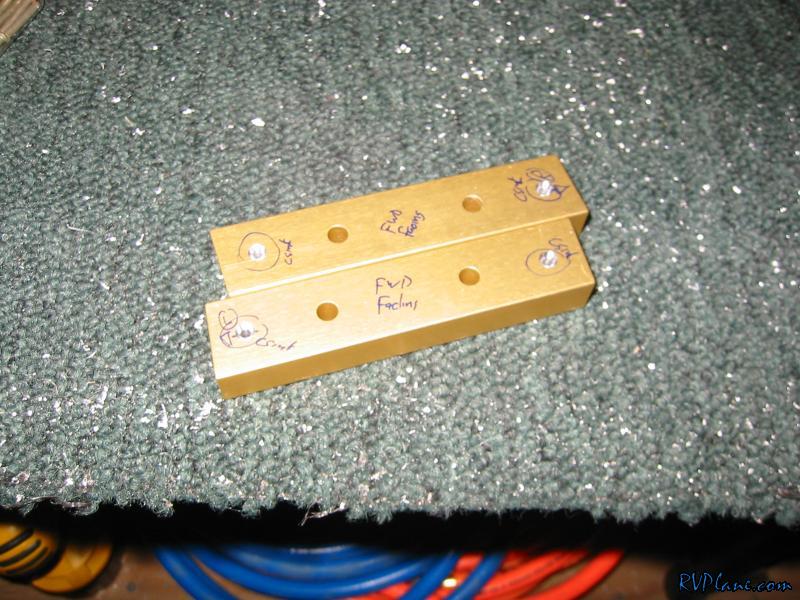 Next was onto these brackets. I clecoed them on and scratched my head on what needed to be drilled.  The outboard smaller brackets get attached to the spar with #8 screws. I imagine this is done so they can be removed to help route tubing through them. So I enlarged the #30 hole to a #19. 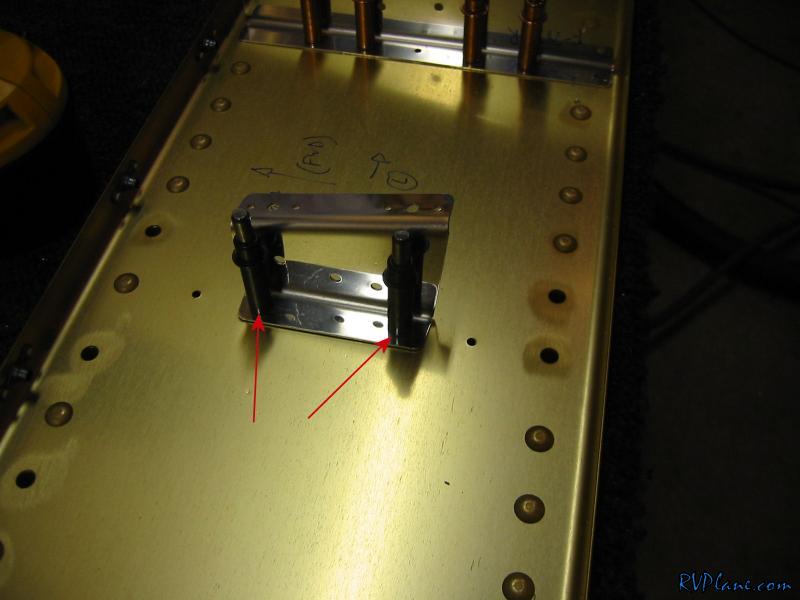 Next I match drilled this bracket and backdrilled the two #12 holes on the top and bottom using the bulkhead as the guide. 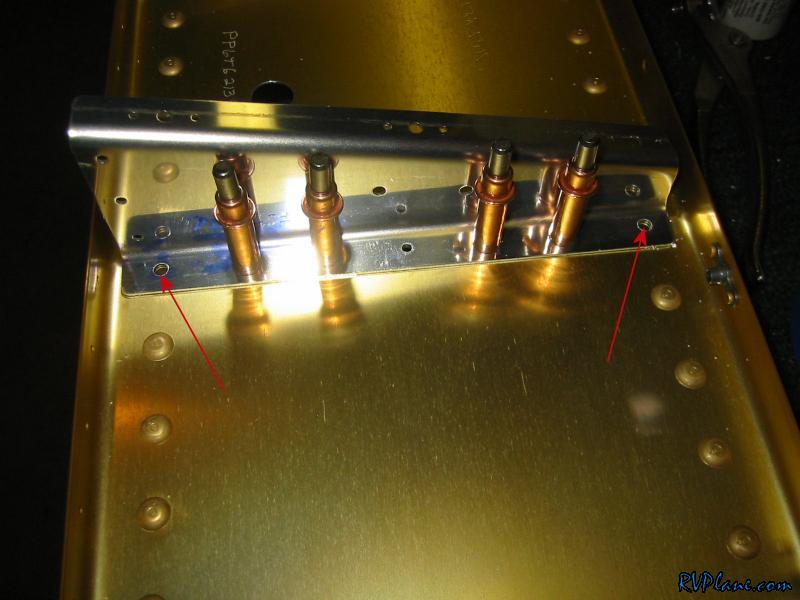 Next all of the brackets need their holes enlarged to various sizes to accommodate various bushings. These three holes have wiring, fuel and another for the brake line. I am guessing the brake line grommet is for the RV-7A model, but I could use this for a fuel return route if I go that direction with my engine.  Holes enlarged 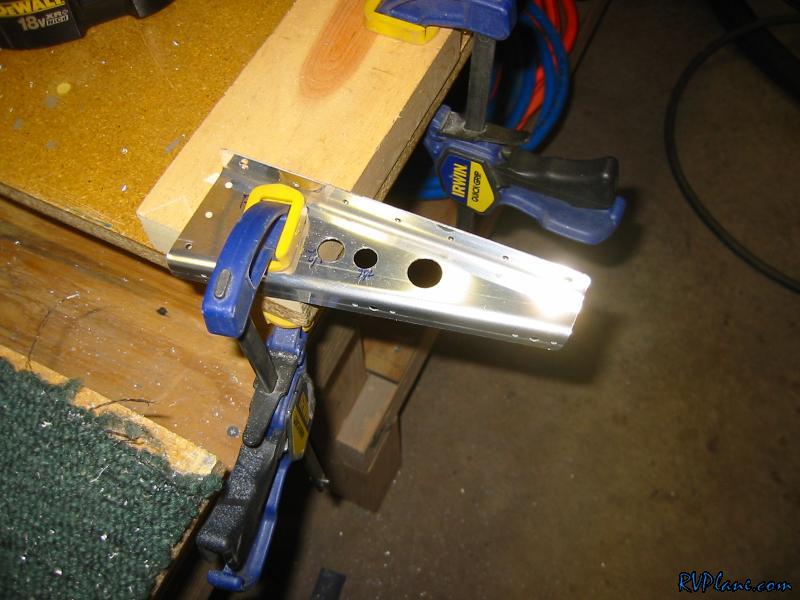 Swiss Cheese? 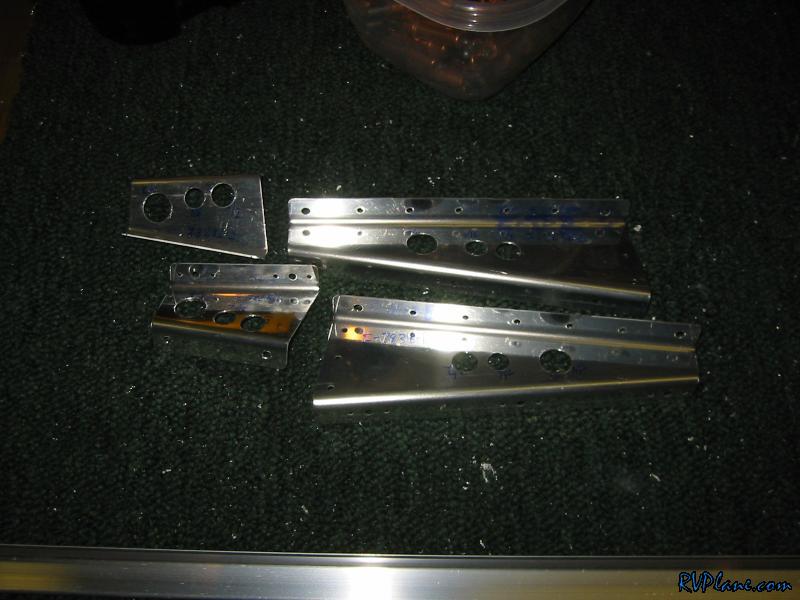 Next I fabricated these stiffeners. They host the nutplates that the smaller brackets above get screwed into.  Clamping these guys down was a little interesting. 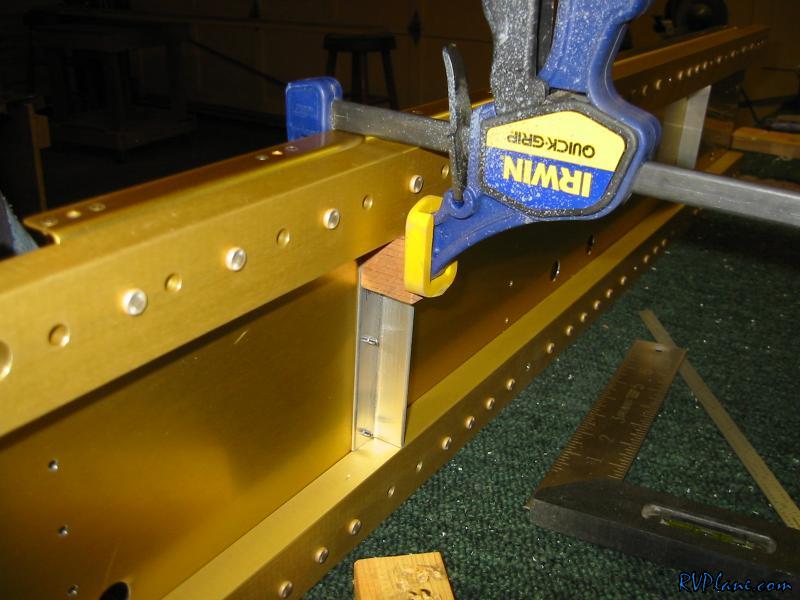 Once all the #30 holes were drilled, I backdrilled the #19 holes (black clecos). 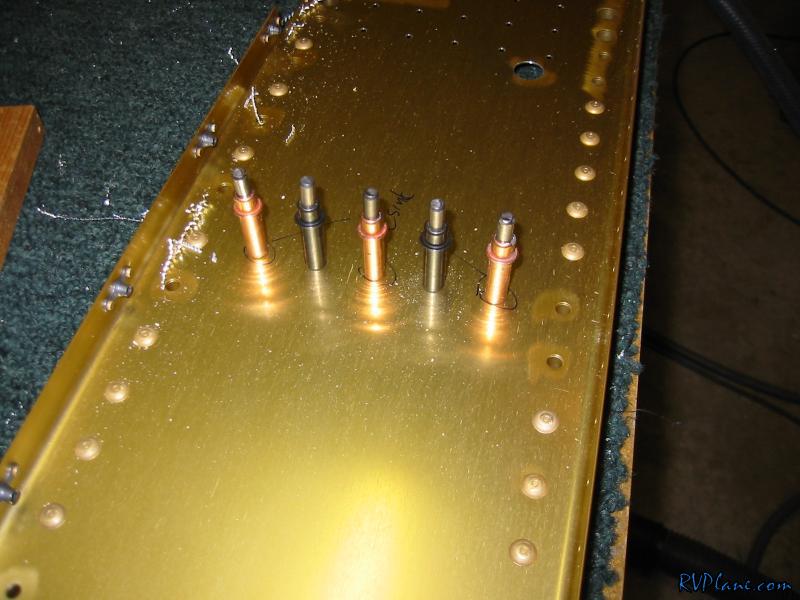 I am almost done with the center section. All I need to do is make some provisions for some nutplates.
|
|||||
|
http://RVplane.com |
Last Modified: January 31, 2026 |