
|
 |
||||
I started out tonight making the shims needed to support the top skin on the bottom of the inboard and outboard ribs. 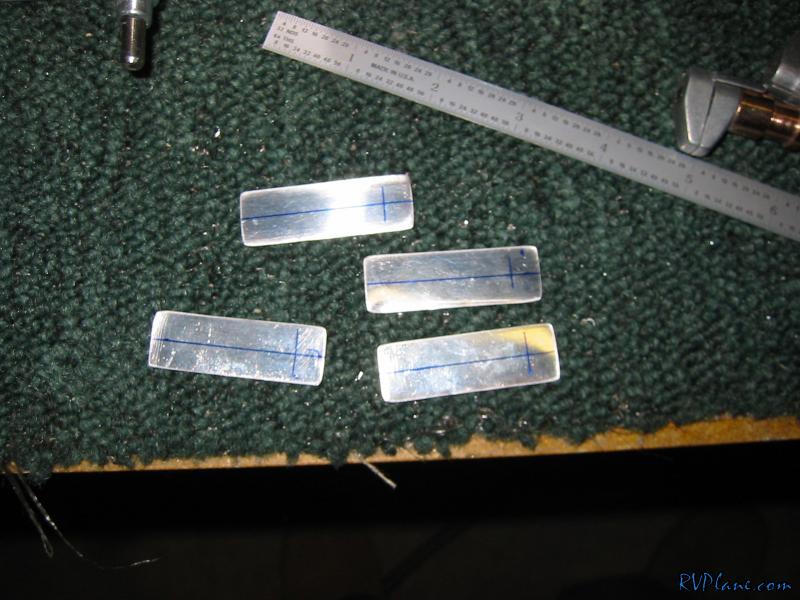 The "rear spar" of the flaps is really just the bottom skin bent up and out along the whole length. The back of the inner ribs aren't long enough to touch the spar, so spacers need to be made. I needed both 0.025 and 0.040" spacers on each rib. Once I fabricated all of them, I used the hole in the skin/spar to backdrill the spacer and the rib to #30. One note of caution here - since there is no cleco in the aft-most hole on the rib, the rib has a tendency to move away from the skin. Basically, when you drill the #30 holes, hold the rib and skin together. The first hole I did ended up a little oblong as I tried to fix this. A 1/8" rivet should fill the problem hole just fine, but something to be aware of. 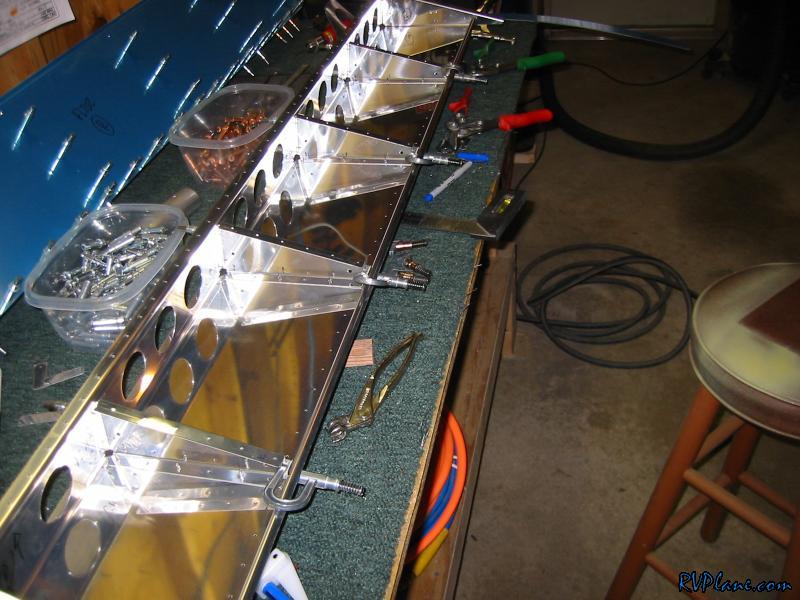 You can see the spacer here. I wrote on each rib the thickness of the spacer I used to keep track. 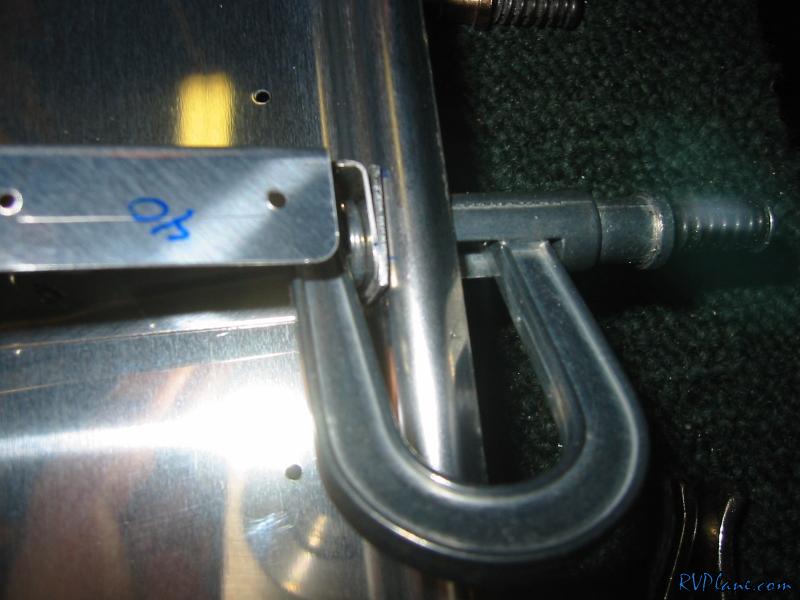 Next I match drilled the bottom skin to rib holes and then drew a centerline on the hinges with the nifty Avery line drawing tool. The hinges are significantly longer than they need to be, but I think Van's does this because you need a long piece of the center pin to bend and secure somehow later on. 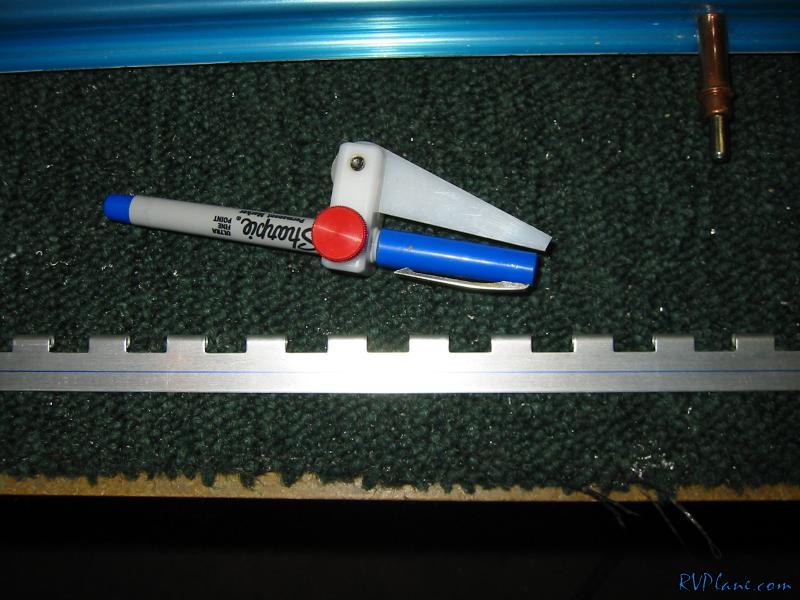 Next I clamped the hinges to the flap and backdrilled them. 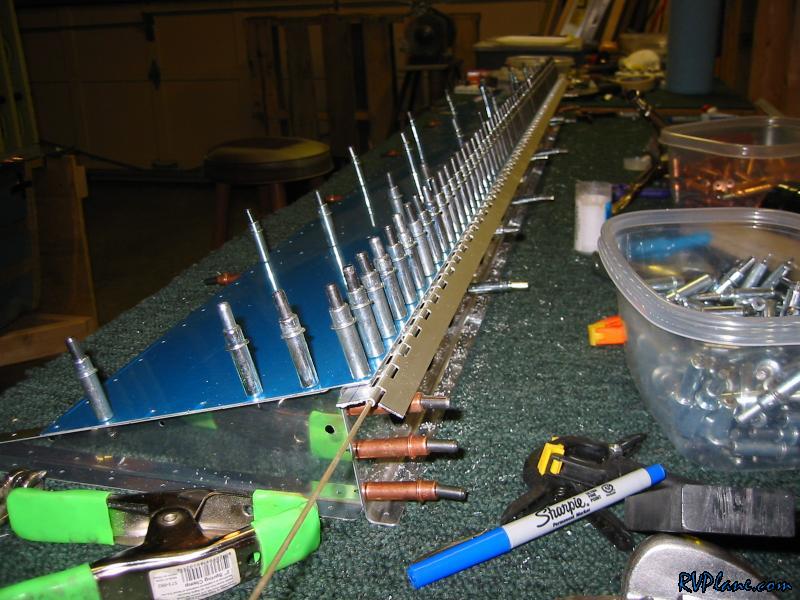 I had heard that some people had a misbent flap top skin that had a ski-jump effect on the trailing edge. Looks like I am not one of the victims. 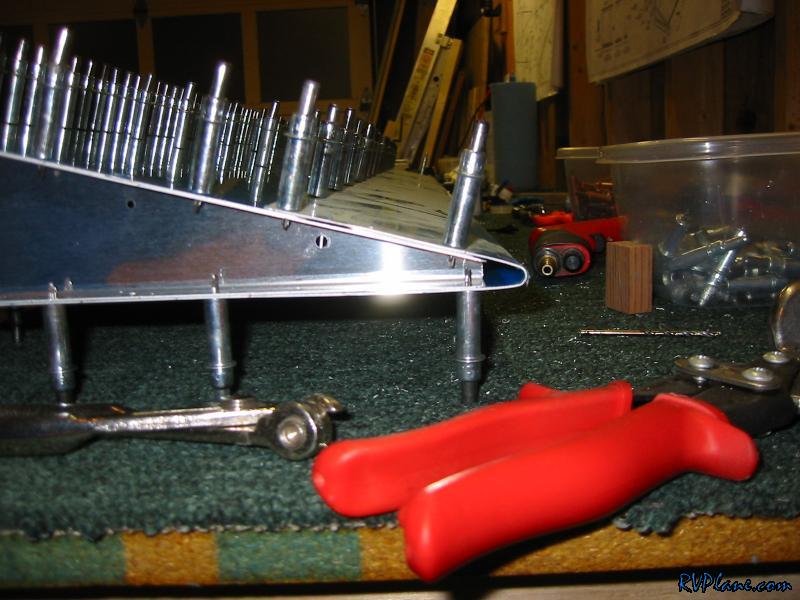 I can't match drill the skins now because it is too late to fire up the compressor. For a lack of a better place to store these control surfaces, I laid them across the wings in the cradle. 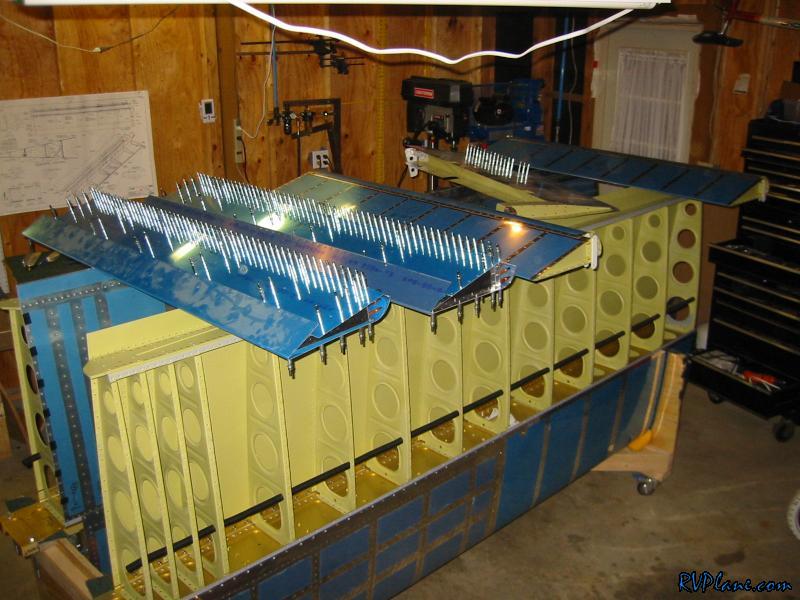 I started on fabricating the angle for the flaps. I got the basic shape cut out before I called it a night. The flaps are moving along quick! 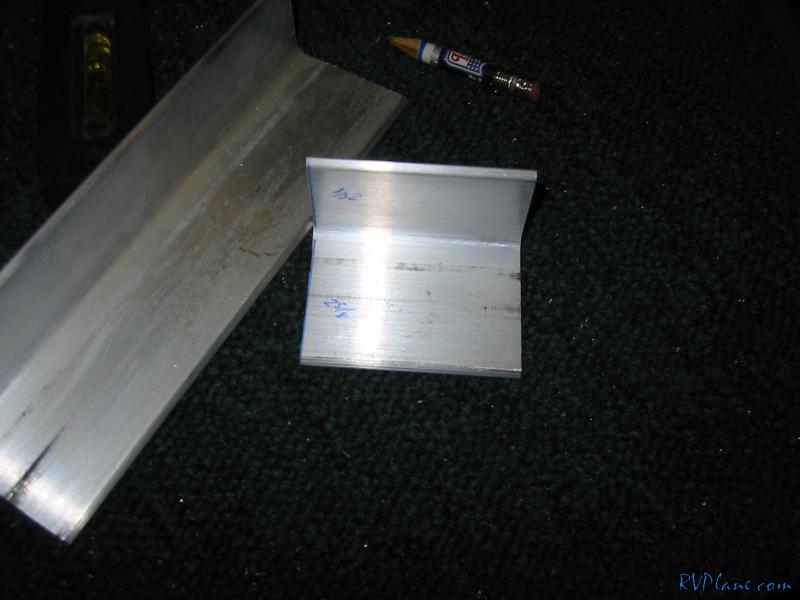
|
|||||
|
http://RVplane.com |
Last Modified: June 22, 2025 |