
|
 |
||||
Today I slammed out the fuel cap and the fuel drain. The cap gave me some grief. Since it is contoured to the curve of the skin, you need to bend the skin accordingly as you backrivet the cap bracket into place. I started by doing the 4 rivets that were at the high point of the cap (middle, front to back). Then I worked myself back and forward. On one side I had a number of rivets that sat way to proud. So I learned why drilling out rivets and proseal don't mix. I had rivet shavings all stuck in the proseal. It was truly a mess. I did get through it all by taking my time and not losing my cool. In the end, I think I have one rivet that might be a little little too proud. I am not going to do anything about that now. I would only make things worse if I did. If I do anything, I will build it up 1/64" or so with filler before I paint the plane, or more likely, I would use a rivet shaver. As you can tell, I went a little overboard with the proseal. FYI, For the cap and the drain, it took 1.1 oz of proseal per side.  The drain was a bit easier - all the rivets can be squeezed with a 3" yoke. Be sure to keep a clear, unobstructed path to the drain - it is the lowest point in the tank, and you don't want any water to be blocked from going down there. The one issue I had was the squeezer wanted to slide off the rivets. This lead to a few rivets not looking like they should, but for something non-structural like this, it is doubly not an issue. 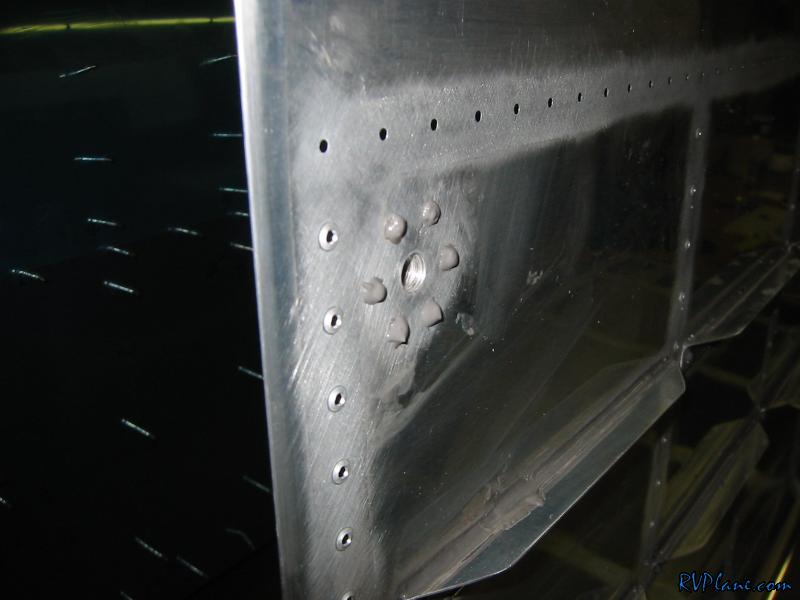 The outside turned out great. 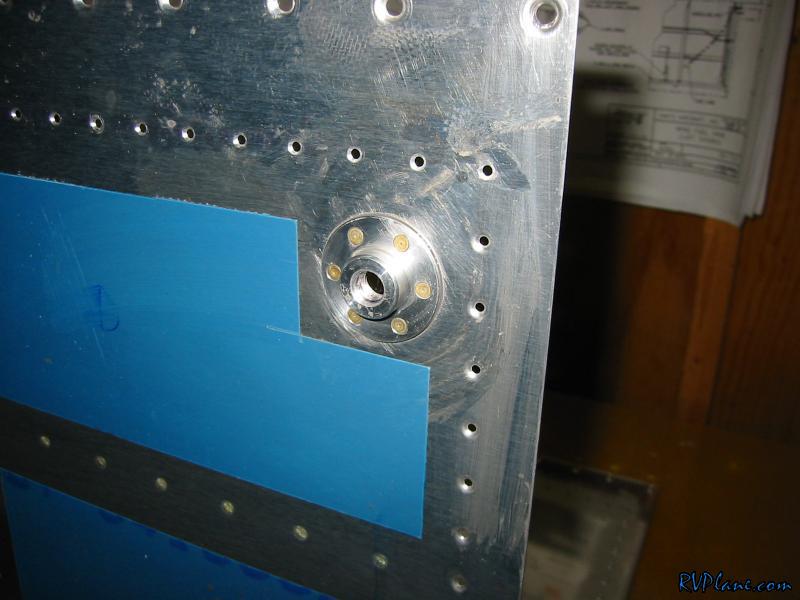
|
|||||
|
http://RVplane.com |
Last Modified: June 22, 2025 |