
|
 |
||||
The first thing that I noticed with the wing instructions is that Van's assumes that you don't need your hand held for every step of the way. No big deal, but it takes a little getting used to. Van's tells you to countersink the spars for the rivets that hold in the nutplates, then attach the nutplates. However I read on other builders log that the when you go and countersink the screw holes later on, the #30 countersink cutter in a #8 screw hole wobbles around and gives a nasty looking countersink hole. So not wanting to take any chances, I made a little jig to clamp to the spar so I could countersink the #8 hole first. Well, the short story is that it was a lot of work for nothing. I did a quick test with the method Van's suggested and it worked just fine. One bit of advice I got from other builders was to slow down how fast the countersink cutter goes. On my Sioux drill, I normally run it at 90 PSI, as recommended. I lowered it to 50 PSI and got a really nice looking hole. I figured that all of this work saved me from going the jig route. I need to drill out the rivets for the one nutplate so I can prime them as recommended by Van's. Working on making my jig. First I put a #30 hole in some scrap, and clecoed it to the nutplate. 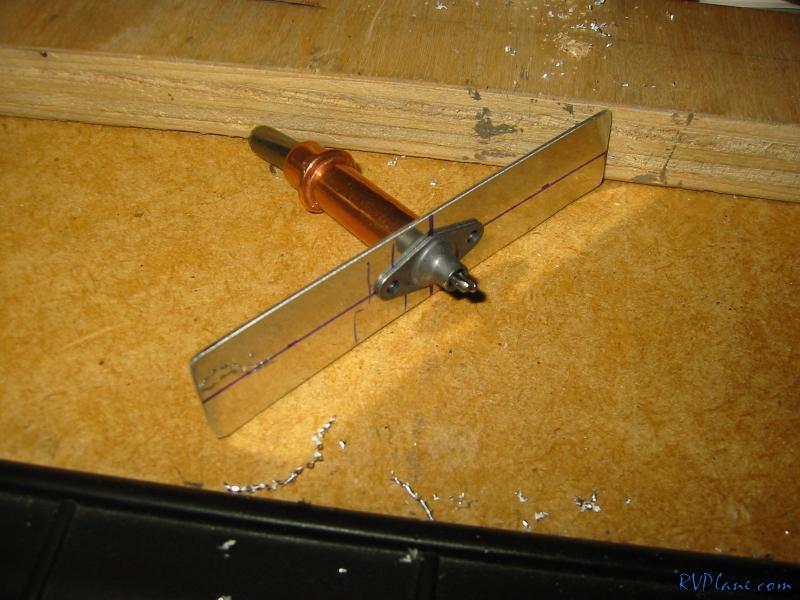 Next I drilled the #40 holes. When I was finished with the jig, I noticed that it didn't line up with the holes in the spar perfectly. I think this comes from not being able to get the #30 cleco to hold the nutplate perfectly in the center. I think using the nutplate as the countersink guide (as the instructions recommend) will guarentee a perfect hole, at least aligned with the nutplate.  This is a blury pic (damn old camera) of the finished countersunk hole. Looks as good as I possible with not too much work. 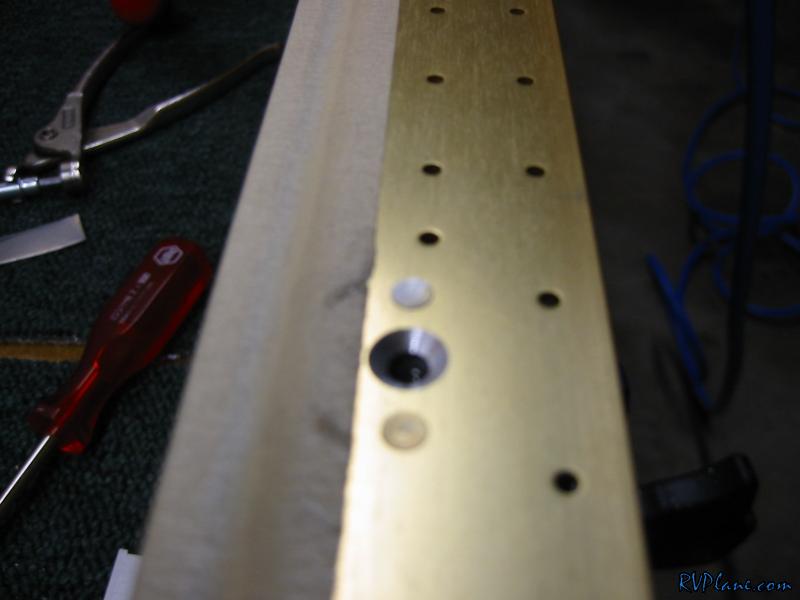
|
|||||
|
http://RVplane.com |
Last Modified: June 22, 2025 |