
|
 |
||||
Got a lot done today! First I drilled the horn brace using the holes in the skin as pilots. Finished that up and I was VERY happy with the results. Awesome hole clearance on everything. I am totally glad that I got another from Van's - I have a lot of peace of mind now. Next I took everything apart and prepared for the deburring operations. I used a mini scotch brite wheel on the drill press and that worked AWESOME. Got everything done lickety split. I am glad I did it the conventional way for the HS and VS to get a feeling of what result I am after. Next I decided to work on the counterbalance attachment. I got the hardware out, which included a pair of AN509-10R16 screws (Machine thread, phillips head). AN509...must mean AN5 style bolt....I can look that up to see what drill I need. 5/16" drill hole. Hmmm..nothing like that in the Avery kit. I did some poking around and found that the AN509-10R16 is actually a AN3 with a #10 diameter. OK, I need a #10 drill, #10 countersink and a #10 dimple die set. No, No and No....none of those are in the kit from Avery. I went to AveryTools.com to see how much #10 dimple dies were...ok..$32. Next onto how much a #10 countersink was - OH COOL...."#12 (#10 screw) STOP COUNTERSINK CUTTERS -- 100°". A #10 screw needs a #12 countersink, and #12 drill bit. I have both of those puppies! Before I trusted yet another anonymous source on the net, I got a piece of wood and drilled a #12 hole. The AN509-10R16 fit in snugly. Next I tried countersinking the hole in the wood. The head of the screw fit in perfectly. So I went on and match drilled the weight to the rib. I took it apart and drew a line connecting the two holes on the rib to make a centerline. Put the weight back on, put the screw back in, looked for the centerline through the hole on the weight and drilled. Now, I had almost everything. I first wanted to dimple before I countersunk. Still no #12 dimple die set. Back to Avery to see what's up with that. AGAIN, I found "SCREW DIMPLER FOR #10 AIRCRAFT SCREWS"....looks like something I have. Sure enough, it is similiar to the pop-rivet dimple set except it uses an allen bolt and a nut. Used all of my new found toys and got the rib dimpled and the weight countersunk. All of that took about 2 hours to sort through, and I was pretty steamed the whole time wondering how complete my toolkit really was. Next I deburred all the holes on everything but the skin, then took the scotch brite pad on the edges. Also somewhere in there I marked the orientation of all the little parts that count be put in more than one way (plates, etc). Next I dimpled everything inside. Used the pneumatic squeezer for most of that. There are a few holes on each rib on the trailing edge that you can't get to with the squeezer. I saw some people use the pop rivet dimple set. I played with that a little but it was a major pain. I didn;t even get one done. I looked at RV7Factory.com (my #1 resource for building. RVProject is pretty good, but the 'factory' deals with a lot of the new things that Van's does that didn't apply to Checkoways project) and found he used the vice grip #40 dimpler. That thing worked great. First time using that tool too! For the very end holes I needed to use the seamers to bend back the flange to get the vice grip in there. Next I took the vinyl off of the skins for where I need to dimple. I deburred the holes in 1 1/2 skins before I just couldn't see straight anymore. It's 11:00pm now and I have been going strong since 6pm without dinner. Time for some leftovers and beer! Make sure to mark all of your pieces in the rudder. I almost forgot the trailing edge piece. 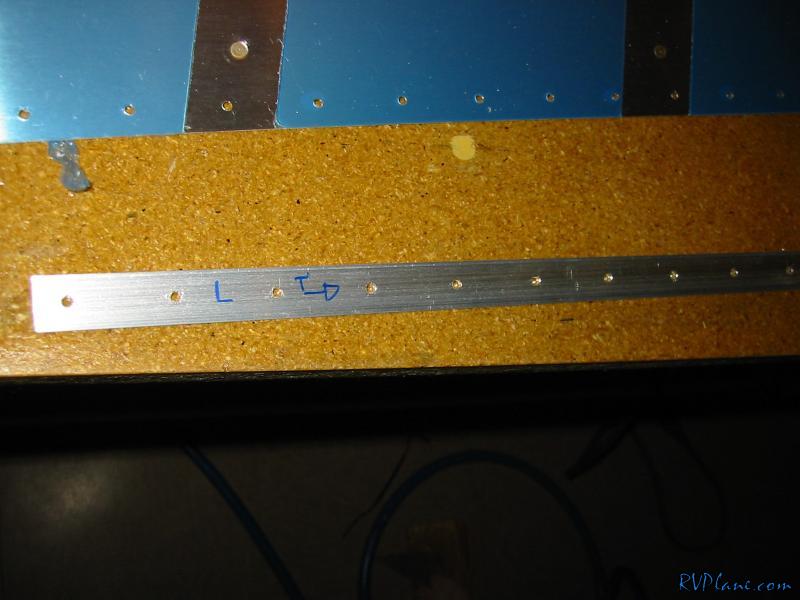 The horn drilled....awesome hold clearance. 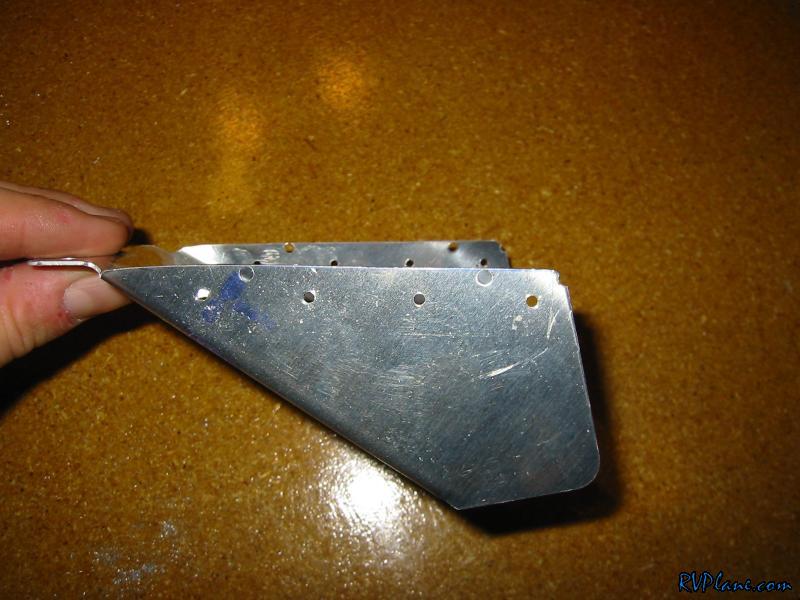 Everything taken apart, except I forgot to match drill the nutplate reinforcement plates. The instructions don't explicitely tell you to, but I know you have to. 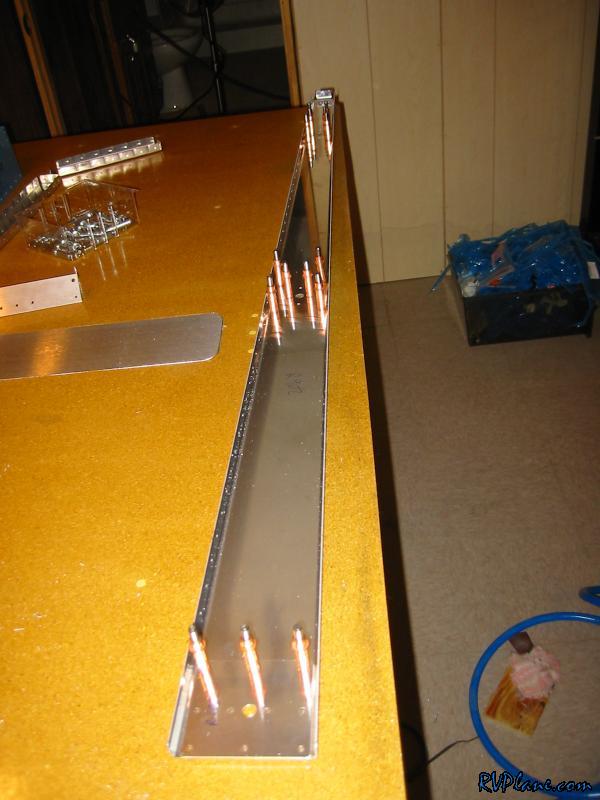 This is my test countersink for the #12 hole for the #10 screw, Nice and tight fit. 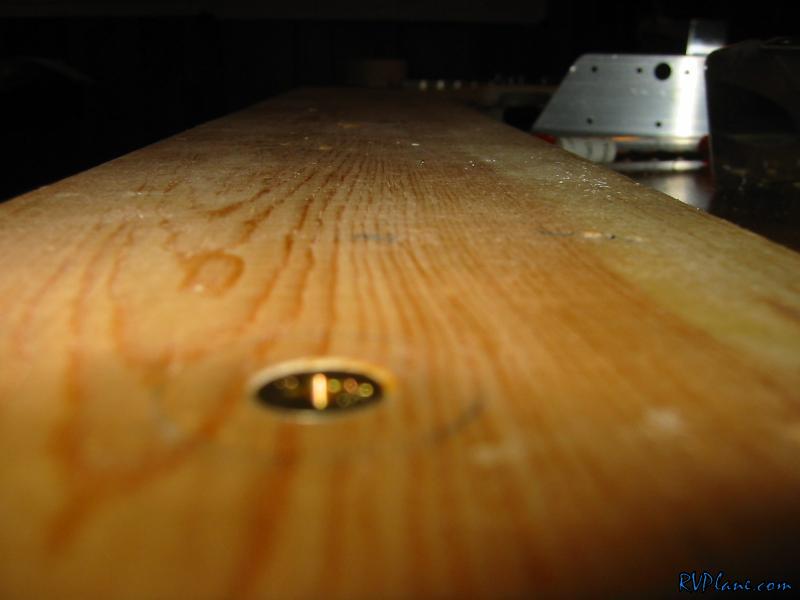 Centerline down the rib for the weight to be drilled. 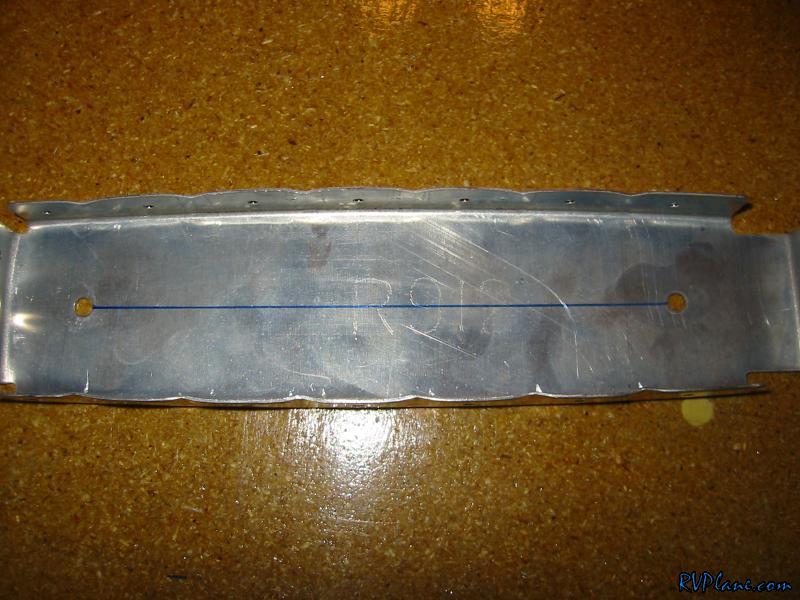 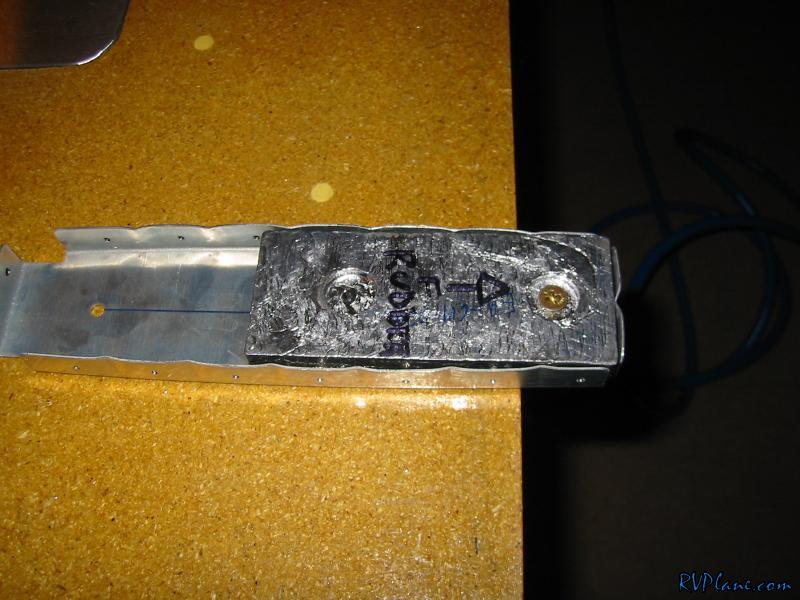 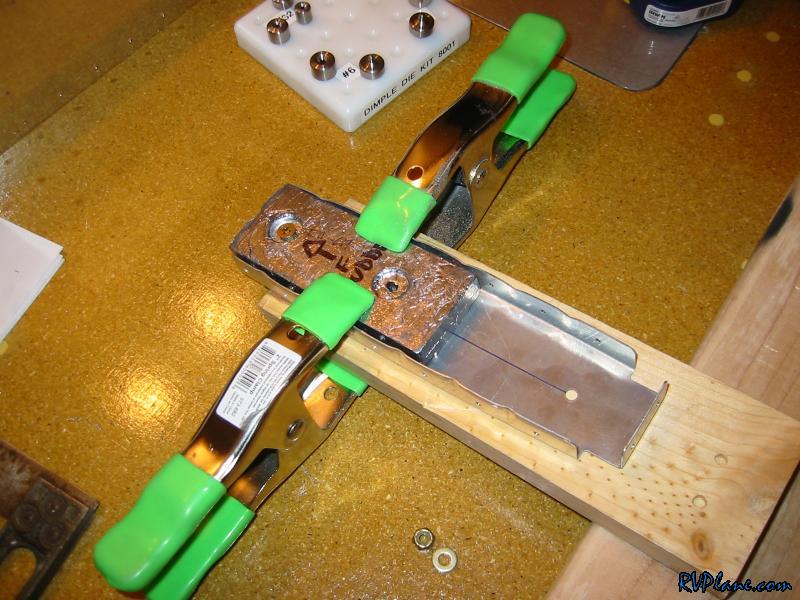 This is the #12 dimple die set. 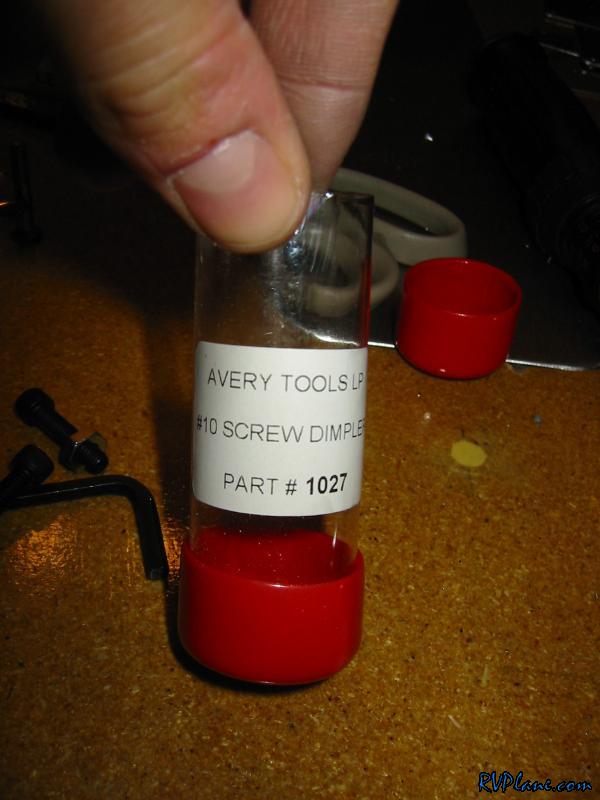 This is how it is used....just like the pop rivet set. 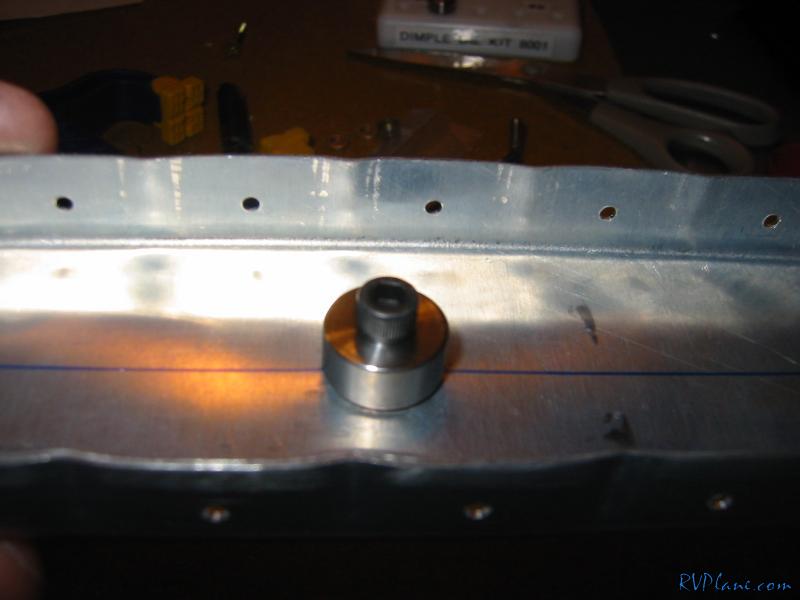 This is how I dressed up the horn. I got this idea from some other builders website. I can't remember who's for proper credit. 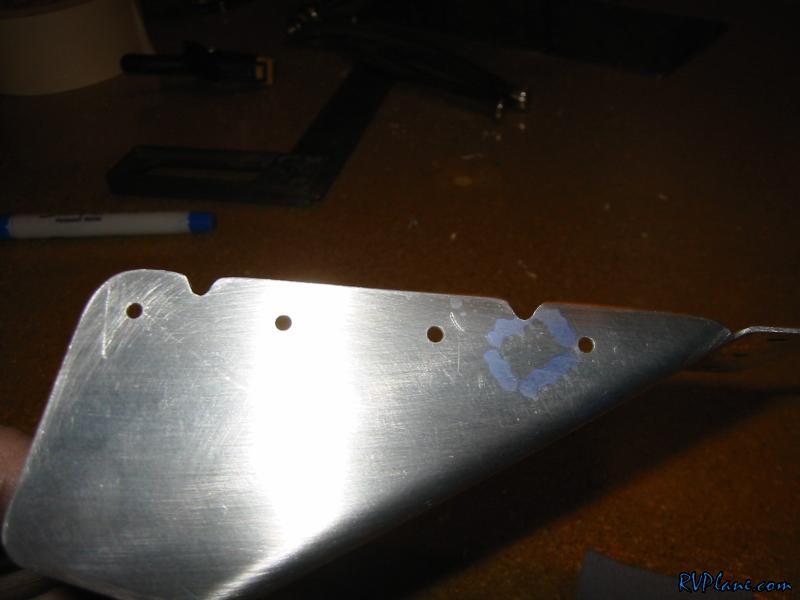 Vice grip dimplers. 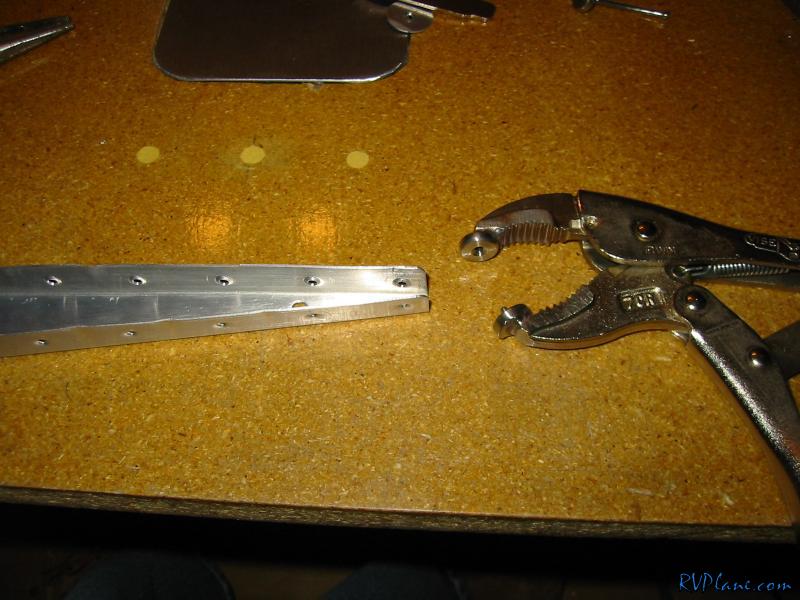 You have to bend open the end of the rib to fit the dimpler in. 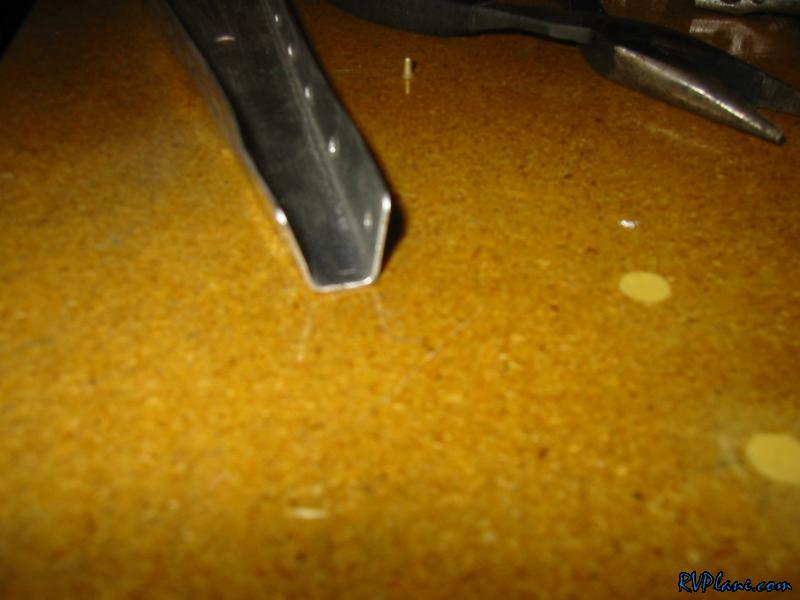 This is dimpling in action. 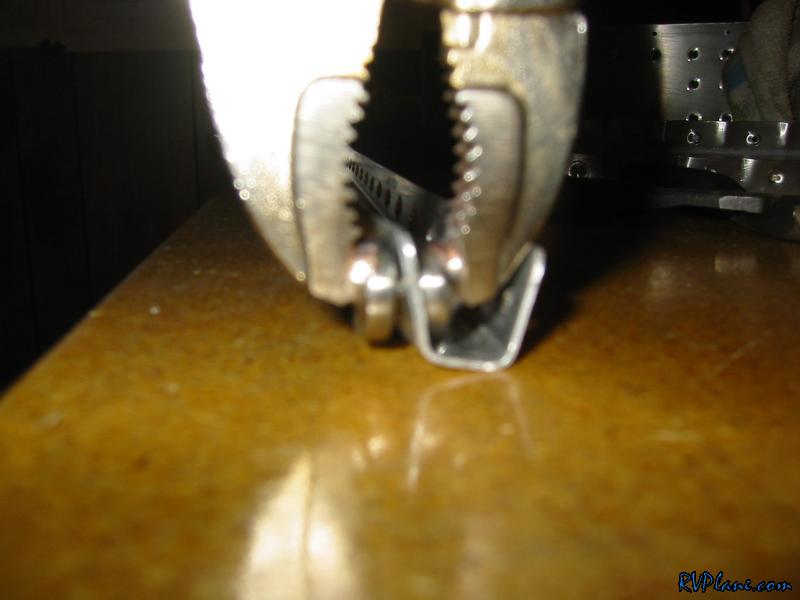 Finally, I finished the day by de-vinyling the rudder skin for deburring. 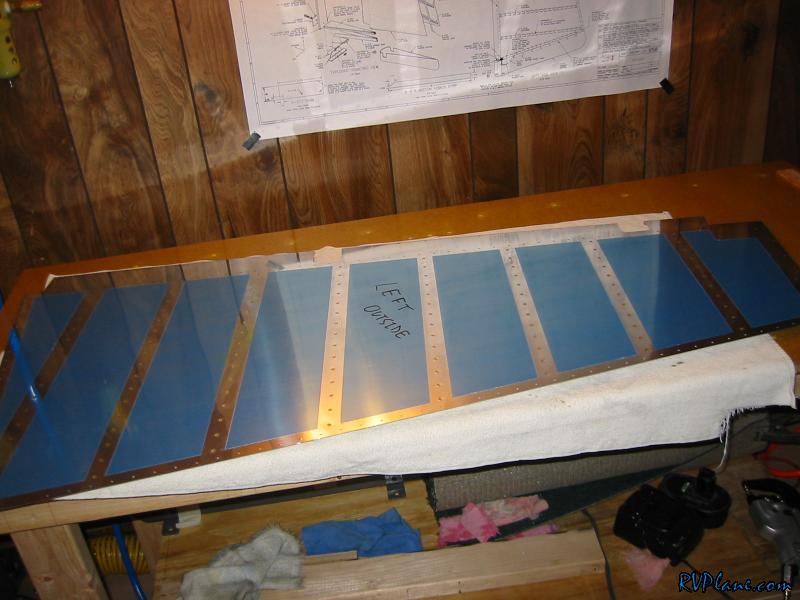
|
|||||
|
http://RVplane.com |
Last Modified: June 22, 2025 |