
|
 |
||||
I about an hour tonight and rounded off all of the edges on the stiffeners and then went over them quickly with a scotchbrite pad. The scotch brite wheel on the bench grinder worked amazingly well. Next I grouped all 14 of the right stiffeners into pairs (there are two of each length), and put the pair in order from shortest to longest. Next I labeled them A-G, and TOP and BOTTOM, and RIGHT to make sure that I do not mix them up. After that I clecoed them to the skin. Now the skin doesn't open up enough to put all of the stiffeners and clecoes in on the inside. I was trying to figure out how to hole the skin open to accomplish this (I saw Dan Checkoway used a rope attached to a wall to hole the skin open) and then I had the brainstorm to just cleco from the outside. It's amazing how fixated you can get by trying to do something the way someone else did it, when there might be another way that works better. Finally, I marked off the right angle cuts on the stock for the left stiffeners and marked what pieces go where. As indicated on the drawing, there are 2 pairs of stiffeners that needs to be more or less customized. I think they are JKL. I marked these to know not to put in the long 5" tapering cut as the factory calls for because they need to be shorted, then the right side stiffeners are used as a template. Right side stiffeners paired off and labeled. 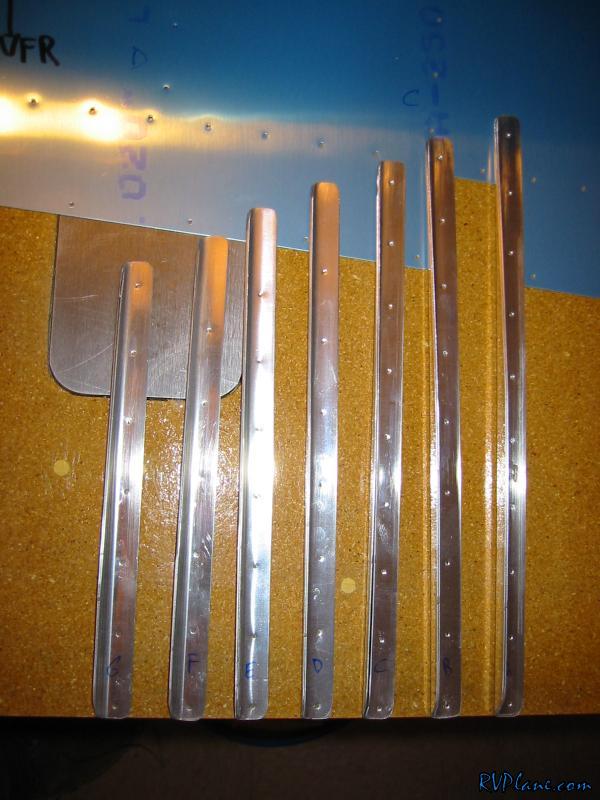 The stiffeners clecoed to the skin 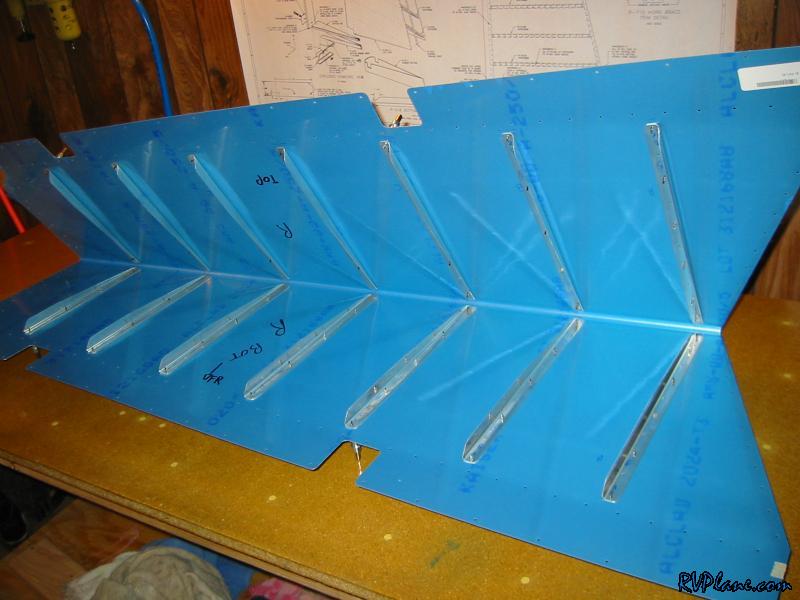 Another exciting shot. 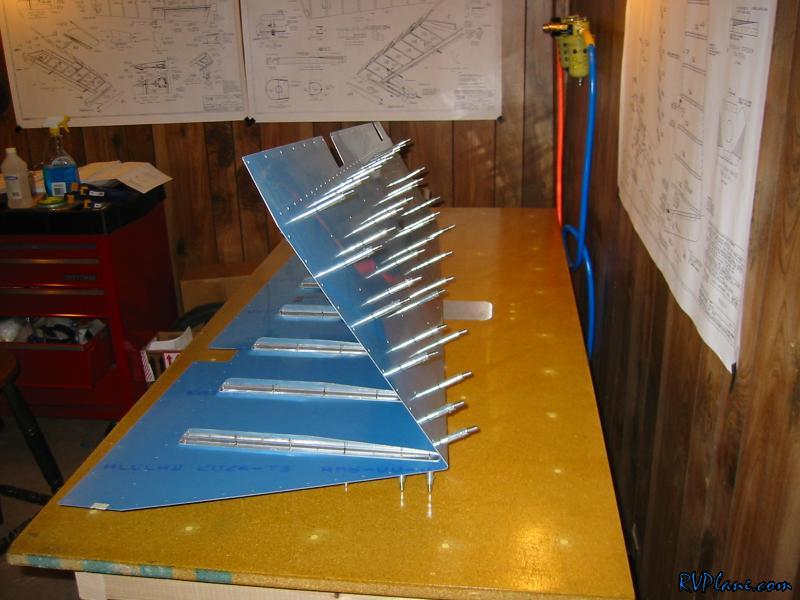
|
|||||
|
http://RVplane.com |
Last Modified: June 22, 2025 |