
|
 |
||||
Happy New Years! I finished back riveting the stiffeners today. Before I put away my back riveting set I made sure that all of the rivets were knocked down enough on the trailing edge to prevent interference problems. Next I worked on enlarging the hole of the R-904 rib to 3/8" by using a unibit and the R-902 spar as a guide. Well, dumb dumb me has never used a unibit before and I just assumed (yes, ass out of me and me) that I could use it on a 1/8" pilot hole. I got to the first notch and it walked a little but causing the hole to be off by about 1/8". No harm was done yet. I drew a new center line and an outline of where the 3/8" hole needed to be. I was still in the clear. Next I saw that the hole was damn close to the edge of the ribs flange...like 1/32's close. I did a quick Google search and found this on DualRudder forums (just a mirror of the Yahoo! 7and7A groups, but much more friendlier to search):
With that settled, I put the unibit in my drill press and was able to get everything perfect. After that I made the R-917 shim. Now, it says to use 0.032 2034-T sheet. Van's give you a bunch of "trim" sheets, but they don't label what each one was. There were a few numbers, but nothing definitive. I did see a "32" on one of the sheets that gave me a clue, but I wanted a little more of a warm and fuzzy feeling. The sheet you need is the same thickness as the R-904 bottom rib. It turned out that it was the sheet in MY pile with a "32" printed on it. Actually, VAN's gives you a 40" or so STRIP of 0.032 2034-T. It is already 1 1/8" wide, so all you have to do is cut it once. It is also used in the R-918 strips later on on the rudder! I marked off the trim and cut the R-917 shim with my snips. It curled it a little, but no biggie. I clamped it onto the spar and drilled the 3 holes. I put the lines where the centerlines should be on the outward holes to make sure I was more or less centered. Drill, Cleco, etc.., DONE. Next was the rudder horn. I needed to use the bench grinder to get this into shape on the front side. It took a few passed to make sure that it lined up properly on the rib flange bend. More reinforcement plates went on, match drilling, etc....... Than the fluting of the counterweight ribs came. The bottom R-912 rib was pretty easy, but the R-903 took a while. I bit it off on two chunks - leading the trailing. The trailing 10 or so holes are pretty straight right out of the box. They just need a little bend to get them straight. The leading 7 or so need a more aggresive flute. Next was attaching the counterbalance skin. At first I had the counterbalance ribs attached to the spar and then tried to pop the skin on. One thing I noticed was the 2 holes where the bottom rib meets the skin on the leading edge didn't line up at all - probably 1/16" off. So I took everything apart. What a pain! I then just took each rib and the counterbalance skin and made things line up there. The bottom rib needed to be really fluted to bring the holes closer together. I put together the skin and the ribs then clecoed it to the spar. Worked out well. My first attempt at the unibit. The blue circle is where the final hole SHOULD be. Notice the high precision! 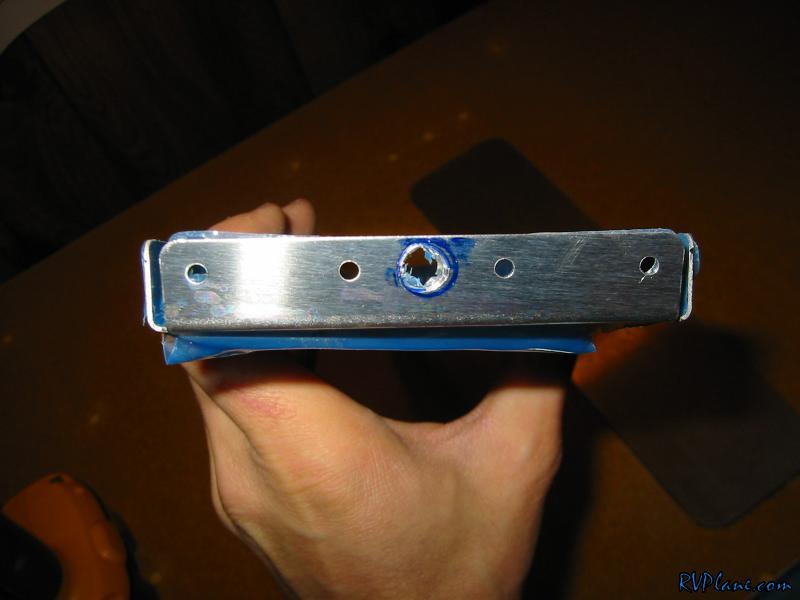 This is what I ended up with. Perfection if I may say so. 1/32" between the hole and the end of the flange. 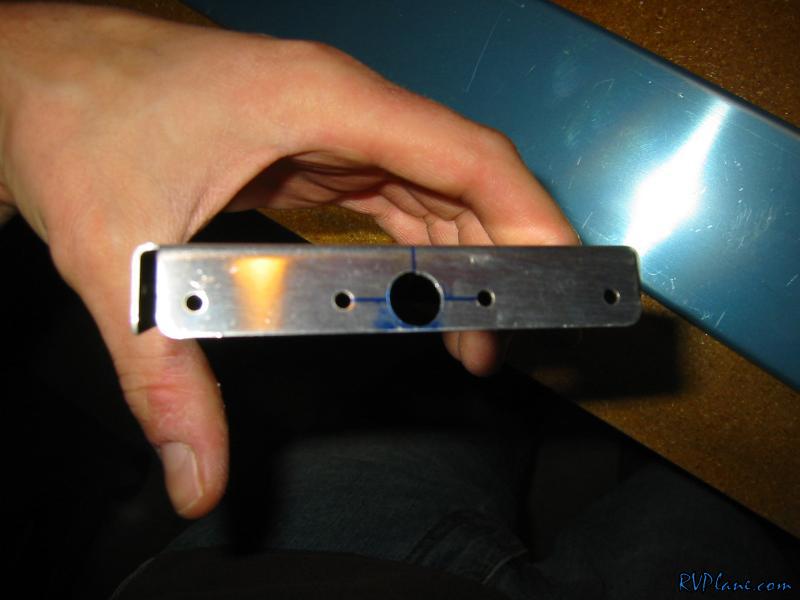 This is how I figured out what piece of stock to use for the R-917 shim. 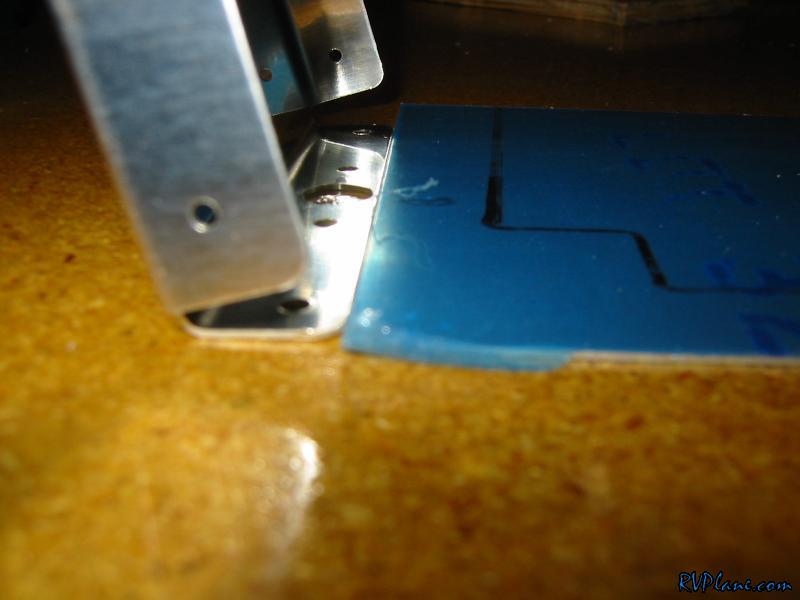 Shim, rib, spar and horn together nice and tight. 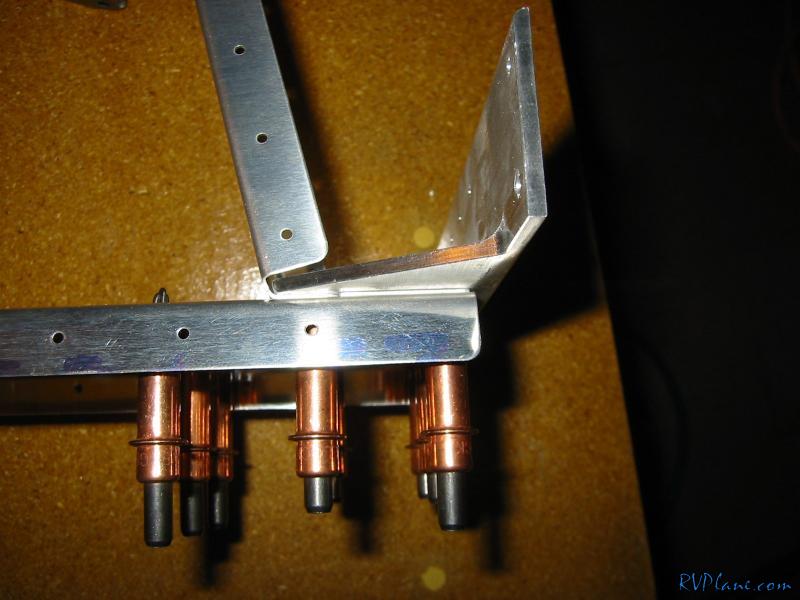 The fluting of the top R-903 rib. More heavy fluting to the right, less or none to the left. 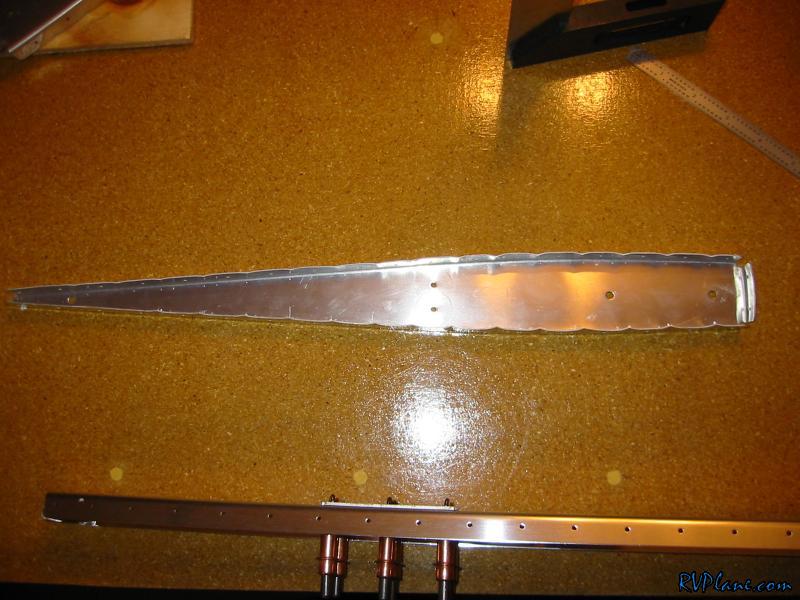 The ribs and spars all together. 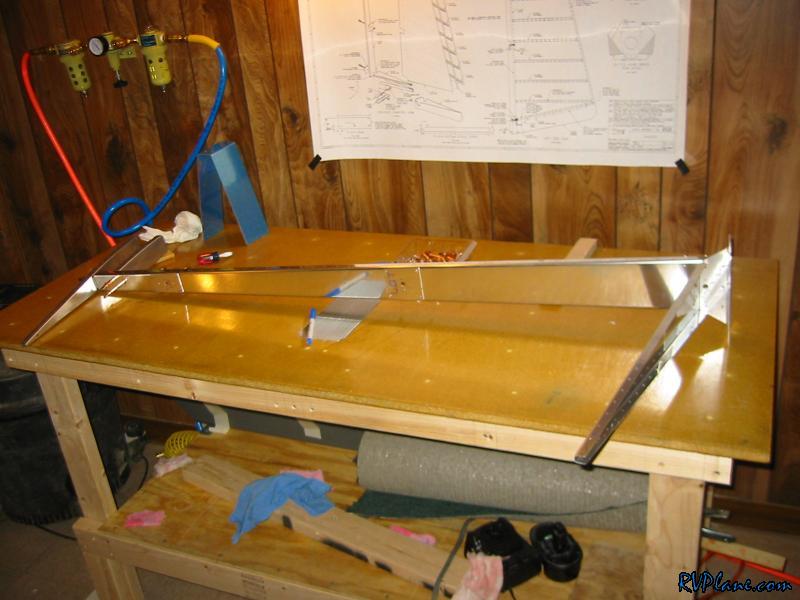 These clamps kick ass. Expensive, but well worth it. 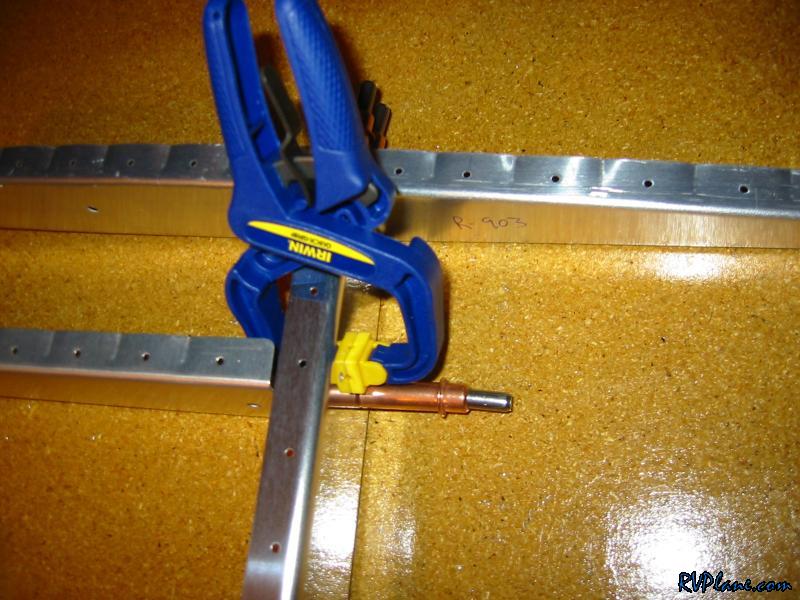 This is how the R-912 rib looks when clecoed to the R-913 skin. The hole is off quite a lot. 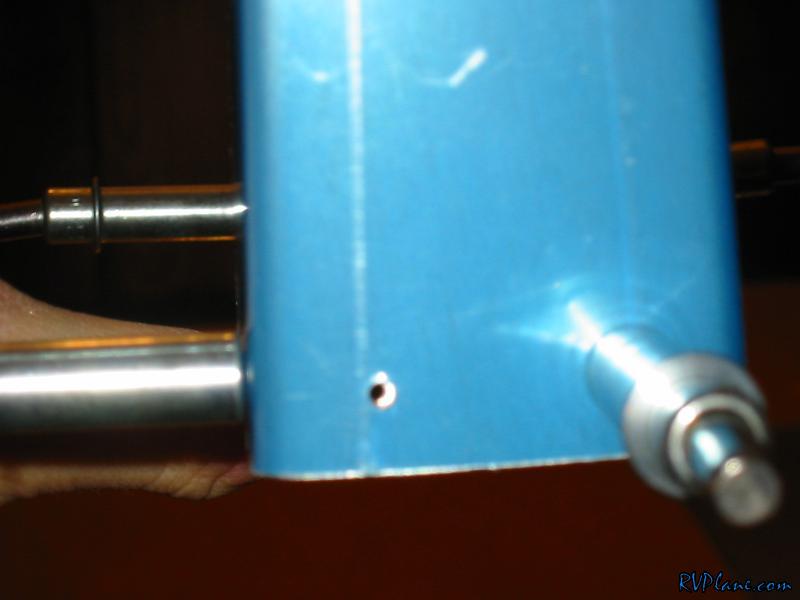 A nice and drastic flute fixed that problem. 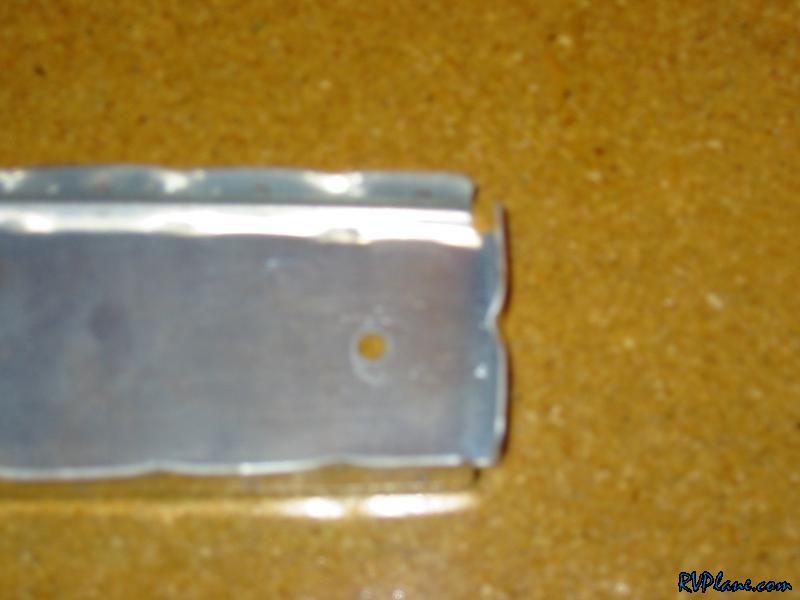 Everything for the counterbalance clecoed together. Nice and tight. 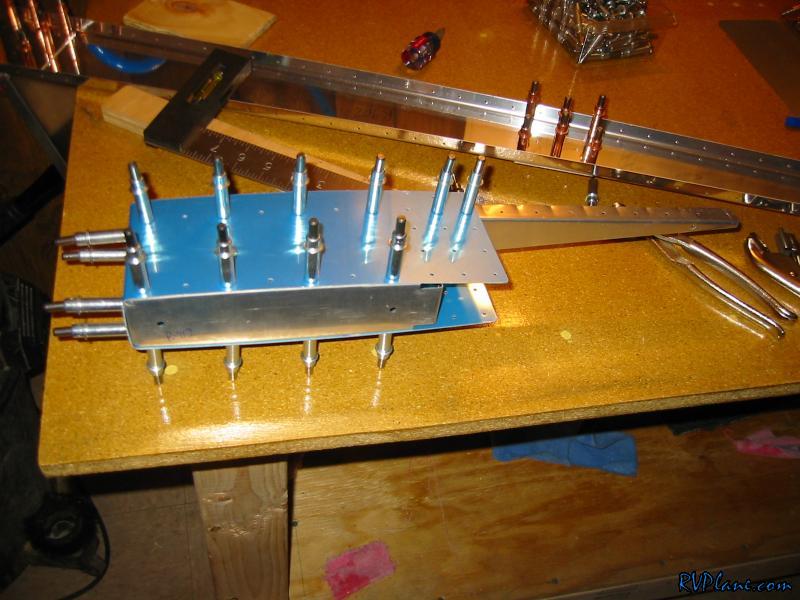 The counterbalance clecoed to the rest of the rudder. 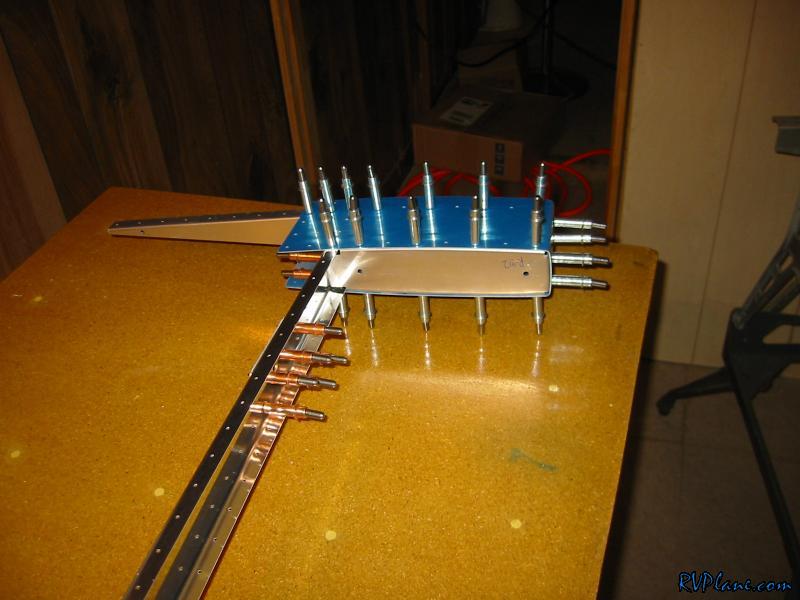
|
|||||
|
http://RVplane.com |
Last Modified: June 22, 2025 |