
|
 |
||||
Today was another good RV work day. I got up early and drilled the rear inner spar on the left HS. One thing that I wish I did on this side was how I marked the centerline on the inner ribs. The ribs are not necessarily even on the flange. Mine varried quite a bit. Here is what I should of done (and did do on the right side). First, the holes in the skin are centered 10/32's from the edge of the skin. I found the lowest height flange point on the inner ribs (lete just say 21/32's) and subtracted 10/32's from that (= 11/32's). I made my line by setting the rib on the workbench, flanges up, and making 11/32's points from the bottom of the rib up, in this orientation. What this does is cause any excess flange to hang over the skin. What you can do is mark this excess with a sharpie and file it down later on, so you have perfectly parallel ribs and your skins and ribs line up and flush, universally. Anyways, another thing I saw when I clecoed the front reinforcement bars, was my countersink was not deep enough. I fixed it by countersinking a little deeper. I also found that setting the countersink up is a lot easier on the drill than not on the drill. OK, all of that was before I went to work. When I got to work, I found the DRDT-2 dimpler and some extra parts for the pneumatic squeezer in! While at lunch, I stopped by Home Depot to get some clamps and a wood yardstick. Bill suggested using a wood yardstick as a guide when you use a soldering iron to de-vinyl. Metal edges tend to conduct the heat from the soldering gun and can cause undesirable results. When I got home, I prepared to drill the holes from the rear inner rib, through the reinforcement bars, spars and the front rib. I setup the 90 degree drill bit kit from Avery, with the longer of the two drill bits so I can get as close to a perpendicular angle as possible. The top hole went well. I used my new Irwin clamps to hold everything tight while I drilled. These clamps are absolutely priceless. They were really pricey, but they are worth their value. The bottom hold drilled OK, but I somehow made the hole a little oblong. Bottom line is try using the right hand drill bit on some scraps before the real thing. It will be worth it! After I clecoed the top and bottom holes, I used the drill on the middle two. After I drilled the second hole, I almost cracked. My original inner holes for some reason didn't line up at all with the front rib. The hole I made was about 3/32's from the edge of the piece. I felt aweful. I started to think about all the pieces that hole went through if I needed to replace everything. OUCH! Next thing I looked at was the clock. 6:30 EST...wait, Van's tech support opens at 4:30 pm PST! I quickly got on the phone and talked to Ken in about 30 seconds. I was nervous as hell because I thought I made a major mistake. Ken was super calm, and said right off the bat "Oh...that's no big deal". He recommended that I put a hole in the middle of the good hole and bad hole and just use that. Man, did I feel great! I took the rear inside rib out and put a new hole in, put it back in the contraption and made a good hole to the front rib. Next I drilled the skin to the the spars/ribs. After that, I removed all of the clecos, the skins and the insides. I put the final holes attaching the front spar reinforcement bars to the spars. The Iwrin clamps came in real handy there too. Definitely a must have RV tool! Finally, I started putting together the right HS. Got the skin clecoed on, and the inner ribs fluted, centerlined (with the above method, and it worked great!!) and clamped. The inner rib drilled to the skin and the rear spar. 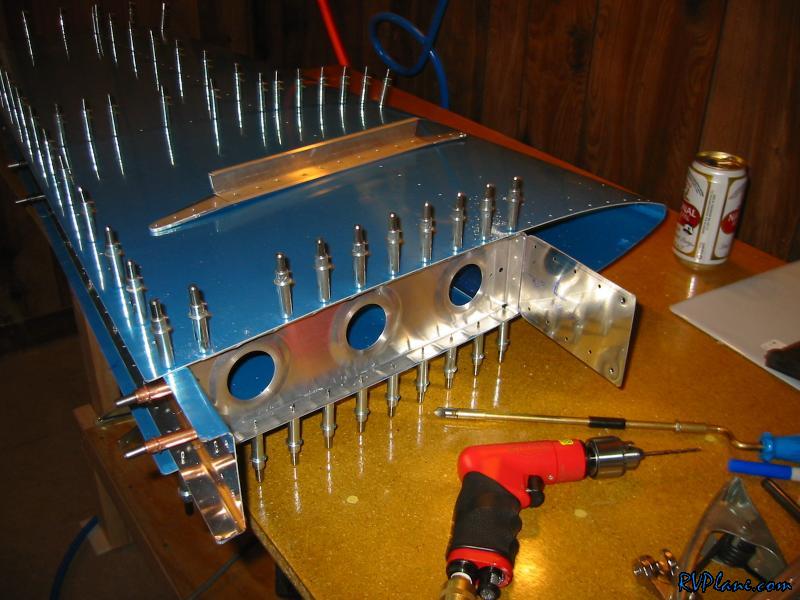 Here is my counter-sinking issue. I need to countersink a little more to make these things fit flush. 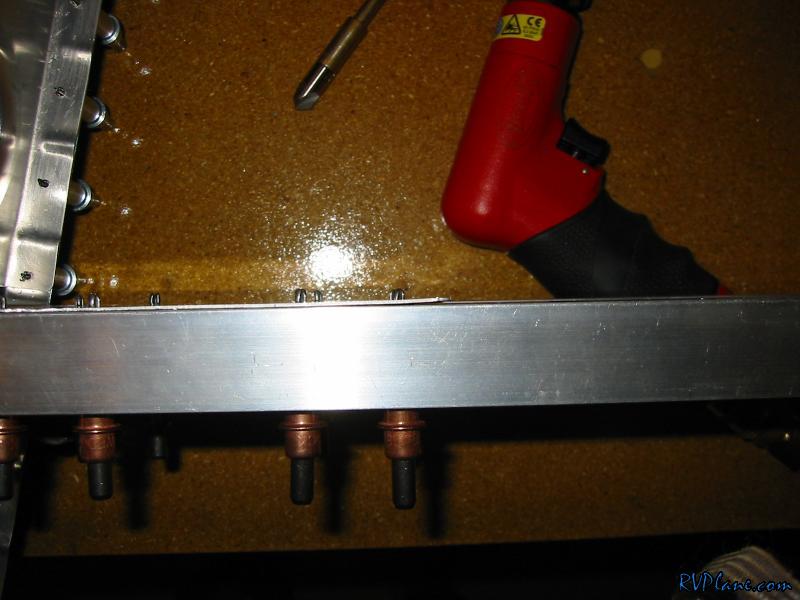 My DRDT-2 dimpler assembled and ready to rock. 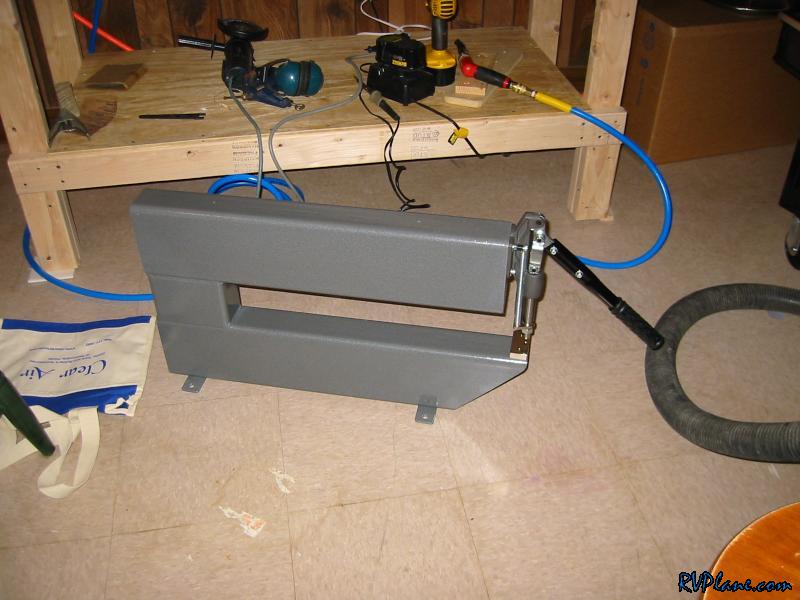 Here is my first use of the Irwin clamp. Very nice for navigating around the flanges on the spars/ribs. 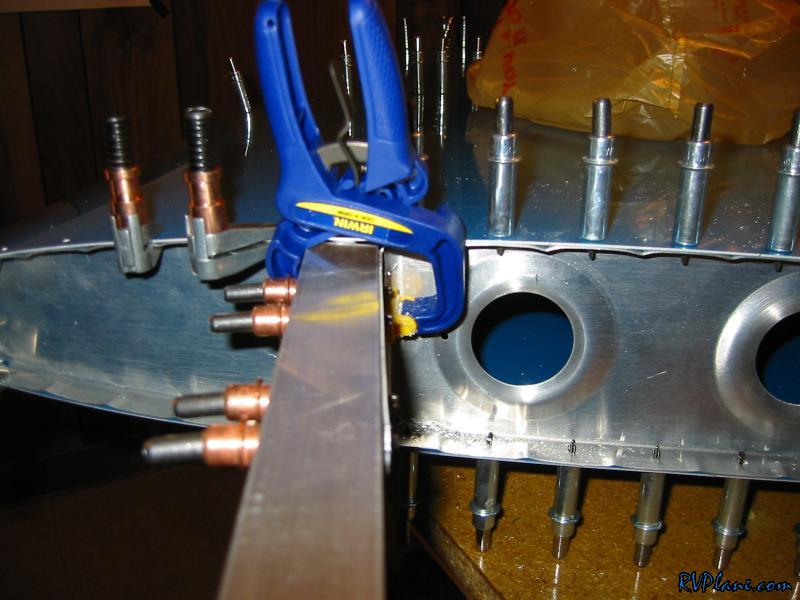 Another shot of how I held everything together. 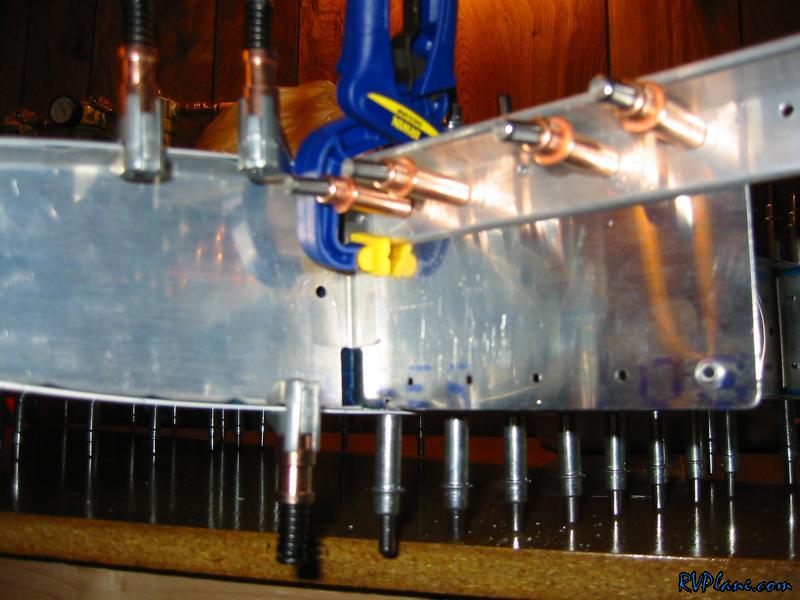 The right-angle drill adapter in all of its glory. 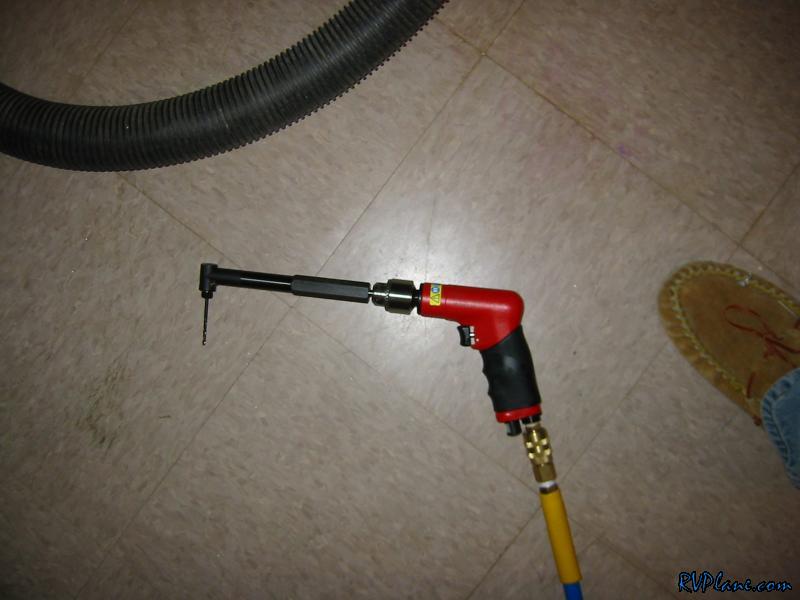 I used the bigger of the Irwin clamps to hold the ribs/spars together for the inner holes. 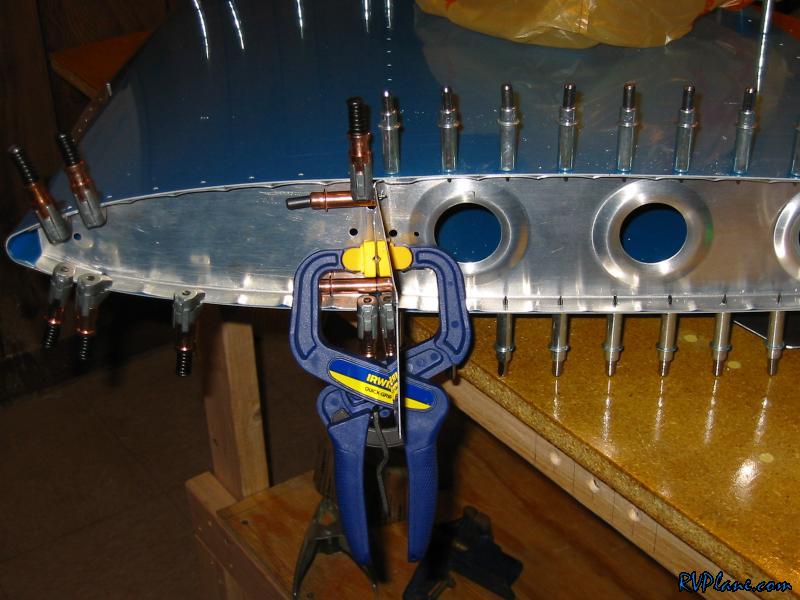 This is where my day almost turned very very very bad. The bottom hole is WAY to close to the edge to be legit.  The second drill attempt. Much better edge spacing this time. 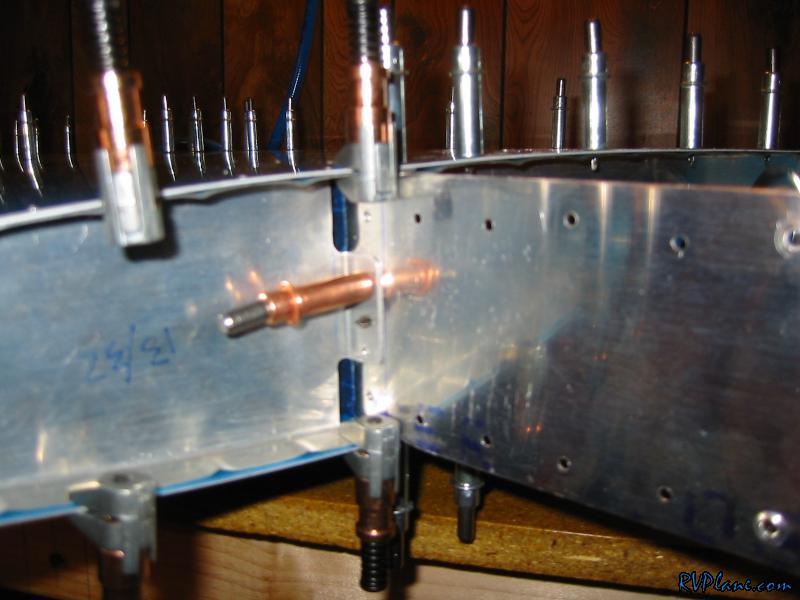 The bottom of the skin finally drilled. 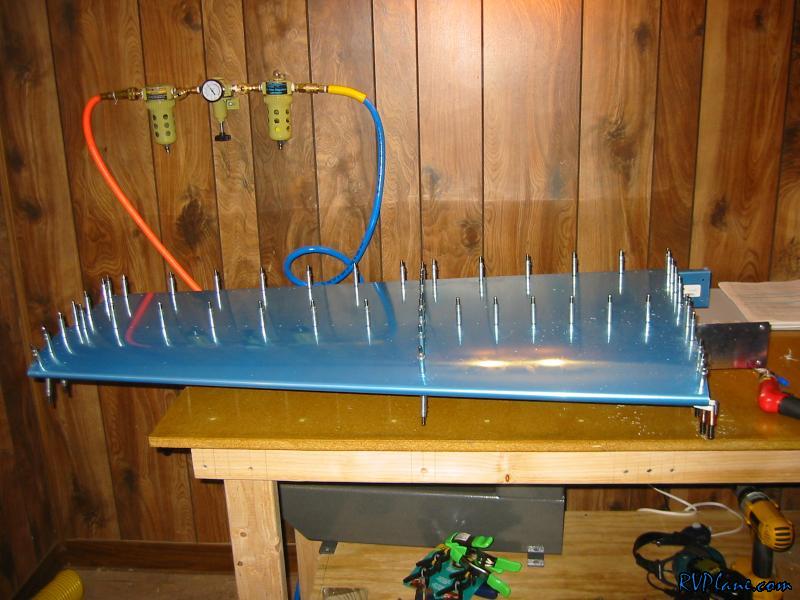 Both inner ribs drilled out on the bottom. 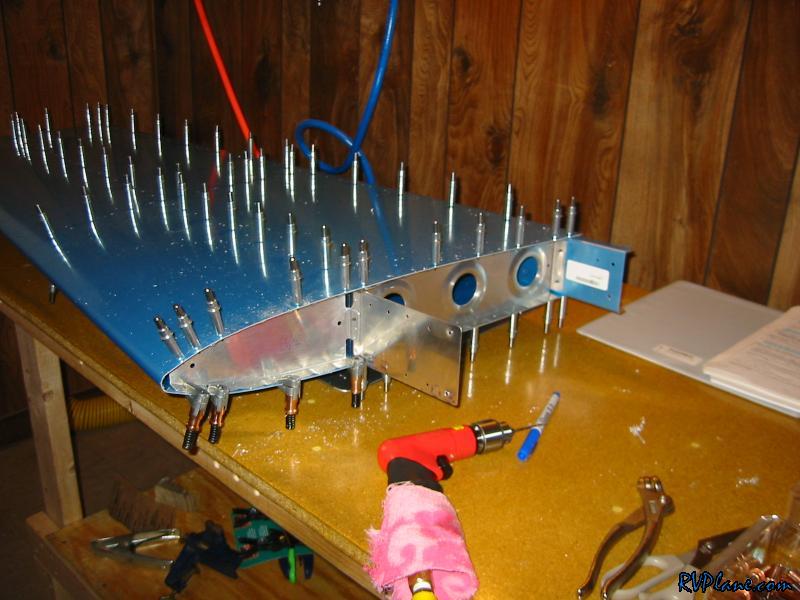 The top skin drilled...time to take her all apart. I wish that I marked on the inner ribs where the overhang was to file off here. I will have to put it somewhat back together tomorrow to mark where I need to file down. 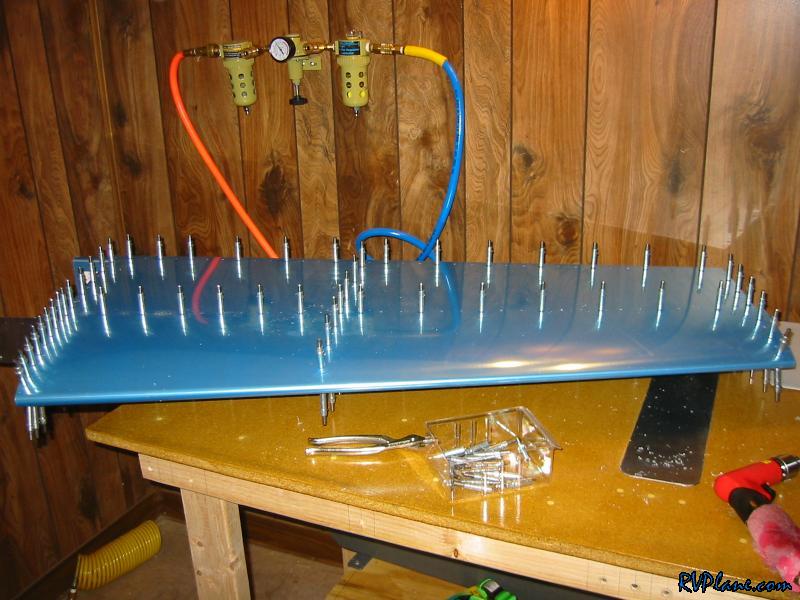 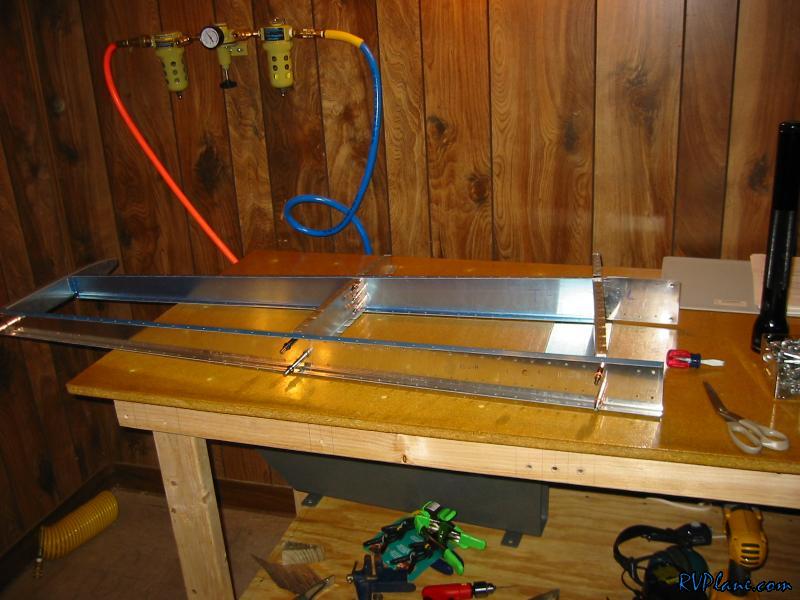 Setting up to attach the bar to the spar. 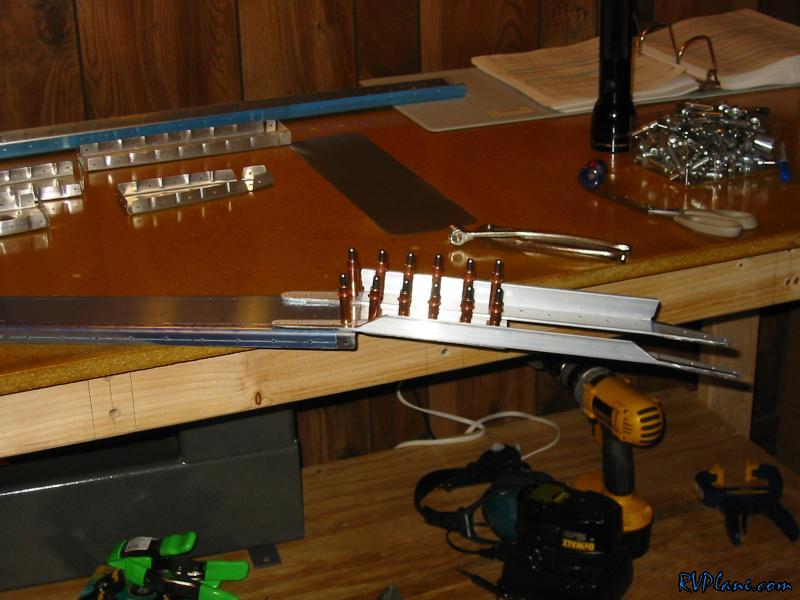 The clamps save the day again! 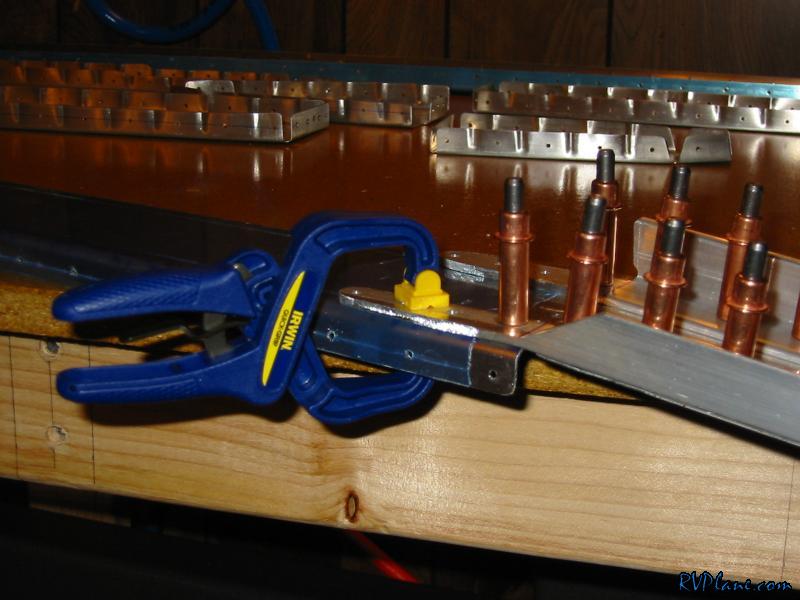 Finally, I am done drilling the left HS. 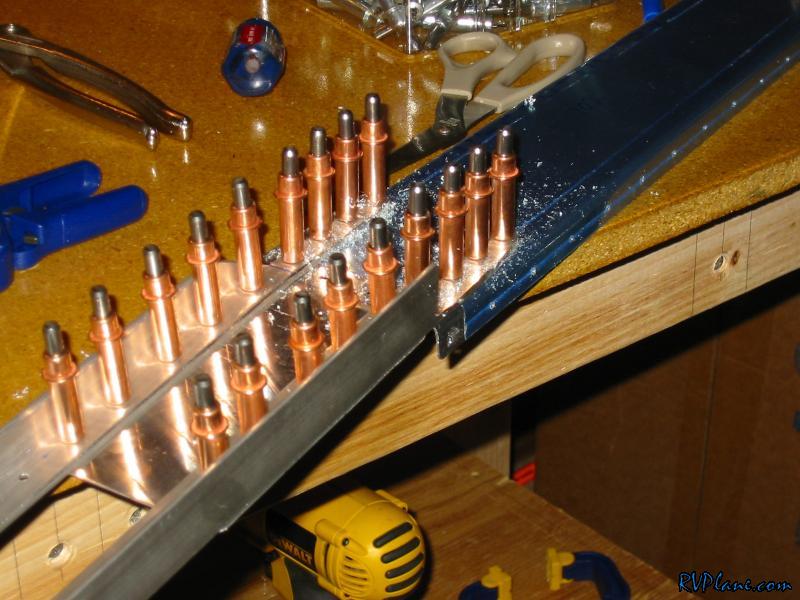 This is what I was talking about earlier. with a 11/32's line draw around the rib, there is what sticks out from it, over the skin. I will mark this and reduce it so it will be flush. 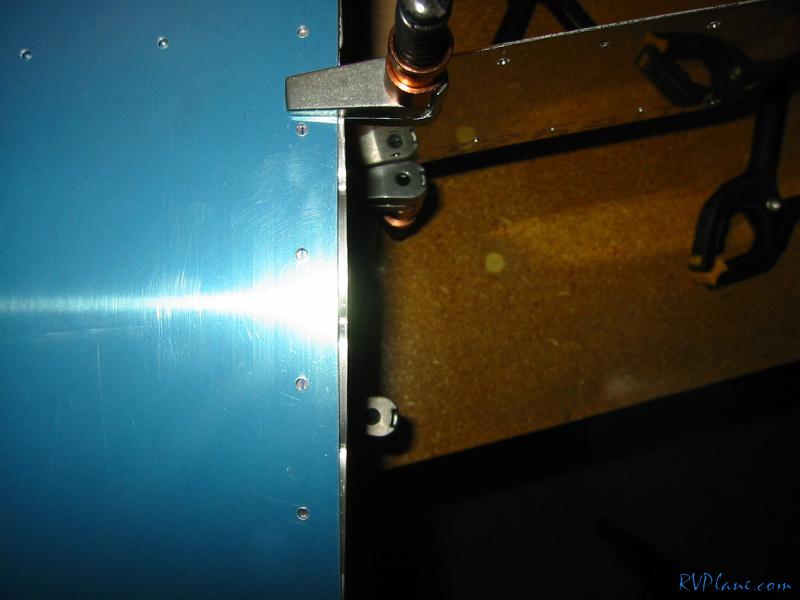
|
|||||
|
http://RVplane.com |
Last Modified: January 31, 2026 |