
|
 |
||||
I started out tonight with drilling two holes in the left elevator trim tab bends to hold them together. I used a #40 drill and put one 3/8" from the leading edge, and the other one 2" from the leading edge. I deburred then dimpled both of these holes so I could use a flush blind rivet. Van's doesnt really specify how or what or where here. It doesn't seem to matter all that much - you just don't want to have those tabs interfering with the trim tab! Next I put in the final rivets of the skeleton around the elevator, and the blind rivets on the bottom for the rear spar. I did put one blind rivet in the top. The instructions didn't say to do so, but I don't like how countersunk holes hold to the skin with clecos. It is pretty sloppy. I didn't want this slop to screw with my tedious trim mounting process. So I put one in for good measure. I did put two flush pop rivets in the trim tab bends to hold them together. Next I took the aluminum angle I used for the rudder and use 2 sided tape and clamps to hold it to the trailing edge of the elevator. I took off the vinyl from the trailing edge so that wouldn't cause any misalignments. I then sat the trim tab in there until it was 3/32" from the elevator. I used a 3/32" drill bit for measurement. I clamped down the root side of the hinge and then started to drill the tip end of the hinge, working myself towards the root. The travel of the trim is excellent - well upwards at least! I was afraid that there would be some interference issues with the hinge and the skin, but there wasn't. I have probably a 75 or 80 degree deflection of the tab! I can use this as a speed brake! The downward deflection of the trim tab was in interference with the tab skin and the elevator spar. You are supposed to use a hand seamer on this to bend it up I believe. The first hole drilled on the bend skin. This was 3/8" from where the 2 skins meet.  Both holes drilled and spread apart.  Both holes dimpled. 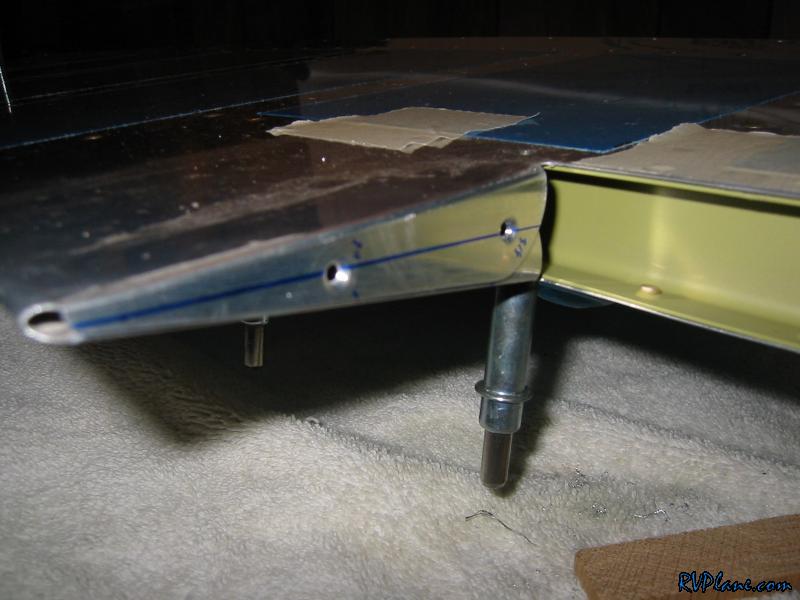 Bottom riveted.  Bottom blind rivets to rear spar  Blind rivets on bend. 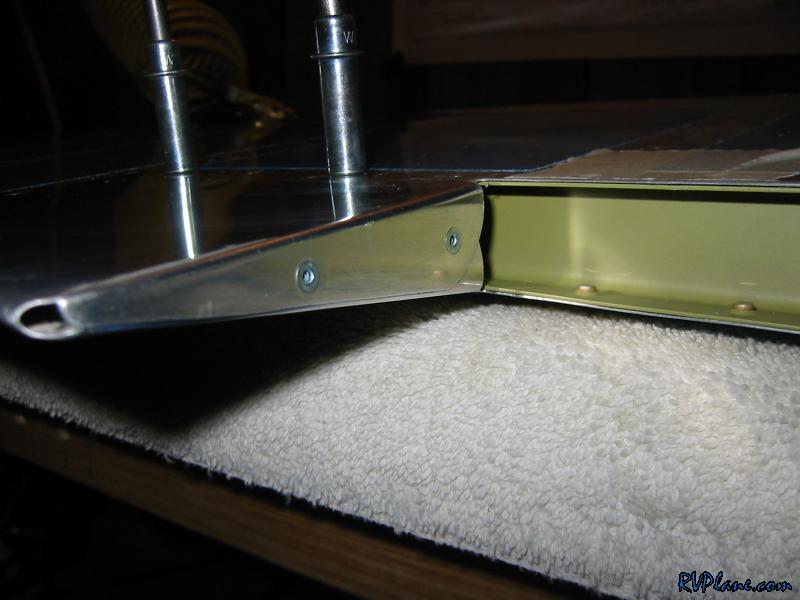 This is the aluminum angle clamped and double-sided taped to the elevator. The tape made it so it didn;t slide over time,. 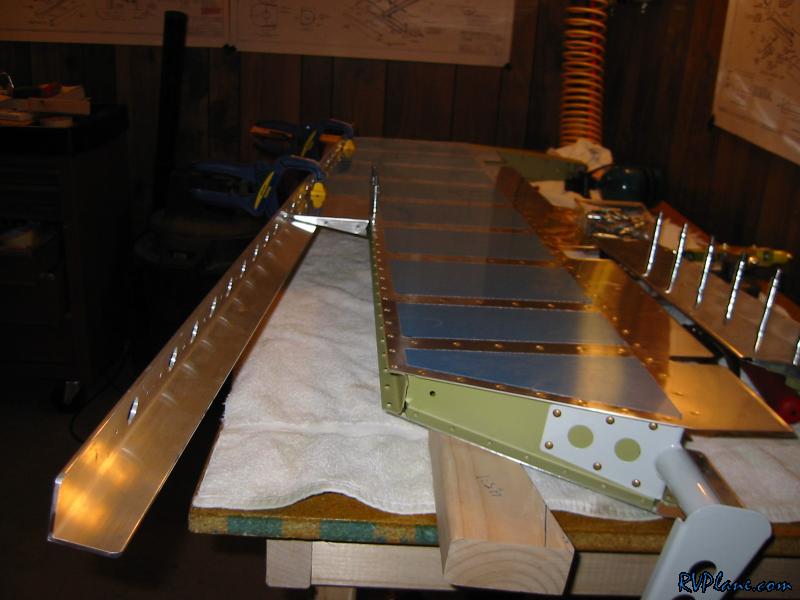 Another shot of my setup. 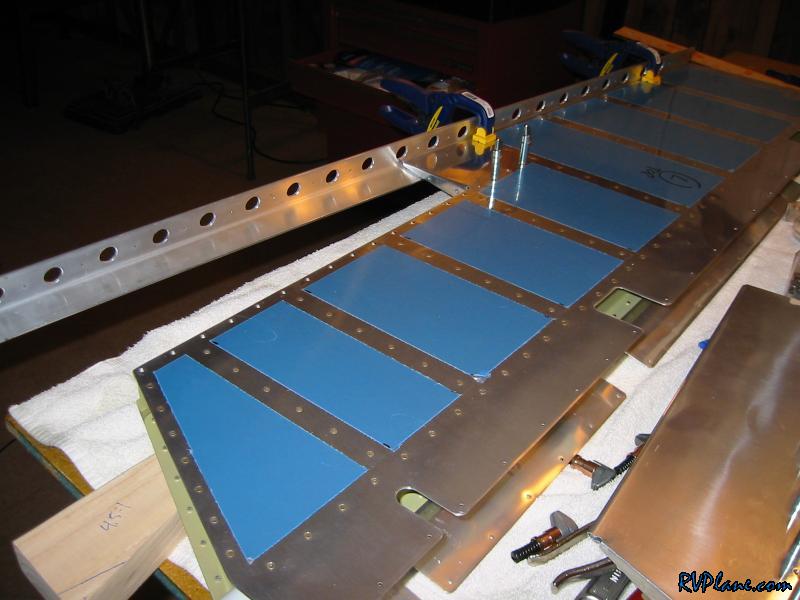 I then clamped the trim tab in place.  Then I started to drill. Hindsite being 20/20, I would of drilled from the root to the tip instead of the other way around.  The trim tab hinge drilled! 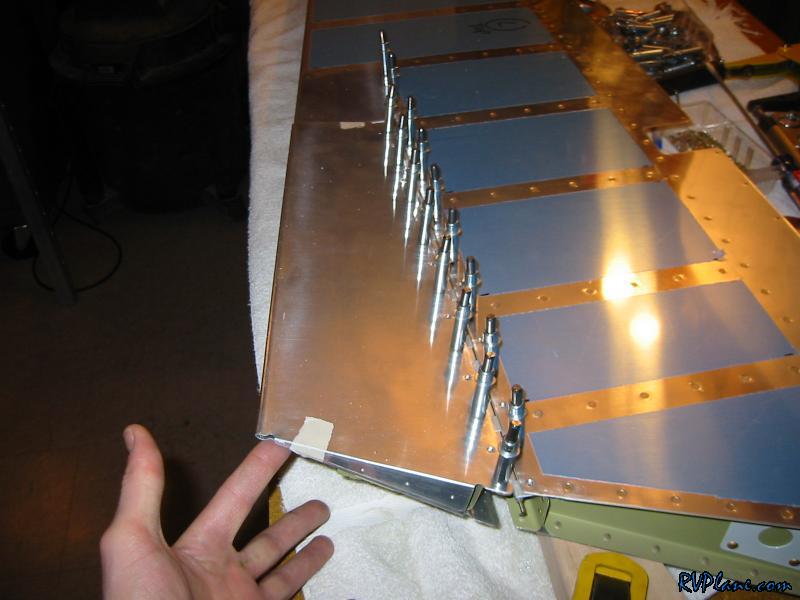 This is the upward bound of the tab movement. 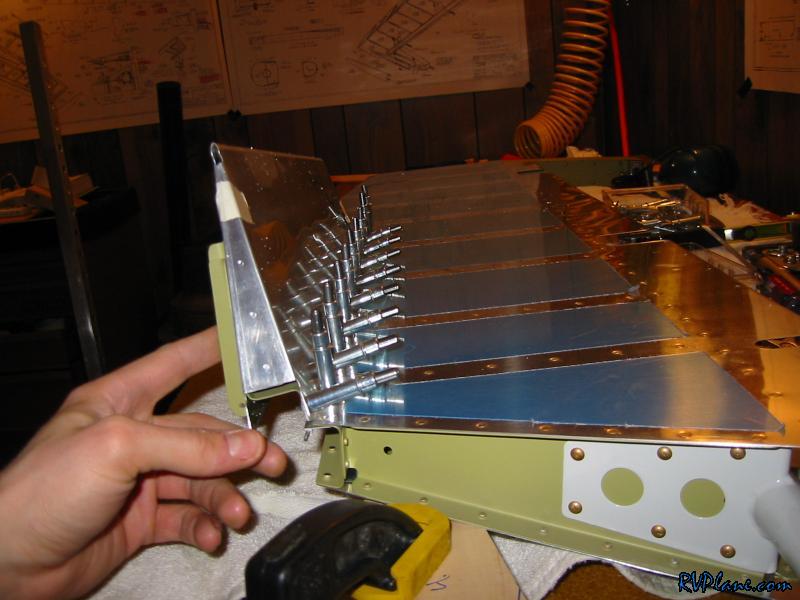 And this is how low it can go. Notice the interference with the bottom of the elevator spar and the bottom trim tab skin. 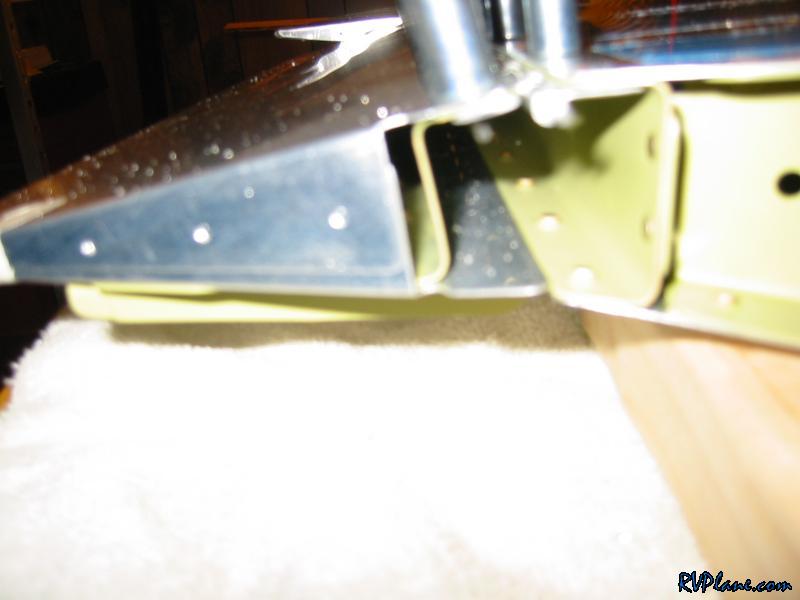
|
|||||
|
http://RVplane.com |
Last Modified: January 31, 2026 |