
|
 |
||||
This morning I got the urge to get the elevator tabs bent. I had everything clamped down and went at it. It was super easy to do and they turned out great. I did have to trim both tabs to be a little shorter, so watch out. Next I wanted to get the right elevator finished with. Unfortuntaly, I didn't trim the right elevator counterbalance weight yet. I was thinking about doing it with a hacksaw, but the bandsaw at work would make this so much easier. Right elevator is on hold until I go back to work. So I got the left elevator skeleton build. I then clecoed on the counterbalance skin and riveted it to the elevator skin. You do this first so you don't have to use blind rivets. Next Van's tells you to put the counterbalance weight in, then squeeze in the skeleton. Well, I was able to put the skeleton in and then get the weight in no problem after the fact. Next I clecoed the skeleton down to the skin. Finally, I riveted the counterbalance skin and the trailing edge spar bottom. Double sided tape on the table to secure the bottom of the elevator.  I used my handyman workbench to support the annoying part of the elevator skin. 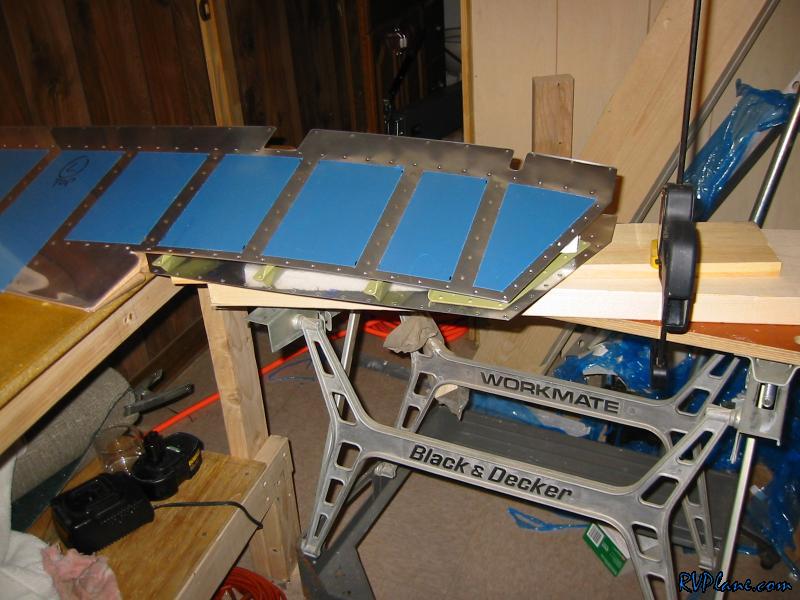 Next I put some tape on the top of the skin.... 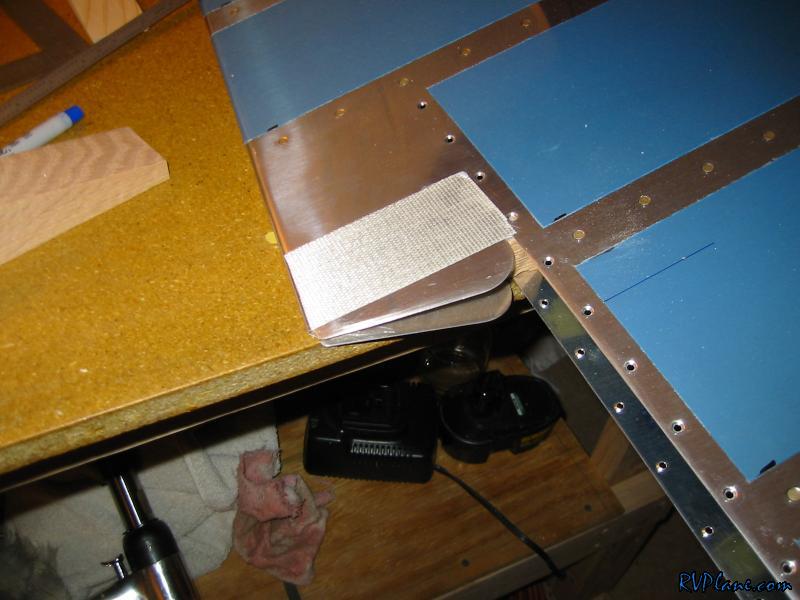 ...and affixed the top bending block. Then I clamped everything down. 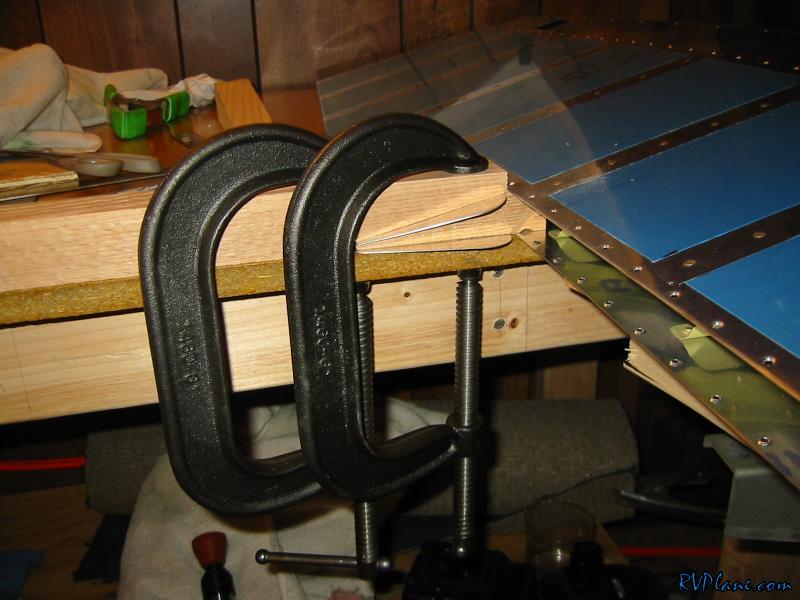 This is the first bend with the 1x4. 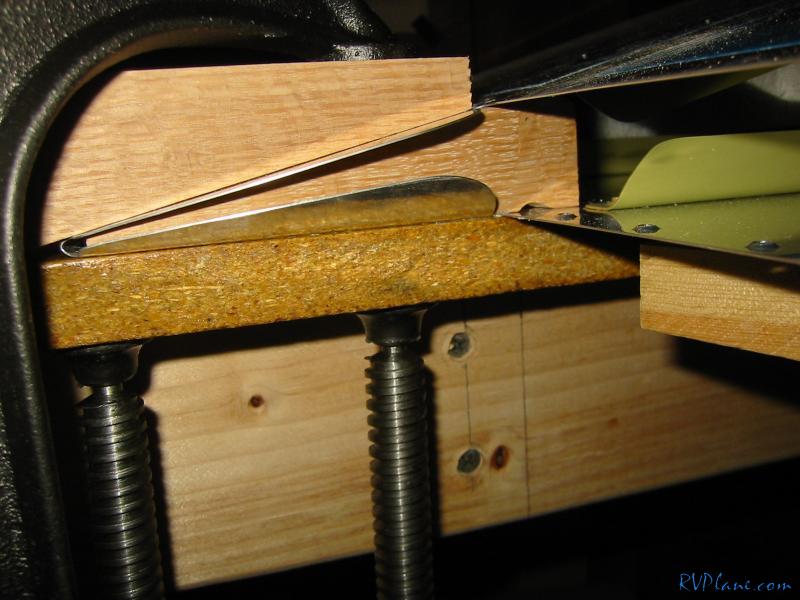 The the finished bend with the rivet gun. It looks great!!! 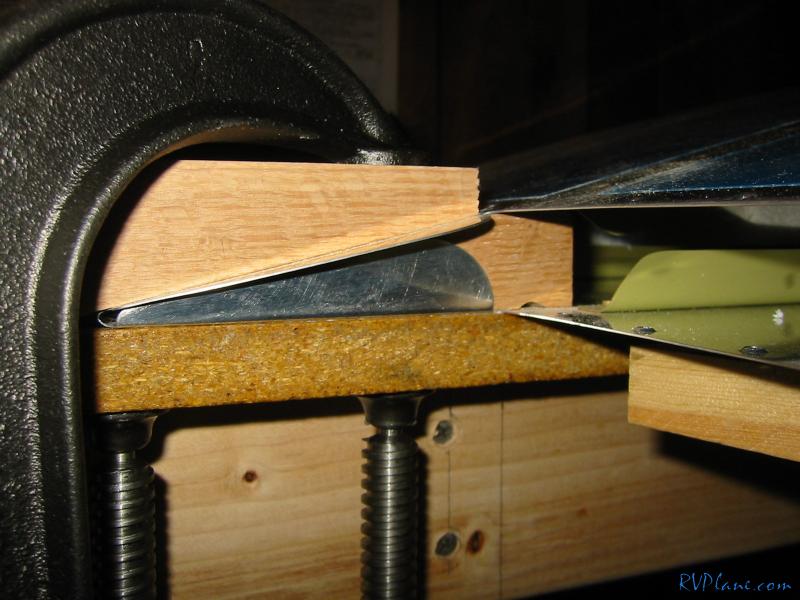 Next was the top one. It turned out great also! 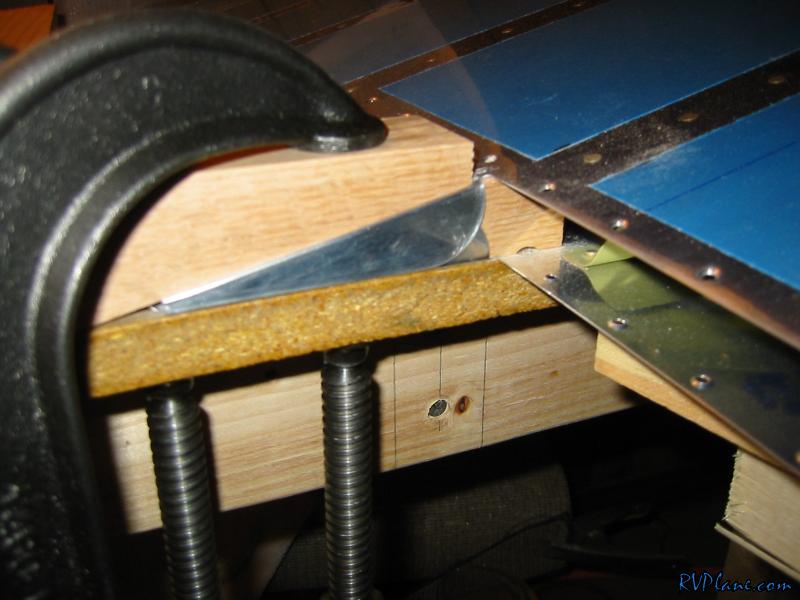 Next I filed down the right counterbalance weight. I am going to wait until I can get this to work to use the bandsaw to trim it. 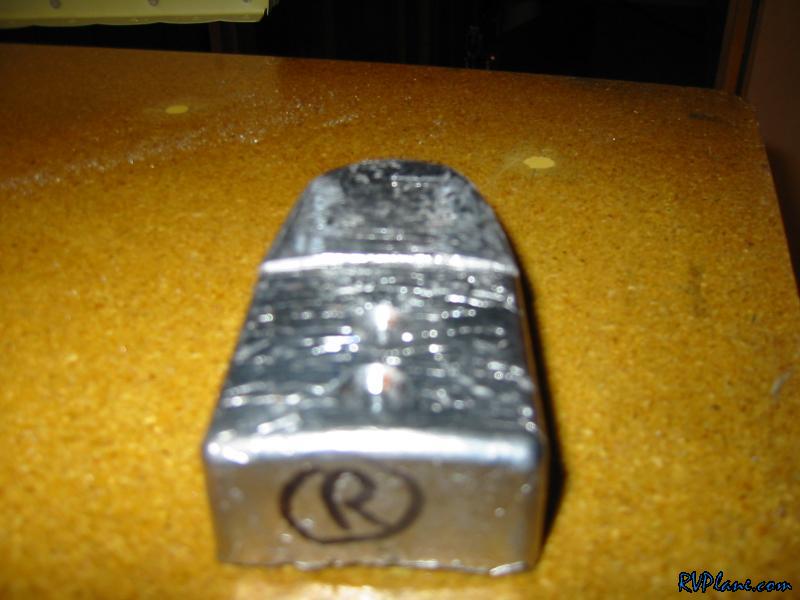 OK, onto the left elevator skeleton. This is the end ribs squeezed together. 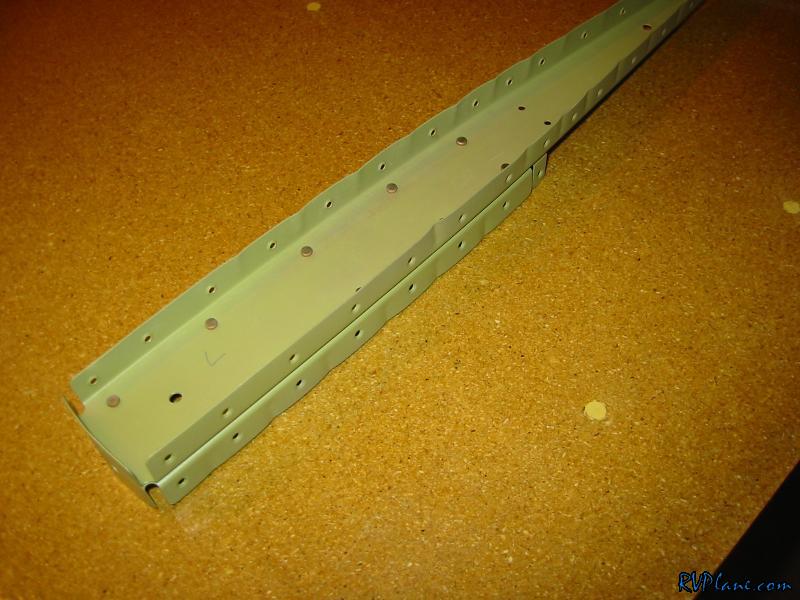 The nutplates on. 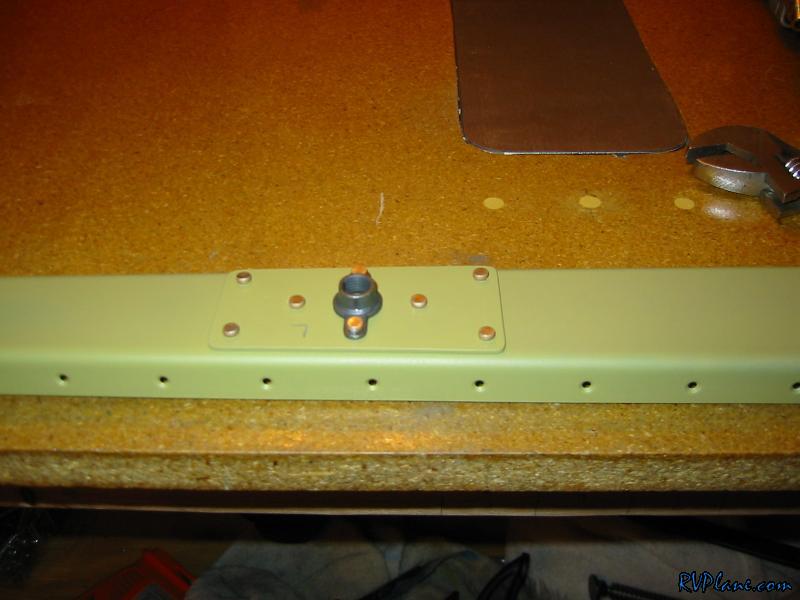 The whole skeleton together. 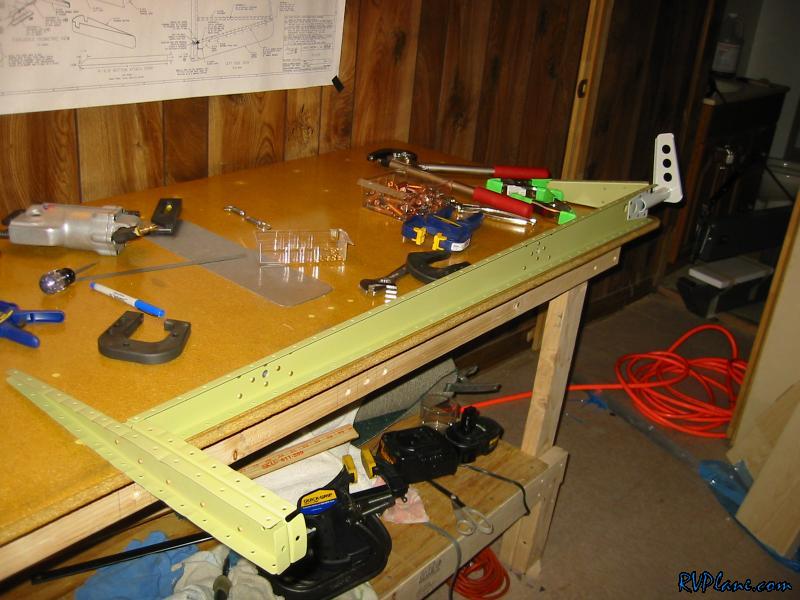 Next you need to rivet on the counterbalance skin with just two rivets per side. 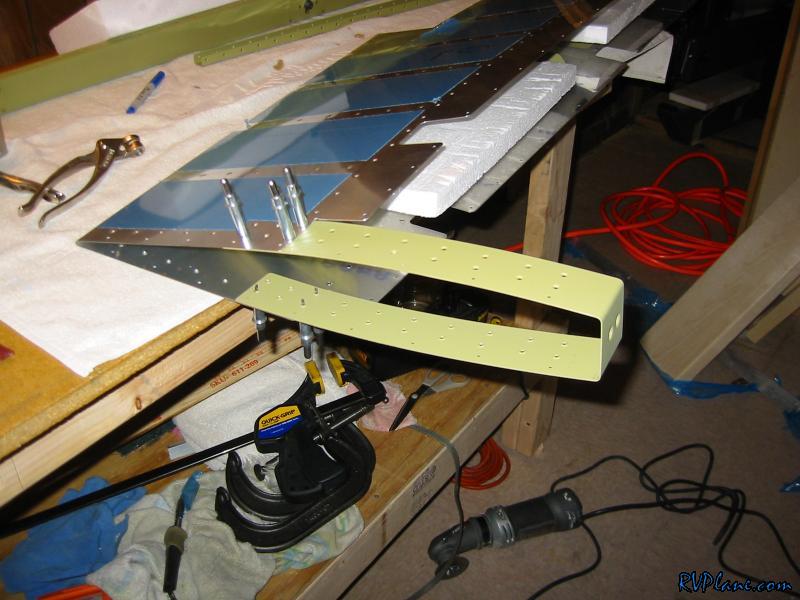 These two rivets would be needed to be pop rivets if you waited until the skeleton was on. 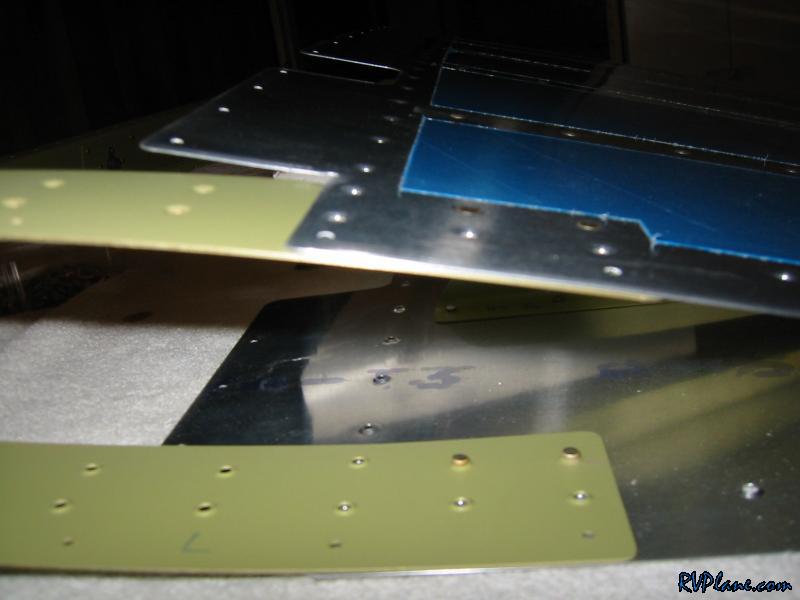 Next was to RTV where the end stiffeners meet. Some people put a line of RTV down the trailing edge. I have heard of two problems with this. One is too much weight, and the other one is that water can get trapped there and cause corrosion. 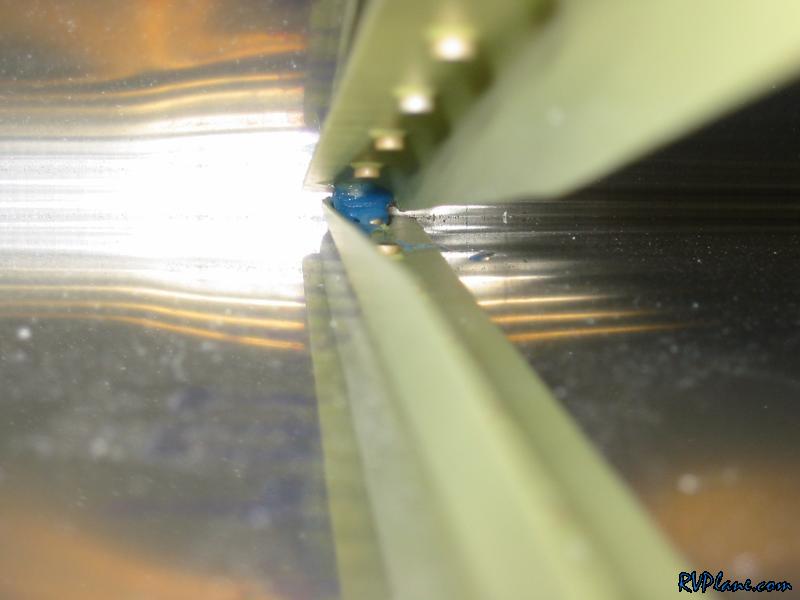 More RTV. 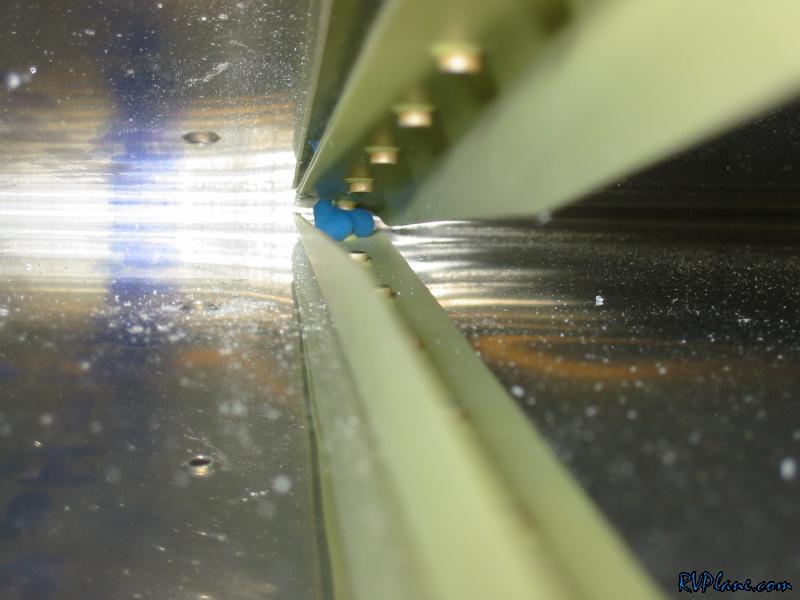 Skeleton clecoed on. 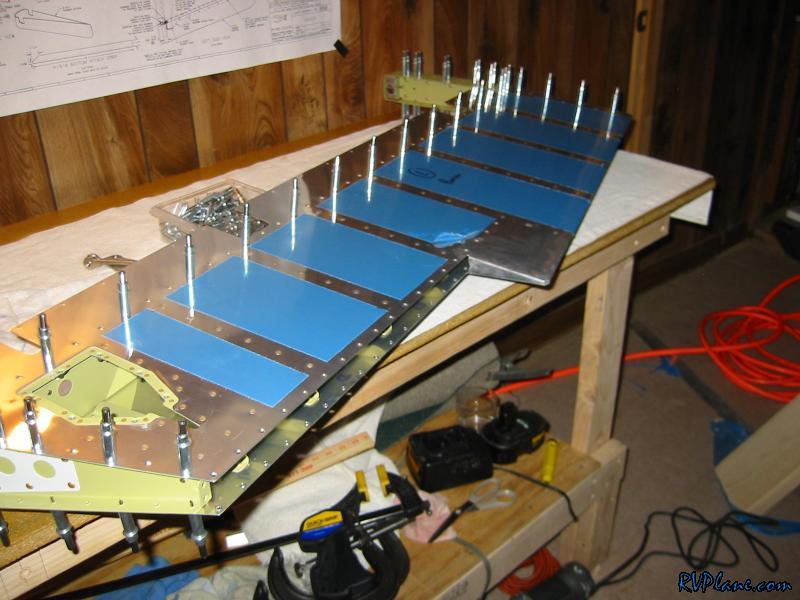 Counterbalance skin riveted on.  This is the rear spar riveted on the bottom. 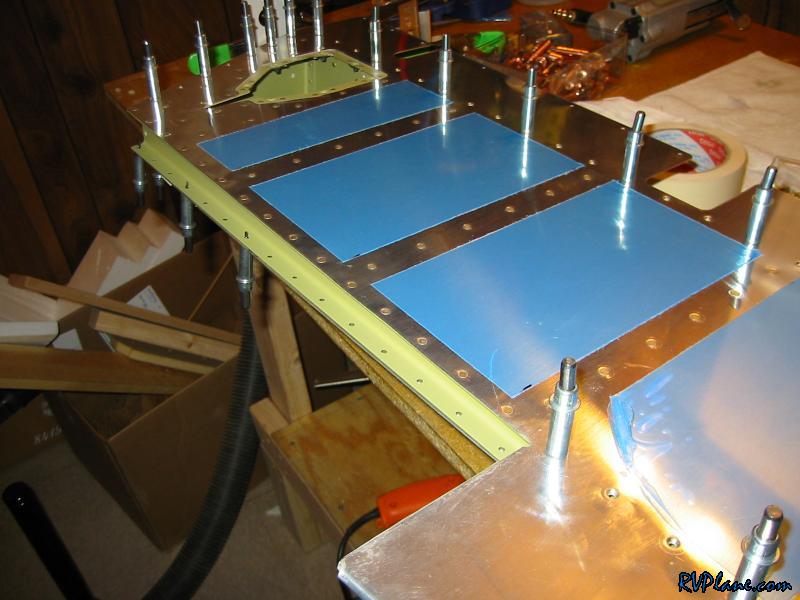 And this is where the rear spar is riveted to the root rib. 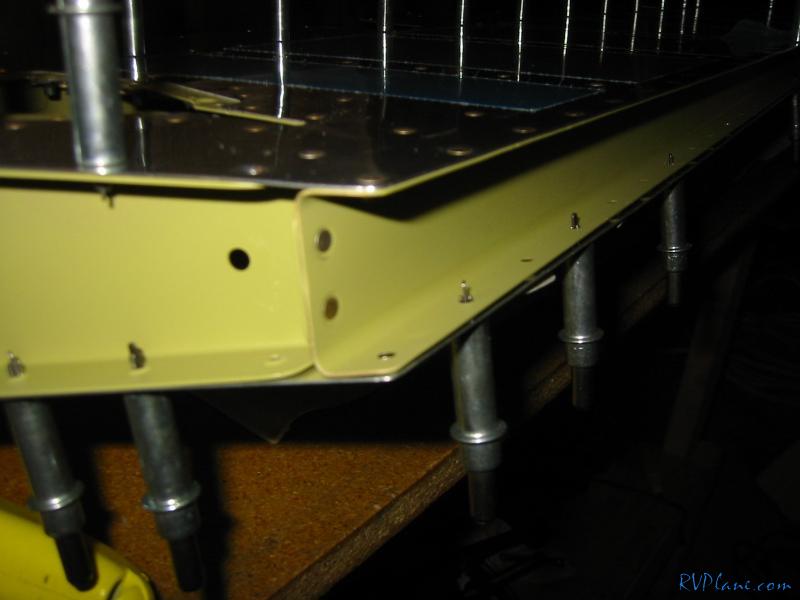
|
|||||
|
http://RVplane.com |
Last Modified: January 31, 2026 |