
|
 |
||||
I finally finished prepping the right elevator skin by dimpling it. The standard yoke was able to easily reach all of the holes. Next was onto some riveting. First were the nutplates on the spar, then the root rib, then the tip ribs. The root rib was pretty easy, except you don't have that much room to work with. And since the holes are countersunk, you really need to pay attention to the allignment of all of the 4 holes. Just don't think you can put in 3 clecos and start riveting. You might not like the results. Next was onto the tip ribs. I did the perpendicular-to-spar rivets first with the pneumatic squeezer. The other two rivets were a bitch to get at. The body of the pneumatic squeezer kept on getting in the way. I ended up ditching it and going with the longeron yoke in the hand squeezer. Worked like a champ with a little bending of the tip ribs. Finally, I riveted on the horn. First I saw that the horn wasn;t completely flush. It had some nasty boogers under the coating that stuck out a little too far for my likings. I got the file out and made them nice and smooth. Next I blasted it with spray can primer. I spent a good 5 minutes making sure I had the right one in the right place. I riveted that to the spar. One word of caution is to make sure that the horn is held tight to the spar. I found that clecos along left the horn drift from the spar a little. You can use the root rib to make this tight if you bend it up/down in the helpful direction. Right skin devinyled, deburred the dimpled. 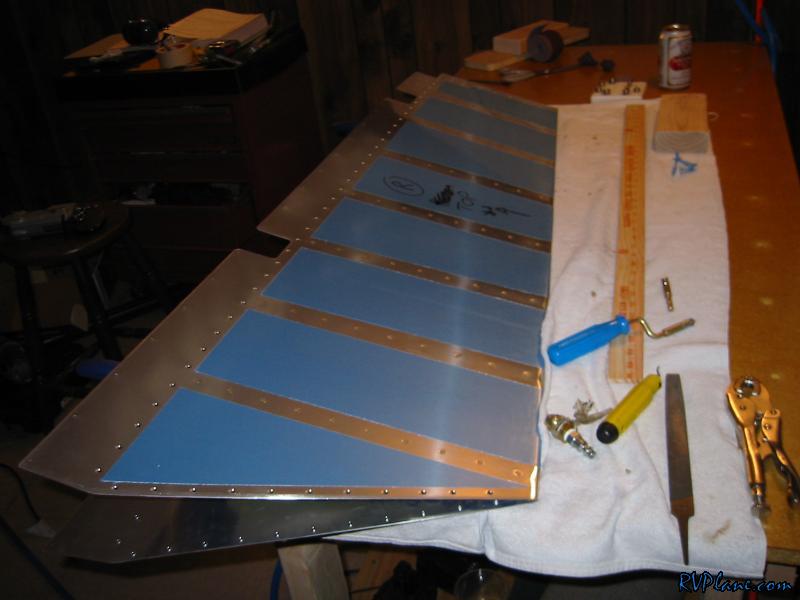 Spar getting ready to be dimpled. 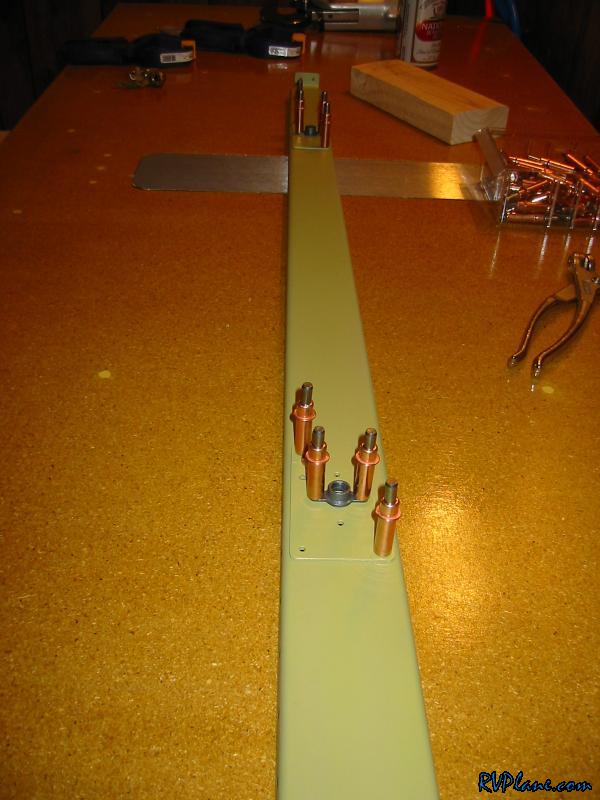 Nutplates attached. 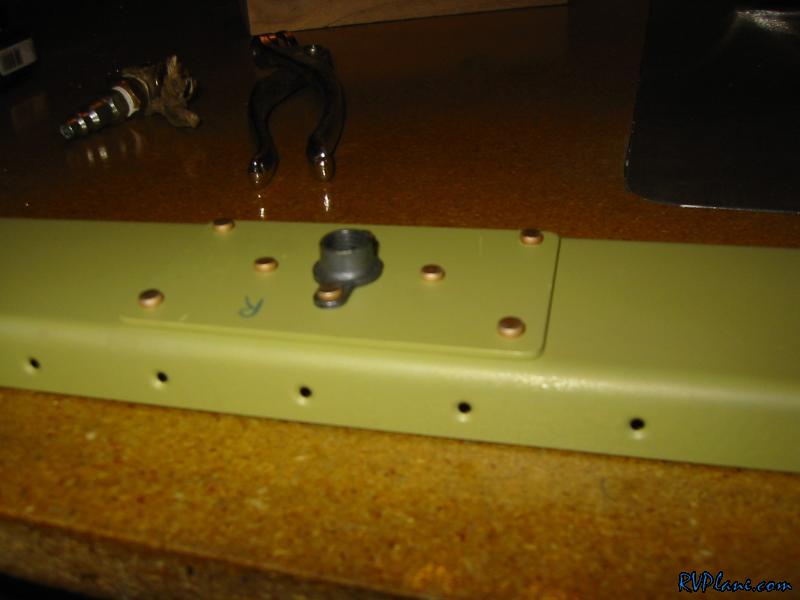 4 countersunk holes filled with flush rivets. The elevator horns go over these. 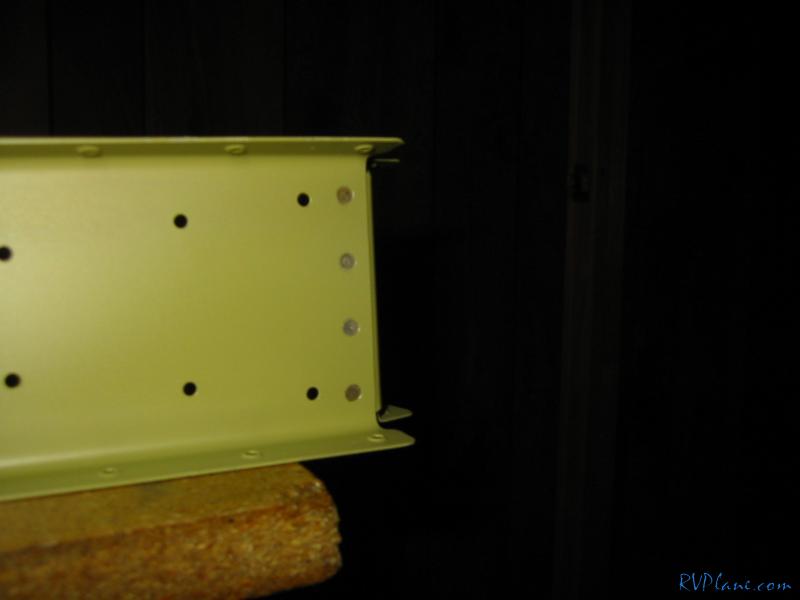 This is my setup for those pesky rivets. 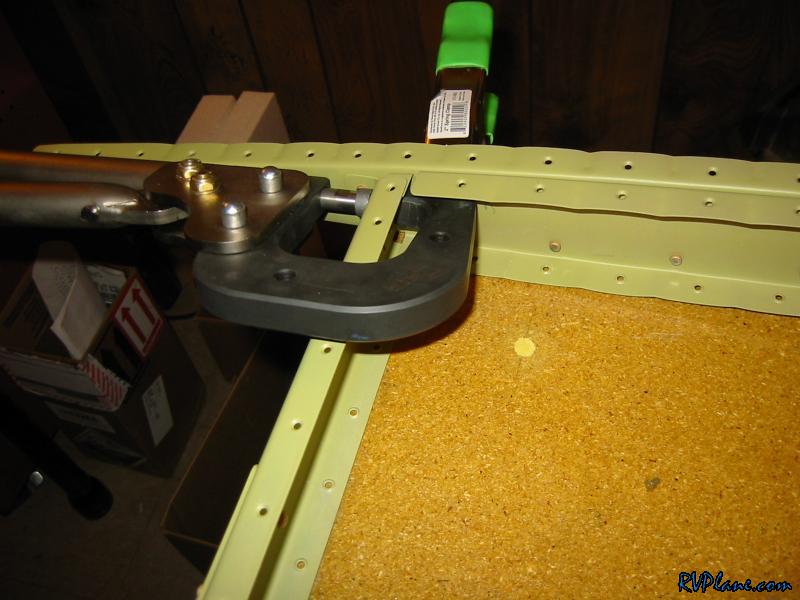 Priming the horn where I filed...and then some. 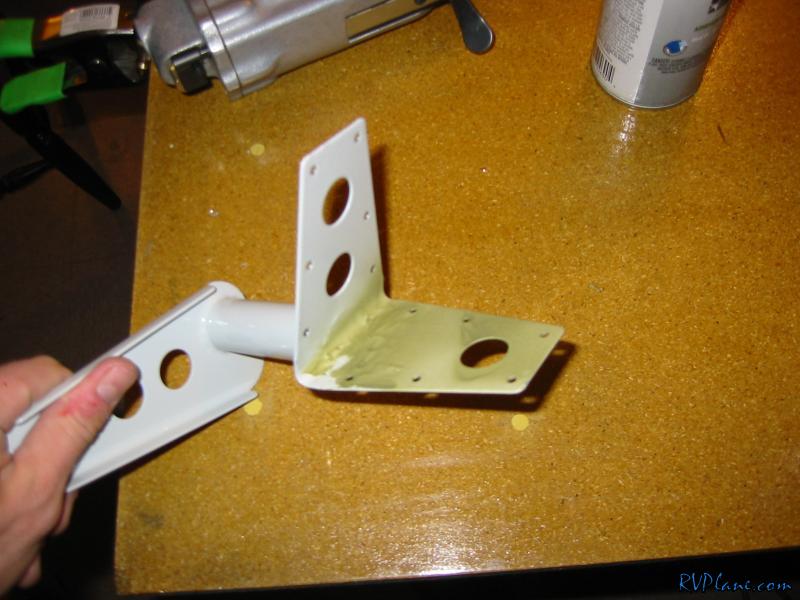 Horn riveted to the spar/rib. 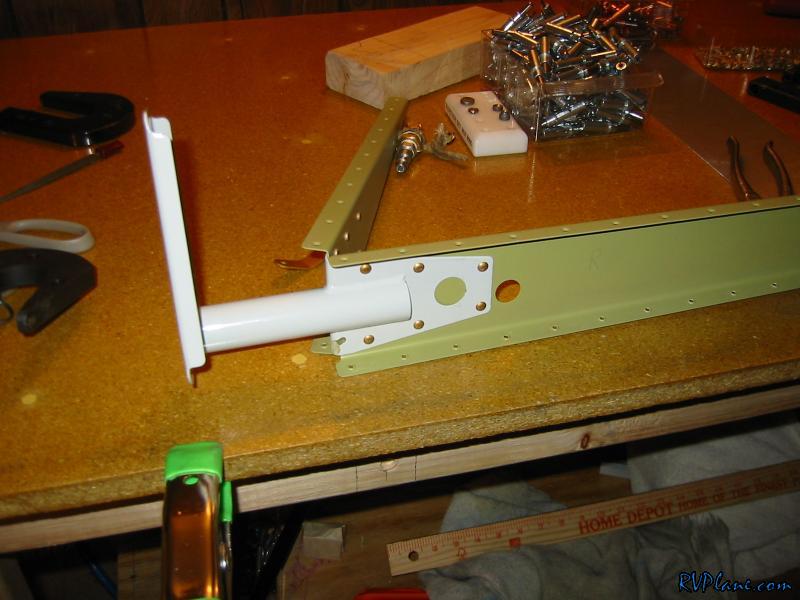
|
|||||
|
http://RVplane.com |
Last Modified: January 31, 2026 |