
|
 |
||||
One thing that has bothered me about the RV from day one has been the inaccuracy of my fuel flow. I blame this on two things - one is the FlowScan 201B flow sensor doesn't have the best reputation for accuracy, and the other is the position where I mounted it. My FlowScan sensor was mounted quite near the fuel pump within the cockpit. I decided to relocate the fuel flow sensor to between the fuel servo and the spider. I also decided to upgrade to the Electronics International FT-60 transducer, better known as the "Red Cube". It's pretty much the de-facto standard for all EFIS vendors. Choosing the fuel flow sensor was the easy part - the not so easy part was where to mount it. A lot of people choose to mount it behind the engine, however, I decided to mount it on top of the engine under the plenum. My thought is behind the engine there isn't that much moving air, and the sensor has the potential to really heat up. Within the plenum, it's getting cooling air. I made this bracket out of 063 angle to mount the fuel flow transducer to. 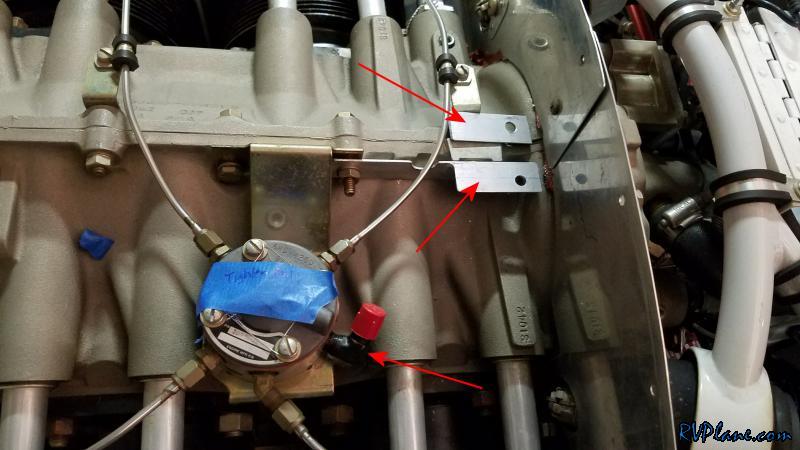 A closer look. 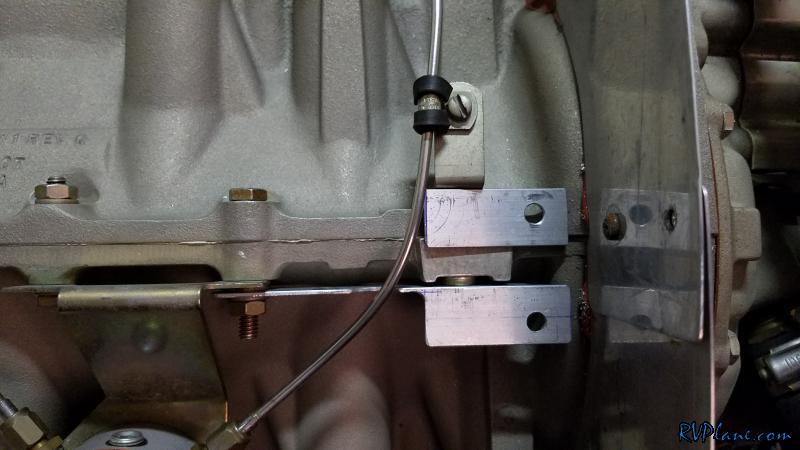 And here is the sensor mounted. I was able to use the existing flexible fuel line from the fuel servo. Previously, this was connected directly to the servo. I swapped out old AN816-4 steel nipple on the fuel servo for a AN822-4 steel elbow. The fuel flow transducer has 1/4" NPT threads on it, so I bought (2) AN816-4-4 nipples to connect it to the existing flexible fuel line. Finally, I decided to use 1/4" stainless steel tubing to connect the two together. You cannot use aluminum here as it is too soft and will break. I used 1/4" 304 (MIL-T-8504) Stainless tubing with 0.035" wall thickness, purchased from Aircraft Spruce. I also uses steel AN818/819 flare fittings/nuts, as to avoid any aluminum fittings up here. Bending and flaring Stainless Steel was it's own challenge in itself, as it is very stiff and not forgiving like Aluminum. You have to have everything trimmed perfectly for it to fit. Genuine Aviation Hardware has an excellent PDF document on how to properly flare stainless tubing: GAHco_Flaring_Stainless_Tubing.pdf. 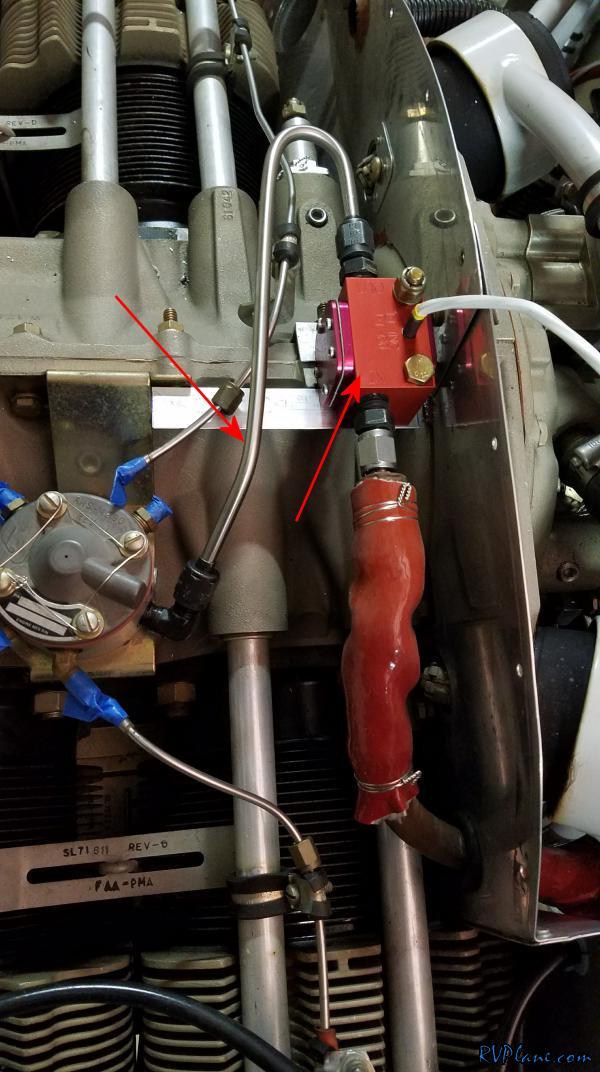 I didn't want to skimp out on buying the right tools for this as the fuel system is about as critical as they come. I bought this new Ridgid 377 37 Degree SAE Non-Ratcheting Flare Tool. This tool is really nice - it has a build in clutch that disengages the tool when the flare in complete, preventing you from being able to overflare. It's not cheap at $113, but for the importance of this line, it was worth the piece of mind. 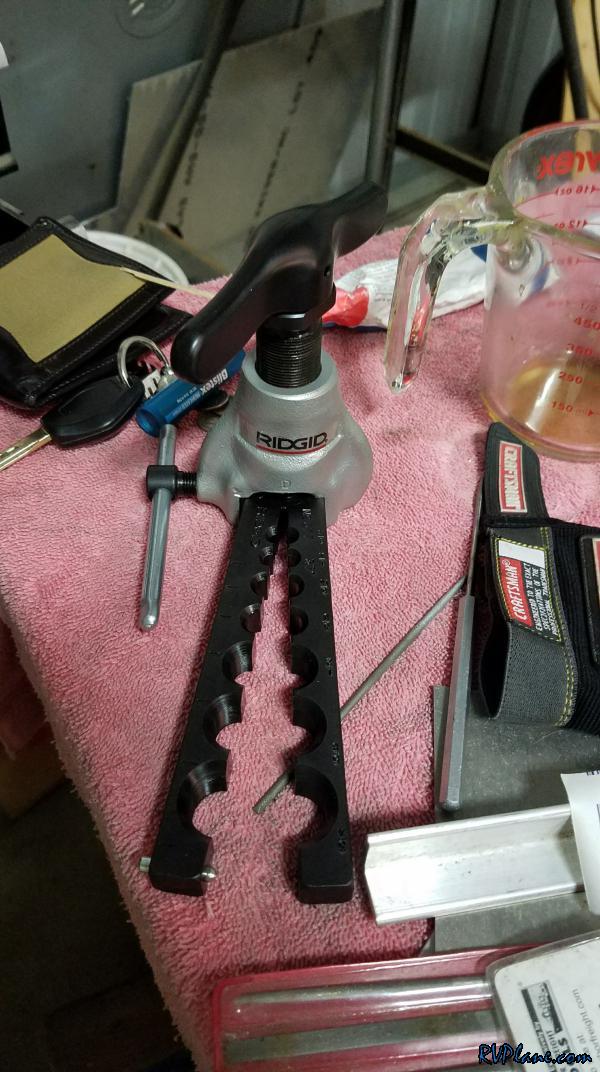 Finally I bought another tubing bender - the Imperial 470-FH. Imperial has two tubing benders - this one gas a tighter radius on the bends. It worked flawlessly with 304 stainless seamless tubing. 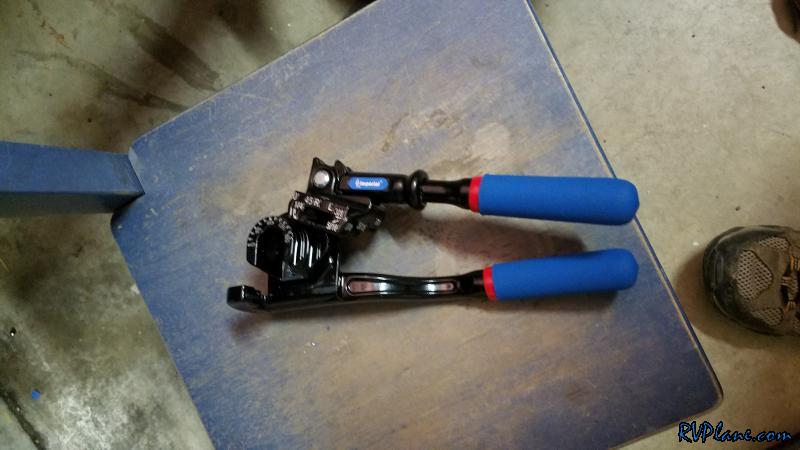
|
|||||
|
http://RVplane.com |
Last Modified: June 22, 2025 |