
|
 |
||||
I had a very productive day in the hangar today getting the airplane back together after I removed the pitot tube to be replaced. The timing worked out perfect, since I had back to back business trips and wouldn't of been able fly anyways. I ordered some extra oil analysis kits from Blackstone Labs. Last time I did an oil change I was out of these. 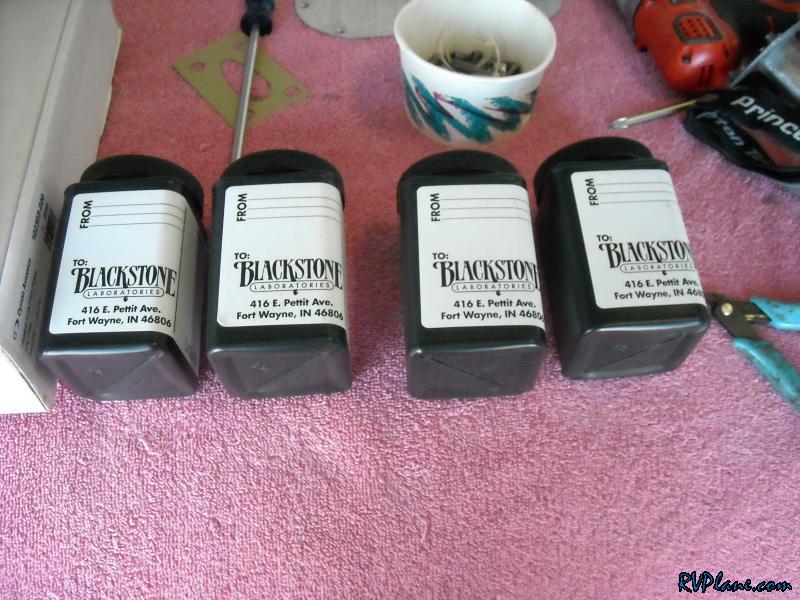 The new pitot arrived roughly 9 business days after I sent the old one back to Dynon. It looks very similar to the old one. 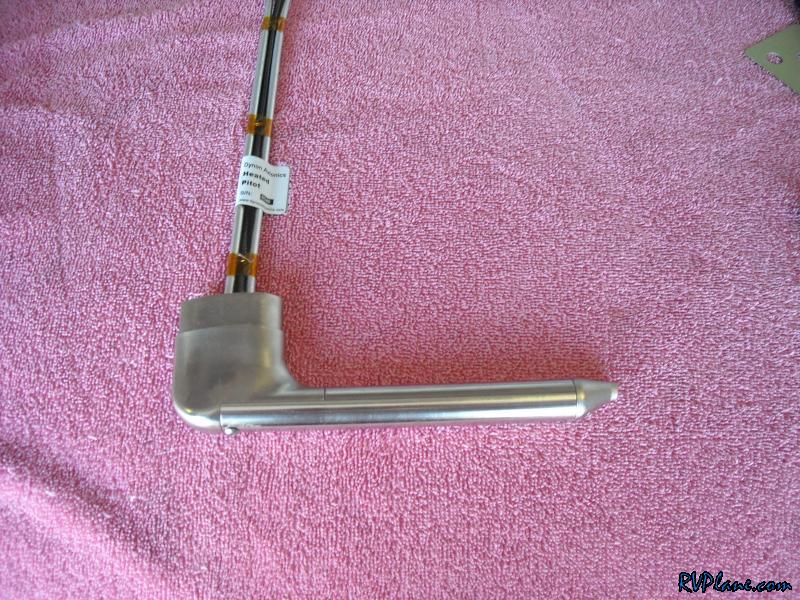 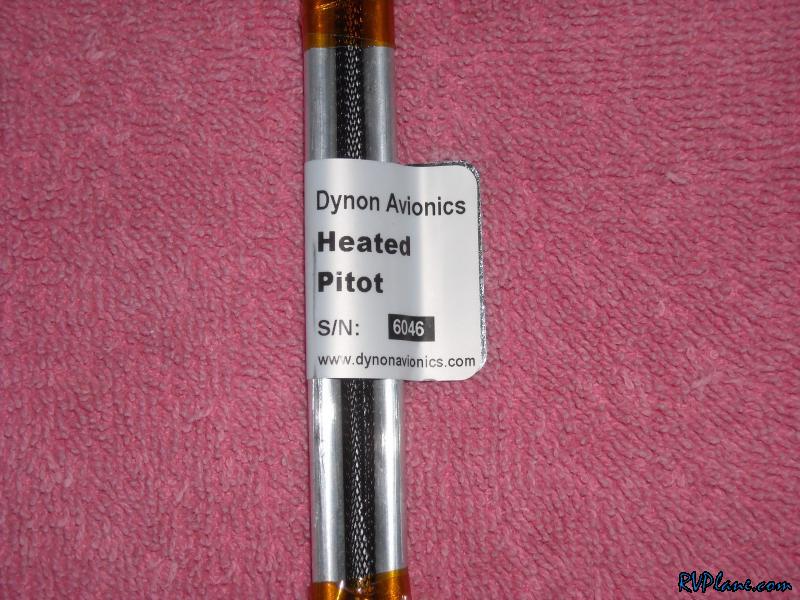 I fitted it to my pitot mast and marked where the holes are supposed to be. 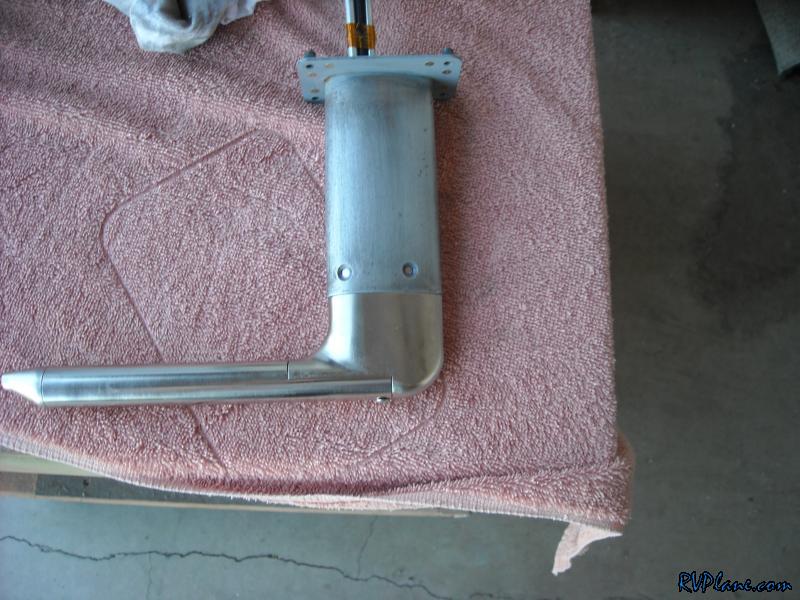 I double checked to make sure the hole aligned up with the "fat" part of the pitot tube. 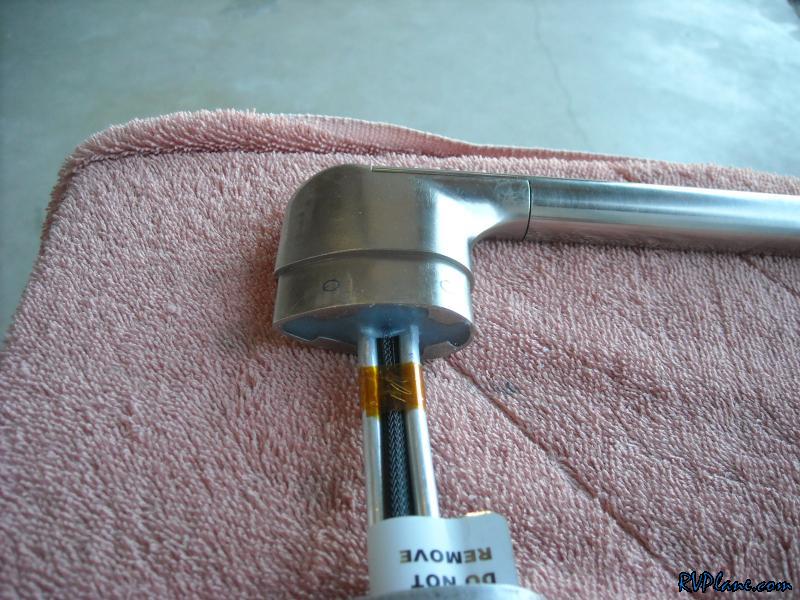 I used a special screw for securing the pitot tube to the mast. It was a #6 screw, but it had a denser thread count (40 threads per inch, instead of the typical 32 threads per inch of a #6 screw). Luckily I had the taps for this in the bag with the screws, and I took a note as to the proper pilot hole to drill. 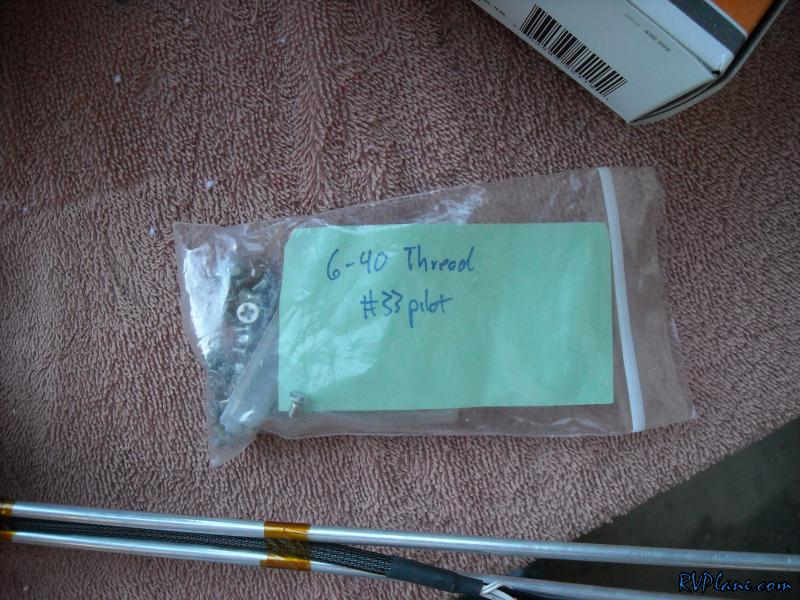 In no time the pitot was secured to the mast. 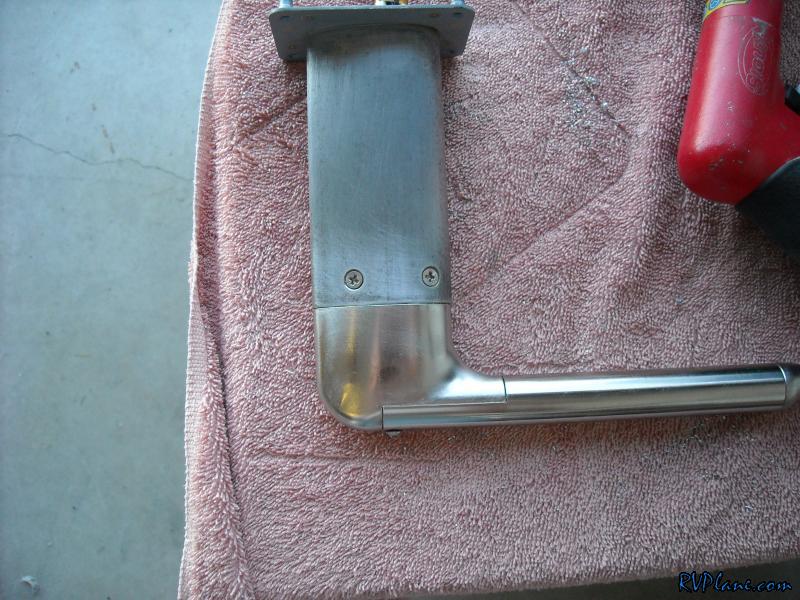 I flared the tubes and installed the fittings. 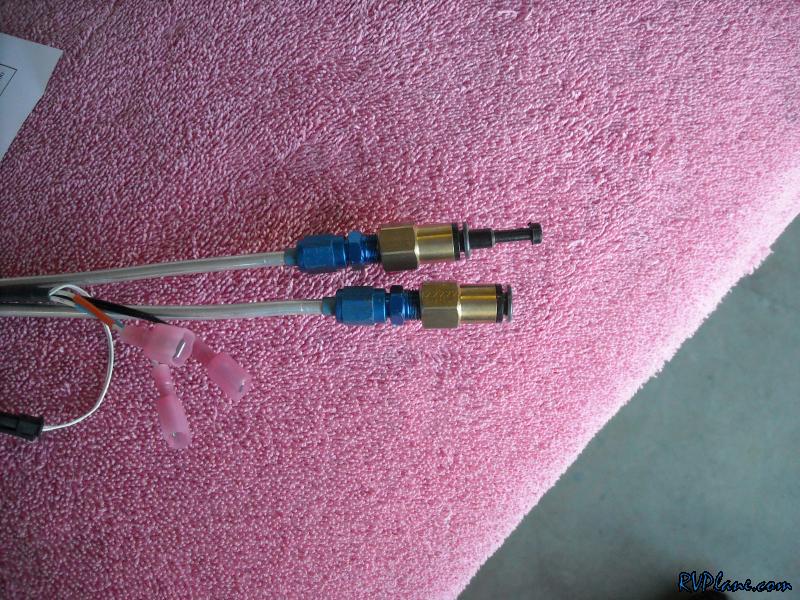 I painted the pitot mast a metallic chrome color from some cheap paint at home depot. This paint was terrible to spray. Overspray galore. It turned out OK, but the finish was pretty soft. Hopefully it will harden up. 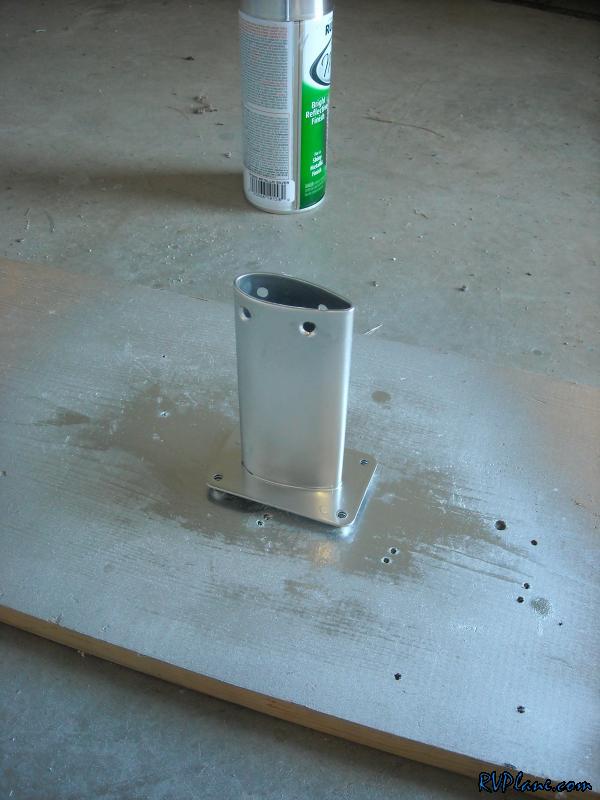 While I was waiting for the pitot mast to dry, I added three layers of glass to the vertical stabilizer tip. 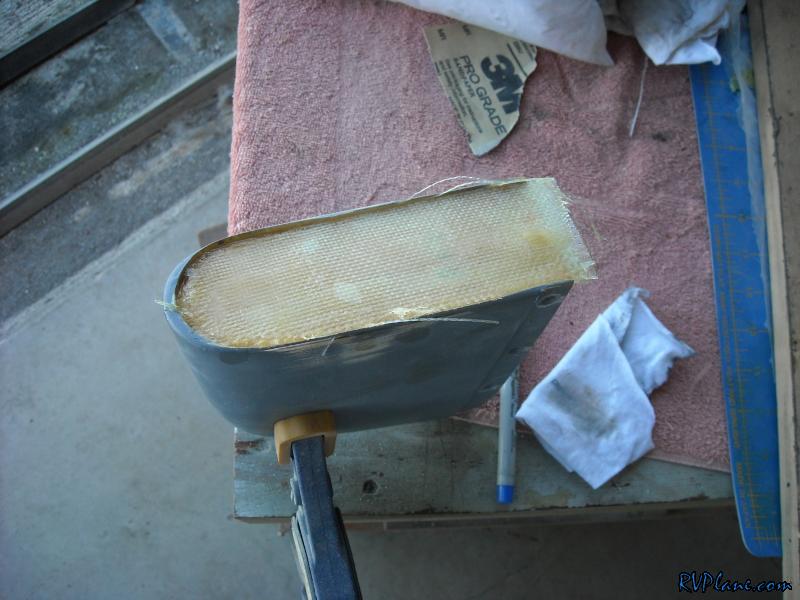 So I got the pitot tube in, only to realized none of the wires had proper connectors on them to connect to the heated pitot tube controller. I was a little ticked. 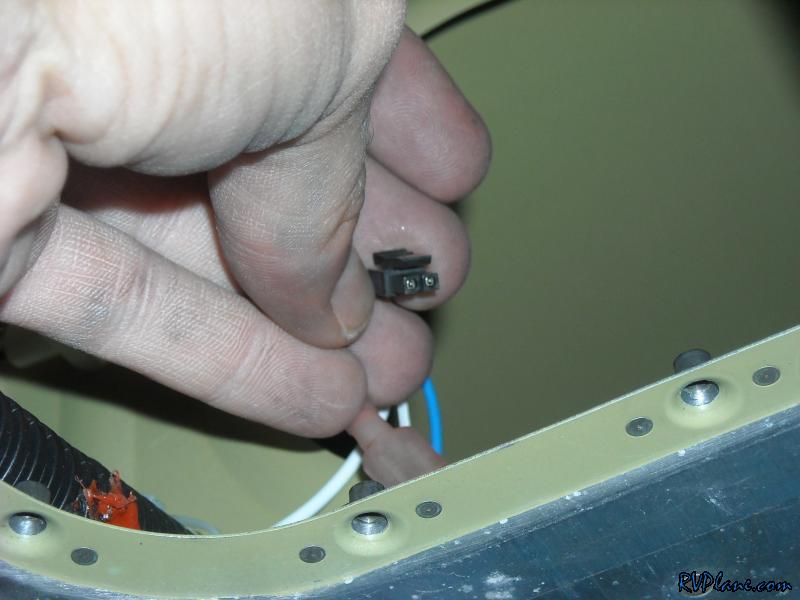 I decided the best course of action would be to remove the heated pitot controller. What a PITA this was. I installed it before the wing bottom skins were installed. I did make it serviceable, but barely. It was agonizing to have both hands in the wing trying to remove the screws. 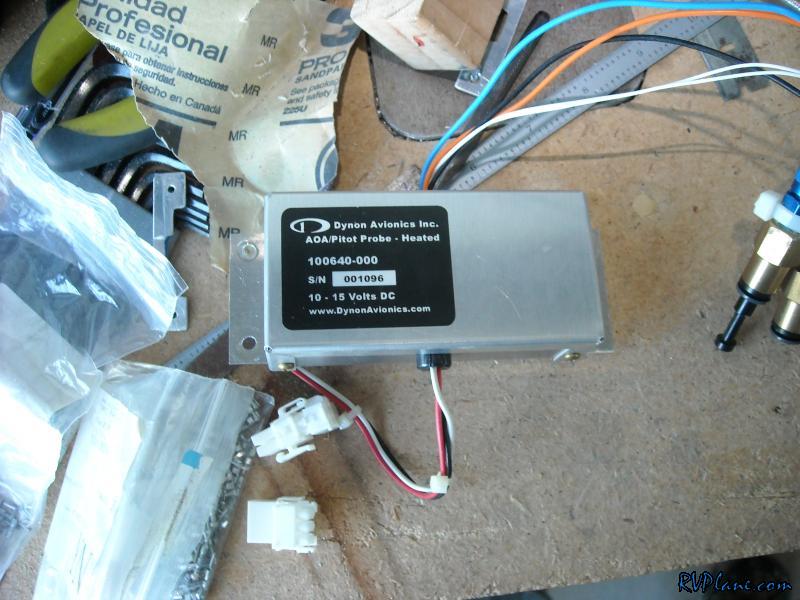 This is the mess of incompatible connectors. 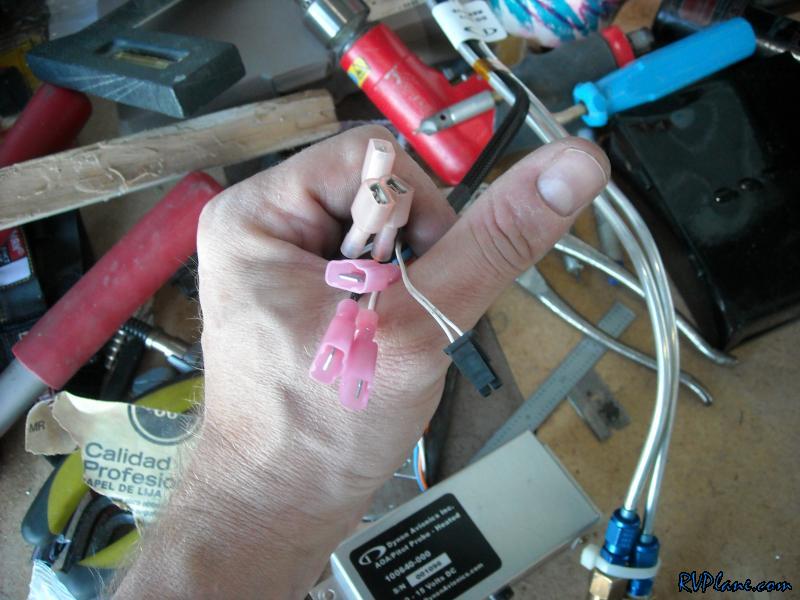 Boom! Mini-Molex connector makes this a much cleaner installation. I don't know why Dynon didn't do this from the get-go. 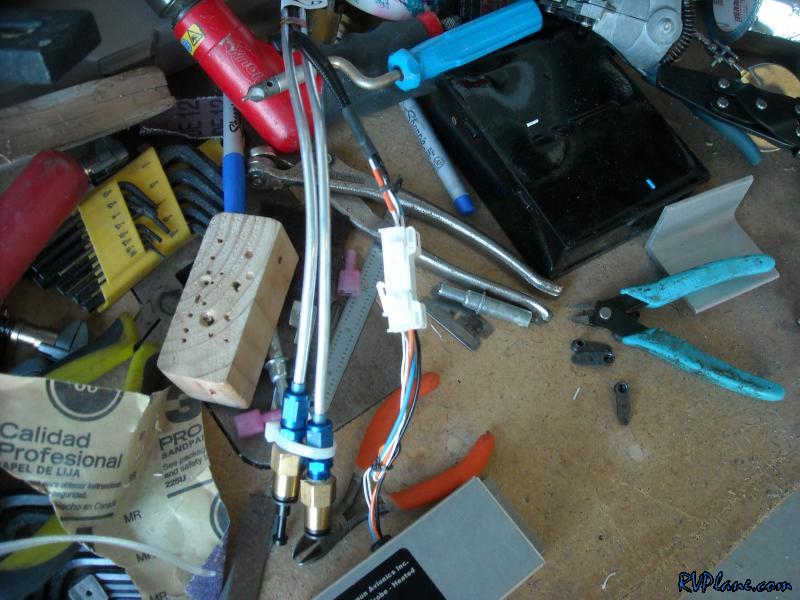 I wasn't going to dare to try to re-install the controller using the loose screws I had before. I got smart and installed customer one-legged nutplates on the controller. 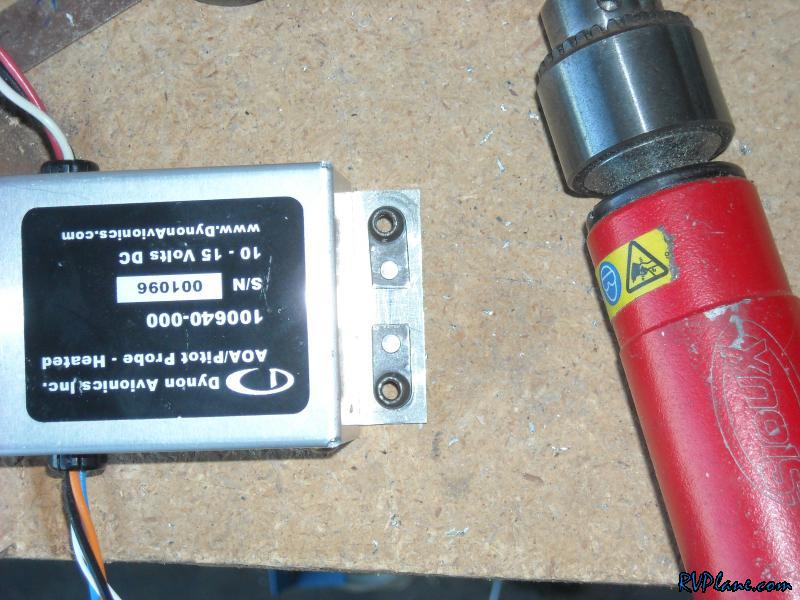 Everything went back together fairly easily. The RV is once again ready for its next adventure. I really wanted to test fly it today, but I ran out of time dealing with the Dynon wiring fiasco. 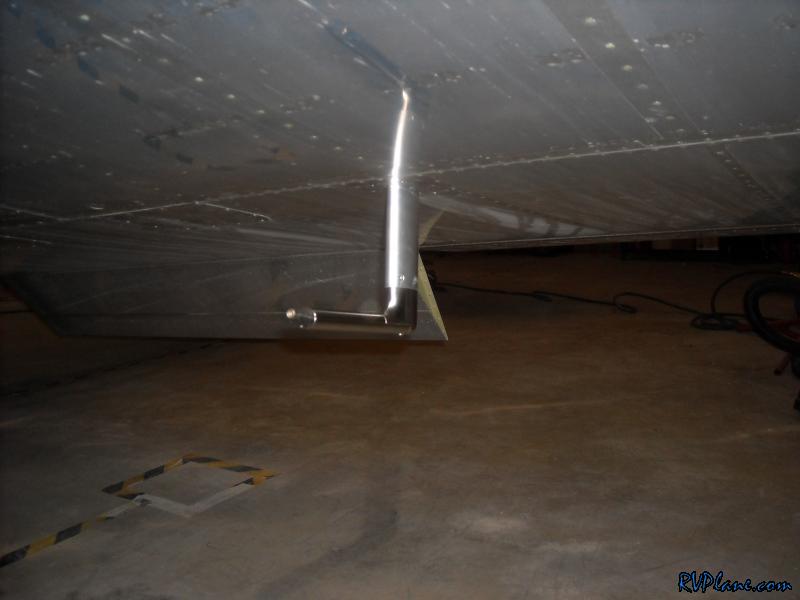
|
|||||
|
http://RVplane.com |
Last Modified: June 22, 2025 |