
|
 |
||||
With the rear spar trimmed, I measured the distance between the tail and a rivet on the outboard end of each wing. 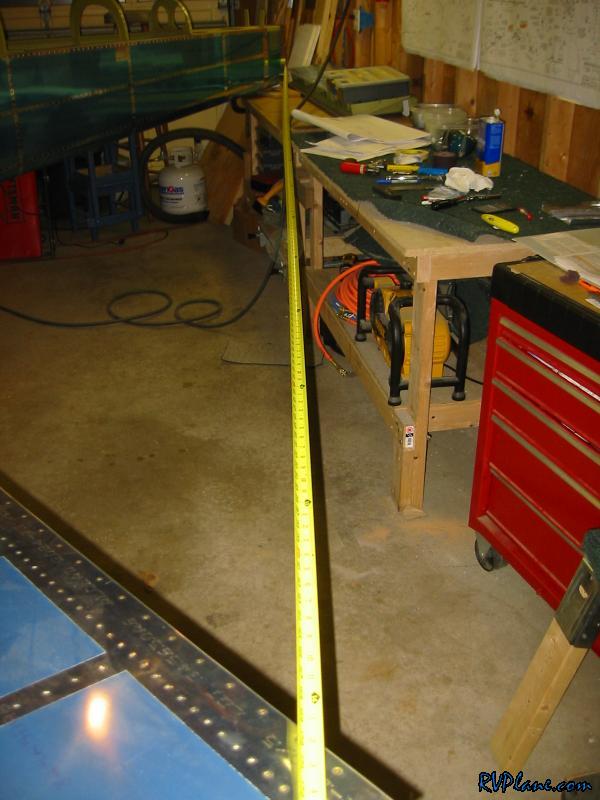 173" on the left wing. 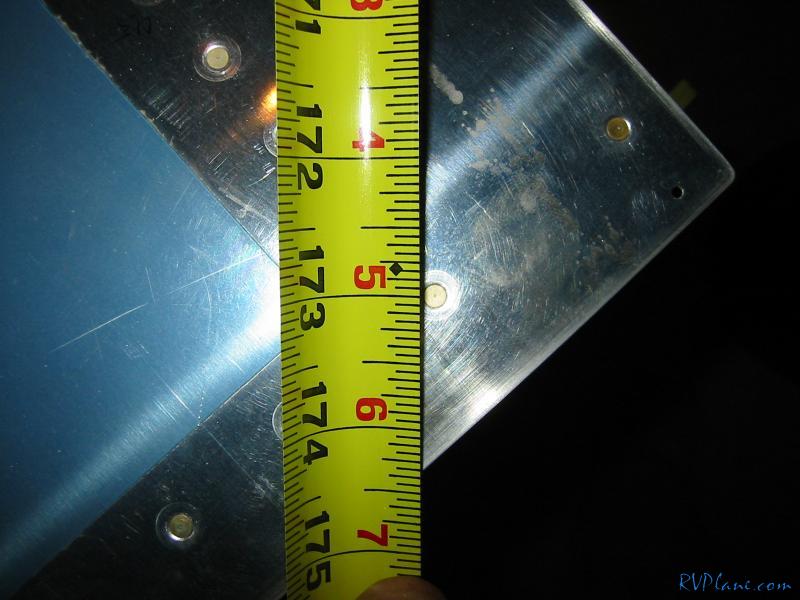 and 173" on the left wing. Giddy up. 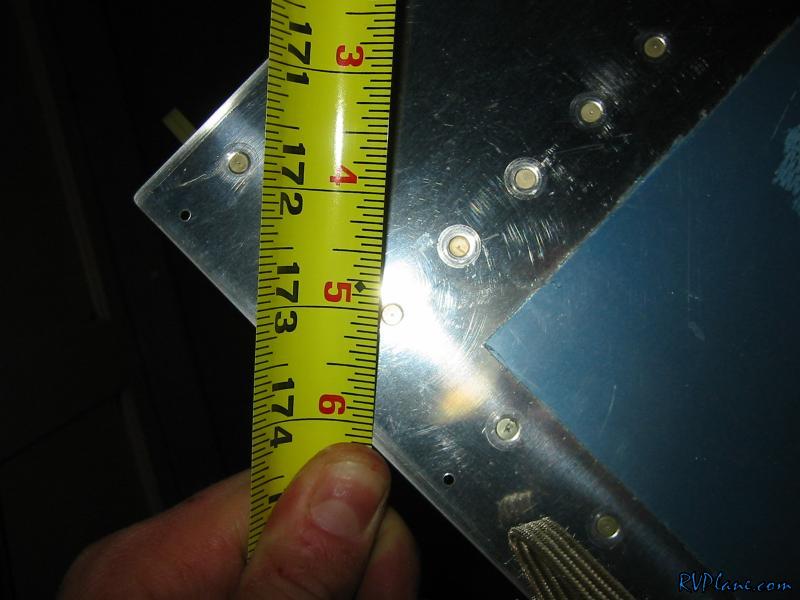 Next I strung up some plumb bobs - 4 to be exact. One on the outboard and inboard leading edge of each wing. I lines up some fishing line between the two outboard bobs. 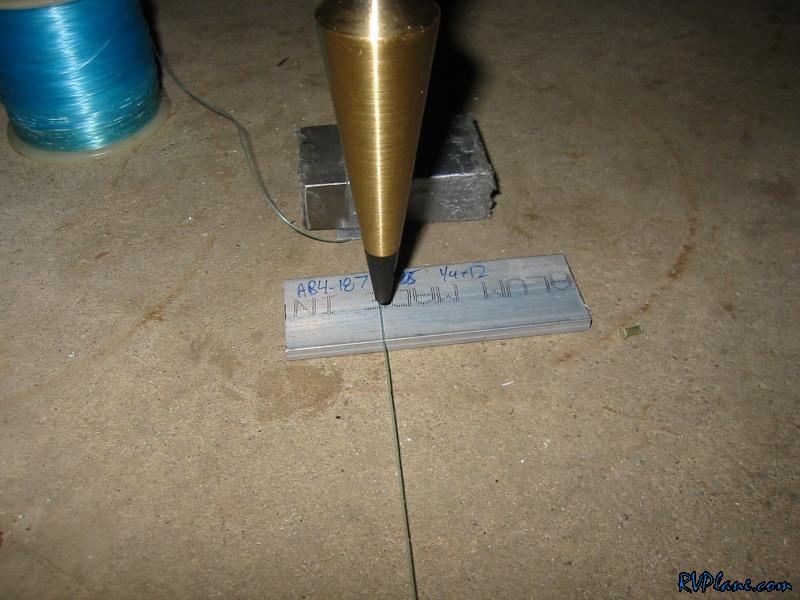 On the inboard side, I had a little forward sweep - as you can see, its about 3/32". For me to fix this, I would need to take the wings off and file down the wing rear spar. Van's says to get withing 1/2". I don't think I am going to mess with it anymore, 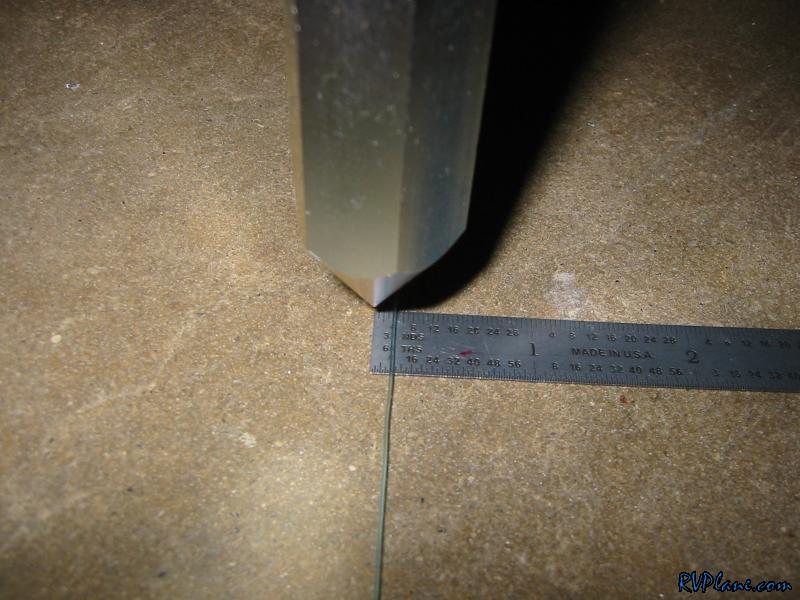 Now its time to level the fuselage. This is an angle across the longerons. 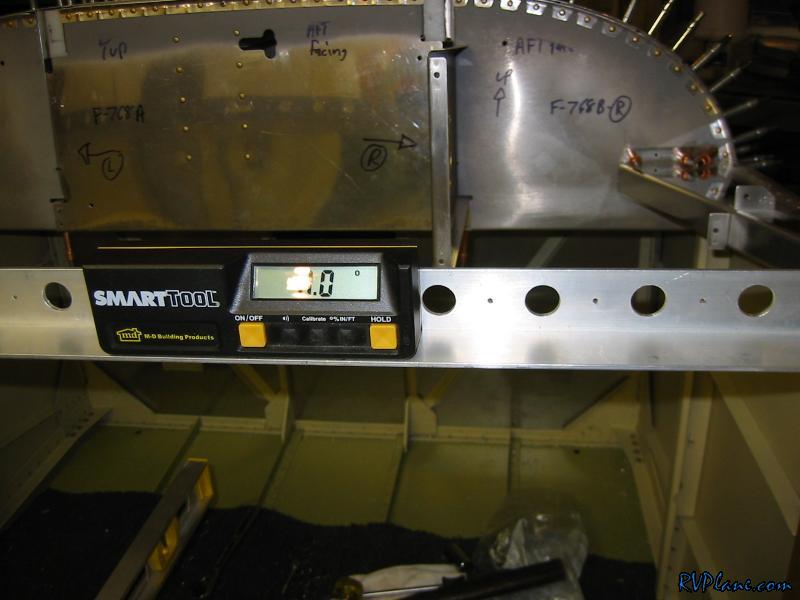 And the center section. 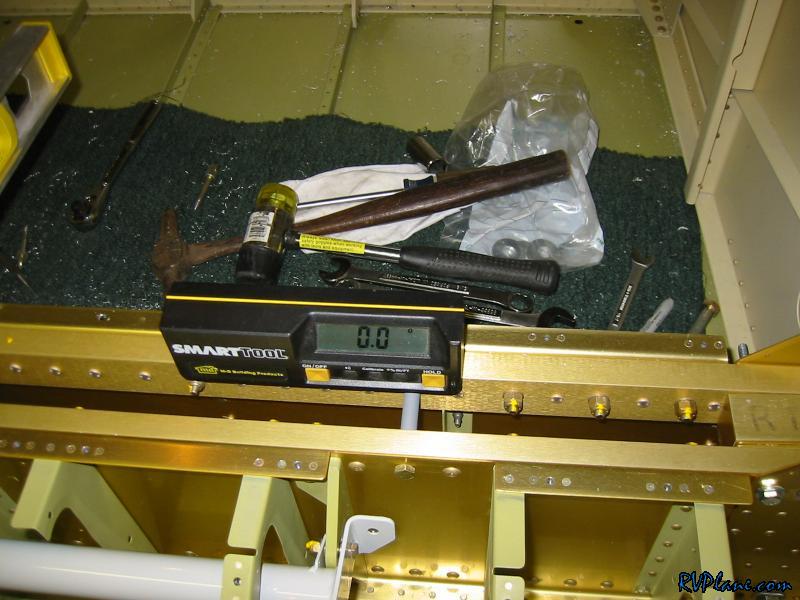 longitudinally across the center section. 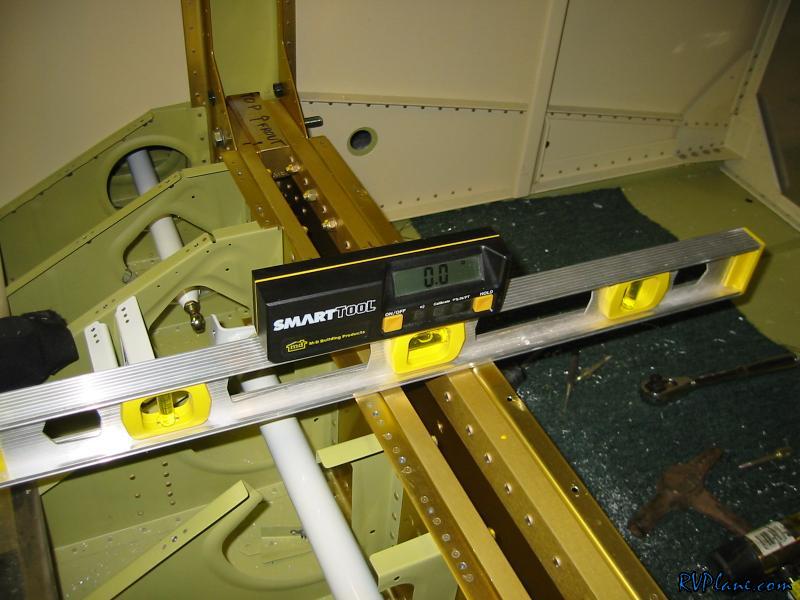 And on the right longeron. 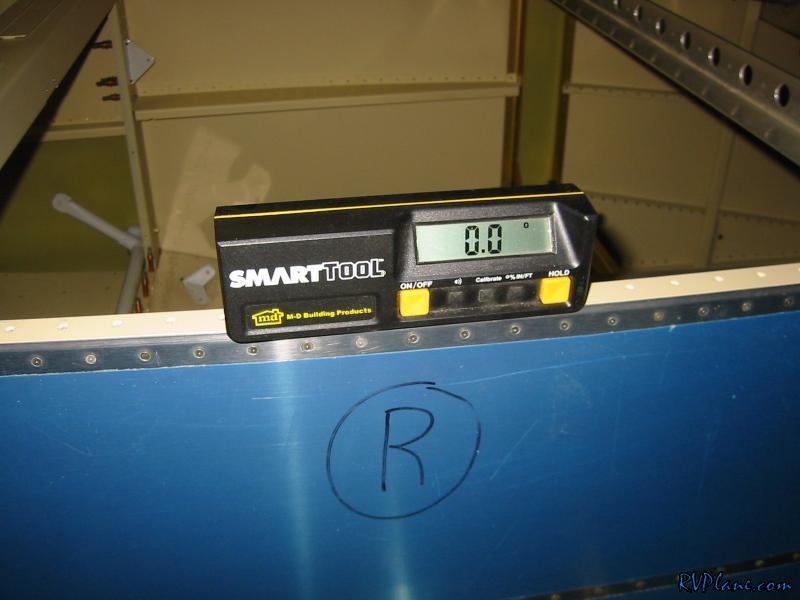 With the fuselage level, next I made up a jig to set the wing incidence. It consists of a level and a 3" block of wood on the aft. 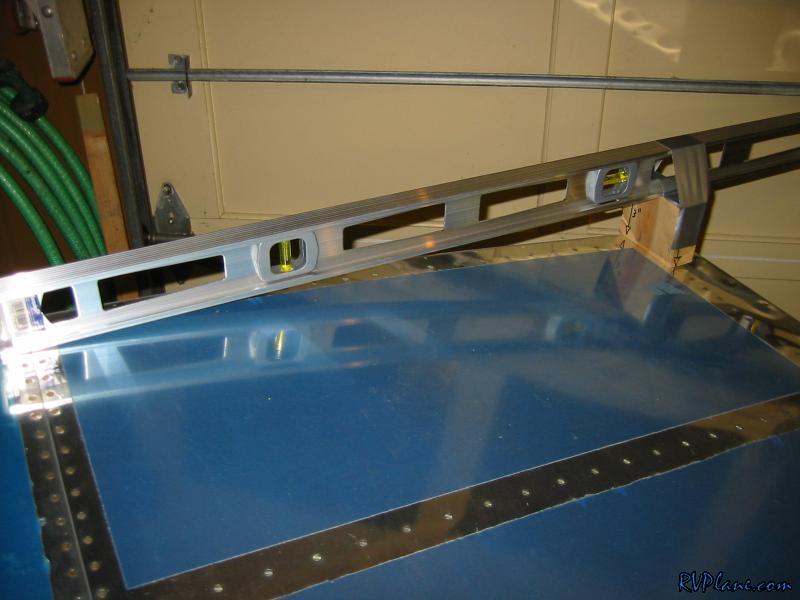 The forward part sits on top of the web of the main spar. I see a lot of builders put this on the rivet line which is considerably aft of the web.  And the aft is on top of the web of the rear spar. Once that was set, I taped it all together. 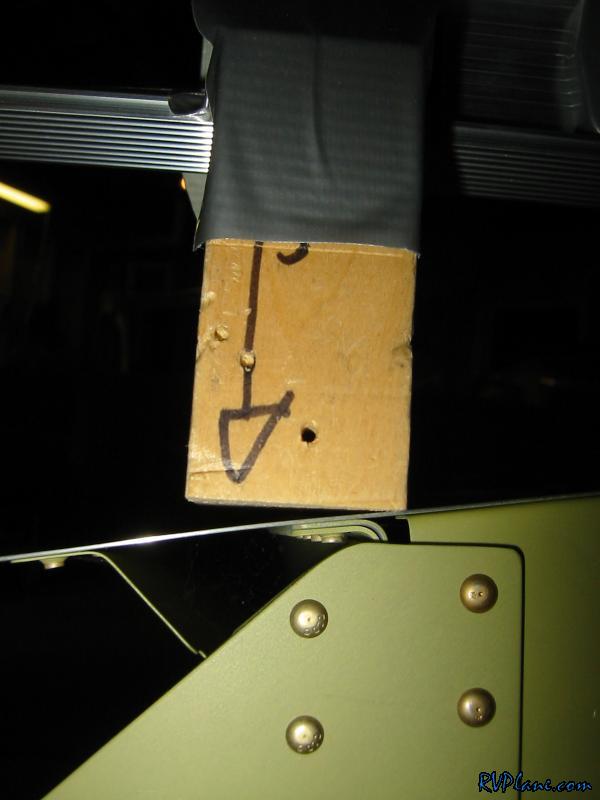 Next I adjusted the "tilt" of the wing until I was reading some 0's. This is the right ring outboard end. 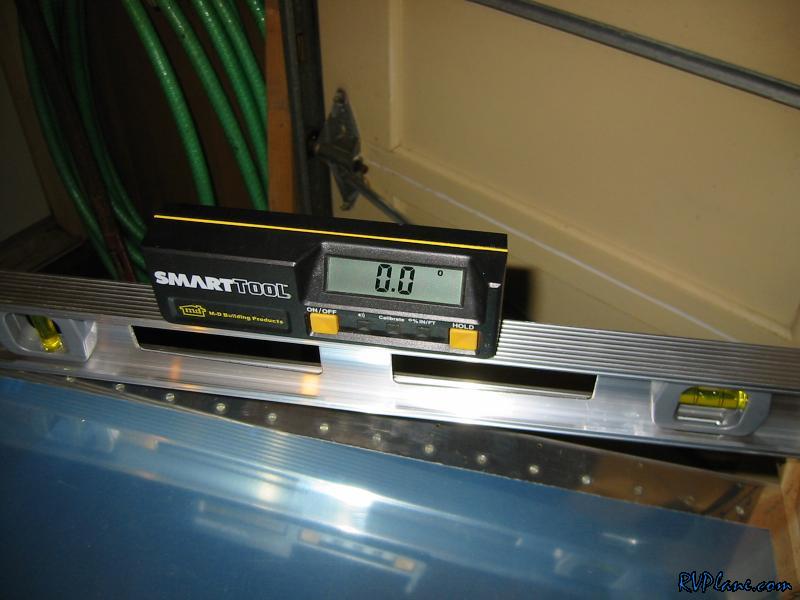 Right center 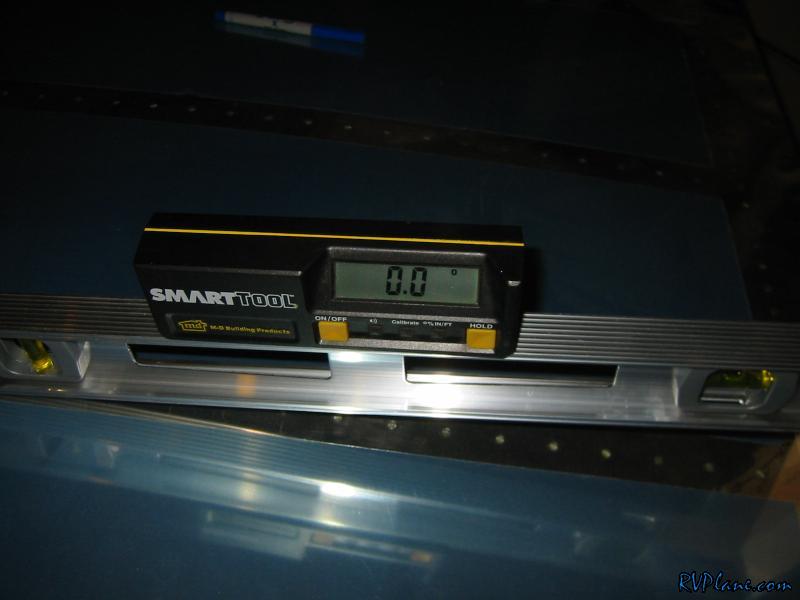 Right inboard 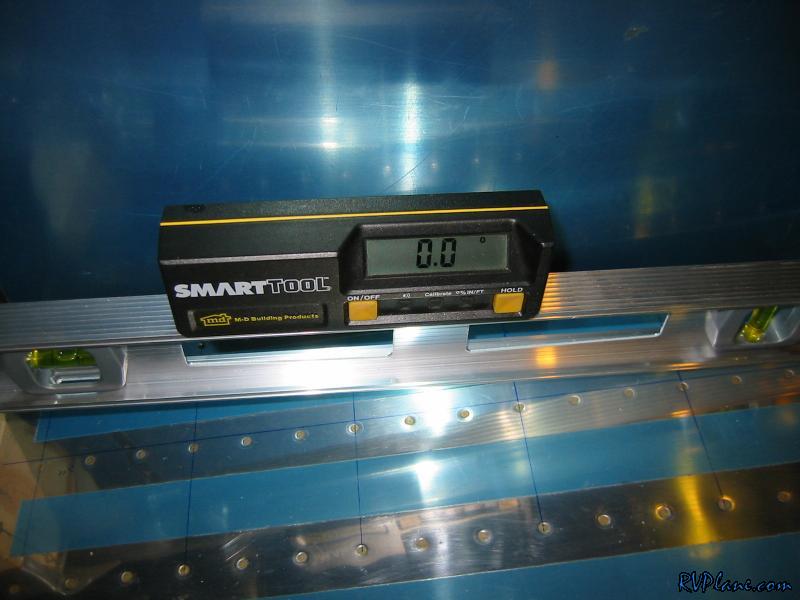 Left Longeron 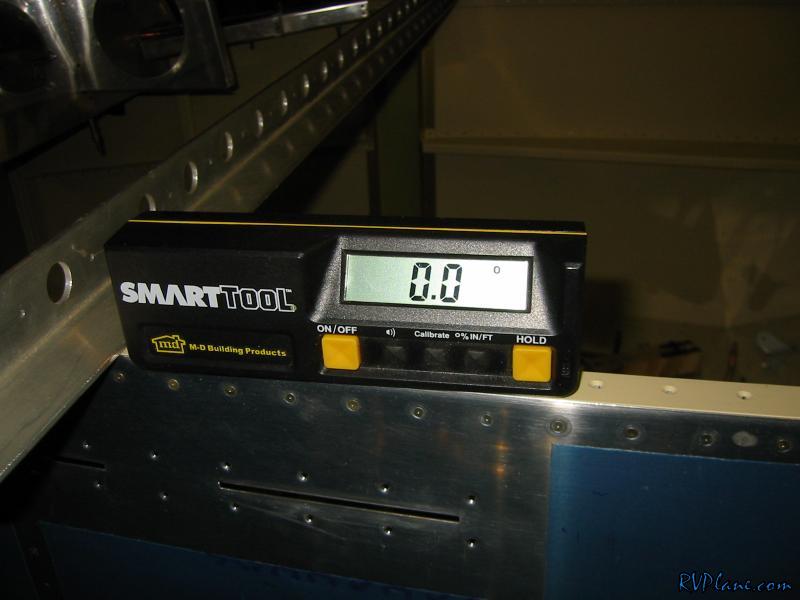 Left outboard 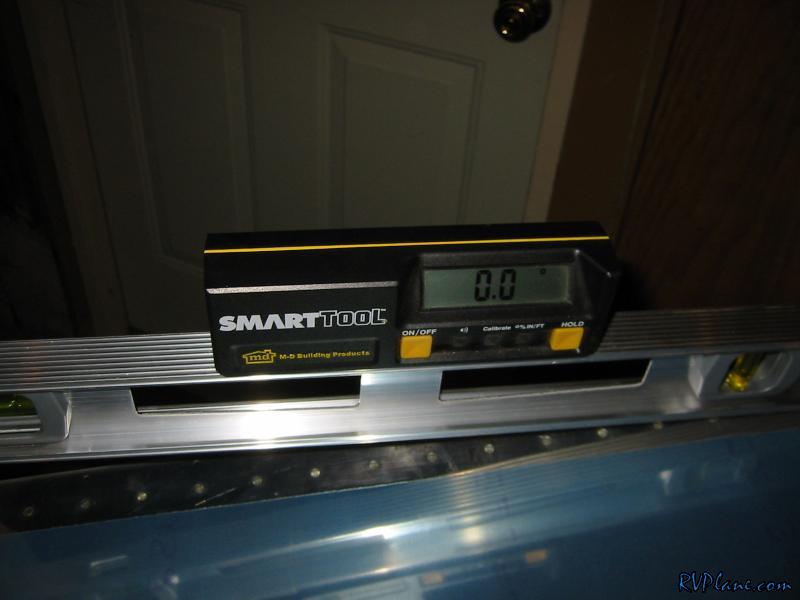 Left Middle 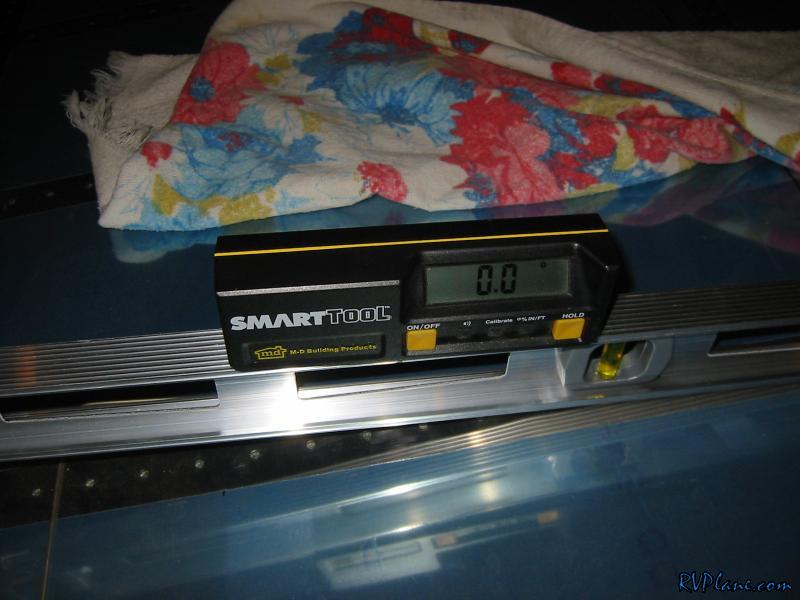 and finally left inboard. I'd say its level, wouldn't you? 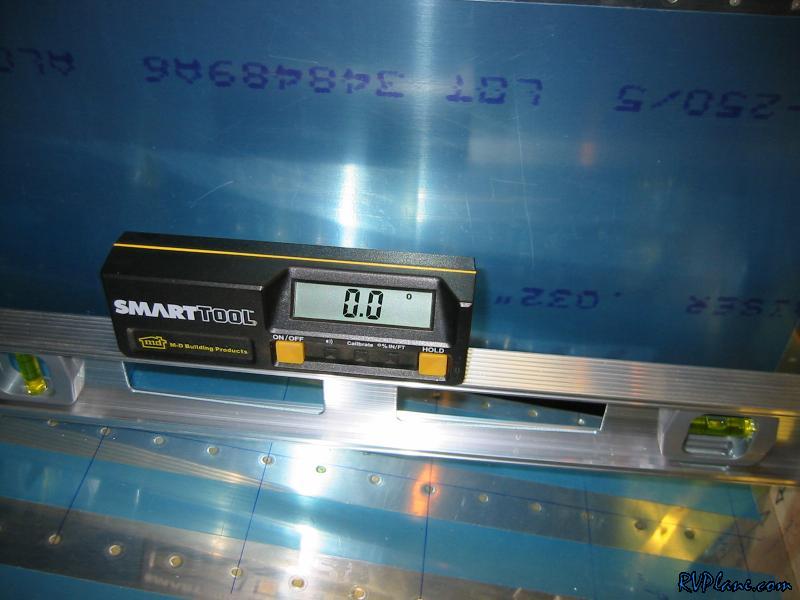 Next it was time to drill the rear spar. This is VERY critical as Van's mentions a number of times. You need 5/8" edge distance on all the metal. I drew up some lines to mark where the hole could be and drilled a #30 hole with a 12" bit. I put this AN470AD4-14 rivet in here to hold it. 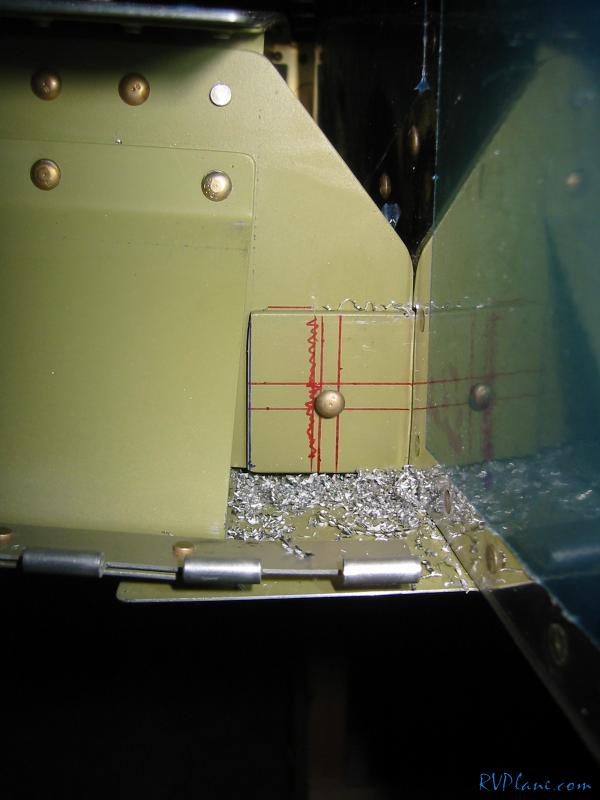 My main concern in drilling this hole was not getting it centered or edge distance, but rather making sure it was perpendicular. There are so many pieces of aluminum at different angles it is tough to know what perpendicular is. I figured out a pretty nifty way to go about it, if I don't mind patting myself on the back. First I installed that AN470 rivet from the forward aft. 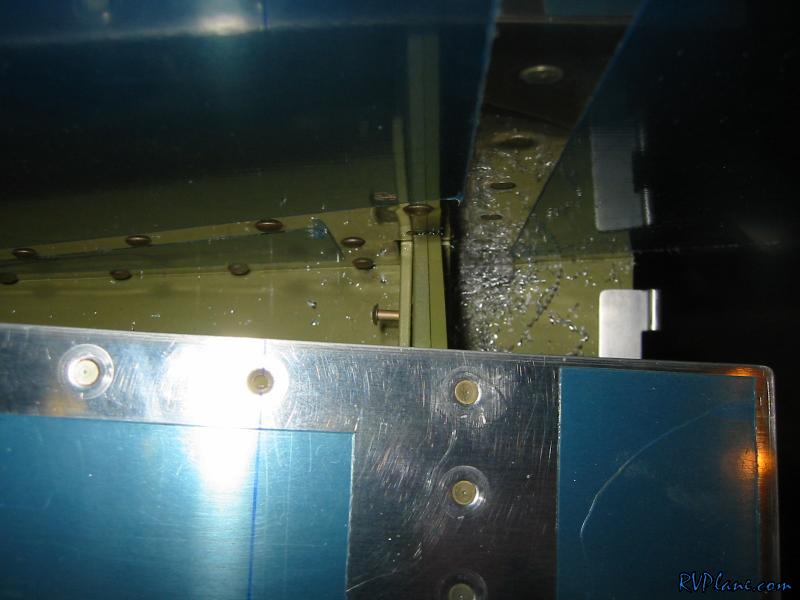 I got a piece of 2x2" oak and cut a 1" section of it. I drilled it with a #13 bit on the drill press so the oak would act as a drill guide. 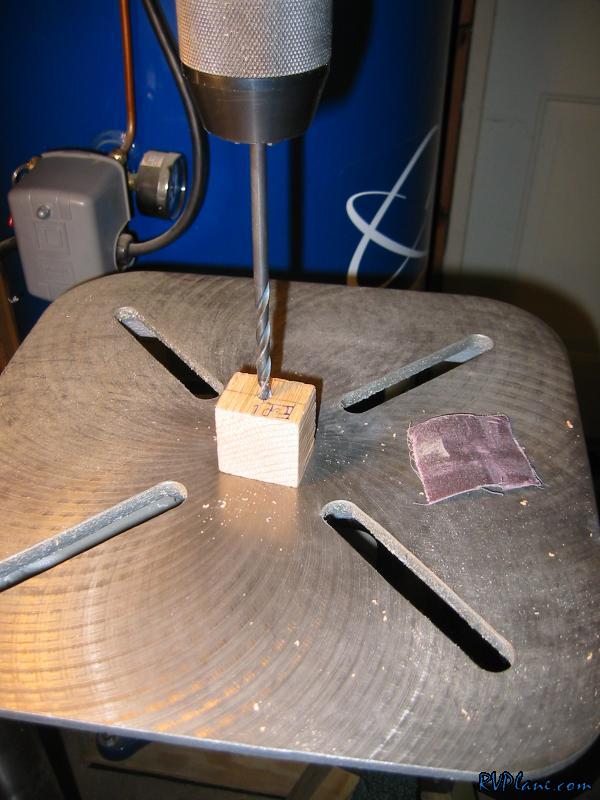 I drilled the #30 hole with the #13 bit without the guide just a little into the aft section. This is so I could have a pilot for the #13 bit in the jig to start on. I then put the #13 bit in the oak, Centered it and drilled all the way through. Remember, I had that AN470 rivet in there that was just pushed forward. 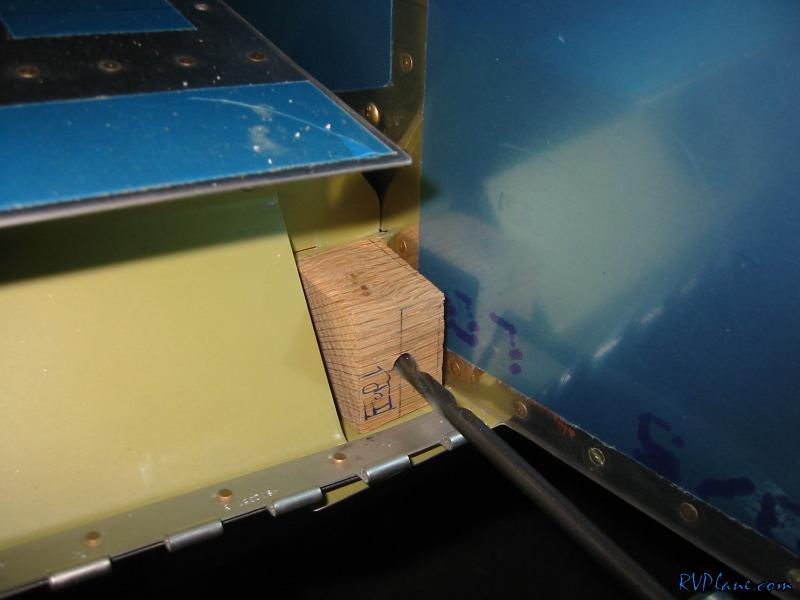 Without the AN470 rivet in place, the rear spar had the potential to move. So I put the #13 bit in. I repeated this process by drilling the guide to a 'C' bit, then continuing the same process iteratively through a 9/32" and finally a 5/16" reamer. 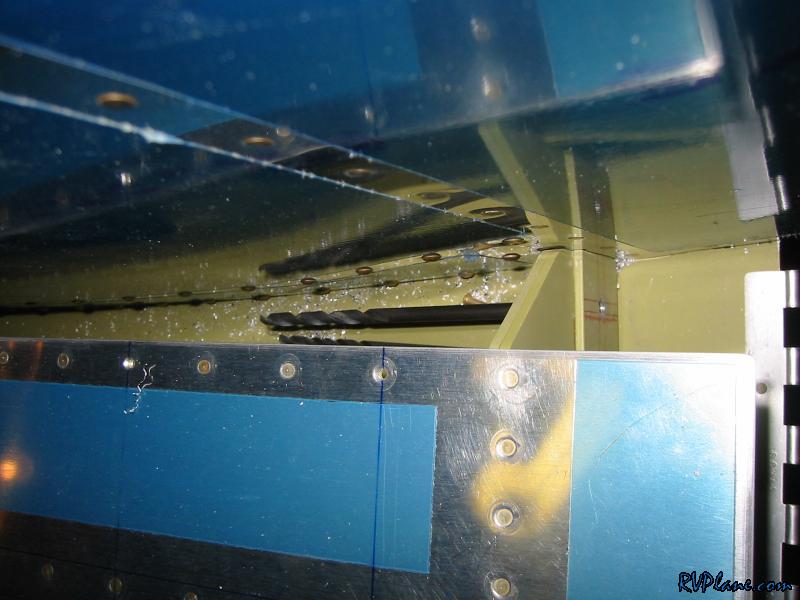 In the end, the hole came out GREAT. Nice and perpendicular. 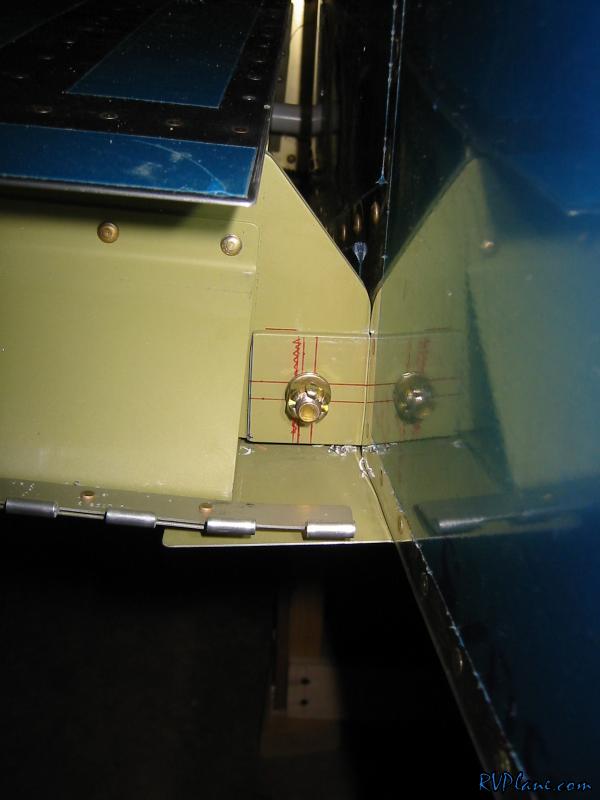 This was the BEST tasting celebration beer I have tasted this whole project. I truly felt like I was living the "High Life"! 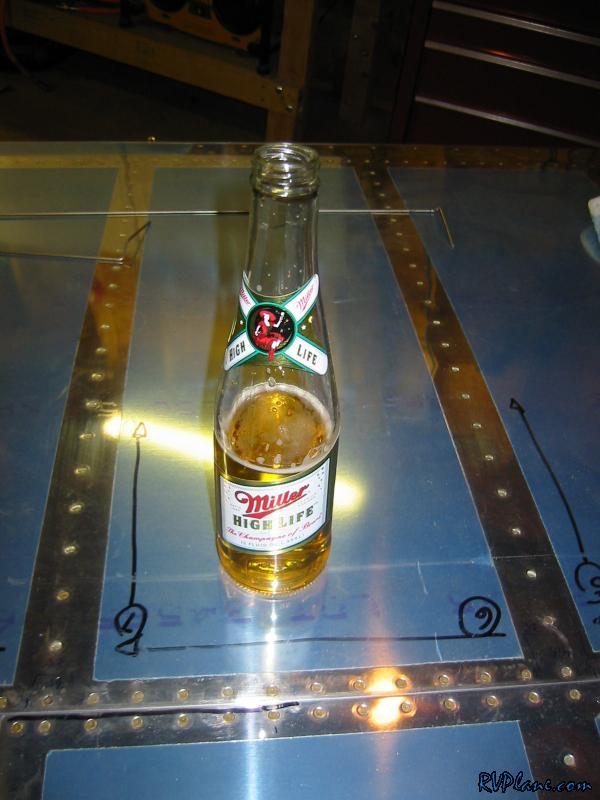 Next was onto drilling the bottom skin of the fuselage center section to the wing. Before the wing was mounted, Van's had you draw a bunch of lines, which I thought was a waste of time, as you will see next pic. Anyways, I drilled the holes to a #19 for a #8 countersunk screw. 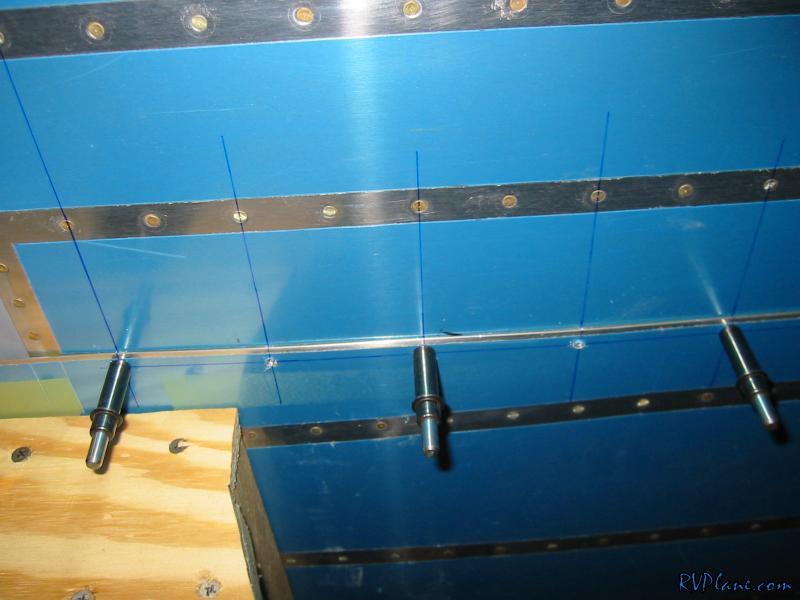 OK, here is why you don't need to draw any lines before the wings go on. If you line up the rivets and draw line, you know where the inboard rivet is (BLUE lines). Next, the rivets are spaced evenly at 2 7/8" for the first 4 ribs. Knowing that, it was a piece of cake to know where the holes needed to be drilled. Clear as mud? 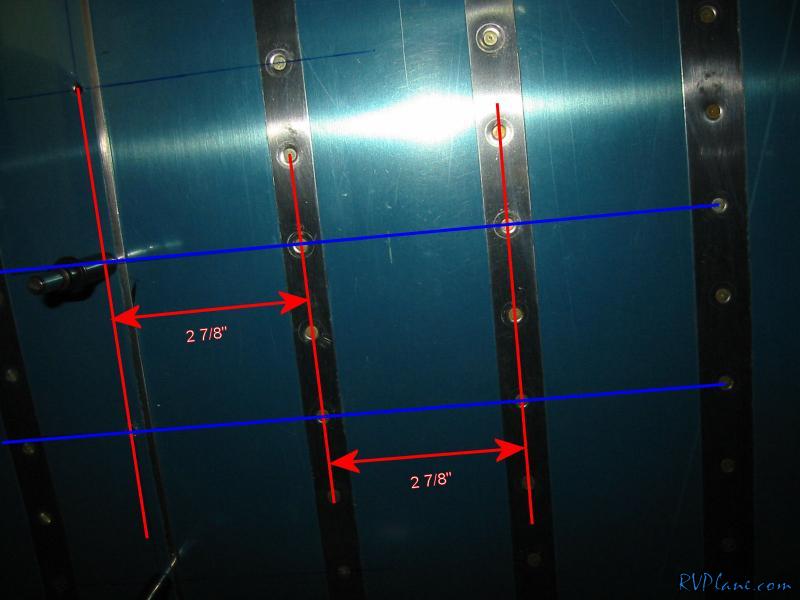
|
|||||
|
http://RVplane.com |
Last Modified: August 13, 2023 |